Hummus, a creamy blend of chickpeas, tahini, lemon juice, and garlic, has become a beloved dip worldwide. Making it at home ensures fresh, customizable flavors. Whether you prefer it smooth or chunky, spicy or mild, mastering homemade hummus is easier than you think. With a few simple ingredients and a food processor, you can whip up a batch that rivals any store-bought version. This guide will walk you through the steps, offering tips and tricks to achieve that perfect texture and taste. Get ready to impress your friends and family with your hummus-making skills.
Essential Ingredients for Your Homemade Hummus
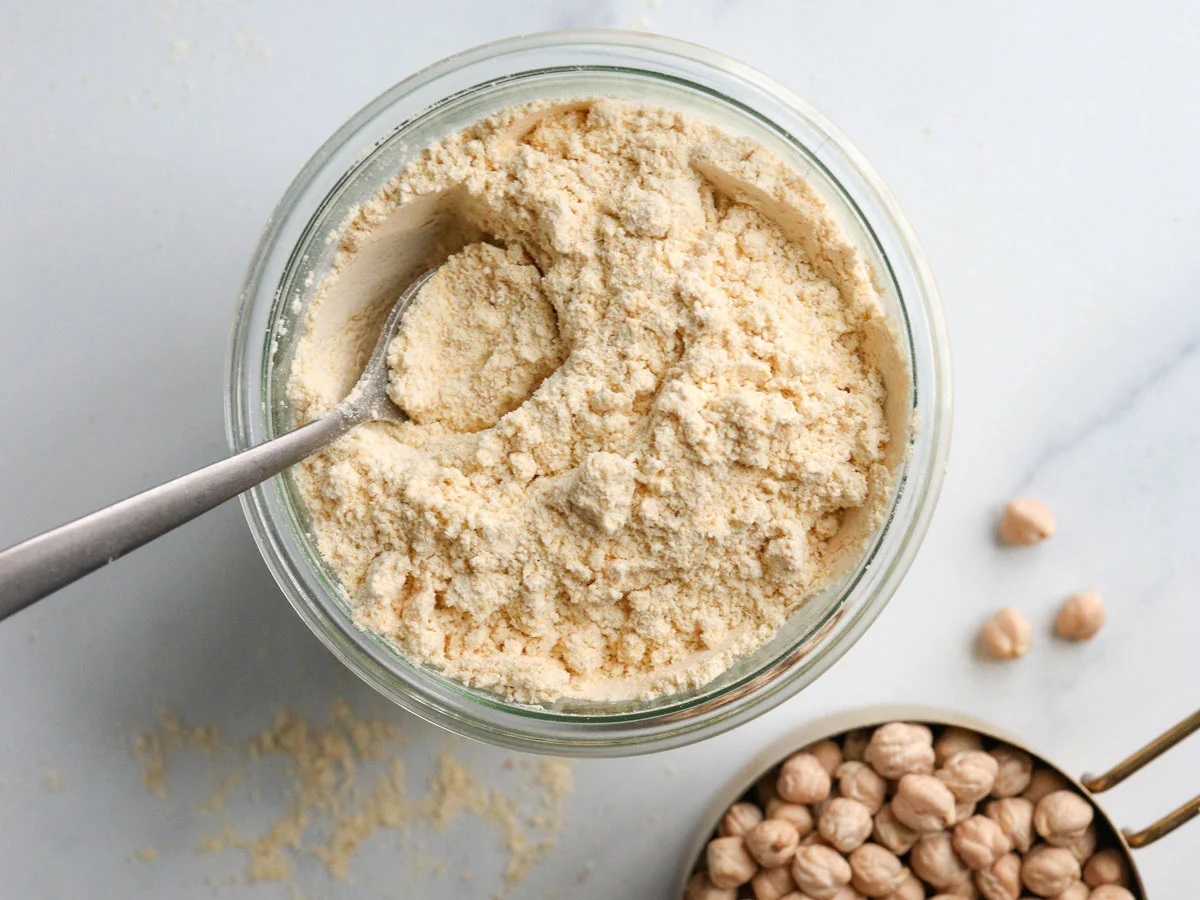
- 1 can (15 oz) chickpeas, drained and rinsed
- 2 cloves garlic, minced
- 1/4 cup lemon juice
- 1/4 cup tahini
- 2 tablespoons olive oil
- 1/2 teaspoon ground cumin
- Salt to taste
- 2 to 3 tablespoons water
- Paprika for garnish
- Fresh parsley, chopped for garnish
- Extra olive oil for serving
The Must-Have Tools for Crafting Hummus at Home
Tools Needed for Mastering the Perfect Homemade Hummus
-
Food Processor or Blender
- Essential for blending chickpeas, tahini, and other ingredients into a smooth, creamy texture.
-
Measuring Cups and Spoons
- Accurate measurements ensure the right balance of flavors.
-
Can Opener
- Needed if using canned chickpeas.
-
Colander
- Drains chickpeas after rinsing.
-
Garlic Press
- Minces garlic quickly and efficiently.
-
Citrus Juicer
- Extracts fresh lemon juice for a zesty flavor.
-
Spatula
- Scrapes down the sides of the food processor to incorporate all ingredients.
-
Mixing Bowl
- Useful for combining ingredients before blending.
-
Serving Dish
- Presents your hummus beautifully.
-
Storage Container
- Keeps leftovers fresh in the fridge.
For creamy homemade hummus, remove chickpea skins before blending. Add tahini, lemon juice, garlic, and olive oil gradually to achieve a smooth texture. Adjust seasoning to taste for perfect flavor balance.
The Art of Making Hummus: Why It’s Worth It
Homemade hummus offers freshness and flavor unmatched by store-bought versions. Making it yourself allows control over ingredients, ensuring a healthier option without preservatives. Additionally, crafting your own hummus can be a fun, creative process, letting you experiment with different spices and toppings to suit your taste preferences.
Your Ultimate Guide to Hummus Perfection
Mastering the Perfect Homemade Hummus
-
Gather Ingredients
- Chickpeas: 1 can (15 oz), drained and rinsed
- Tahini: 1/4 cup, well stirred
- Lemon Juice: 2 tablespoons, freshly squeezed
- Garlic: 1 clove, minced
- Olive Oil: 2 tablespoons, plus more for serving
- Salt: 1/2 teaspoon, adjust to taste
- Cold Water: 2-3 tablespoons
- Paprika: For garnish
- Fresh Parsley: Chopped, for garnish
-
Prepare Chickpeas
- For smoother hummus, remove skins from chickpeas. This step is optional but recommended for creaminess.
-
Blend Ingredients
- In a food processor, combine tahini and lemon juice. Process for 1 minute. Scrape sides and bottom of bowl, then process for 30 seconds more. This aerates the tahini, making the hummus smooth and creamy.
-
Add Garlic, Olive Oil, and Salt
- To the whipped tahini and lemon juice, add minced garlic, olive oil, and salt. Process for 30 seconds, scrape sides and bottom of the bowl, then process another 30 seconds.
-
Incorporate Chickpeas
- Add half of the chickpeas to the food processor. Process for 1 minute. Scrape sides and bottom, then add remaining chickpeas. Process until thick and quite smooth, about 1 to 2 minutes more.
-
Adjust Consistency
- With the processor running, slowly add 2 to 3 tablespoons of cold water until you reach the perfect consistency.
-
Taste and Season
- Taste your hummus. Depending on your preference, you might want to add more salt, lemon juice, or garlic.
-
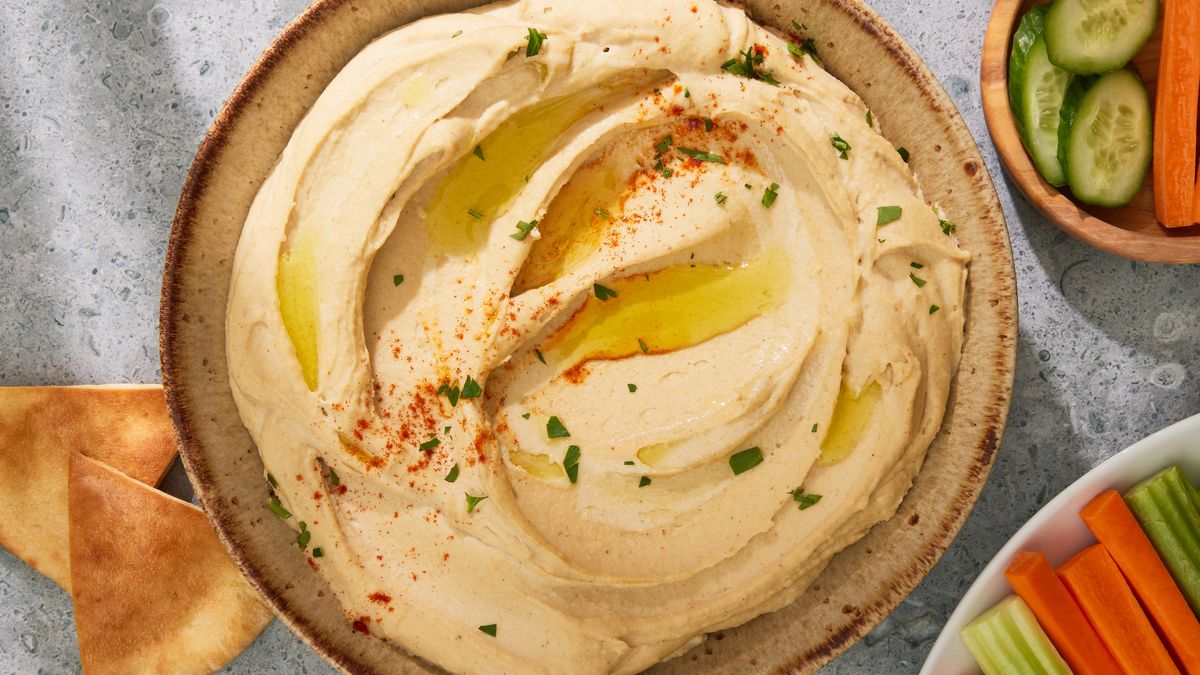
Serve
- Transfer hummus to a serving bowl. Create a shallow well in the center. Drizzle with more olive oil and sprinkle with paprika and chopped parsley.
-
Store
- Homemade hummus can be stored in an airtight container and refrigerated for up to one week.
Bringing It All Together
Making homemade hummus isn't just about blending chickpeas and tahini. It's about balancing flavors and textures to create a creamy, delicious dip. Start with high-quality ingredients like fresh lemon juice, good olive oil, and garlic. Adjust the seasonings to your taste, whether you like it more garlicky, lemony, or with a hint of spice. Don't forget to save some aquafaba (the liquid from the chickpeas) to get that perfect consistency. Serve it with pita bread, veggies, or even use it as a spread in sandwiches. Once you get the hang of it, you'll never go back to store-bought hummus. Enjoy the process and make it your own. Happy blending!
All Your Hummus Questions Answered
How can I make my hummus extra creamy?
Use ice-cold water when blending. It helps emulsify the tahini and chickpeas, making the hummus smoother. Also, peeling the chickpeas can make a big difference.
What if I don't have tahini?
You can substitute tahini with peanut butter or sunflower seed butter. The taste will be slightly different, but it still works well.
How do I store homemade hummus?
Keep it in an airtight container in the fridge. It usually lasts about 4-5 days. If it separates, just give it a good stir.
Can I freeze hummus?
Yes, you can! Freeze it in an airtight container, leaving some space for expansion. Thaw in the fridge and stir well before serving.
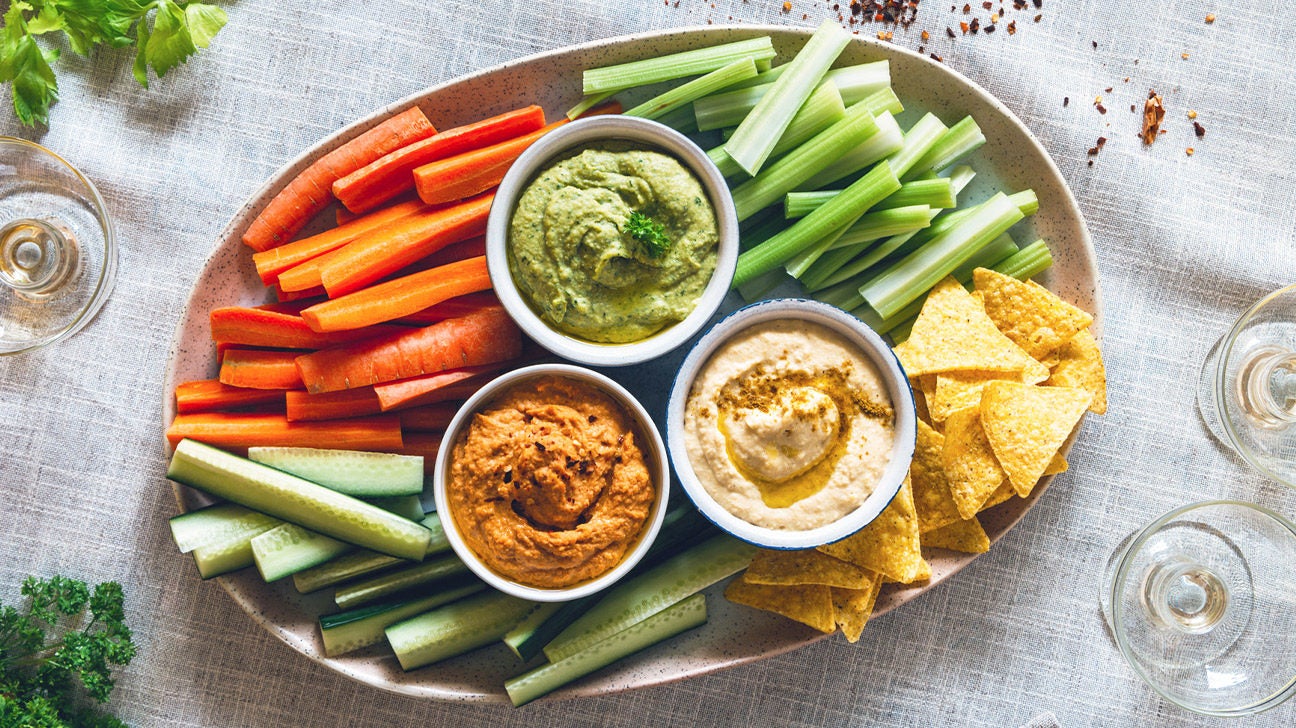
What can I add to hummus for extra flavor?
Try adding roasted red peppers, garlic, or sun-dried tomatoes. Fresh herbs like cilantro or parsley also add a nice touch.
Is there a way to make hummus spicy?
Add some cayenne pepper, chili flakes, or a dash of hot sauce. Adjust the amount to your heat preference.
Can I use canned chickpeas?
Absolutely! Canned chickpeas are convenient and work just as well. Just rinse and drain them before using.
Was this page helpful?
Related Articles
How To Eat Hummus
How To Eat With Dip
How To Grind Chickpeas
Healthy Diet Plan: 35 Snacks & Sweet Treats

16 Simple Kid-Friendly Recipes for Independent Cooking

How To Make Sushi Omelette

How To Cook Dried Chickpeas For Hummus
10 Healthy Snacks For Kids

Kids Can Make: Healthy Snacks

30 Fast Lunch Recipes Ready in 20 Minutes or Less
How To Confit Lemons