If you're looking to impress your guests with a delicious and flavorful main course, then learning how to glaze a precooked boneless ham is a must. Glazing a ham not only adds a beautiful sheen and caramelized flavor, but it also helps to lock in moisture, resulting in a juicy and succulent ham that will be the star of your meal. Whether you're preparing for a holiday feast or a special gathering, mastering the art of glazing a precooked boneless ham will take your culinary skills to the next level.
Choosing the Right Glaze
Before we dive into the glazing process, it's important to select the right glaze for your precooked boneless ham. There are numerous glaze options to choose from, ranging from sweet and fruity to savory and spicy. Some popular glaze flavors include:
- Honey and Brown Sugar: This classic combination adds a sweet and sticky glaze to the ham, creating a delectable caramelized crust.
- Maple and Mustard: The combination of maple syrup and Dijon mustard creates a perfect balance of sweetness and tanginess, resulting in a flavorful glaze.
- Pineapple and Cloves: For a tropical twist, a glaze made with pineapple juice and cloves adds a fruity and aromatic flavor to the ham.
Glazing Process
Now that you've chosen your glaze, it's time to glaze the precooked boneless ham. Follow these simple steps to achieve a perfectly glazed ham:
-
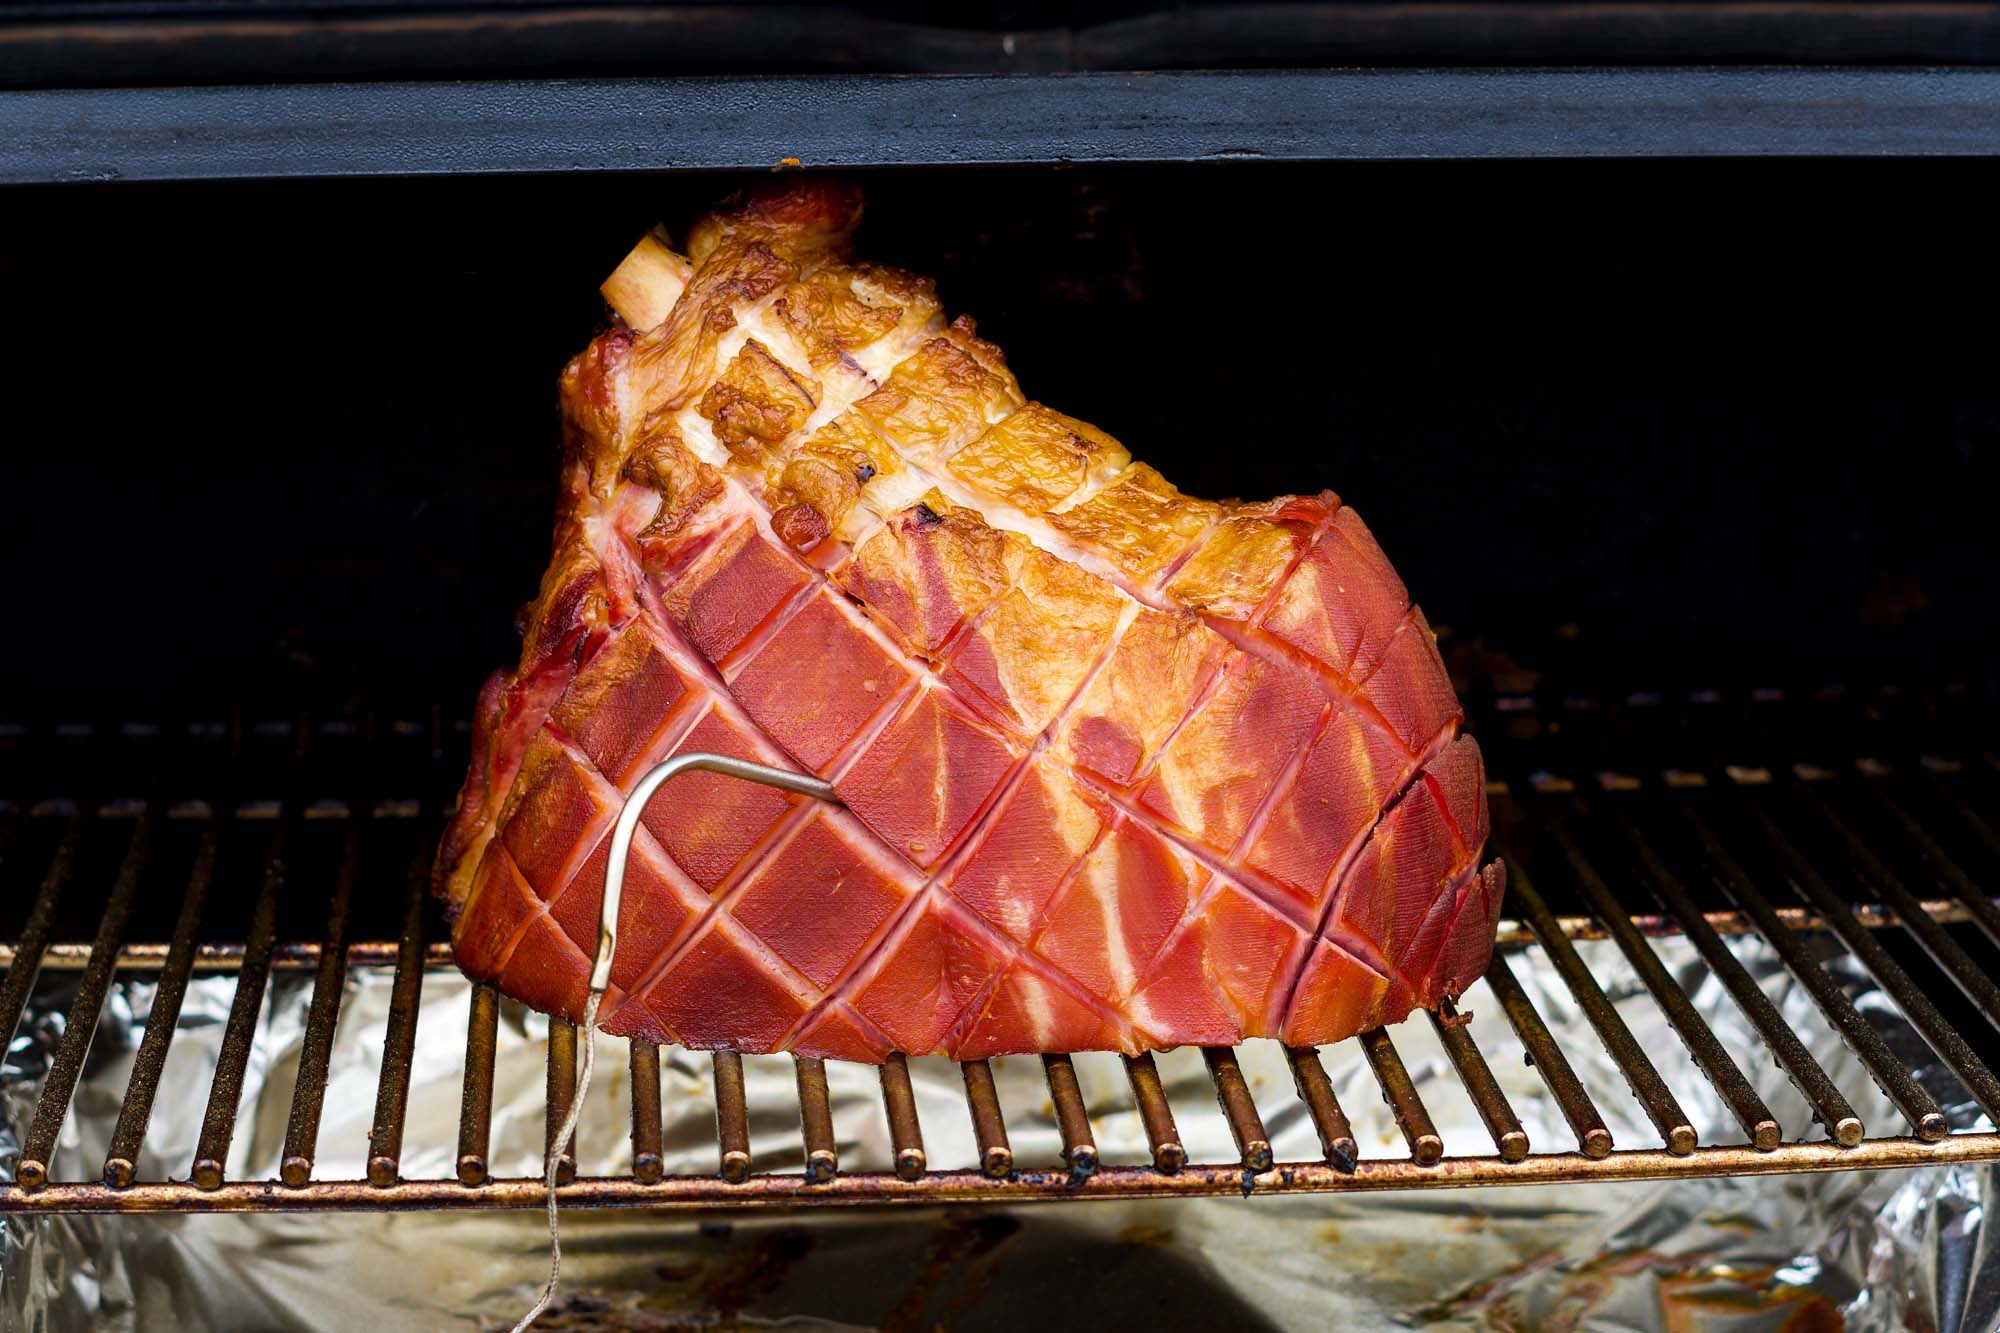
Preheat the Oven: Before you start glazing, preheat your oven to 325°F (165°C) to ensure it's ready for the ham.
-
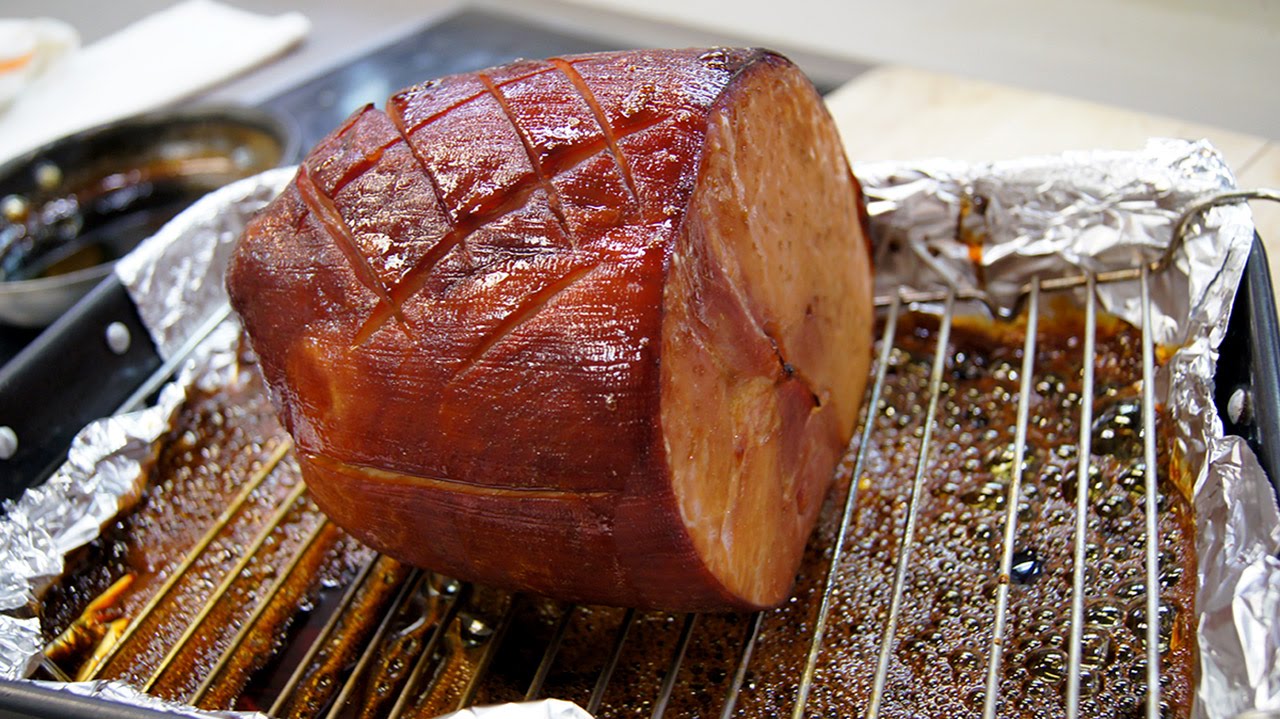
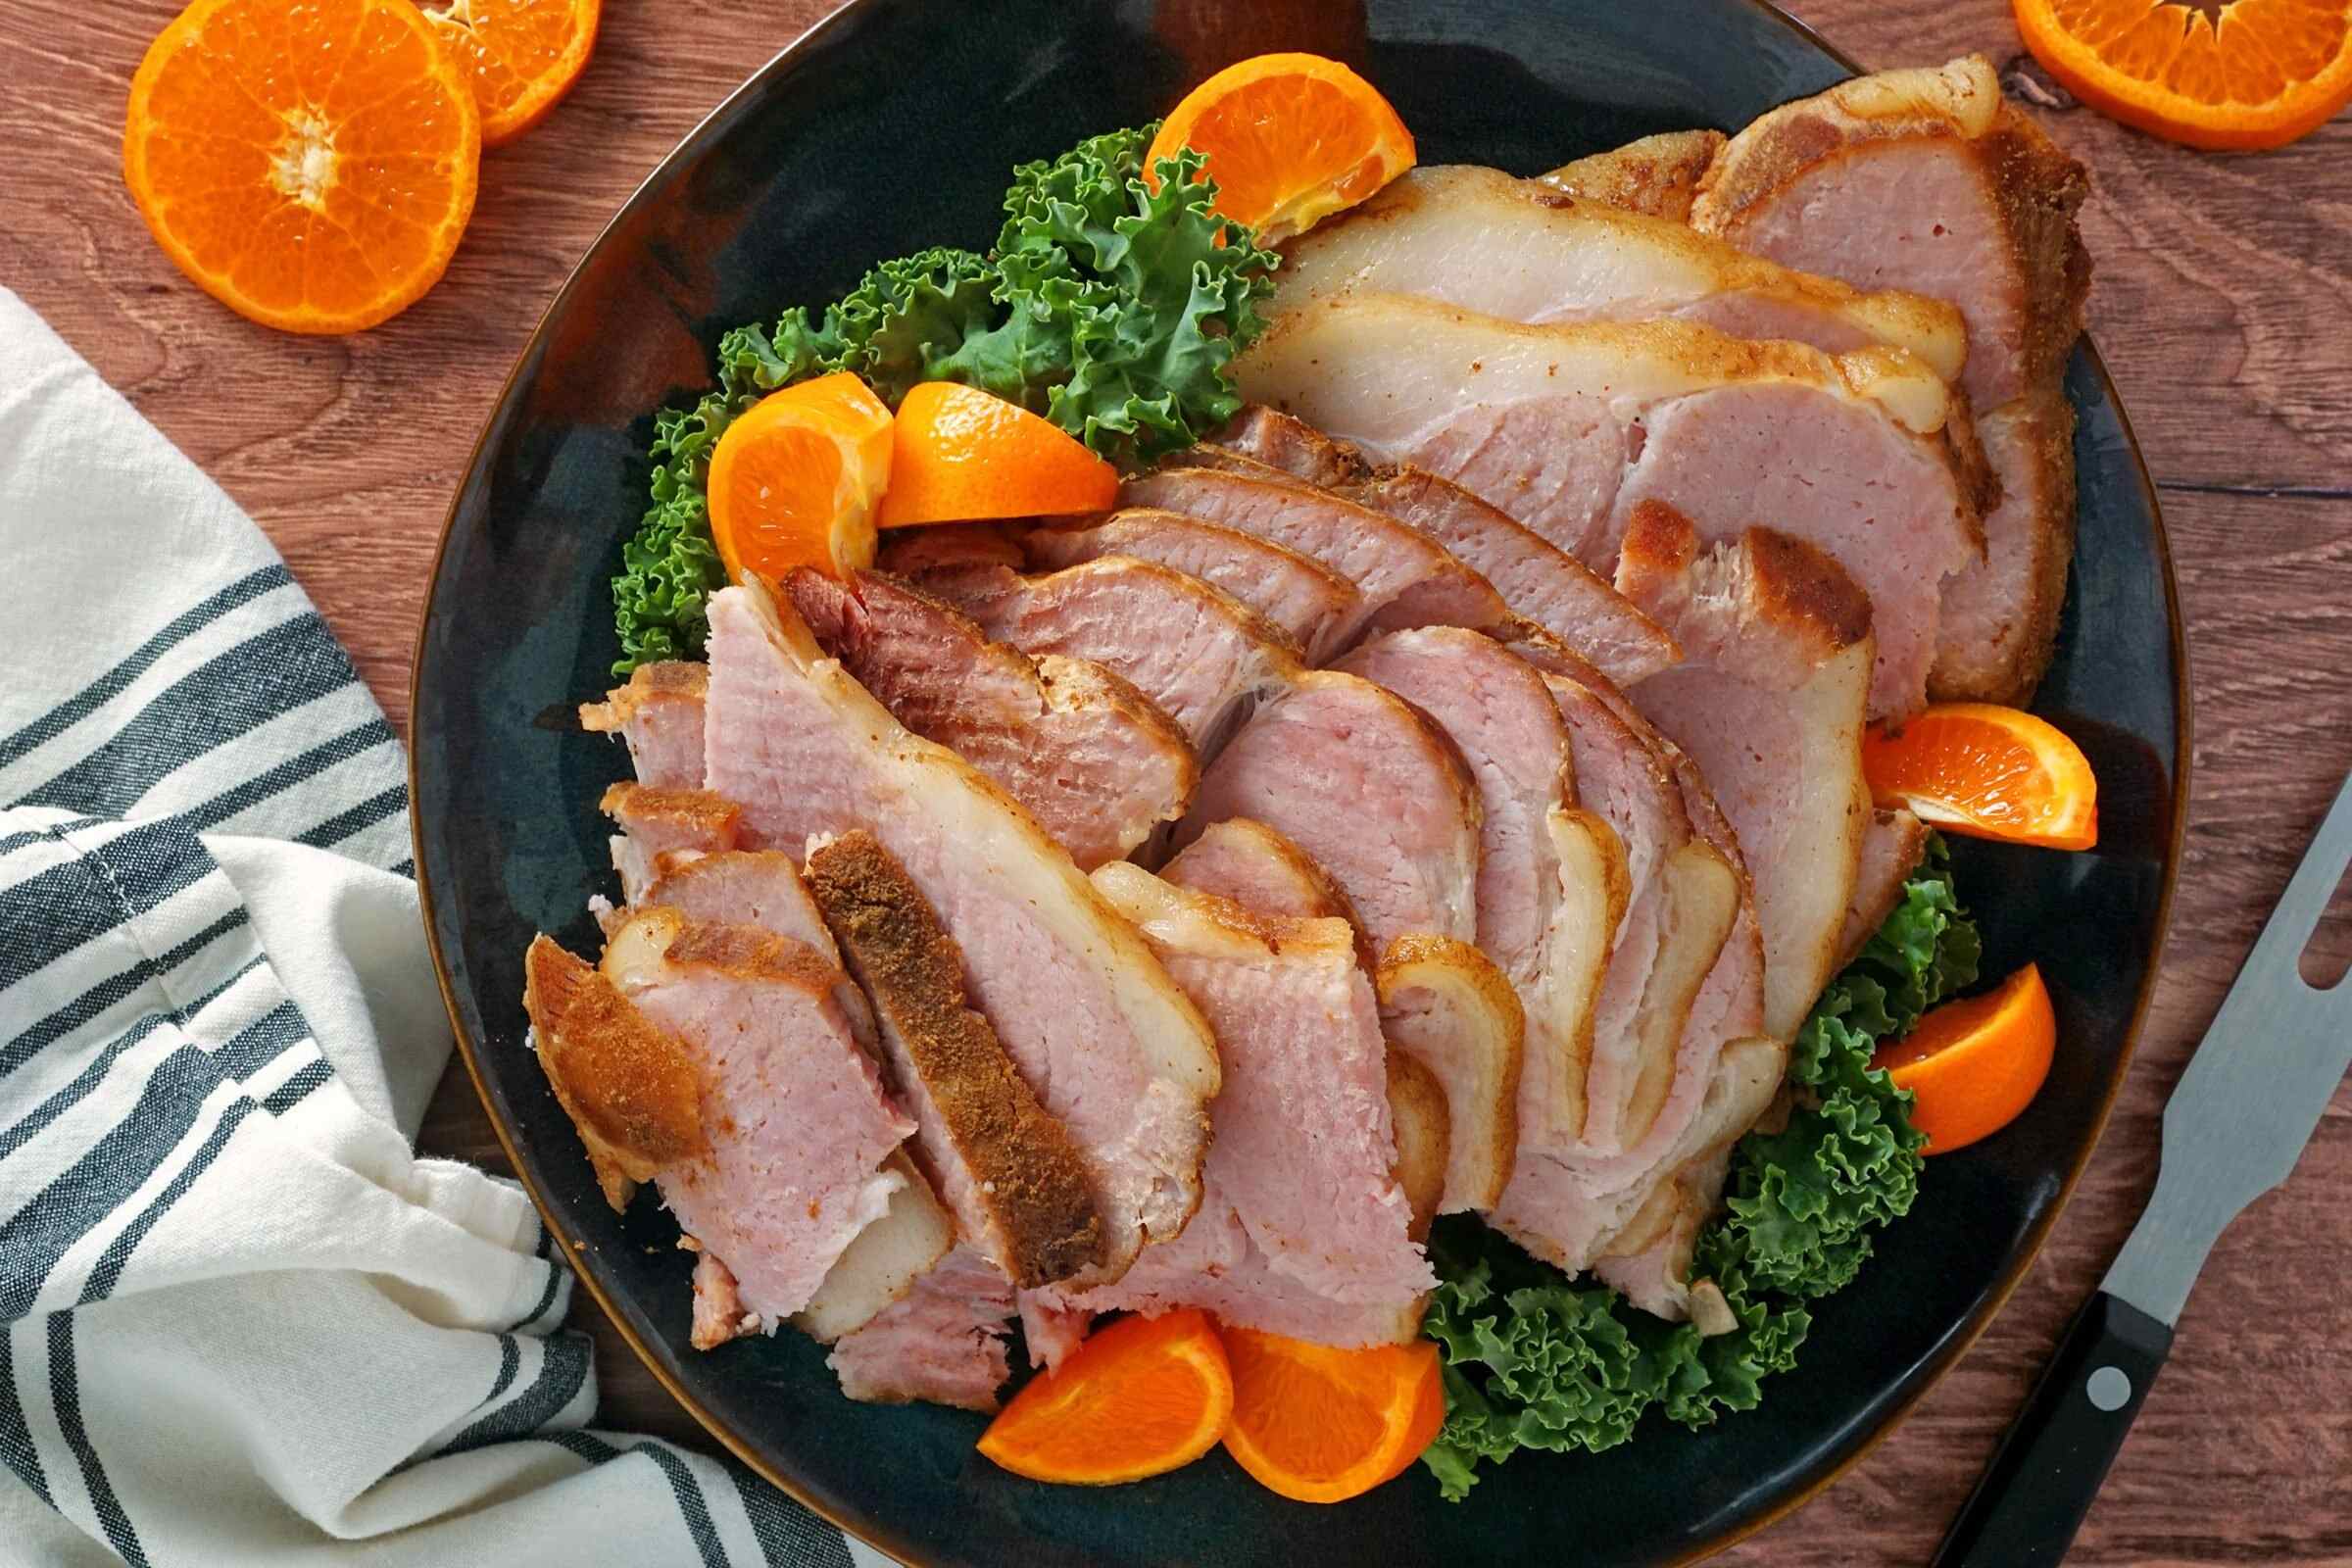
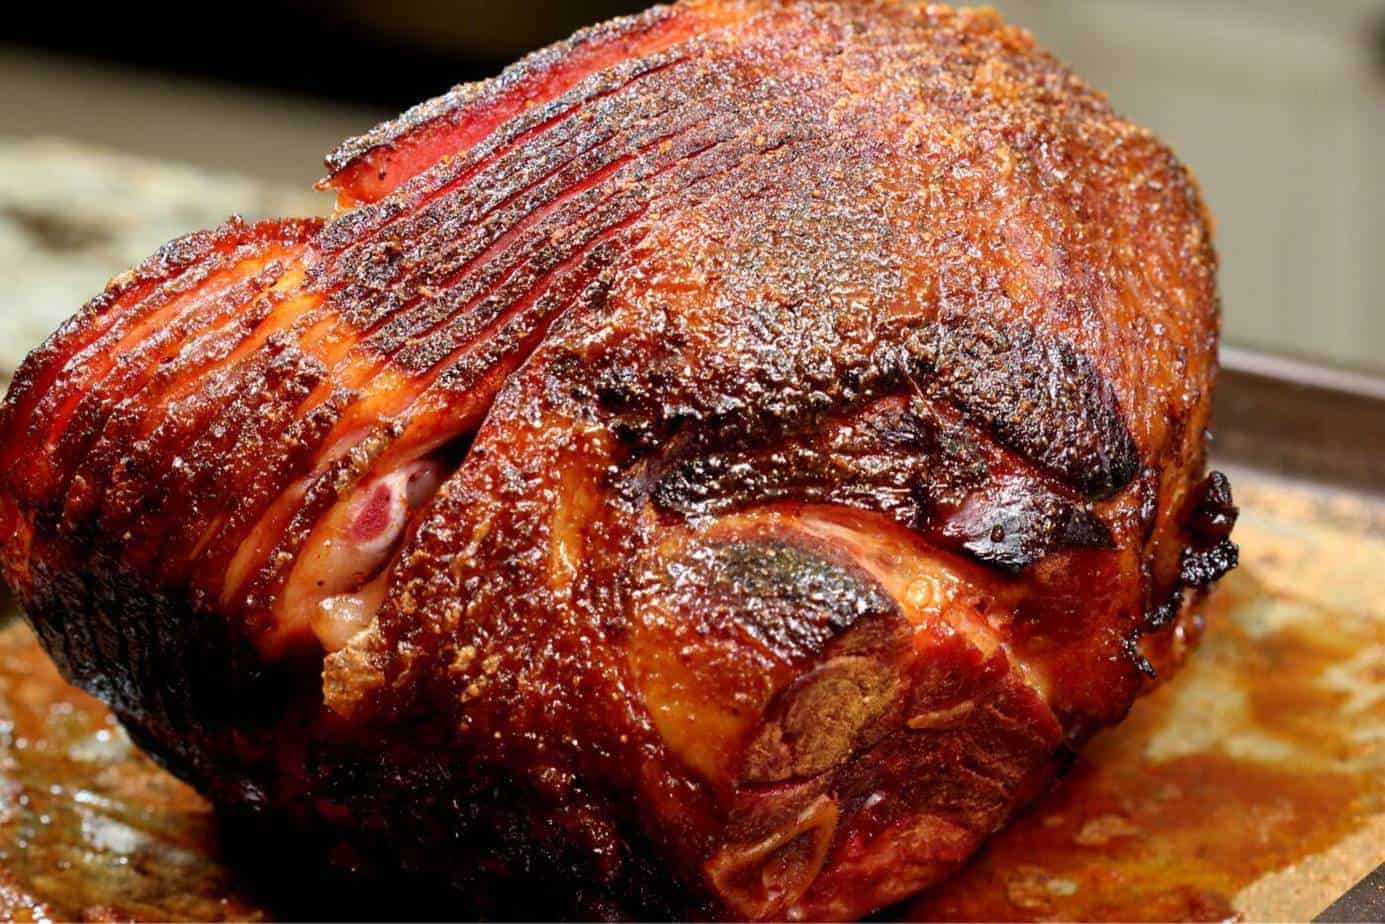
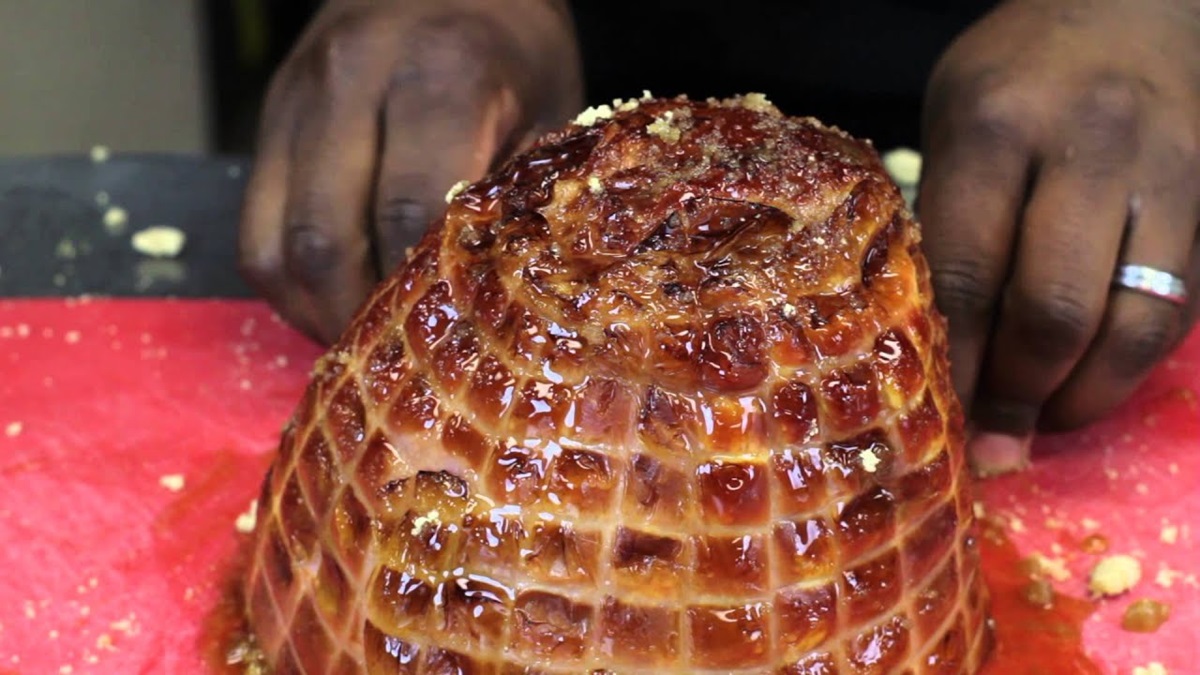
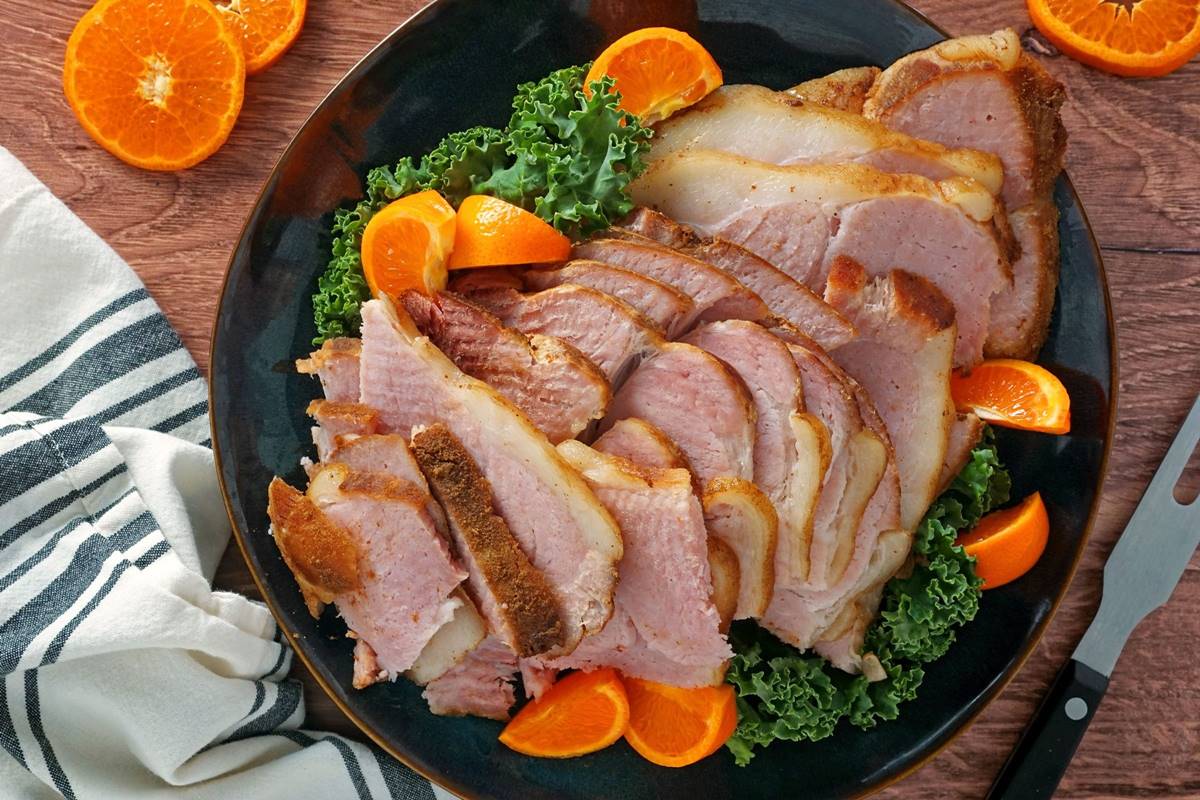
Prepare the Ham: Place the precooked boneless ham in a roasting pan, and score the surface in a diamond pattern with a sharp knife. This will help the glaze penetrate the meat and create an attractive presentation.
-
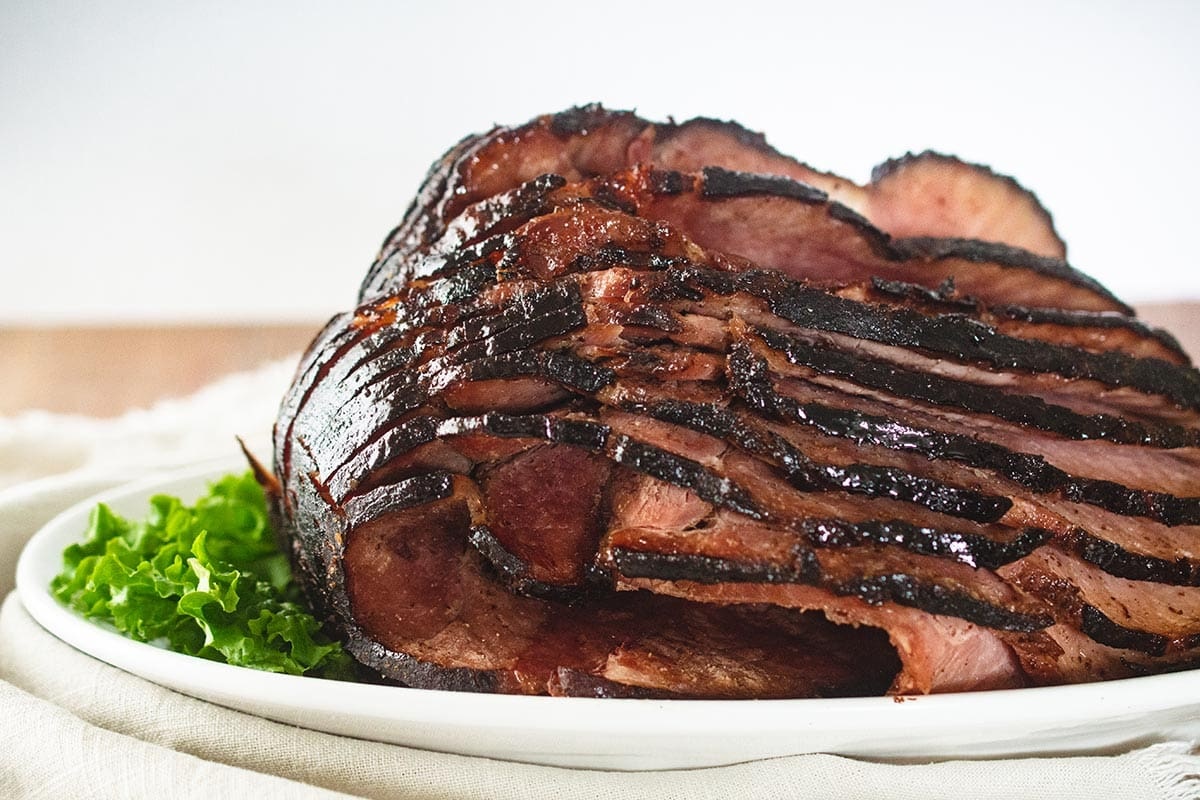
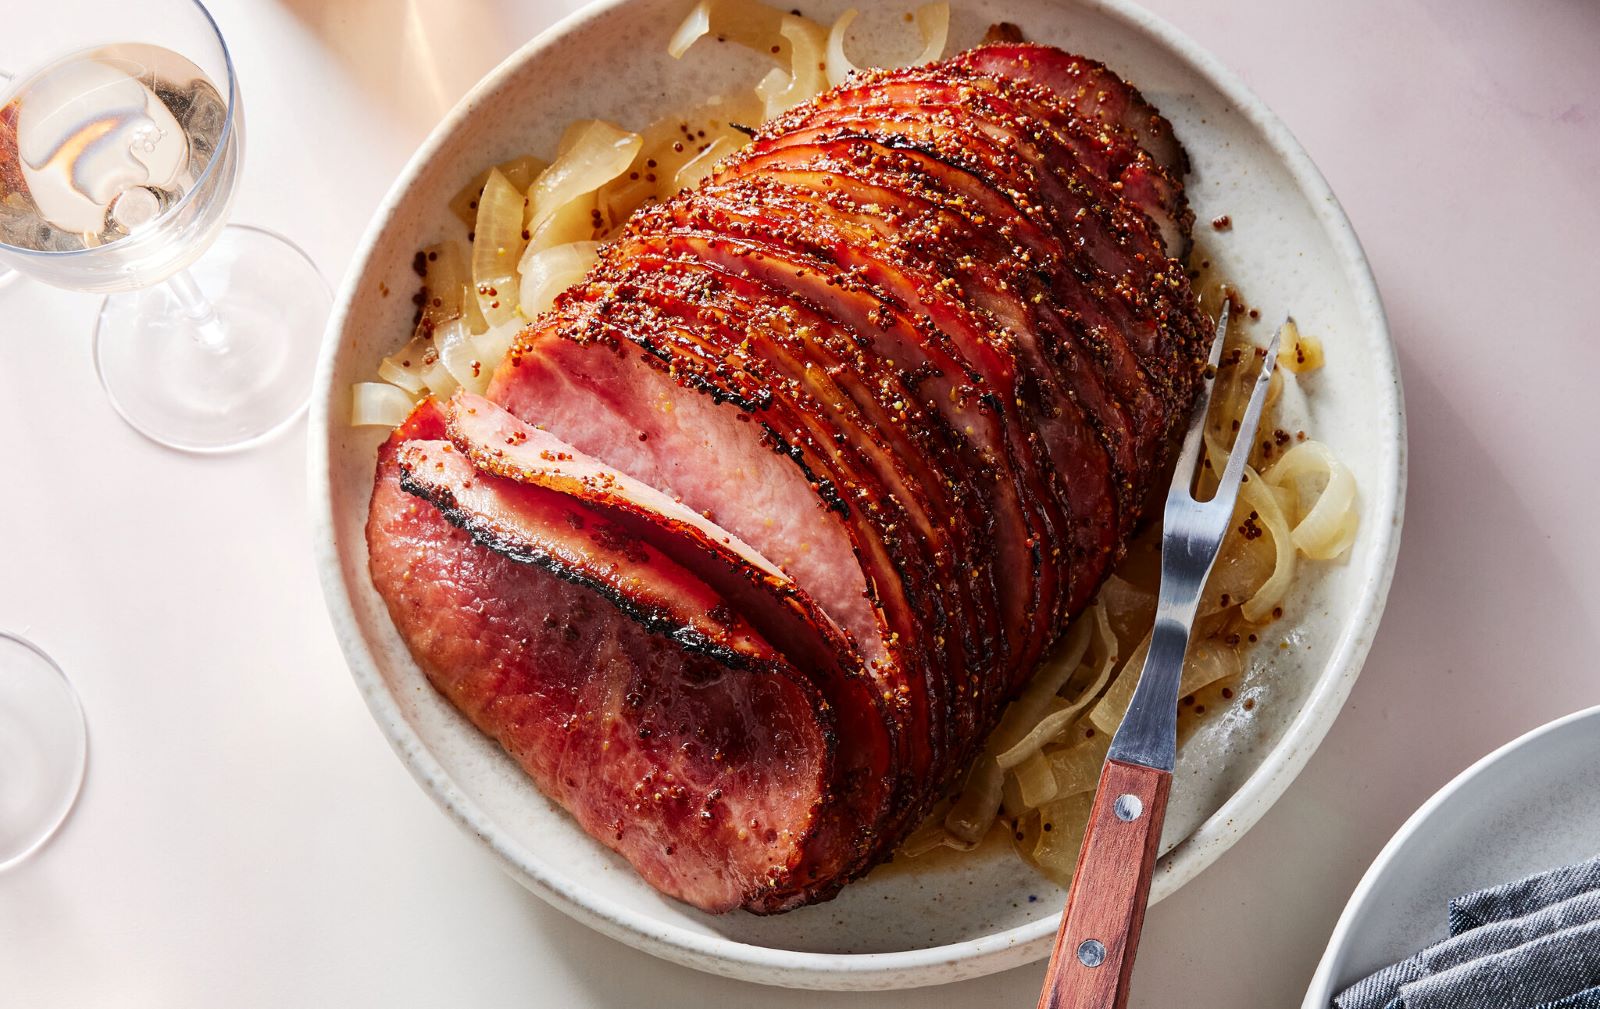
Apply the Glaze: Using a pastry brush, generously apply the glaze all over the surface of the ham. Make sure to coat the entire ham evenly for a consistent flavor.
-
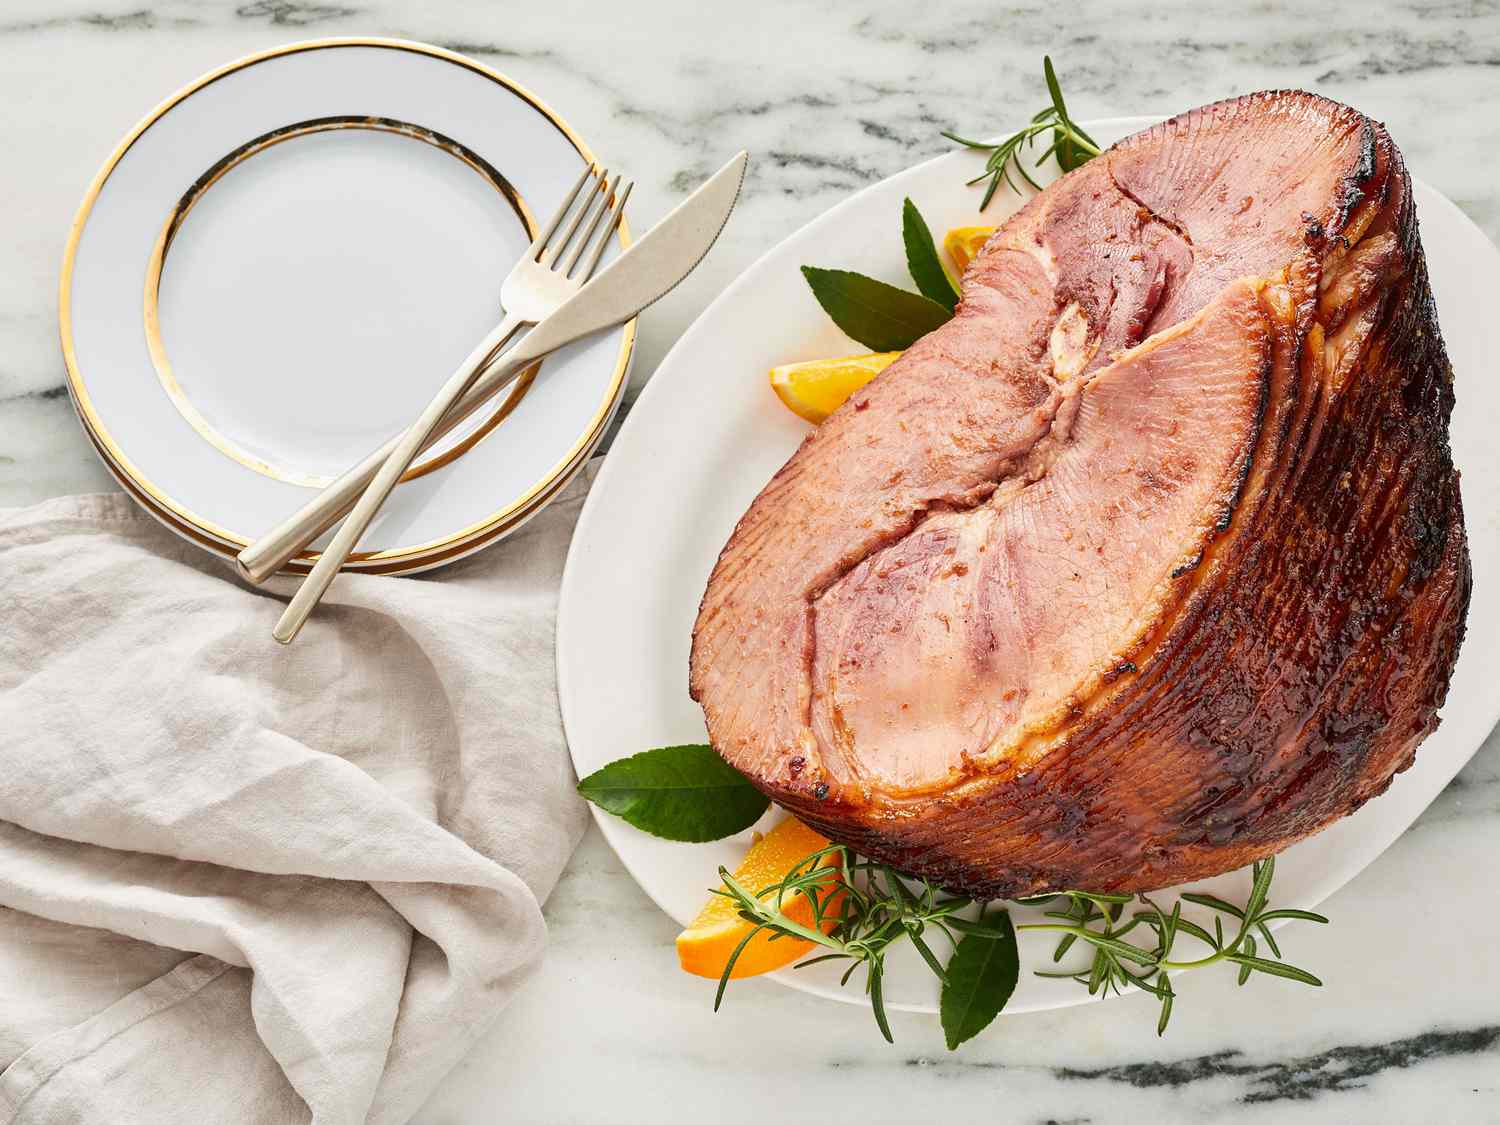
Bake the Ham: Place the glazed ham in the preheated oven and bake according to the package instructions. As the ham cooks, the glaze will caramelize and create a beautiful, shiny finish.
-
Reapply Glaze: To intensify the flavor and appearance, reapply the glaze to the ham every 20-30 minutes during the cooking process. This will build up layers of flavor and create a stunning glaze.
-
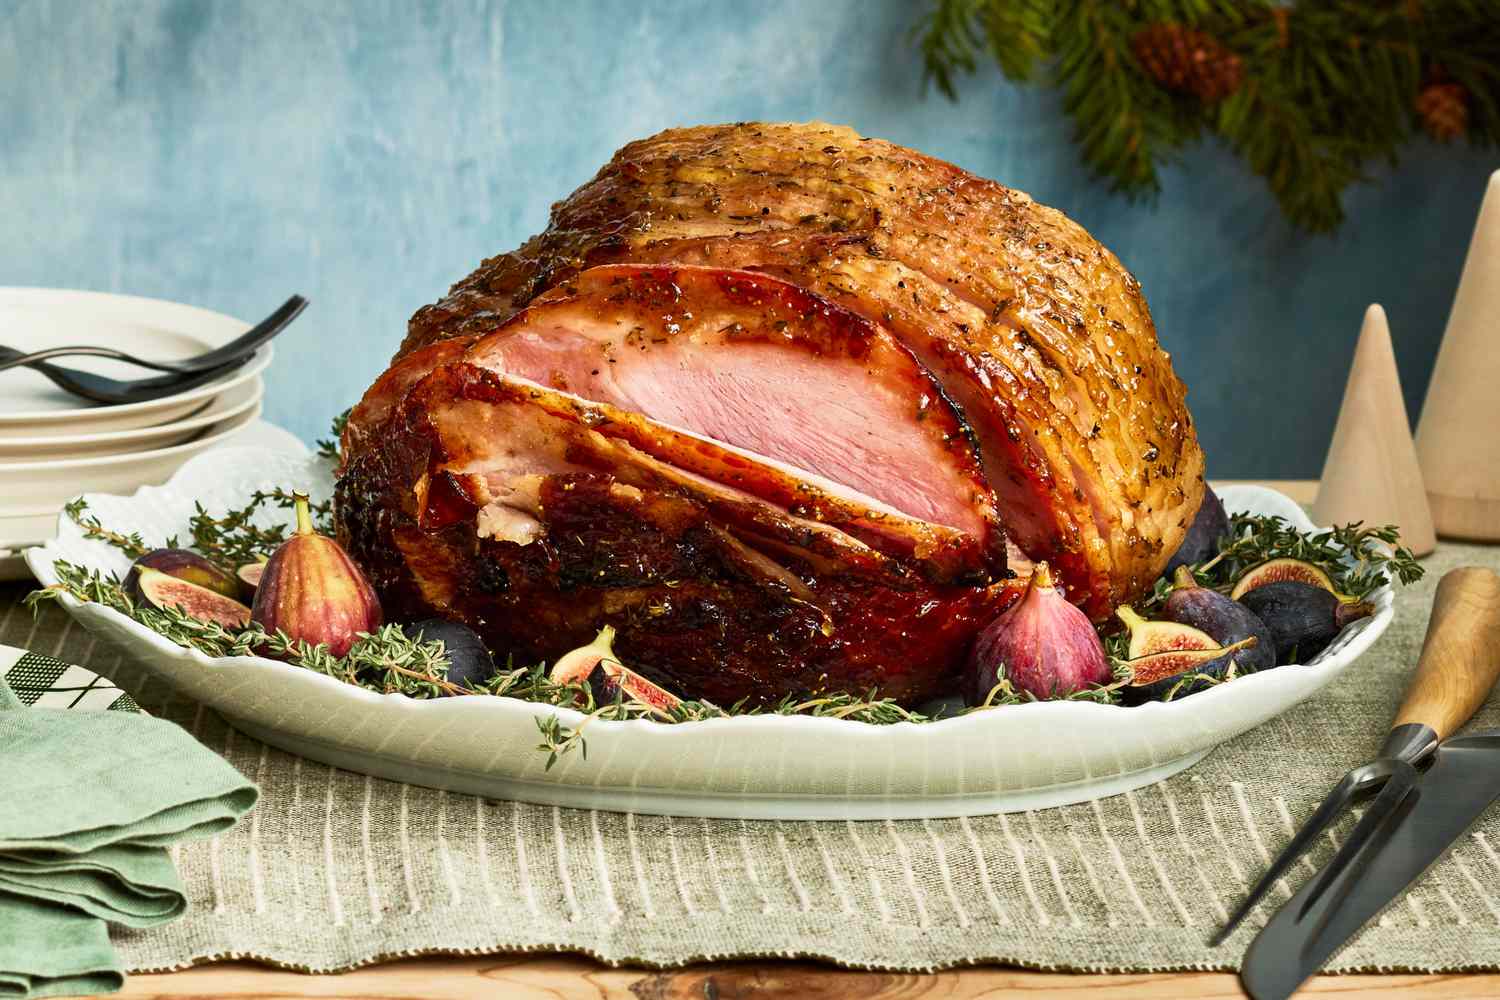
Check for Doneness: Use a meat thermometer to ensure the ham reaches an internal temperature of 140°F (60°C). Once it reaches the desired temperature, remove it from the oven and let it rest for a few minutes before slicing.
Serving Suggestions
Once your precooked boneless ham is perfectly glazed and ready to serve, consider these serving suggestions to complement the flavors:
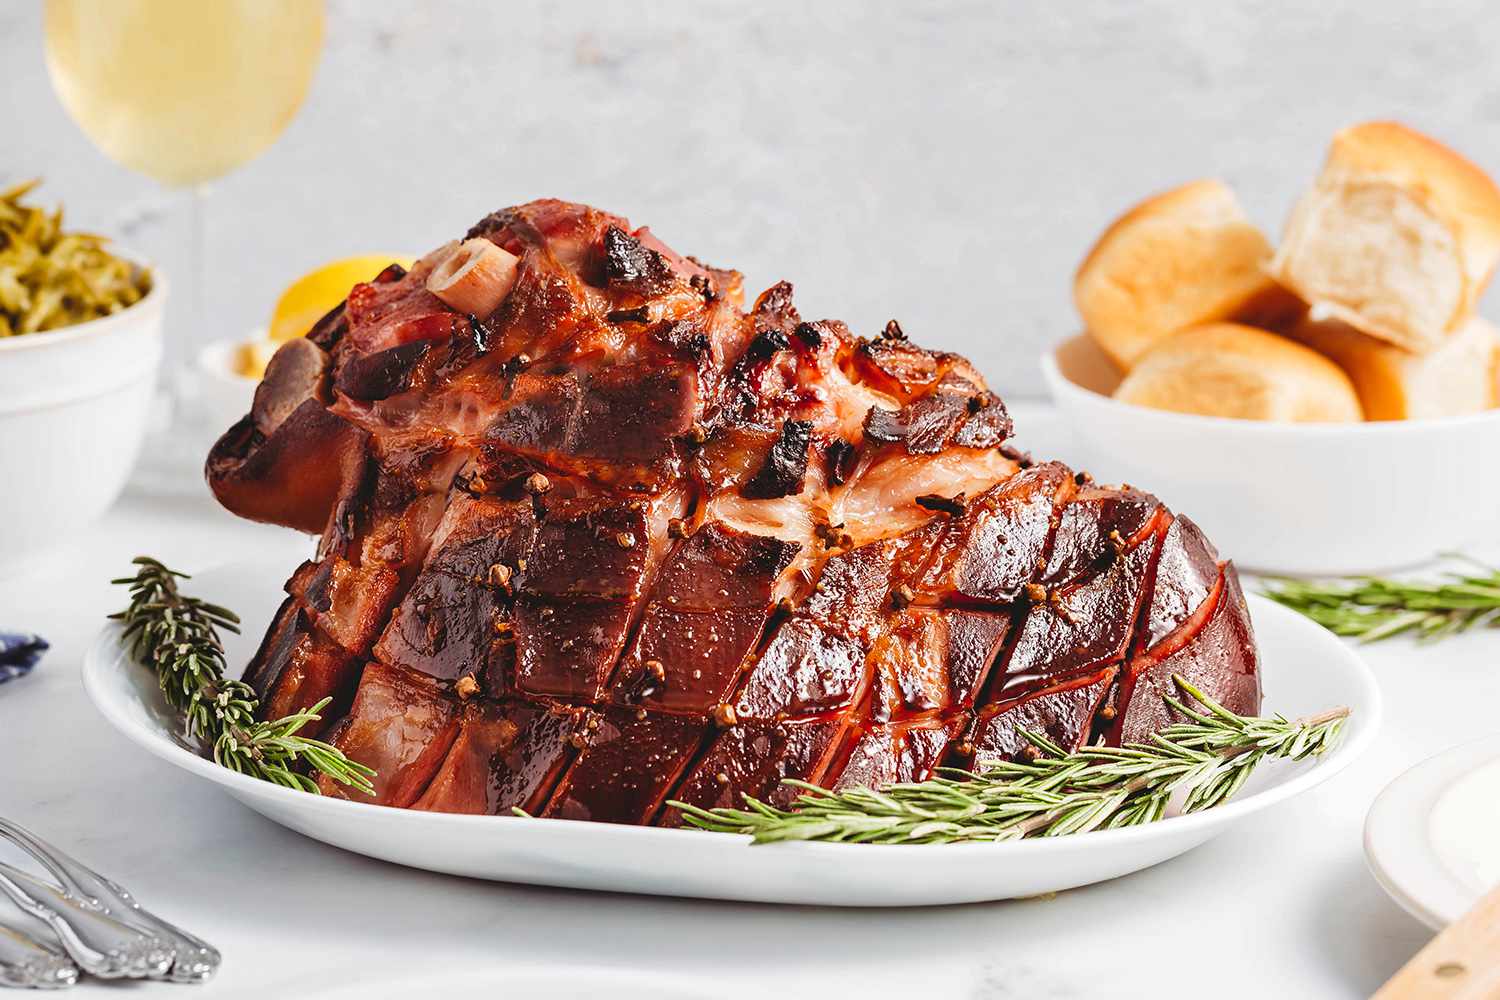
- Garnishes: Add a decorative touch by garnishing the ham with fresh herbs, such as rosemary or thyme, for a pop of color and fragrance.
- Side Dishes: Serve the glazed ham with classic accompaniments like scalloped potatoes, roasted vegetables, or a crisp green salad for a well-rounded meal.
- Leftover Creations: Embrace the versatility of leftover glazed ham by incorporating it into sandwiches, omelets, or salads for delicious post-holiday meals.
In Conclusion
Glazing a precooked boneless ham is a simple yet impactful way to elevate your culinary skills and impress your guests. With the right glaze and a few easy steps, you can transform a humble ham into a show-stopping centerpiece for any occasion. Whether you're a seasoned home cook or a beginner in the kitchen, mastering the art of glazing a ham will undoubtedly earn you rave reviews and satisfied smiles around the dining table. So, roll up your sleeves, gather your ingredients, and get ready to glaze your way to ham perfection!
Was this page helpful?
Related Articles