Mastering the Art of Proofing Yeast Rolls
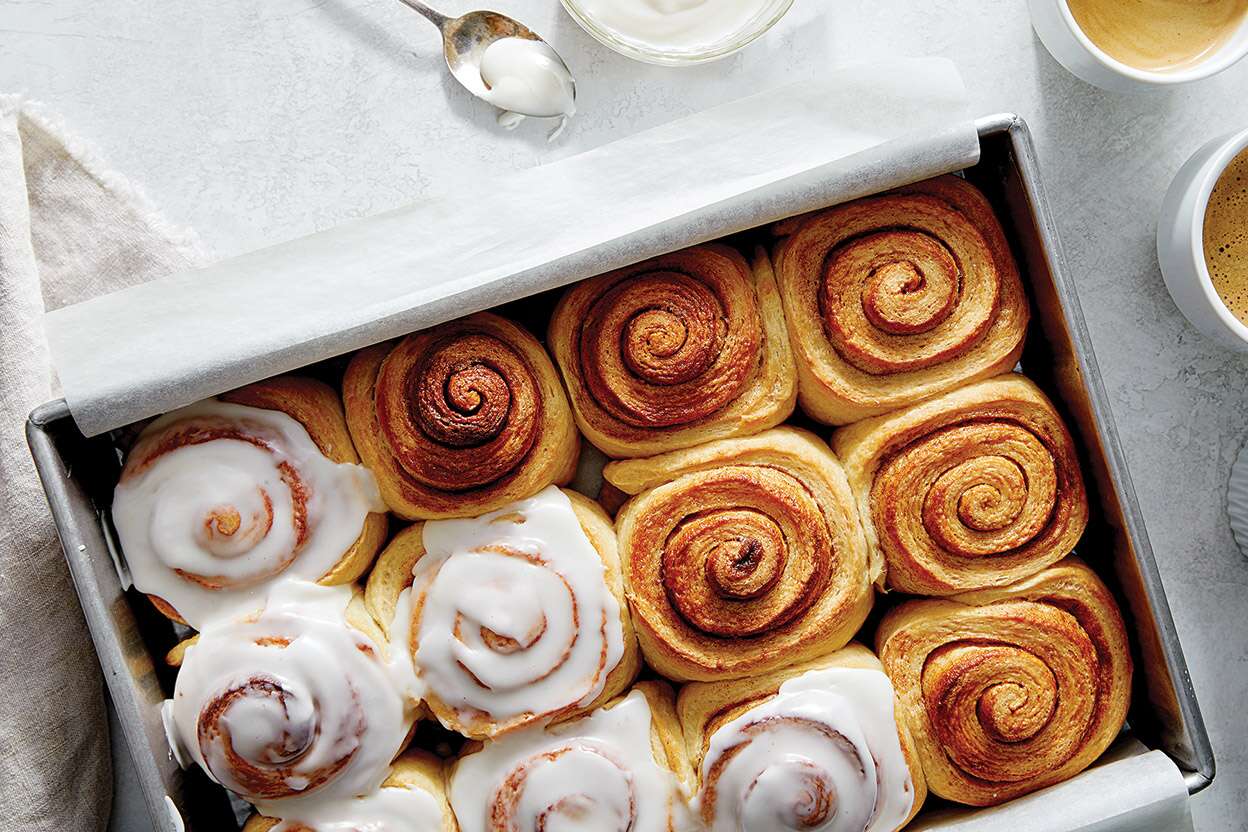
Yeast rolls are a beloved staple at many dinner tables, and for good reason. Their soft, fluffy texture and rich, buttery flavor make them a perfect accompaniment to any meal. However, achieving the perfect texture and flavor in yeast rolls requires mastering the art of proofing. Proofing is the process of allowing the dough to rise, and it is a crucial step in ensuring that your yeast rolls turn out light, airy, and delicious.
Understanding Yeast
Before we delve into the process of proofing yeast rolls, it’s important to understand the role of yeast in the baking process. Yeast is a living organism that feeds on sugars and produces carbon dioxide gas, which causes the dough to rise. There are different types of yeast available, including active dry yeast, instant yeast, and fresh yeast. Each type of yeast requires slightly different handling, but they all function in a similar way to leaven the dough.
The Proofing Process
Proofing yeast rolls involves several key steps to ensure that the dough rises properly and develops the desired flavor and texture. Here’s a step-by-step guide to mastering the proofing process:
- Activate the Yeast: If you’re using active dry yeast, it needs to be activated before adding it to the dough. This involves dissolving the yeast in warm water (around 110°F) and allowing it to sit for a few minutes until it becomes frothy. This indicates that the yeast is alive and ready to be added to the dough.
- Mixing the Dough: Once the yeast is activated, it’s time to mix the dough. Combine the yeast mixture with flour, sugar, salt, and any other desired ingredients, such as butter or milk. Knead the dough until it becomes smooth and elastic.
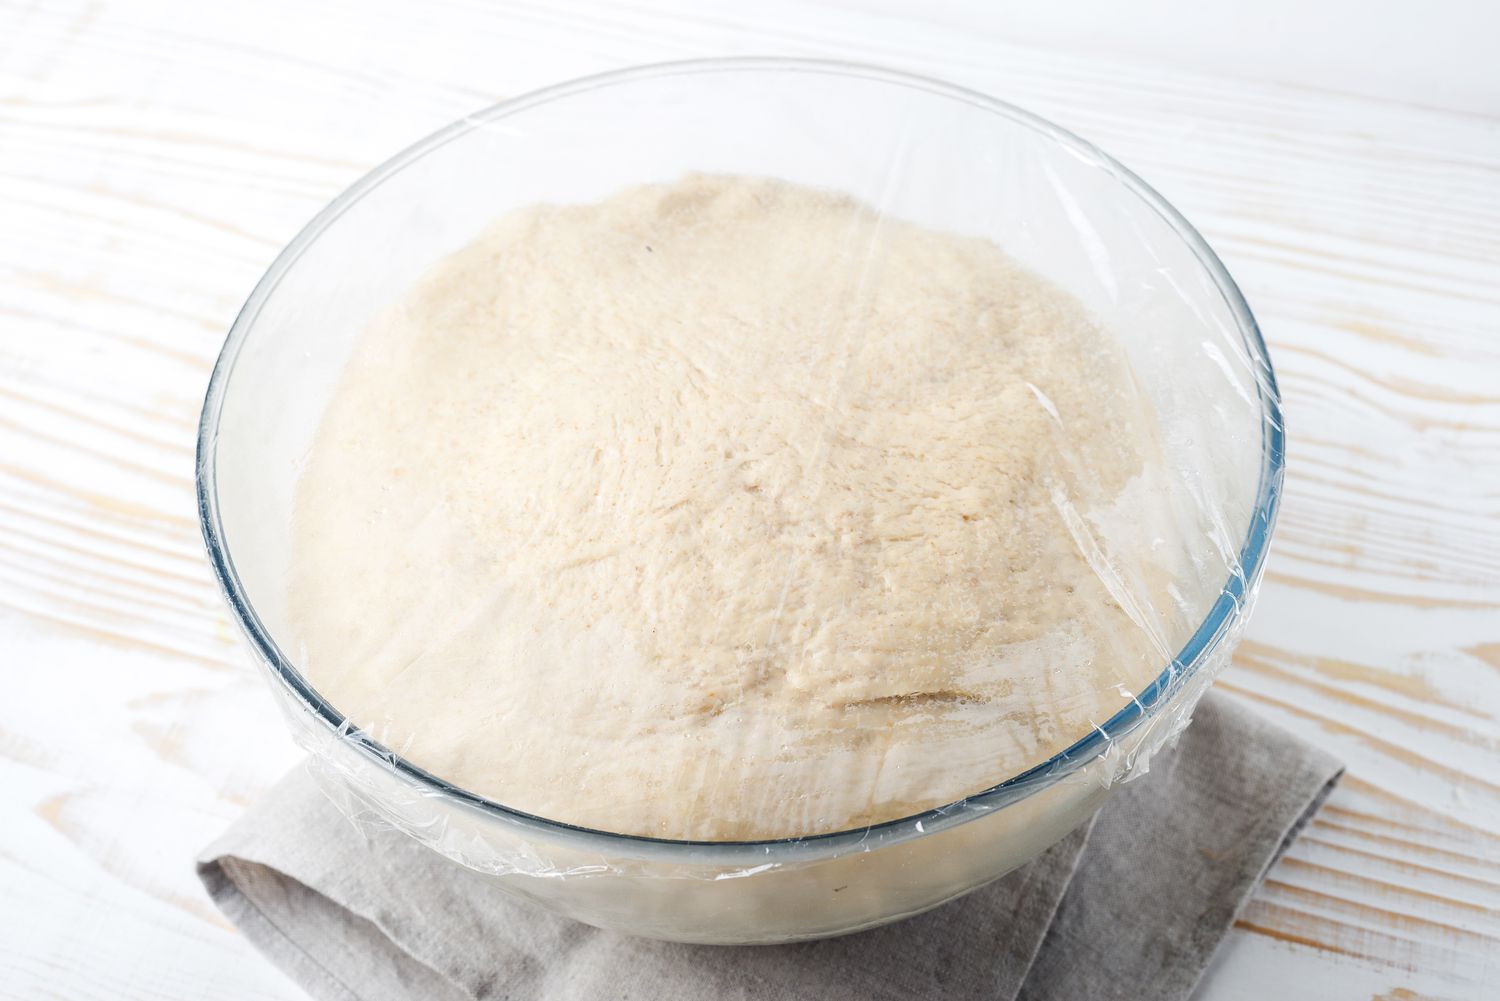
- First Rise: Place the dough in a greased bowl, cover it with a clean kitchen towel or plastic wrap, and let it rise in a warm, draft-free place until it has doubled in size. This initial rise allows the yeast to ferment and develop flavor in the dough.
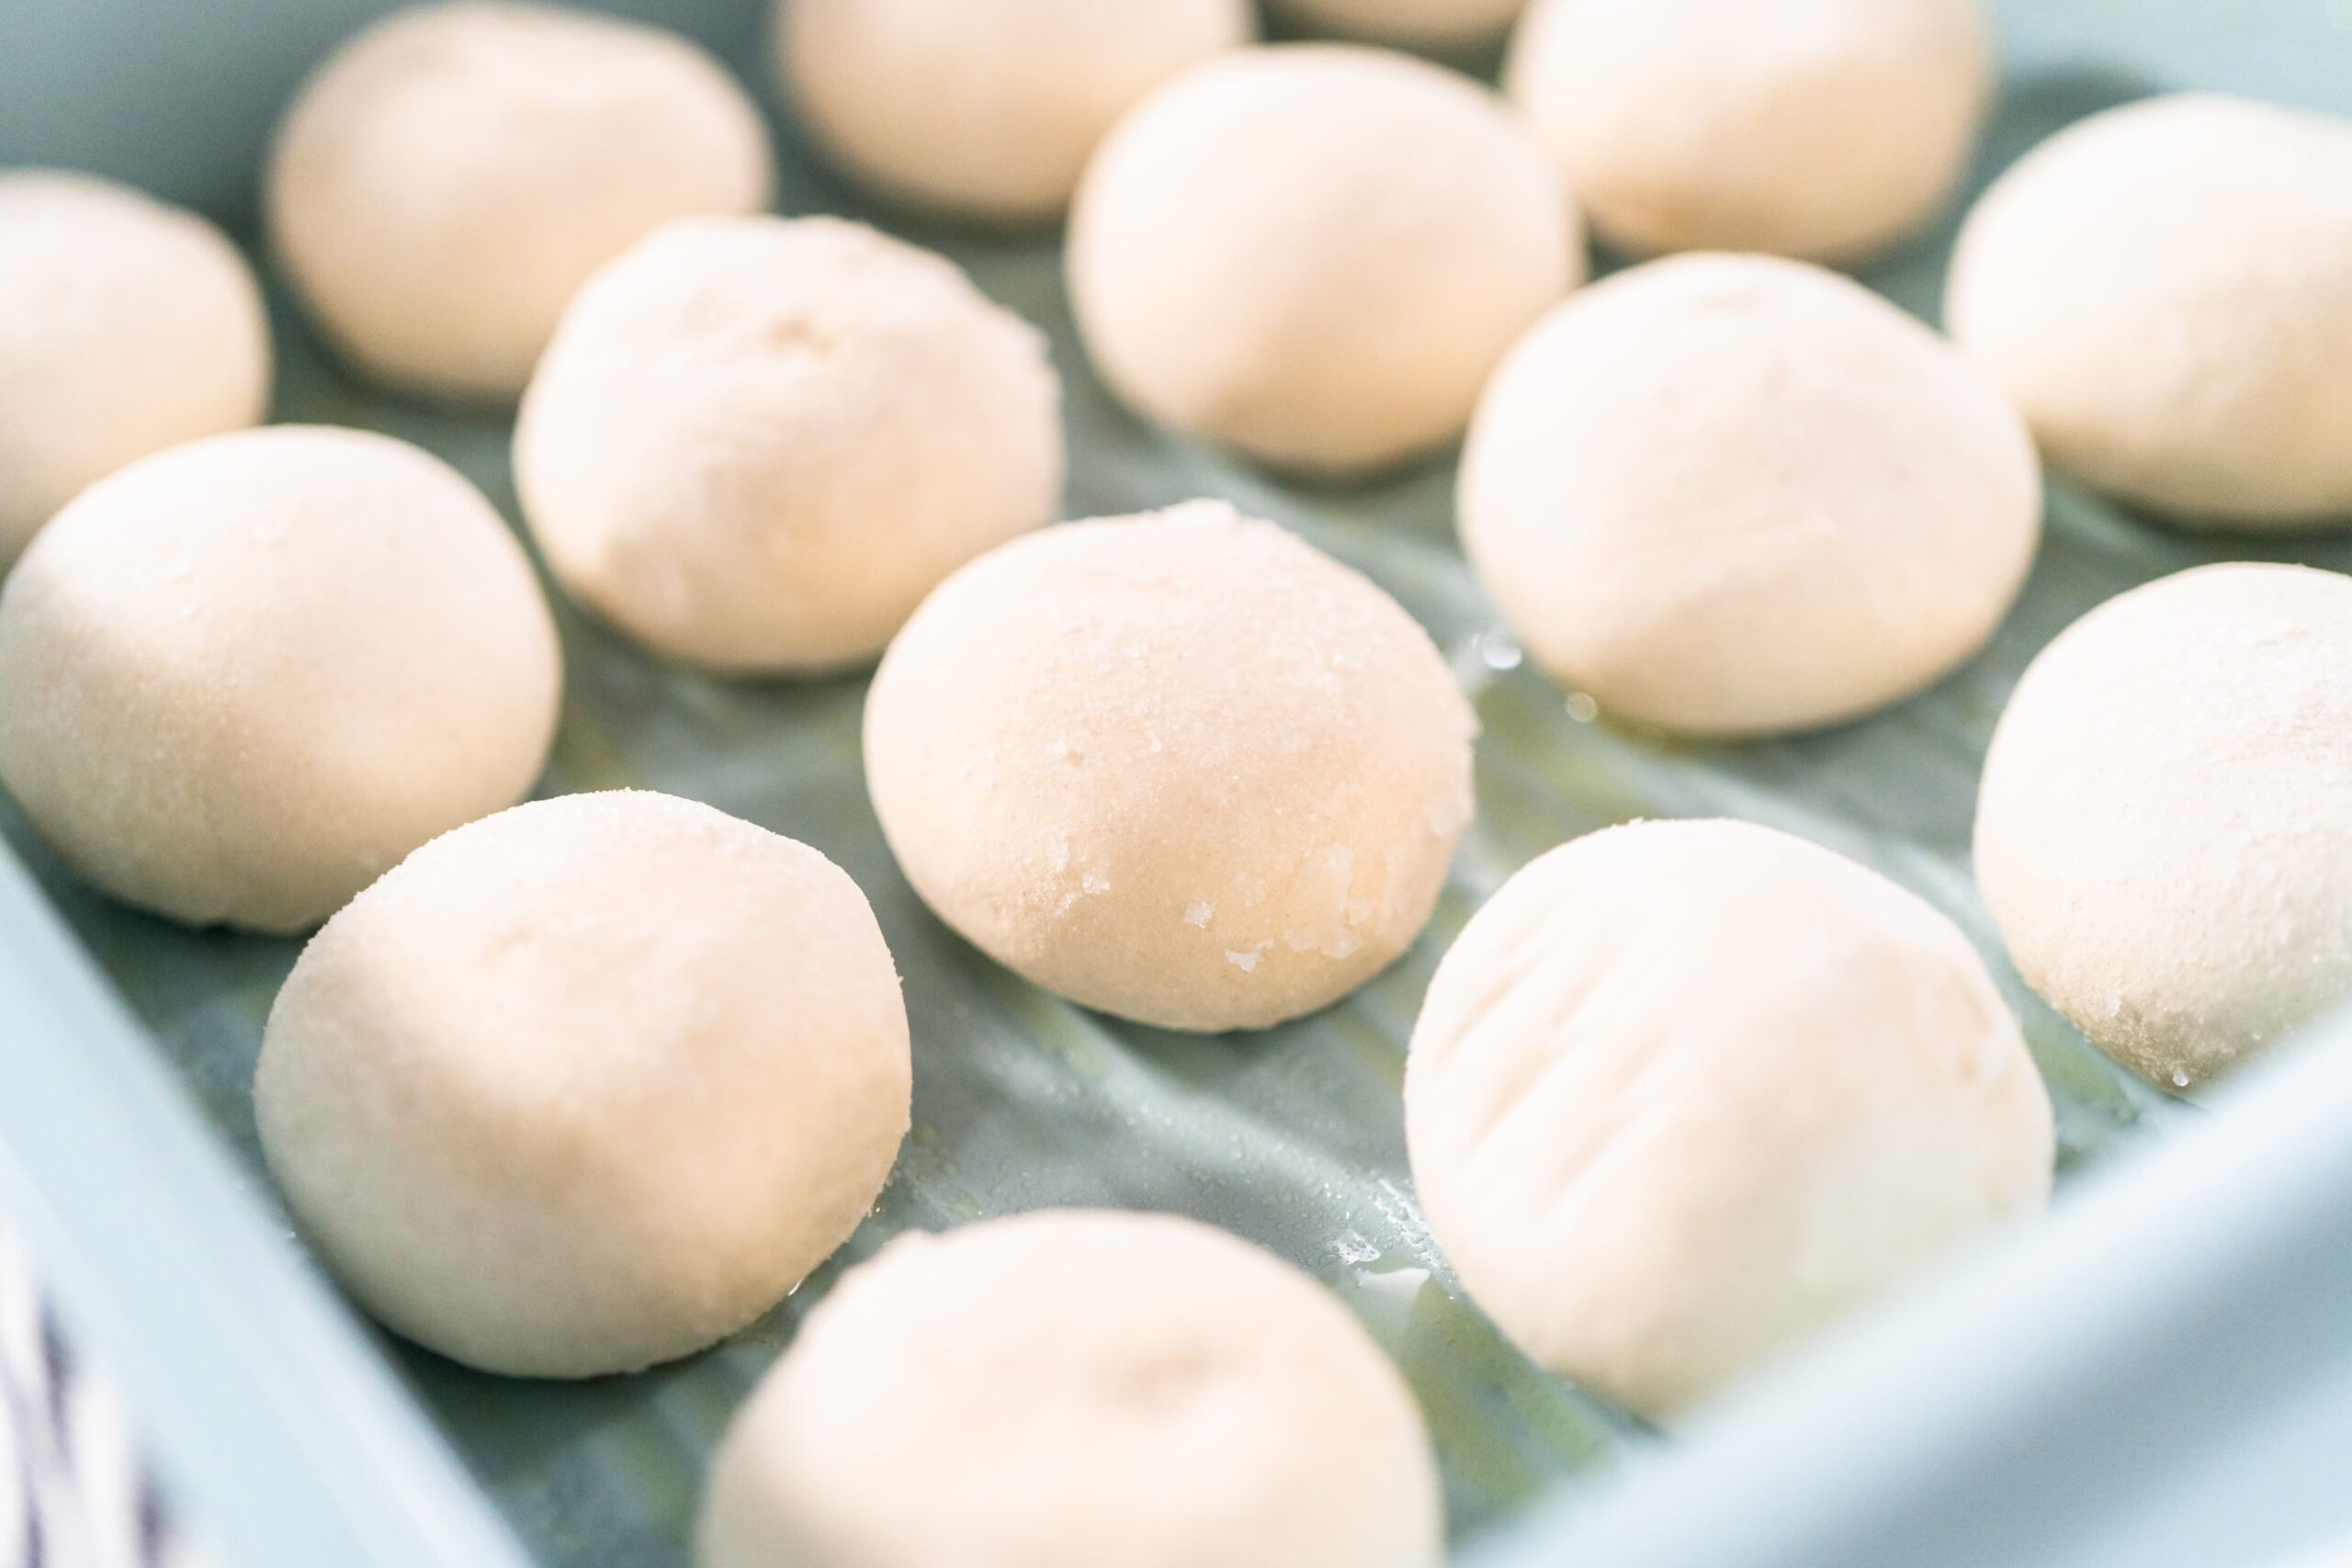
- Shaping the Rolls: After the first rise, punch down the dough to release the built-up carbon dioxide gas. Then, divide the dough into individual portions and shape them into rolls. Place the rolls on a baking sheet, leaving enough space between them to allow for expansion.
- Second Rise: Cover the shaped rolls with a clean kitchen towel or plastic wrap and let them rise for a second time. This allows the yeast to produce more carbon dioxide gas, resulting in lighter, fluffier rolls. The second rise is crucial for achieving the desired texture in yeast rolls.
Tips for Successful Proofing
While the proofing process may seem straightforward, there are a few tips and tricks that can help ensure successful results:
- Use Fresh Ingredients: Fresh, high-quality ingredients, including yeast, flour, and dairy products, can make a significant difference in the flavor and texture of your yeast rolls.
- Controlled Temperature: Yeast is sensitive to temperature, so it’s important to proof the dough in a warm, draft-free environment. A temperature of around 75-85°F is ideal for yeast fermentation.
- Patience is Key: Rushing the proofing process can lead to dense, underwhelming rolls. Allow the dough to rise at its own pace, and you’ll be rewarded with light, airy rolls.
- Don’t Overproof: While it’s important to allow the dough to rise sufficiently, overproofing can cause the rolls to collapse during baking. Keep an eye on the dough and proceed to baking once it has doubled in size.
Conclusion
Mastering the art of proofing yeast rolls is a rewarding endeavor that can elevate your baking skills to new heights. By understanding the role of yeast, following the proofing process diligently, and implementing helpful tips, you can consistently produce delectable yeast rolls that will impress your family and friends. So, roll up your sleeves, gather your ingredients, and embark on a journey to perfecting the art of proofing yeast rolls!
Was this page helpful?
Related Articles