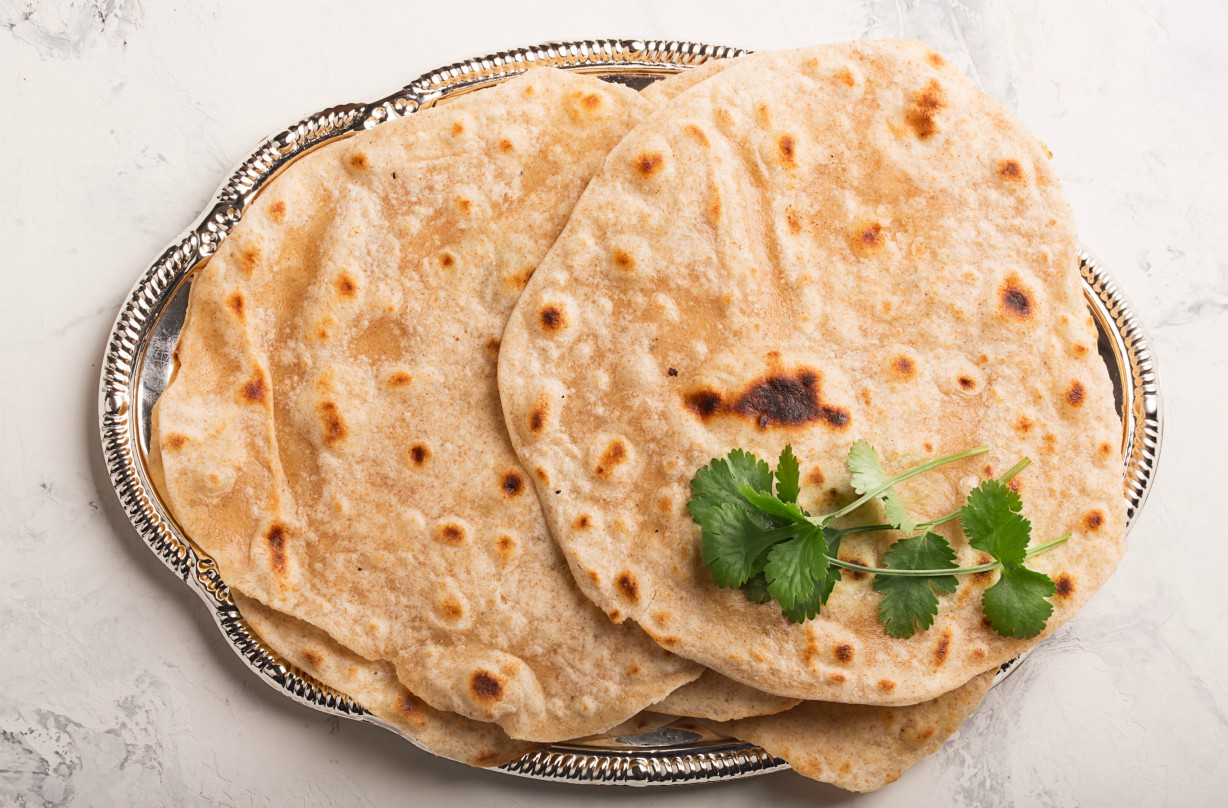
Mastering the Art of Kneading Gluten-Free Dough for Roti
Roti, a traditional Indian flatbread, is a staple in many households. It’s versatile, delicious, and a perfect accompaniment to a wide variety of dishes. For individuals with gluten sensitivities or celiac disease, enjoying this beloved bread can be a challenge. However, with the right techniques and ingredients, it’s entirely possible to create a gluten-free version of roti that’s just as delightful as the original.
Choosing the Right Flour
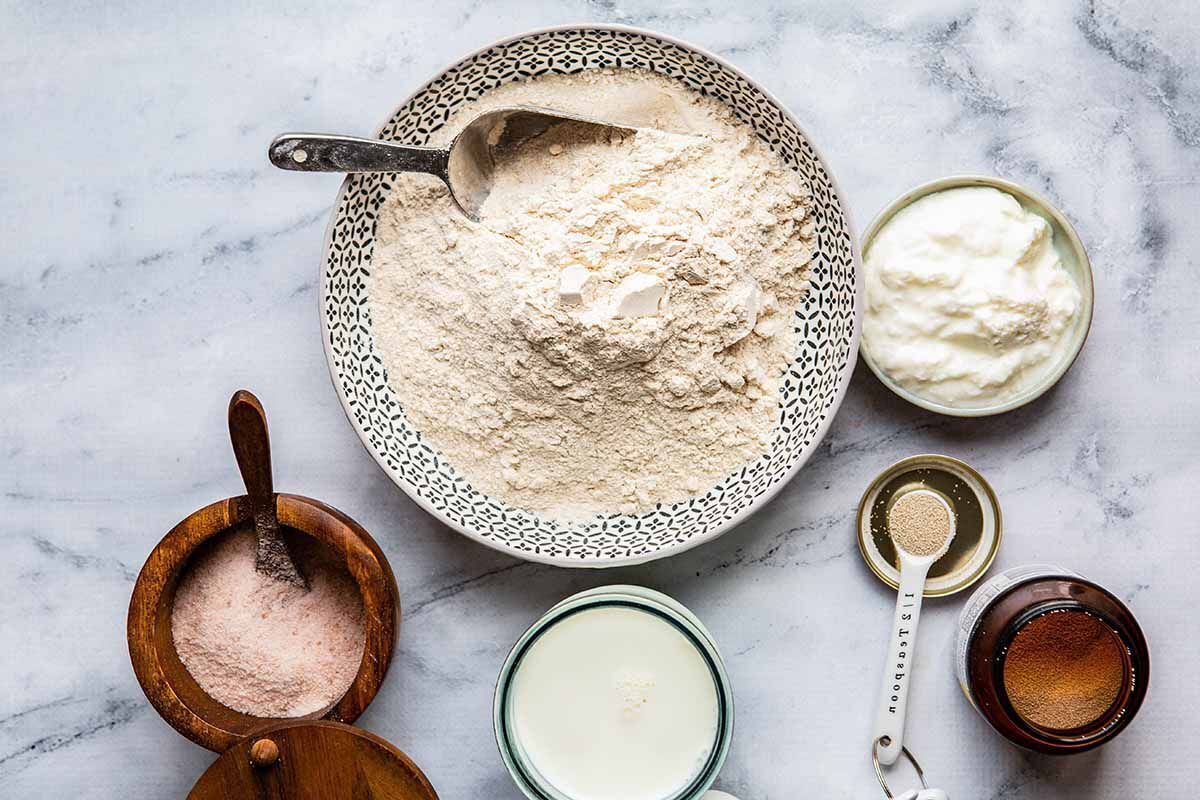
When preparing gluten-free roti, the choice of flour is crucial. Opt for a high-quality gluten-free flour blend that is specifically formulated for baking. These blends often contain a combination of rice flour, tapioca flour, and potato starch, which work together to mimic the texture and elasticity of traditional wheat flour. It’s important to note that not all gluten-free flours are created equal, so be sure to select a blend that is suitable for making breads and flatbreads.
Mastering the Kneading Process
Kneading gluten-free dough requires a slightly different approach than kneading traditional wheat-based dough. Follow these steps to achieve the perfect texture and consistency:
- Begin by combining the gluten-free flour blend, xanthan gum, salt, and warm water in a mixing bowl.
- Use a wooden spoon or silicone spatula to mix the ingredients until they come together to form a shaggy dough.
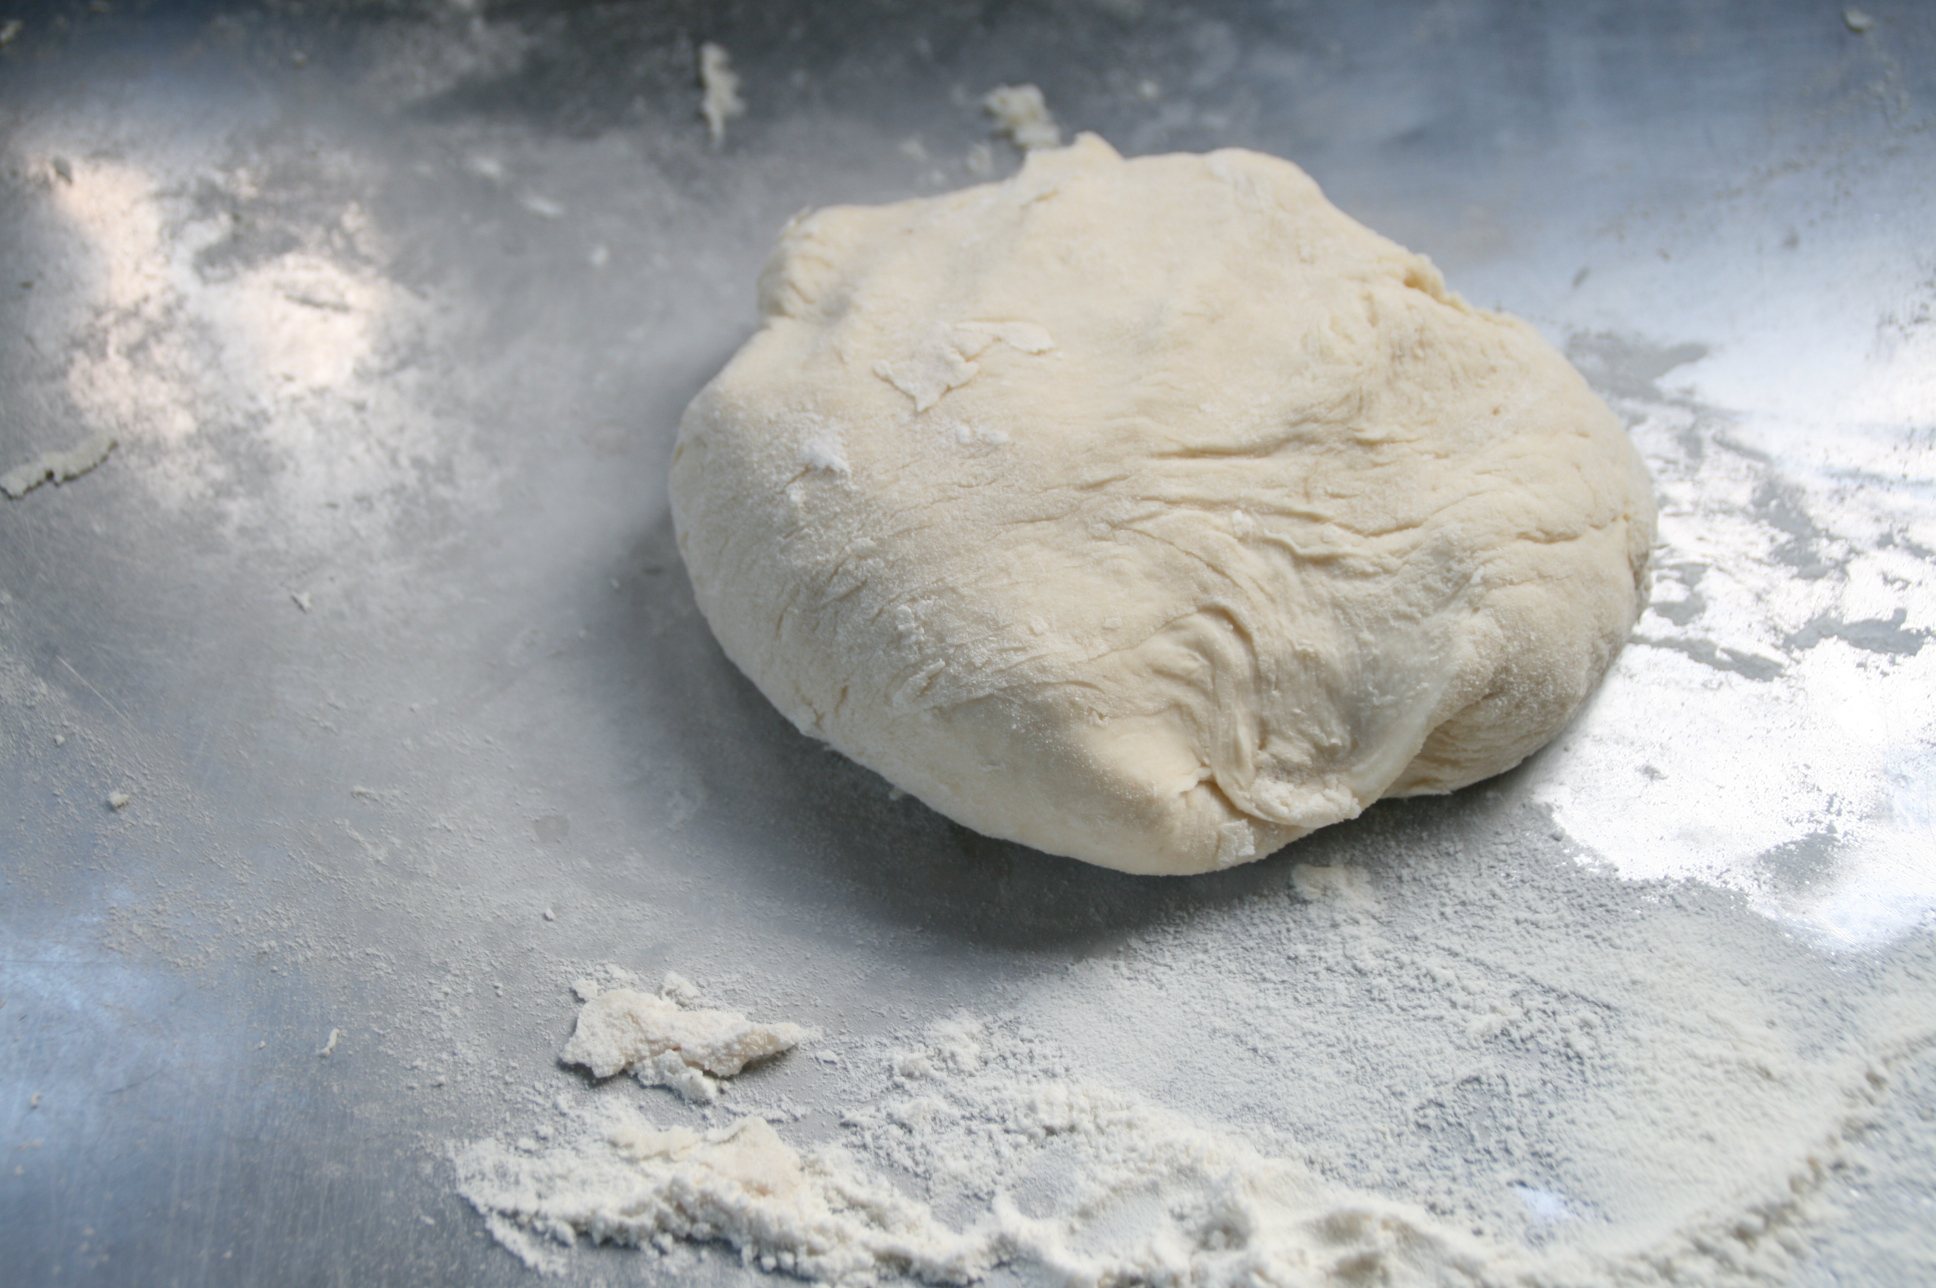
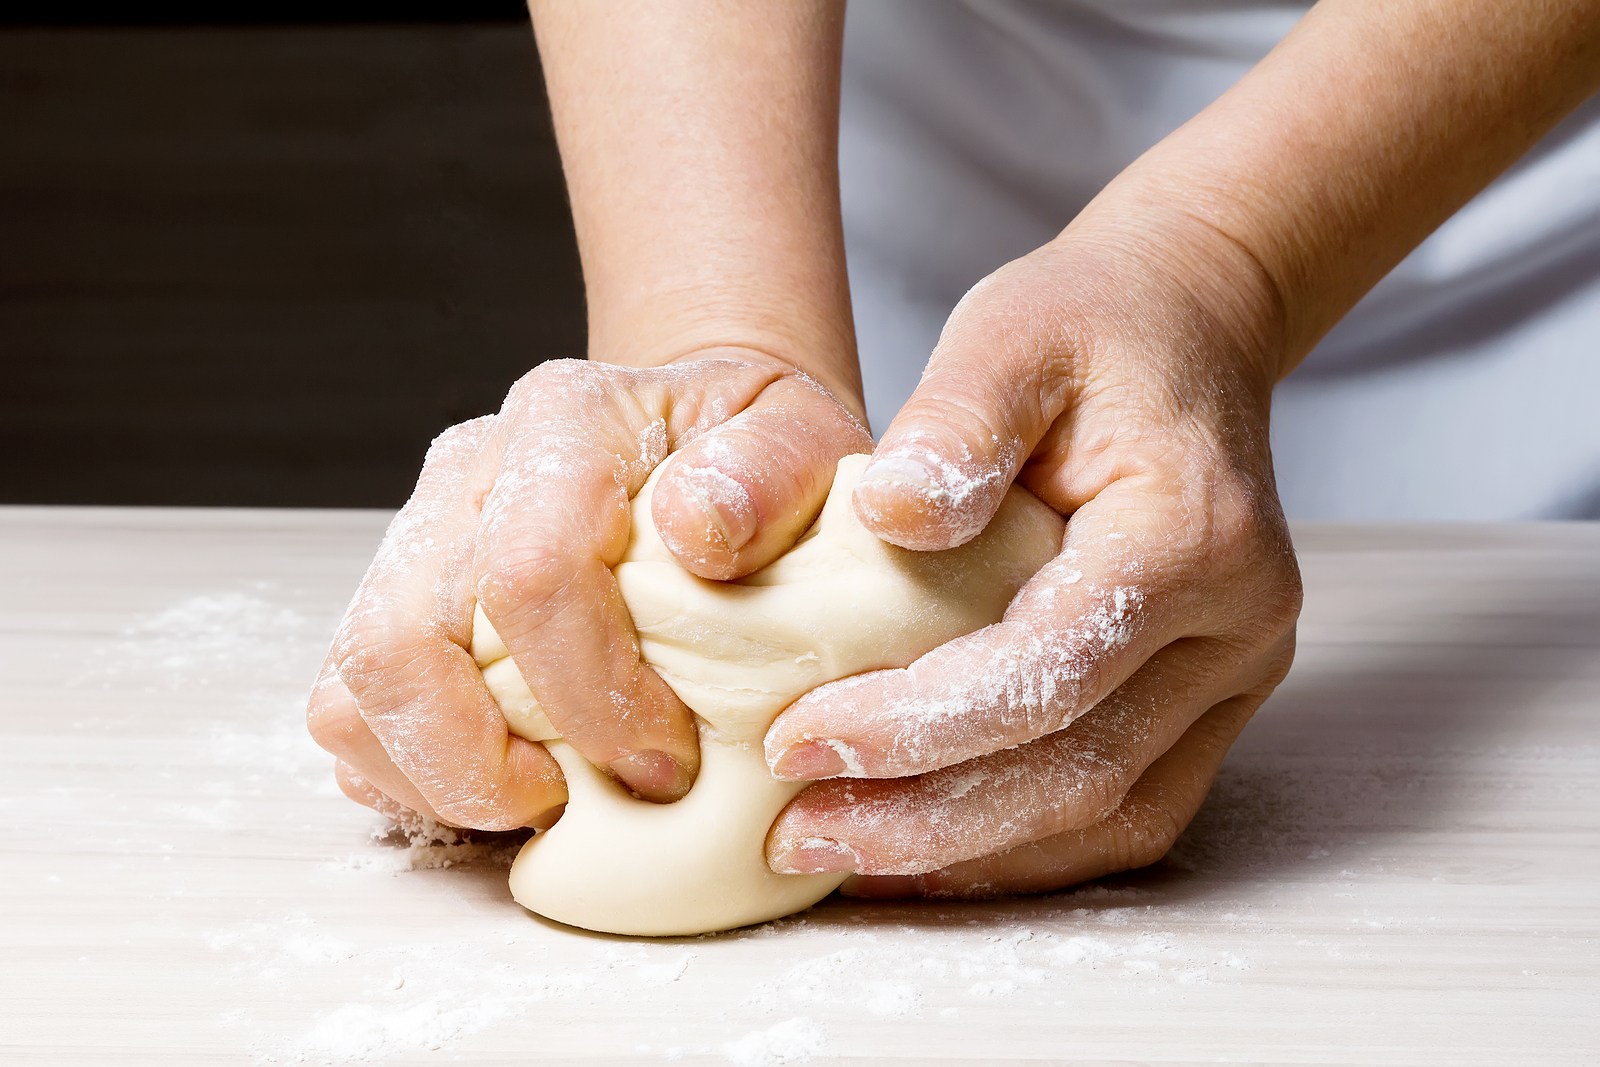
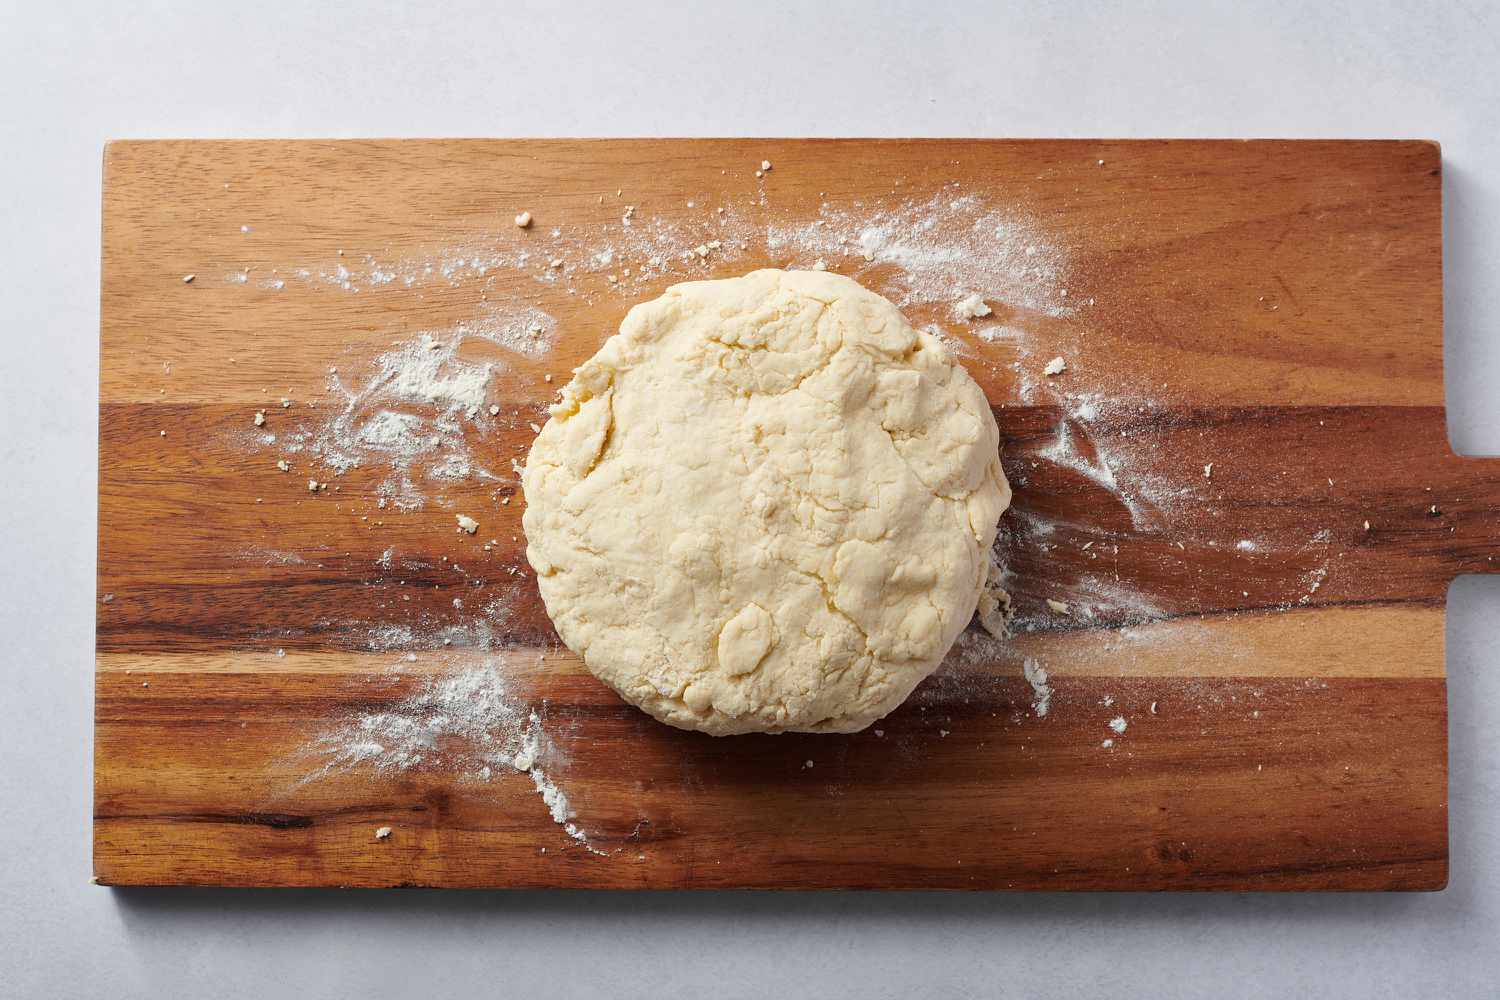
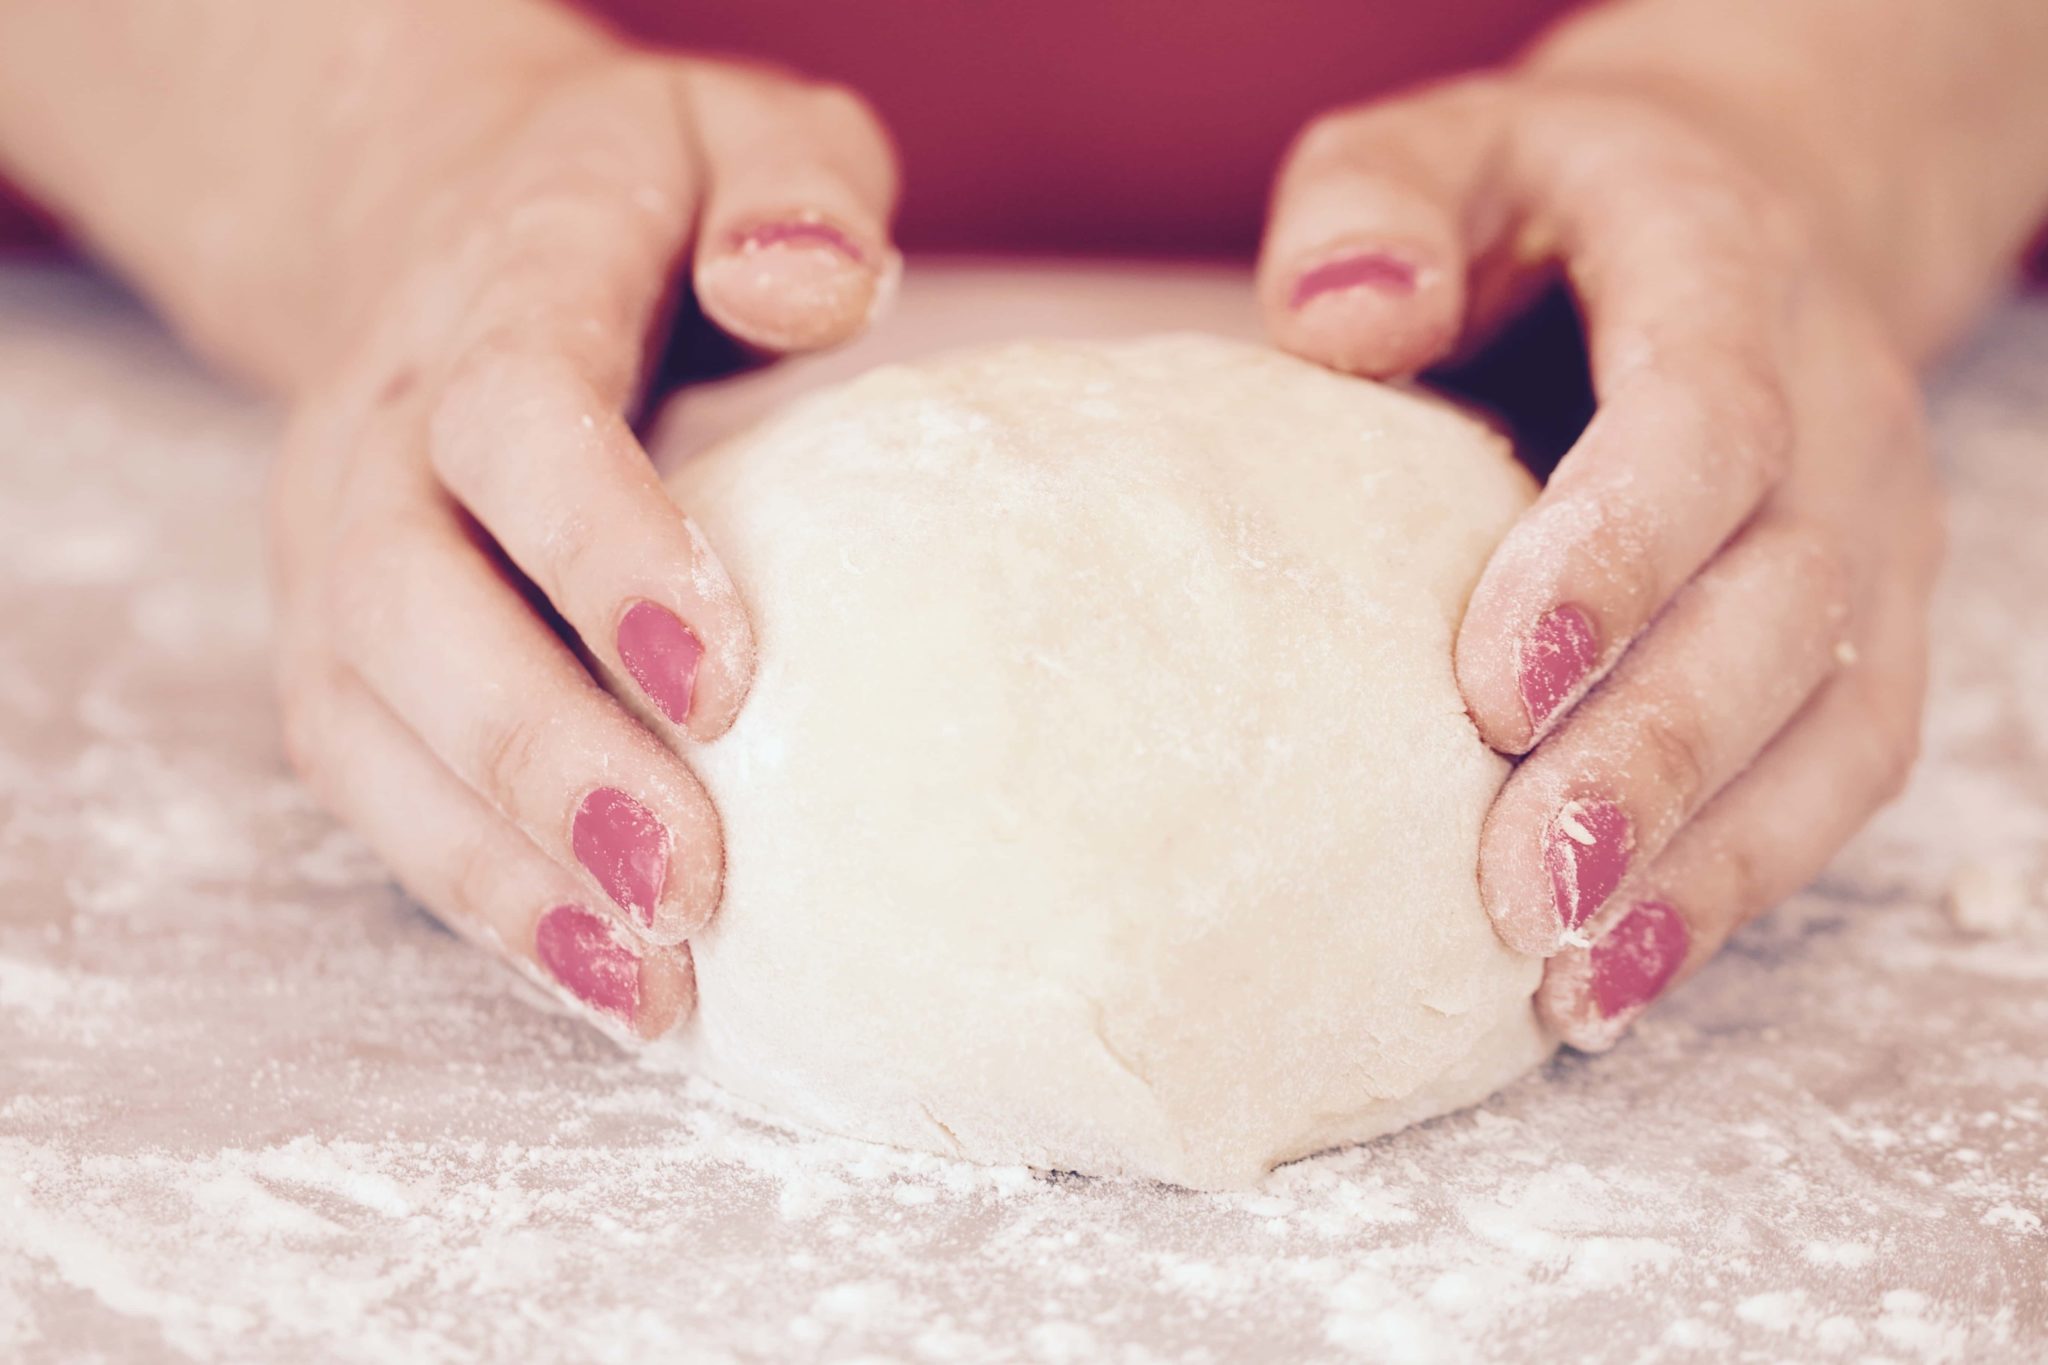
- Transfer the dough to a clean, lightly floured surface. Gluten-free dough is often stickier and more delicate than traditional dough, so it’s essential to use a light touch and gentle motions during the kneading process.
- Gently fold the dough over onto itself and press it away from you with the heel of your hand. Rotate the dough a quarter turn and repeat the folding and pressing motion.
- Continue kneading the dough for 8-10 minutes, or until it becomes smooth, elastic, and slightly springy to the touch. If the dough feels too sticky, lightly dust it with additional gluten-free flour as needed.
Resting and Shaping the Dough
After kneading the gluten-free dough, it’s important to allow it to rest before shaping and cooking the roti. Cover the dough with a clean kitchen towel and let it rest for 15-20 minutes. This resting period allows the flour to fully hydrate and the xanthan gum to work its magic, resulting in a more manageable and pliable dough.
Once the dough has rested, divide it into small, evenly sized portions. Use your hands to shape each portion into a smooth ball, then flatten it into a disc. Dust the work surface and the dough with additional gluten-free flour to prevent sticking as you roll out the roti.
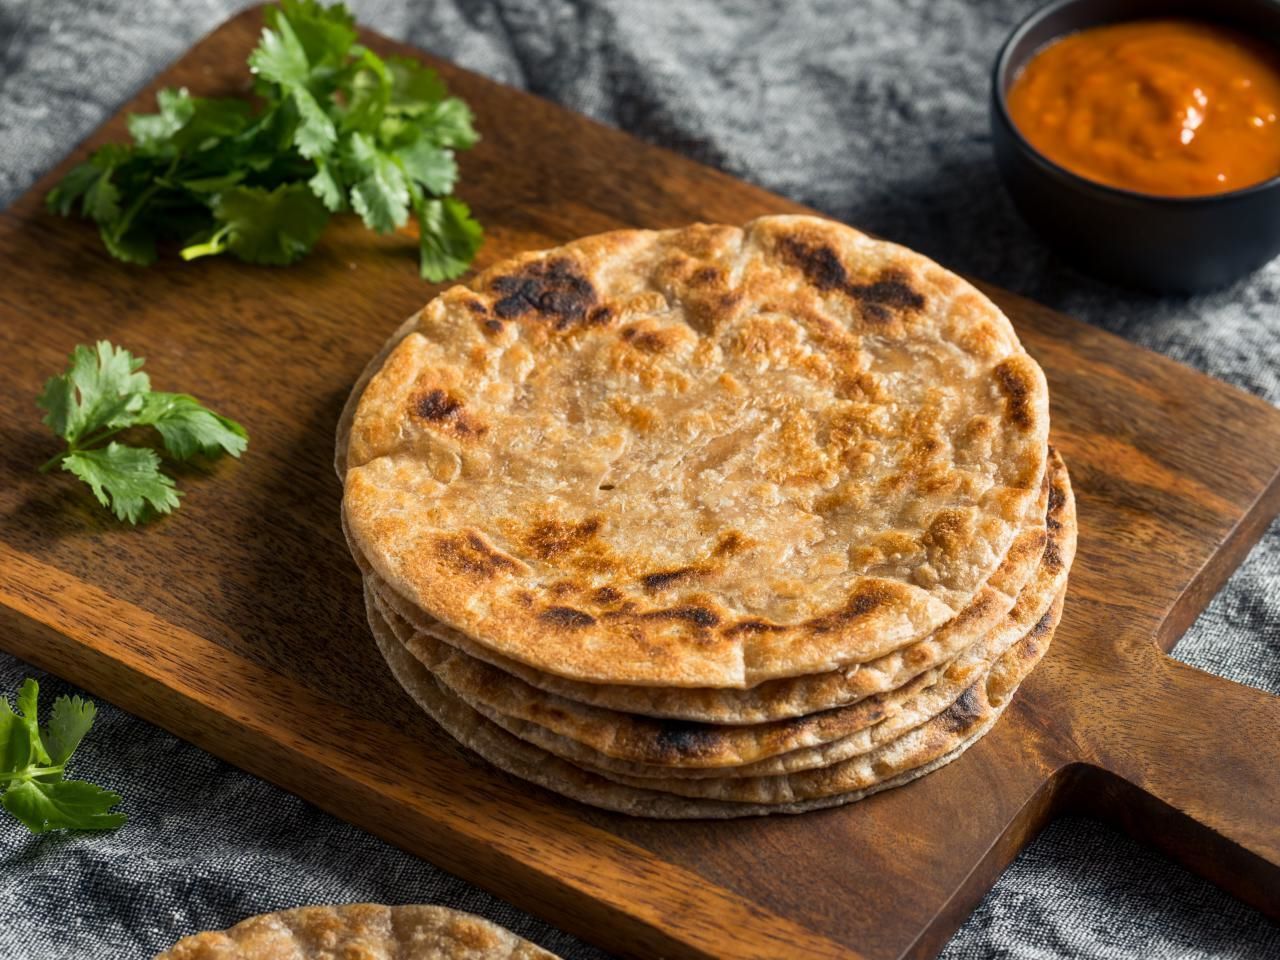
Cooking the Roti
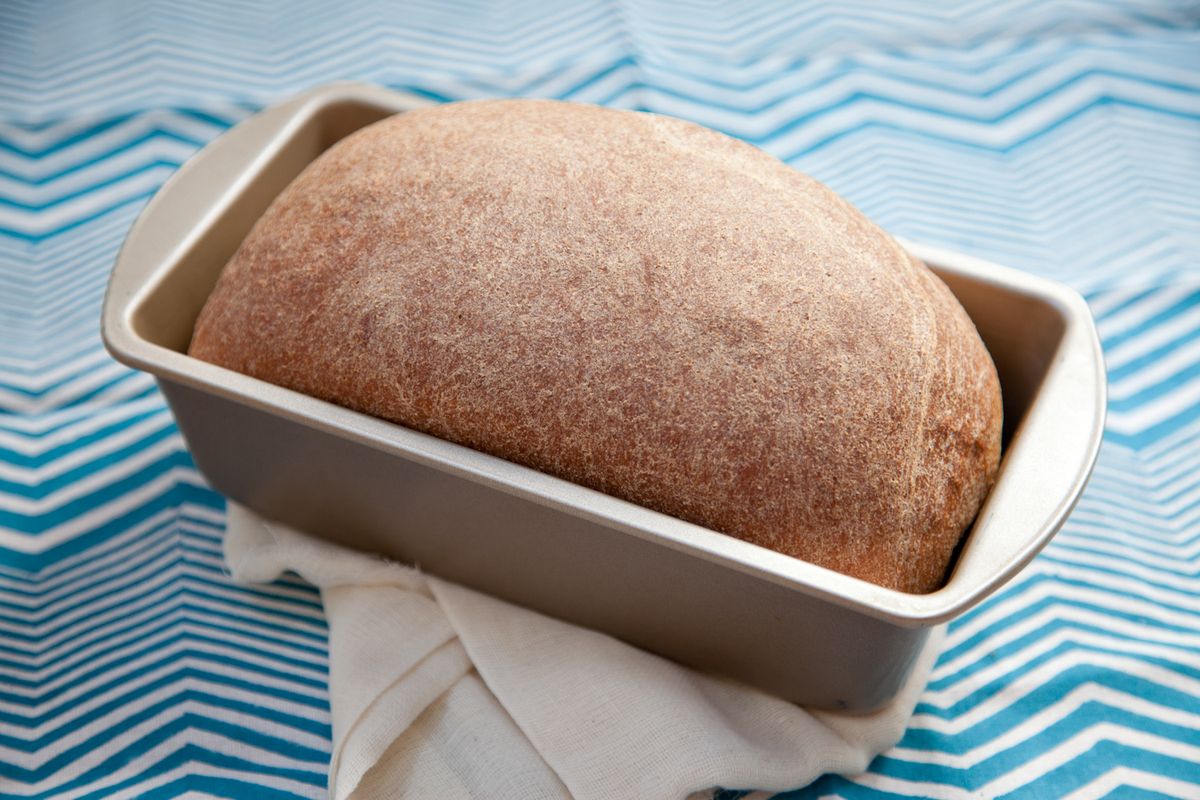
Heat a non-stick skillet or griddle over medium-high heat. Carefully transfer the rolled-out roti to the hot skillet and cook for 1-2 minutes on each side, or until golden brown spots begin to appear. Brushing the roti with a small amount of oil or ghee during cooking can help enhance its flavor and texture.
Once cooked, stack the roti on a plate and cover them with a clean kitchen towel to keep them warm and soft until ready to serve.
Enjoying Gluten-Free Roti
Whether you’re serving gluten-free roti alongside a flavorful curry or using it as a wrap for your favorite fillings, mastering the art of kneading gluten-free dough for roti opens up a world of culinary possibilities. With the right techniques and a bit of practice, you can create delicious, gluten-free flatbreads that are sure to impress your family and friends.
So, roll up your sleeves, gather your ingredients, and get ready to enjoy the wonderful experience of making and savoring gluten-free roti!
Was this page helpful?
Related Articles