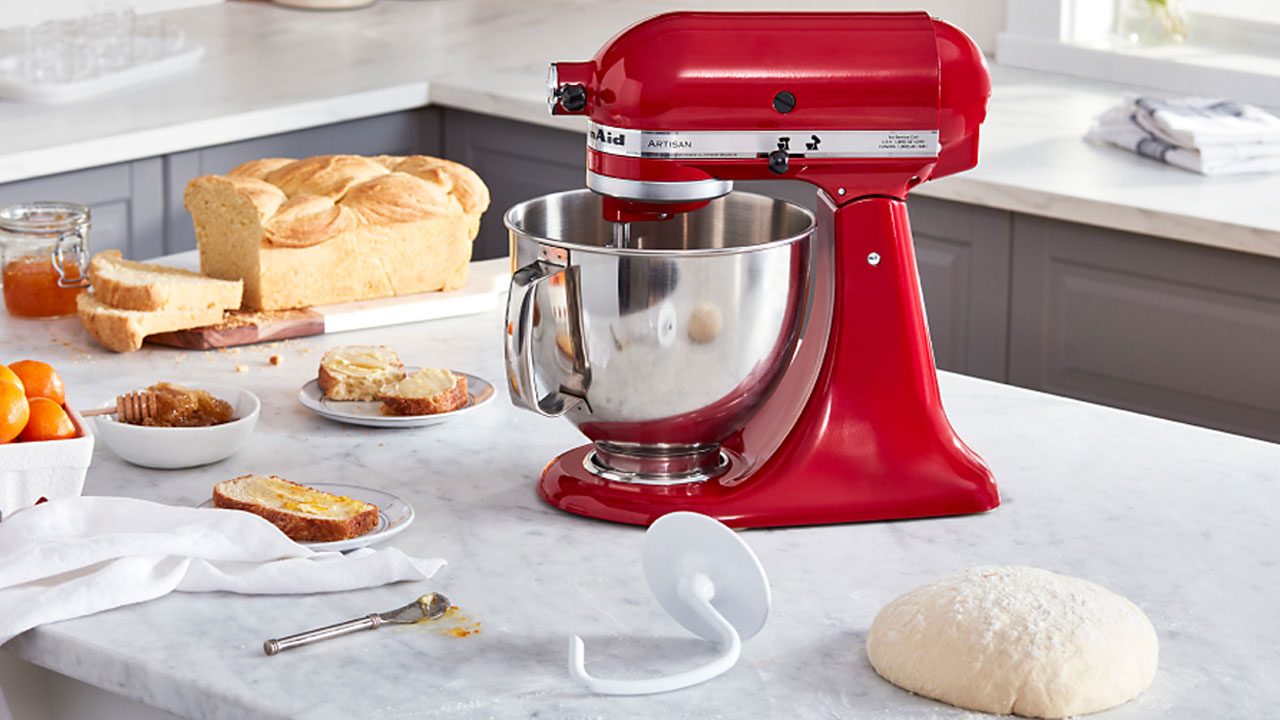
Mastering the Art of Kneading Dough with a KitchenAid Mixer
There’s nothing quite like the satisfaction of making homemade bread, pizza dough, or pastries from scratch. And when it comes to kneading dough, a KitchenAid stand mixer can be a game changer. With the right technique, you can achieve perfectly kneaded dough every time. In this guide, we’ll walk you through the steps to master the art of kneading dough with a KitchenAid mixer.
Step 1: Gather Your Ingredients
Before you begin, make sure you have all the necessary ingredients for your dough. This typically includes flour, water, yeast, salt, and any other specific ingredients for your recipe.
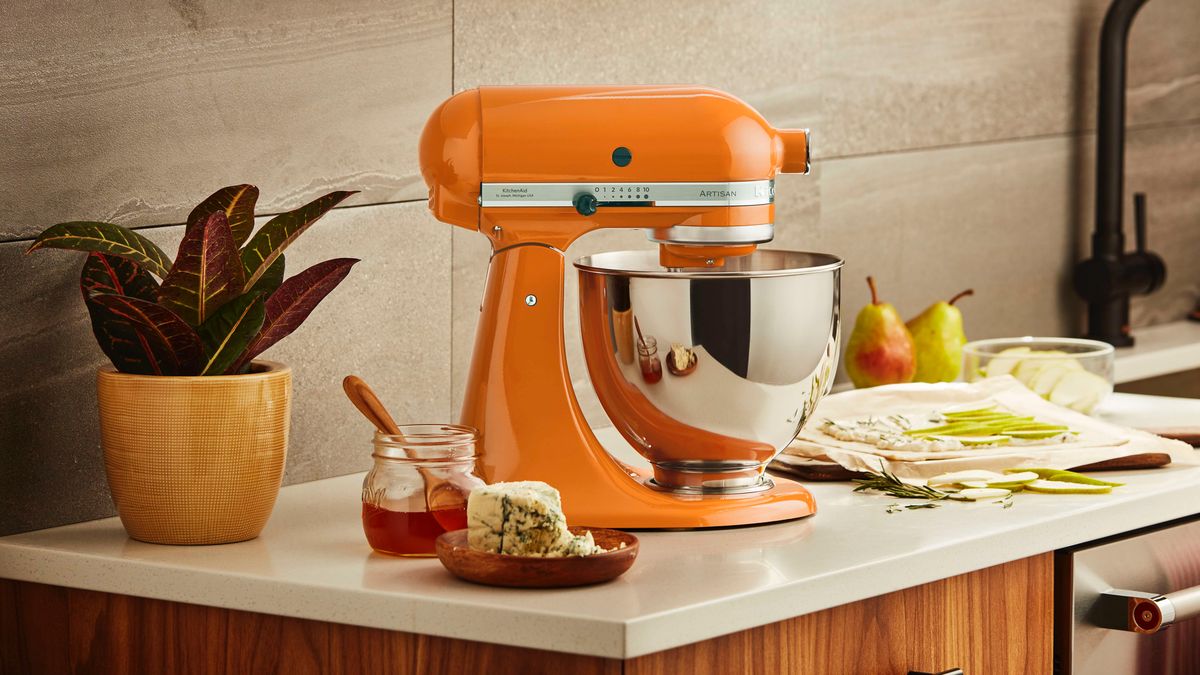
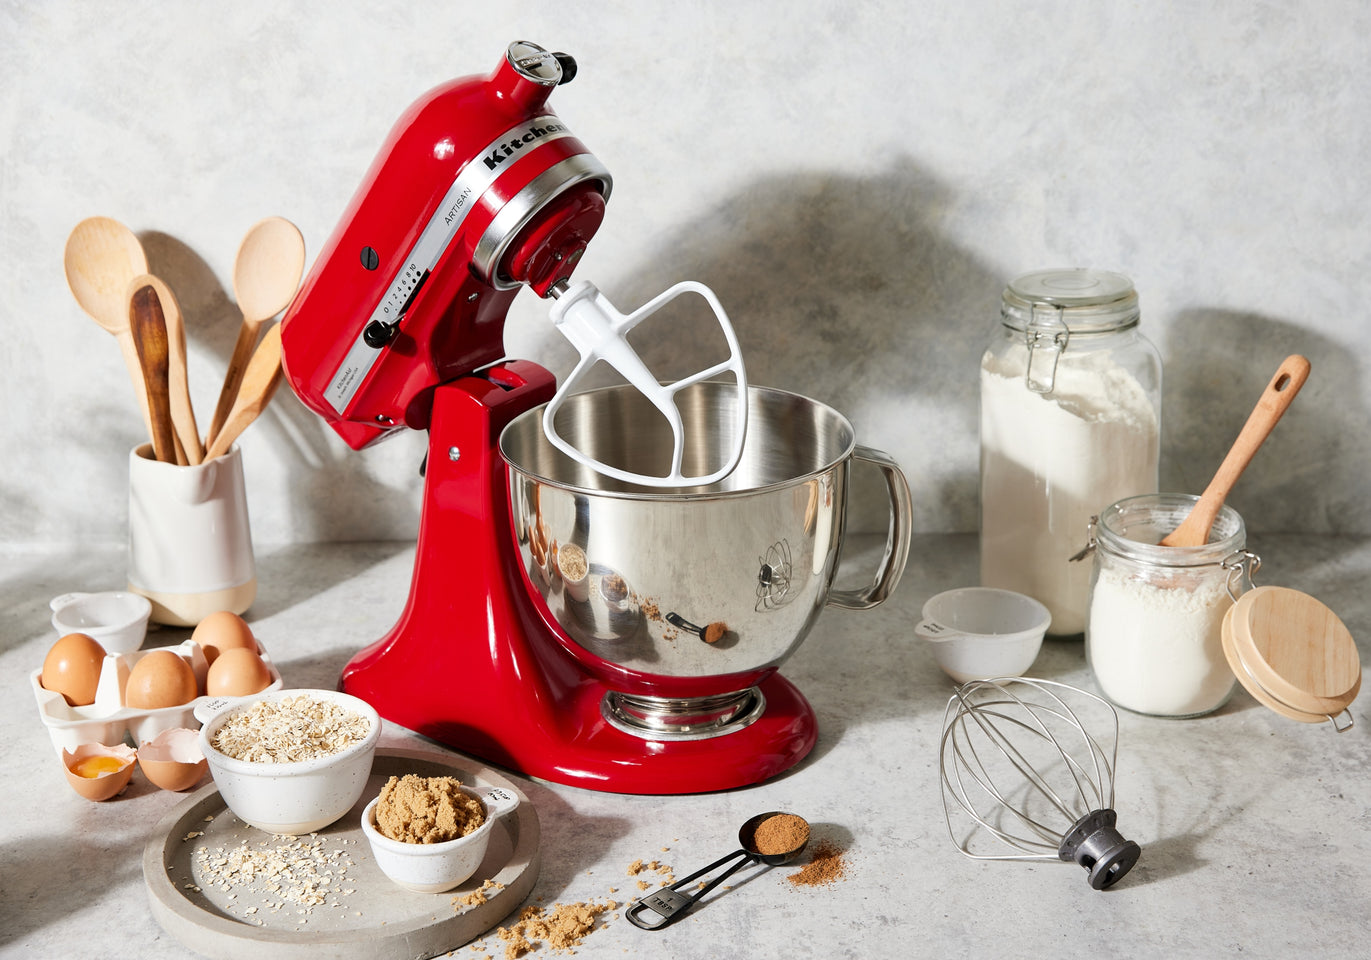
Step 2: Attach the Dough Hook
Once you have your ingredients ready, it’s time to attach the dough hook to your KitchenAid mixer. The dough hook is specifically designed for kneading dough and will ensure thorough and even mixing.
Step 3: Measure and Add the Ingredients
Follow your recipe to measure and add the ingredients to the mixing bowl attached to the KitchenAid mixer. Be sure to add them in the order specified in your recipe for the best results.
Step 4: Start Mixing on Low Speed
Begin mixing the ingredients on a low speed setting to gradually incorporate them. This will prevent the flour from flying out of the bowl and create a more controlled mixing environment.
Step 5: Increase Speed and Knead the Dough
Once the ingredients are combined, increase the speed of the mixer to start the kneading process. The dough should come together and form a ball around the dough hook.
Step 6: Monitor the Consistency
As the dough is being kneaded, keep an eye on its consistency. It should be smooth, elastic, and slightly tacky to the touch. If it’s too sticky, add a small amount of flour. If it’s too dry, add a little water.
Step 7: Test the Dough
To check if the dough is properly kneaded, perform the “windowpane test.” Take a small piece of dough and gently stretch it. If it forms a thin, translucent membrane without tearing, the dough is ready.
Step 8: Let the Dough Rest
Once the dough is kneaded to perfection, transfer it to a greased bowl, cover it with a kitchen towel, and let it rest for the specified time in your recipe. This allows the gluten to relax and the dough to rise.
Step 9: Shape and Bake
After the dough has rested, it’s ready to be shaped according to your recipe. Whether you’re making bread loaves, pizza crusts, or pastries, follow the remaining steps in your recipe for shaping and baking the dough.
With these steps, you can confidently knead dough with your KitchenAid mixer and achieve delicious, homemade results. So, roll up your sleeves, gather your ingredients, and let the KitchenAid mixer do the hard work while you enjoy the process of creating your favorite baked goods from scratch.
Was this page helpful?
Related Articles