Mastering the Art of Kneading Dough for Dhal
There’s something incredibly satisfying about making your own dough for dhal. The process of kneading the dough is not only therapeutic but also essential for achieving the perfect texture and flavor. Whether you’re a seasoned cook or a beginner in the kitchen, mastering the art of kneading dough for dhal is a skill that will elevate your cooking to the next level.
Why Kneading is Important
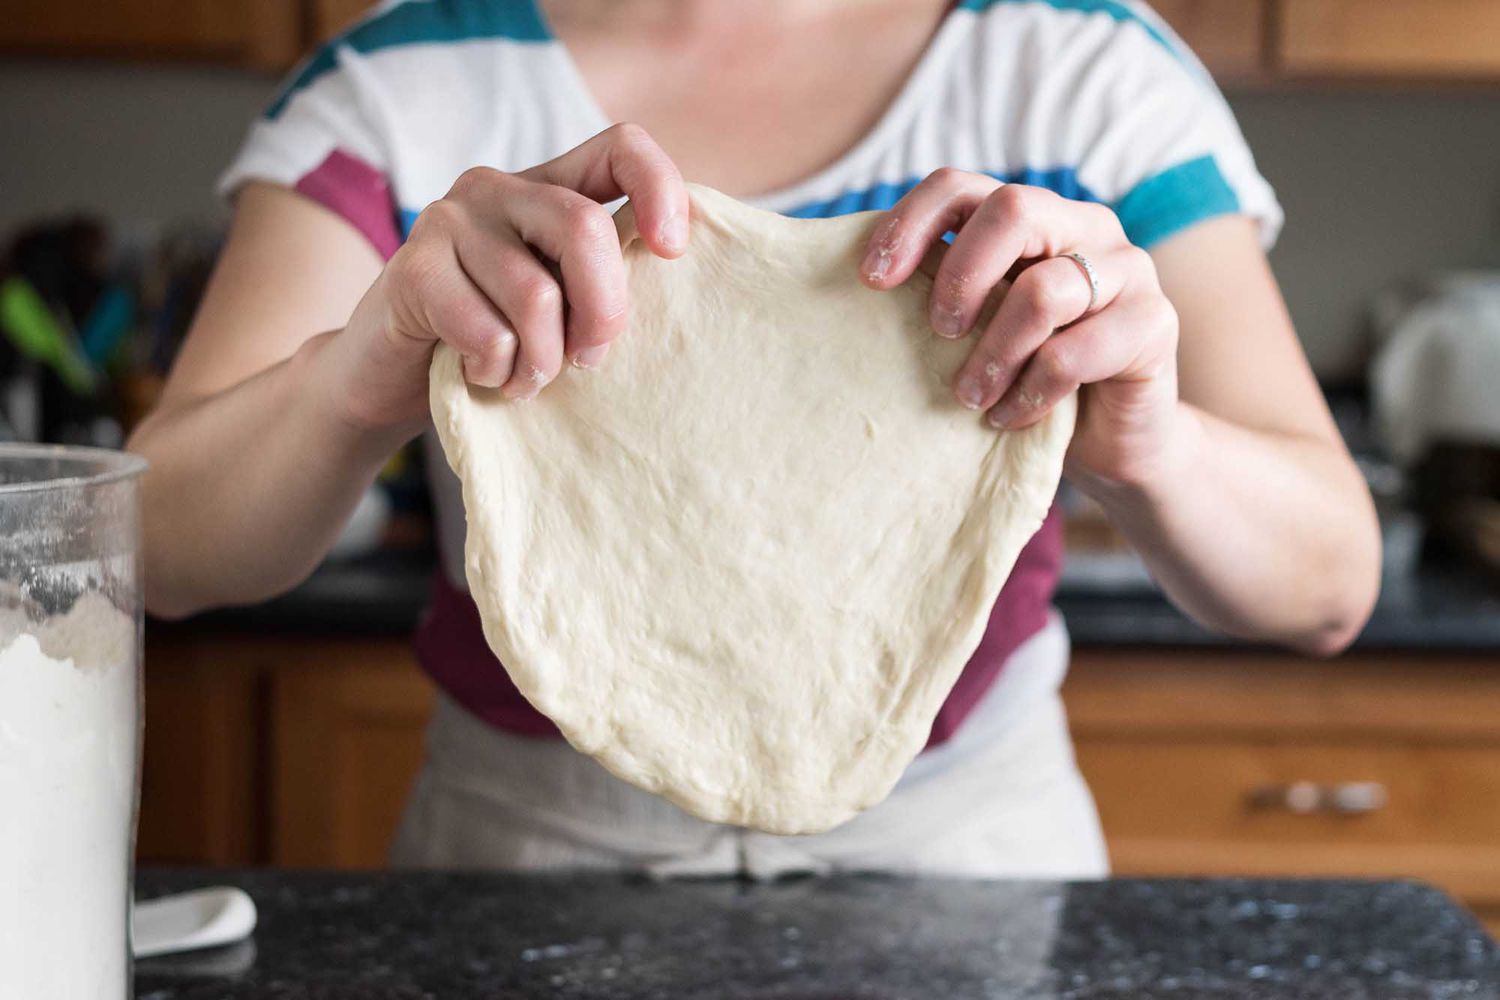
Kneading is a crucial step in the process of making dhal. It helps develop the gluten in the dough, which is essential for creating a light and airy texture. Proper kneading also ensures that the dough is well-mixed and allows the flavors to meld together, resulting in a more delicious final product.
Steps to Kneading Dough for Dhal
Follow these simple steps to knead dough for dhal like a pro:
- Prepare Your Ingredients: Before you begin kneading, make sure you have all the necessary ingredients ready. This typically includes flour, water, salt, and any additional spices or flavorings you want to add to the dough.
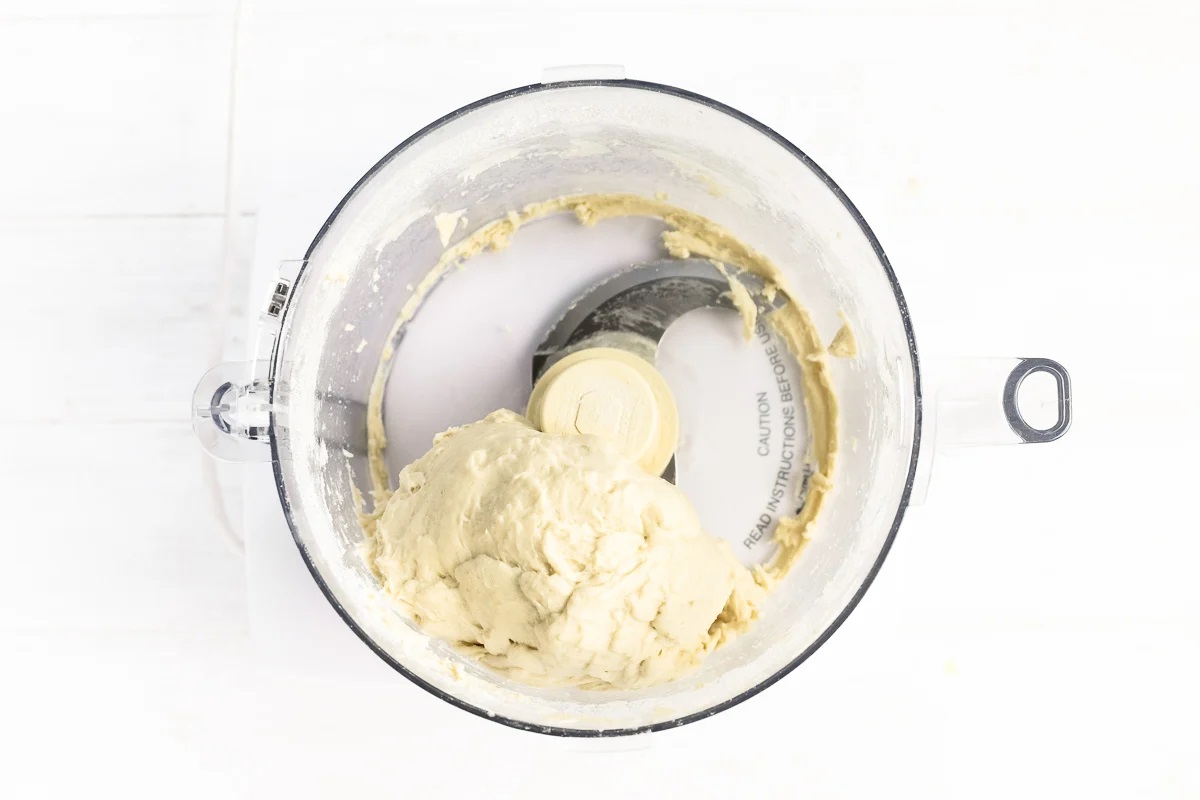
- Mix the Ingredients: Start by mixing the dry ingredients together in a large mixing bowl. Create a well in the center and gradually add the water, mixing as you go, until a shaggy dough forms.
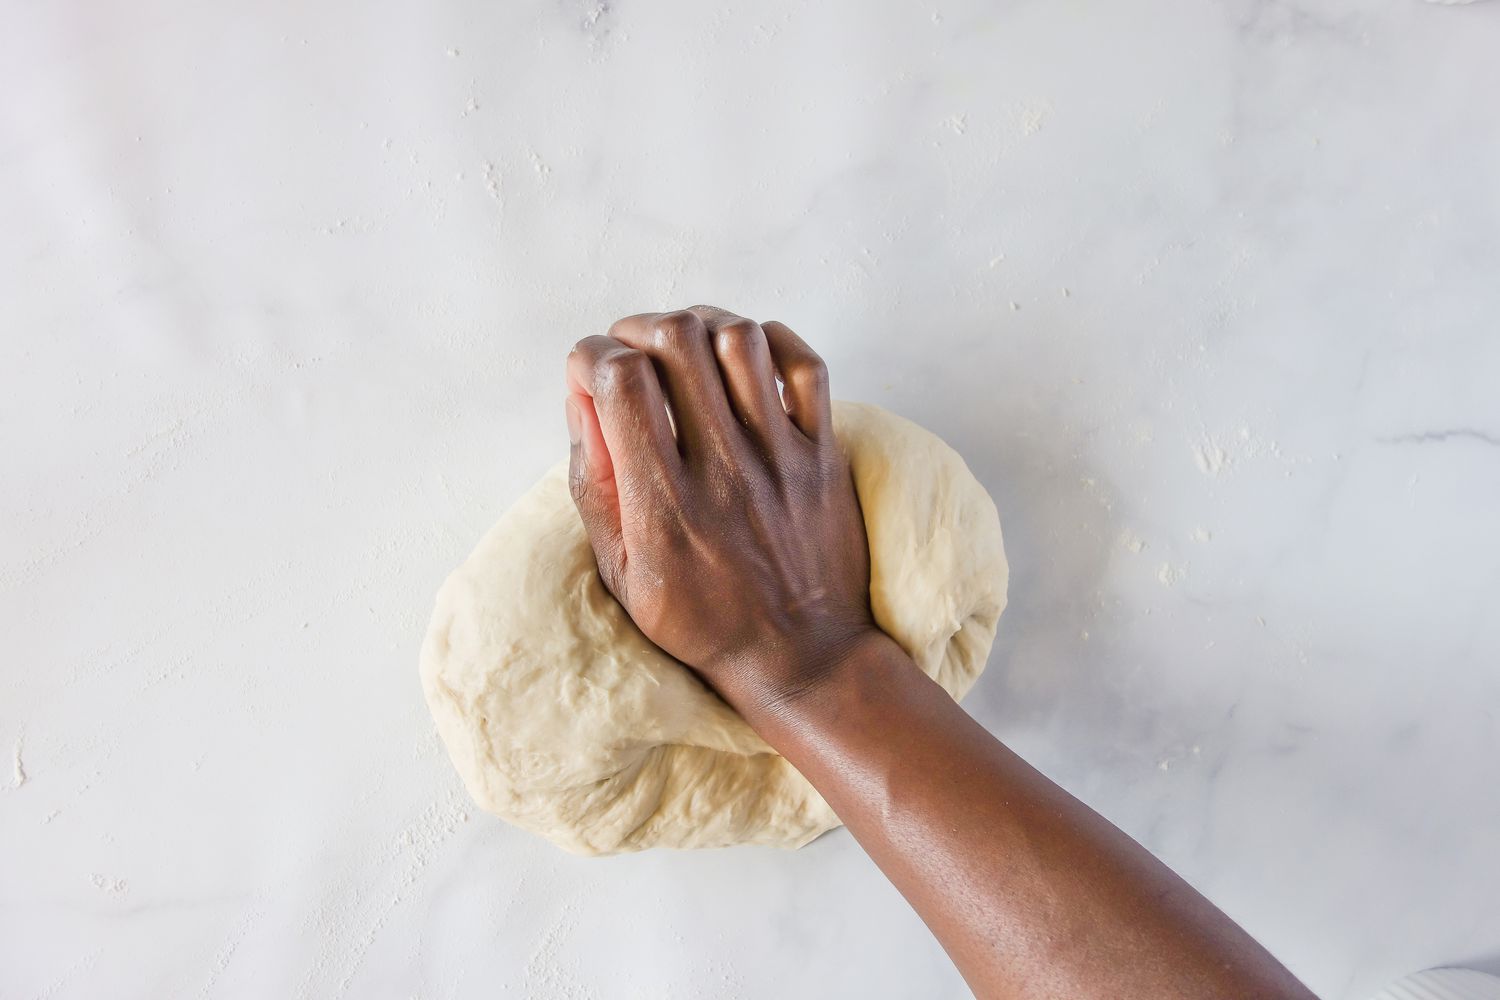
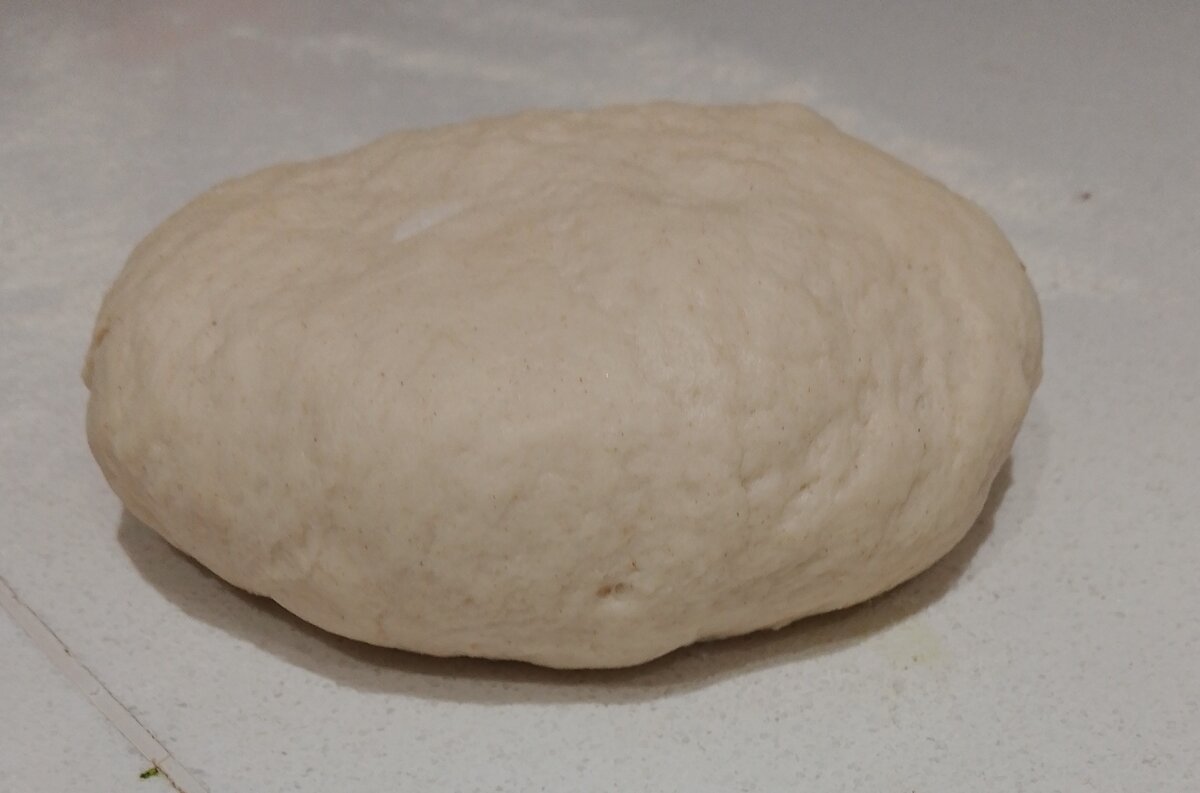
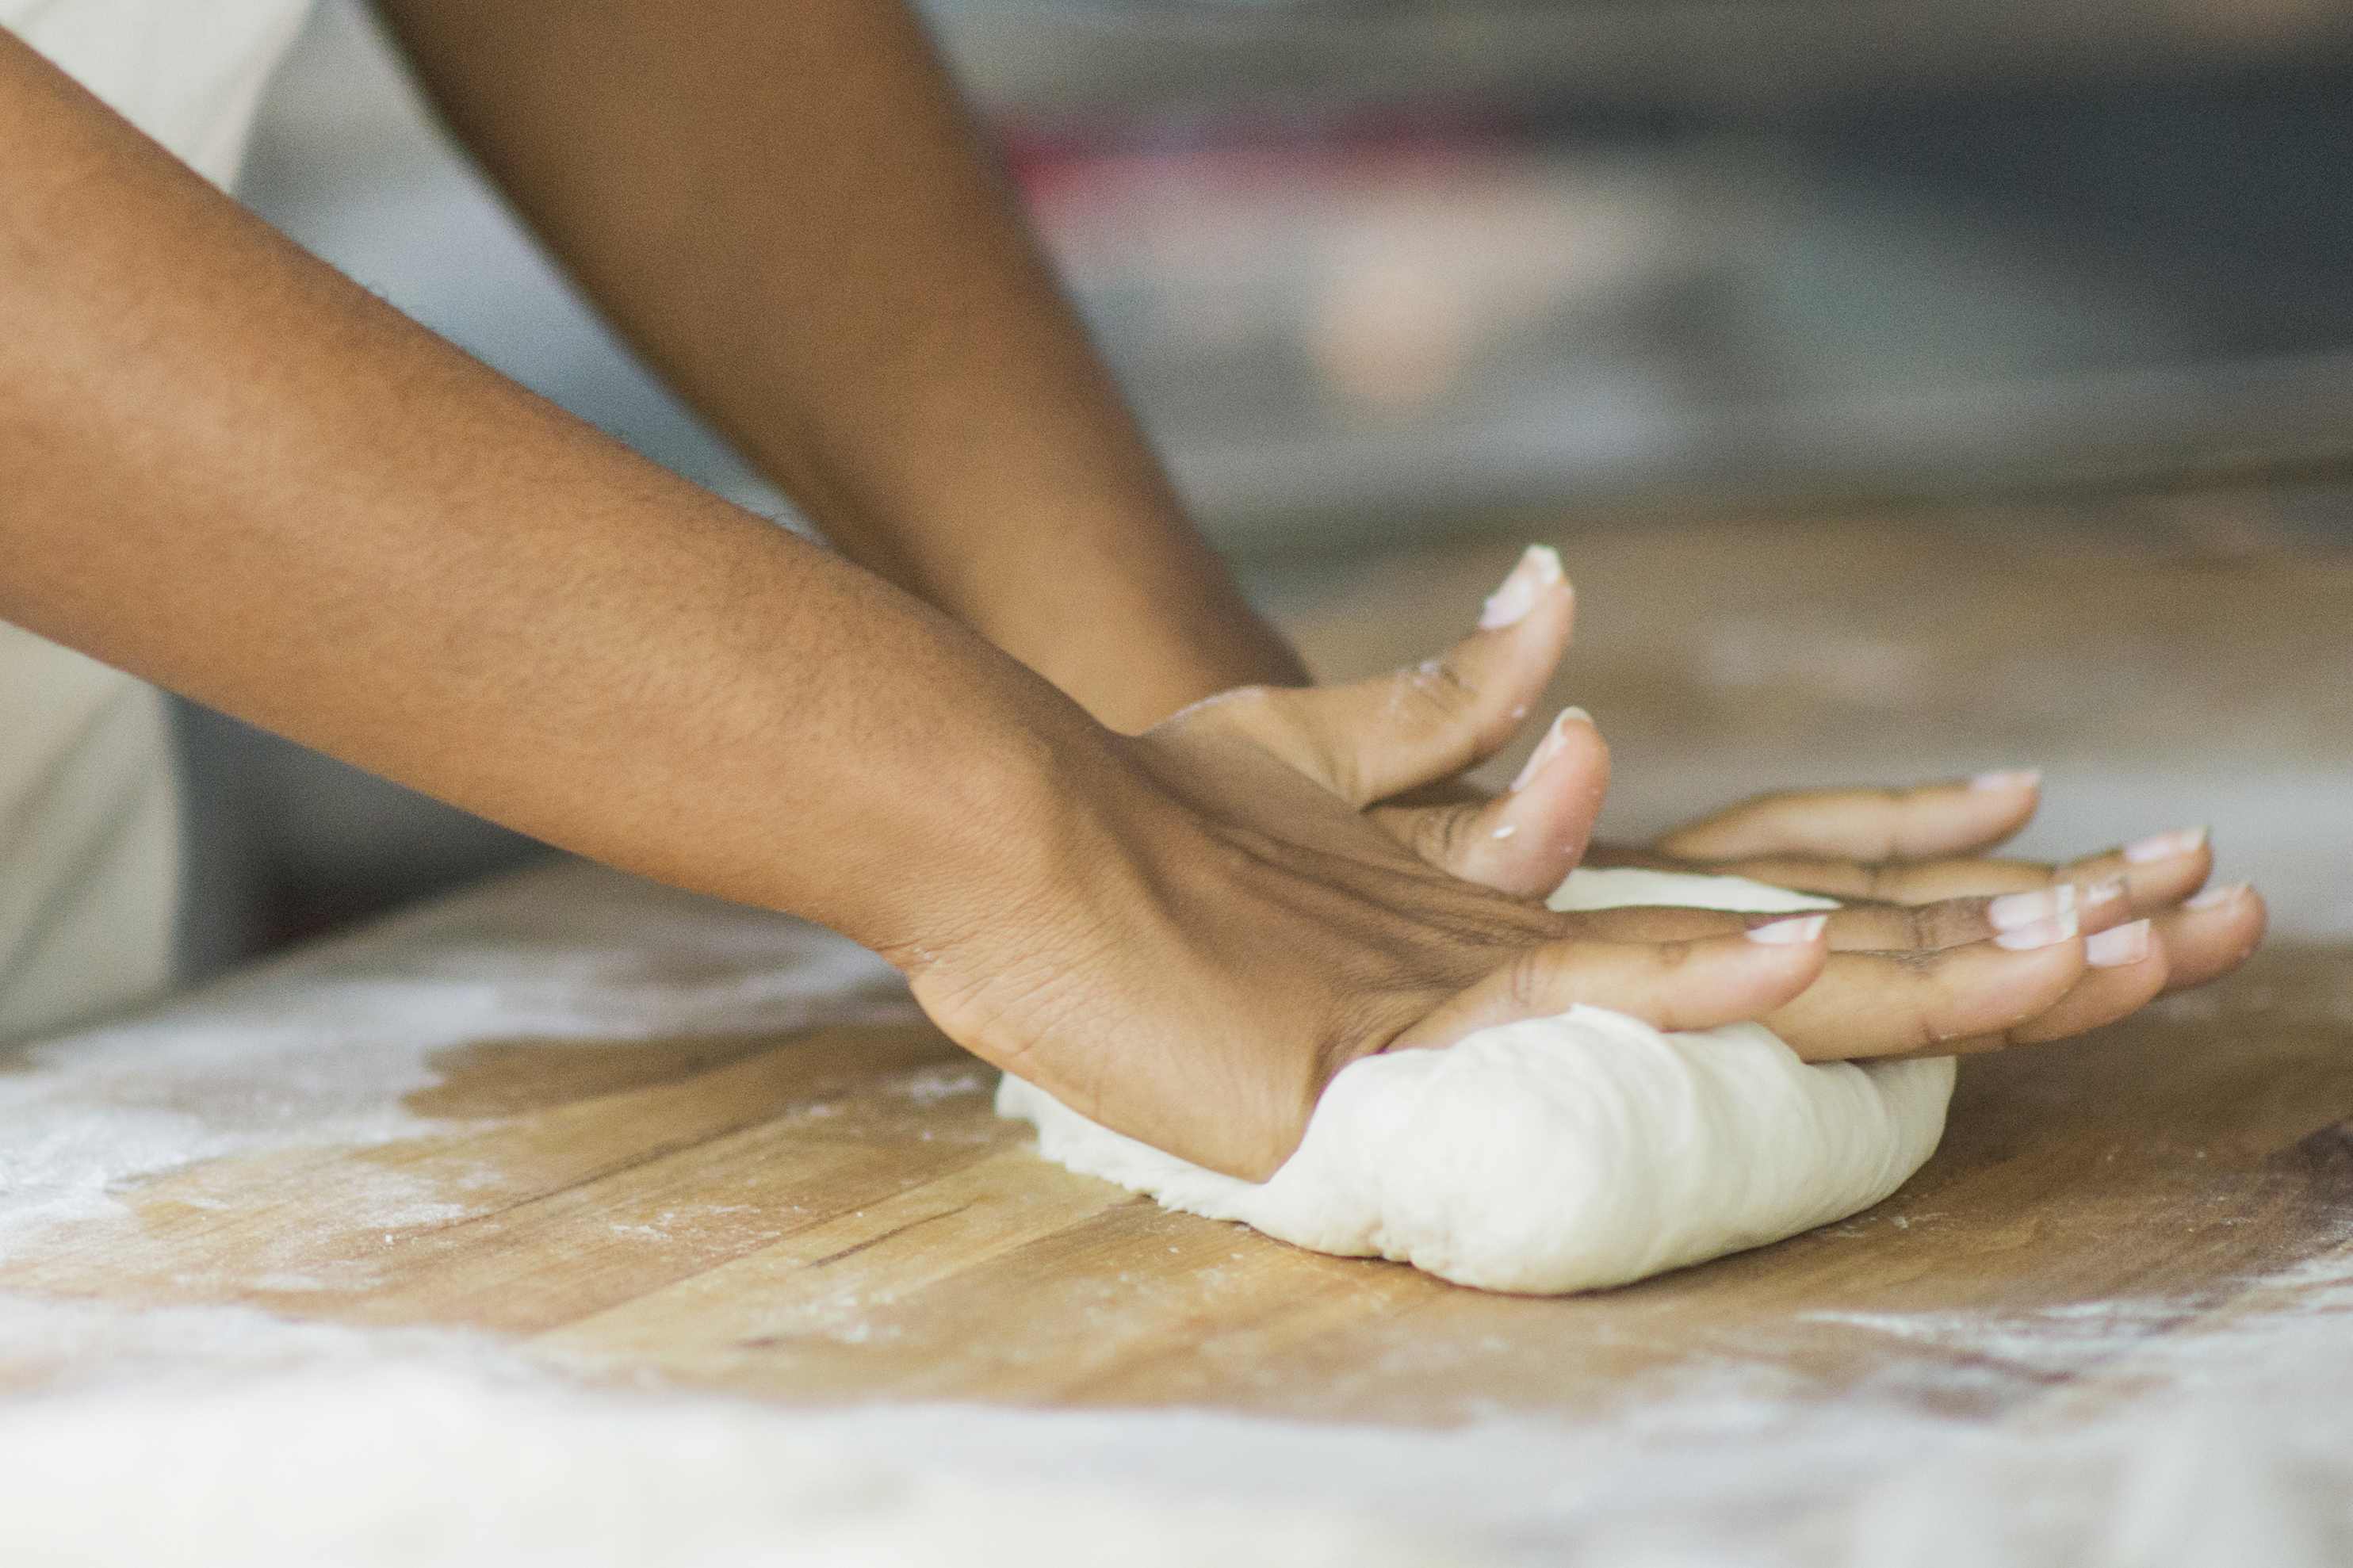
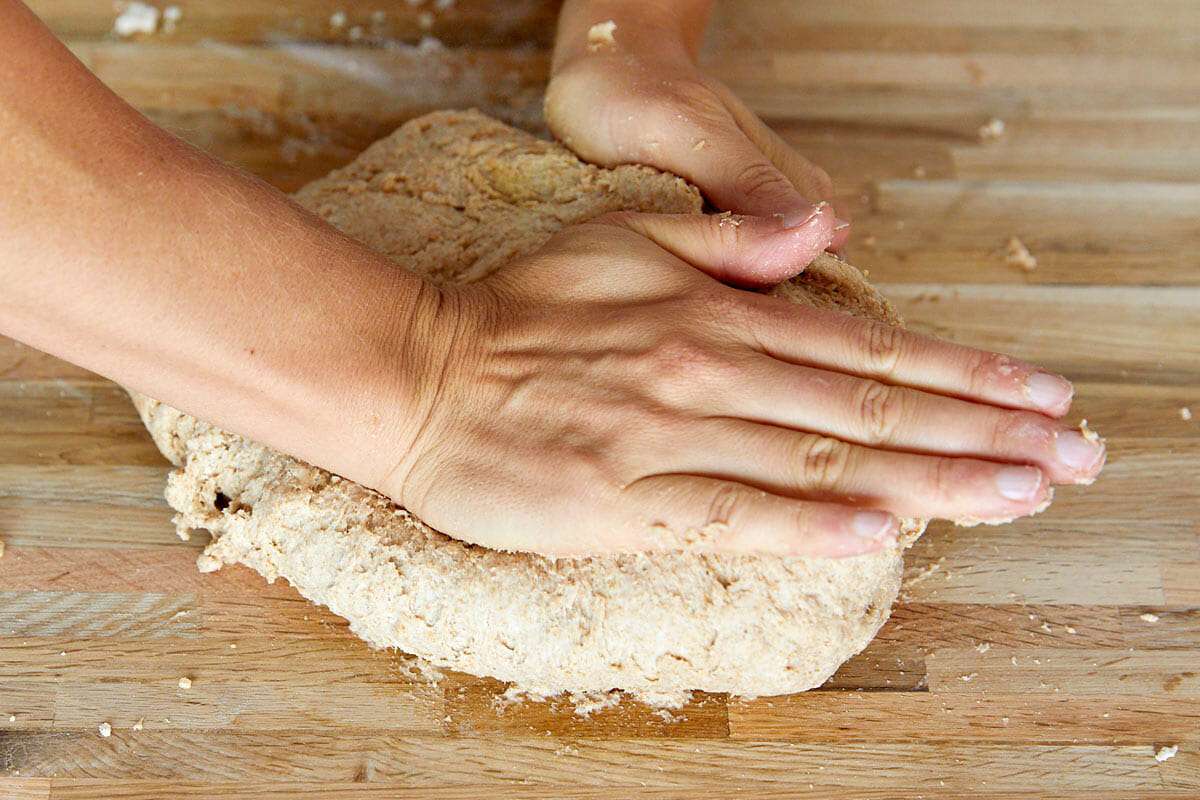
- Knead the Dough: Turn the dough out onto a clean, floured surface. Use the heels of your hands to push the dough away from you, then fold it back over itself. Continue this motion, adding more flour as needed to prevent sticking, until the dough becomes smooth and elastic.
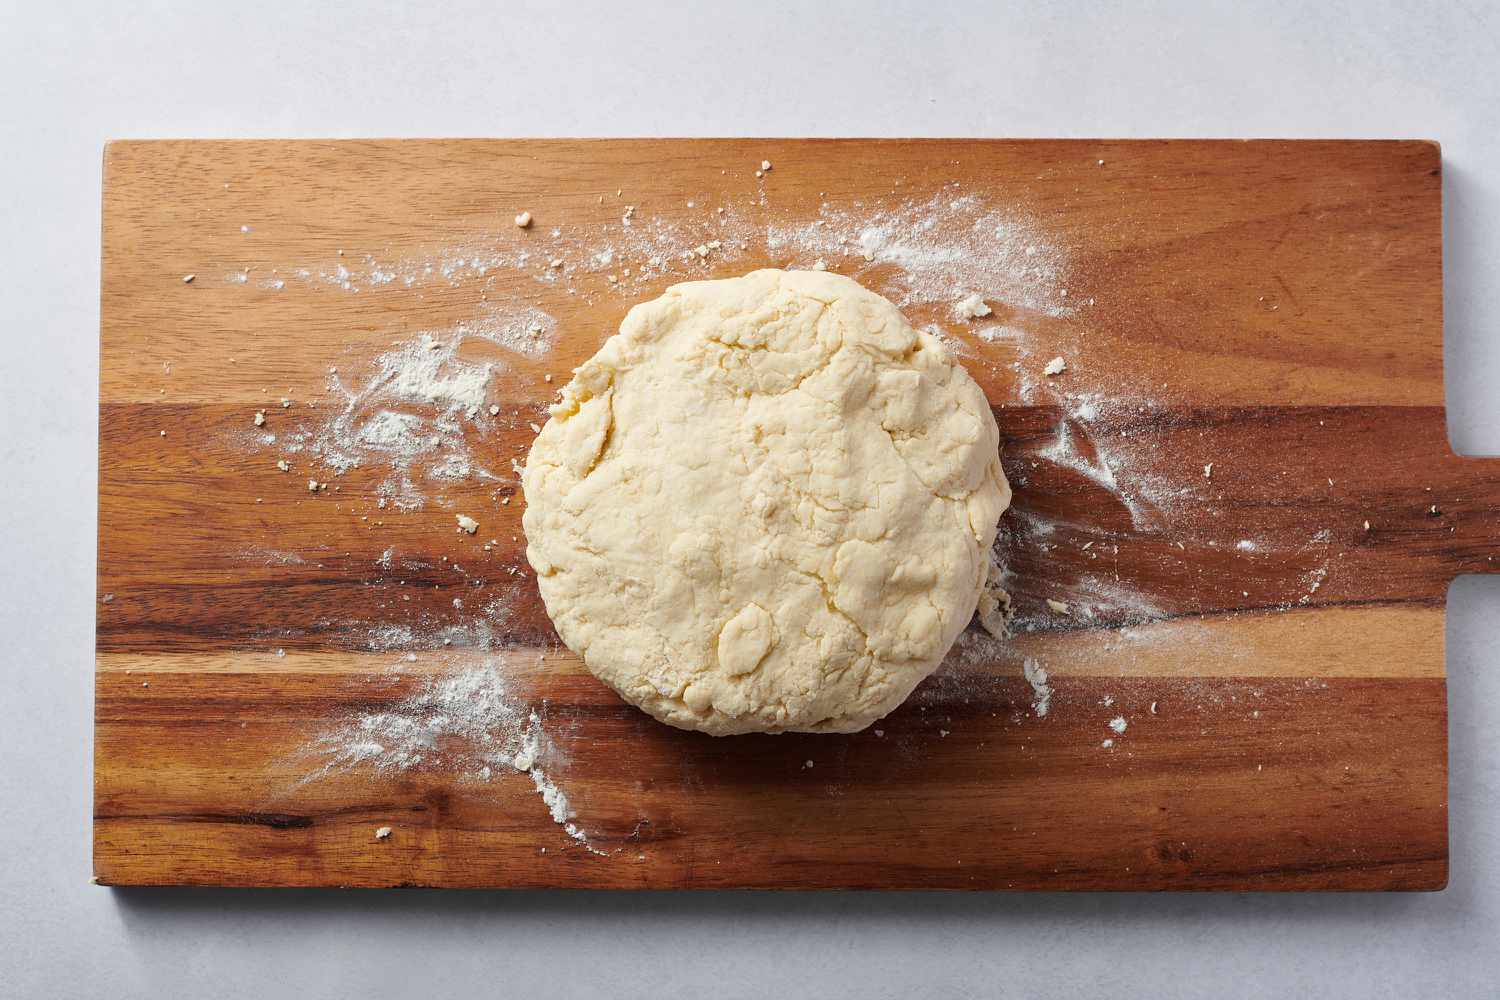
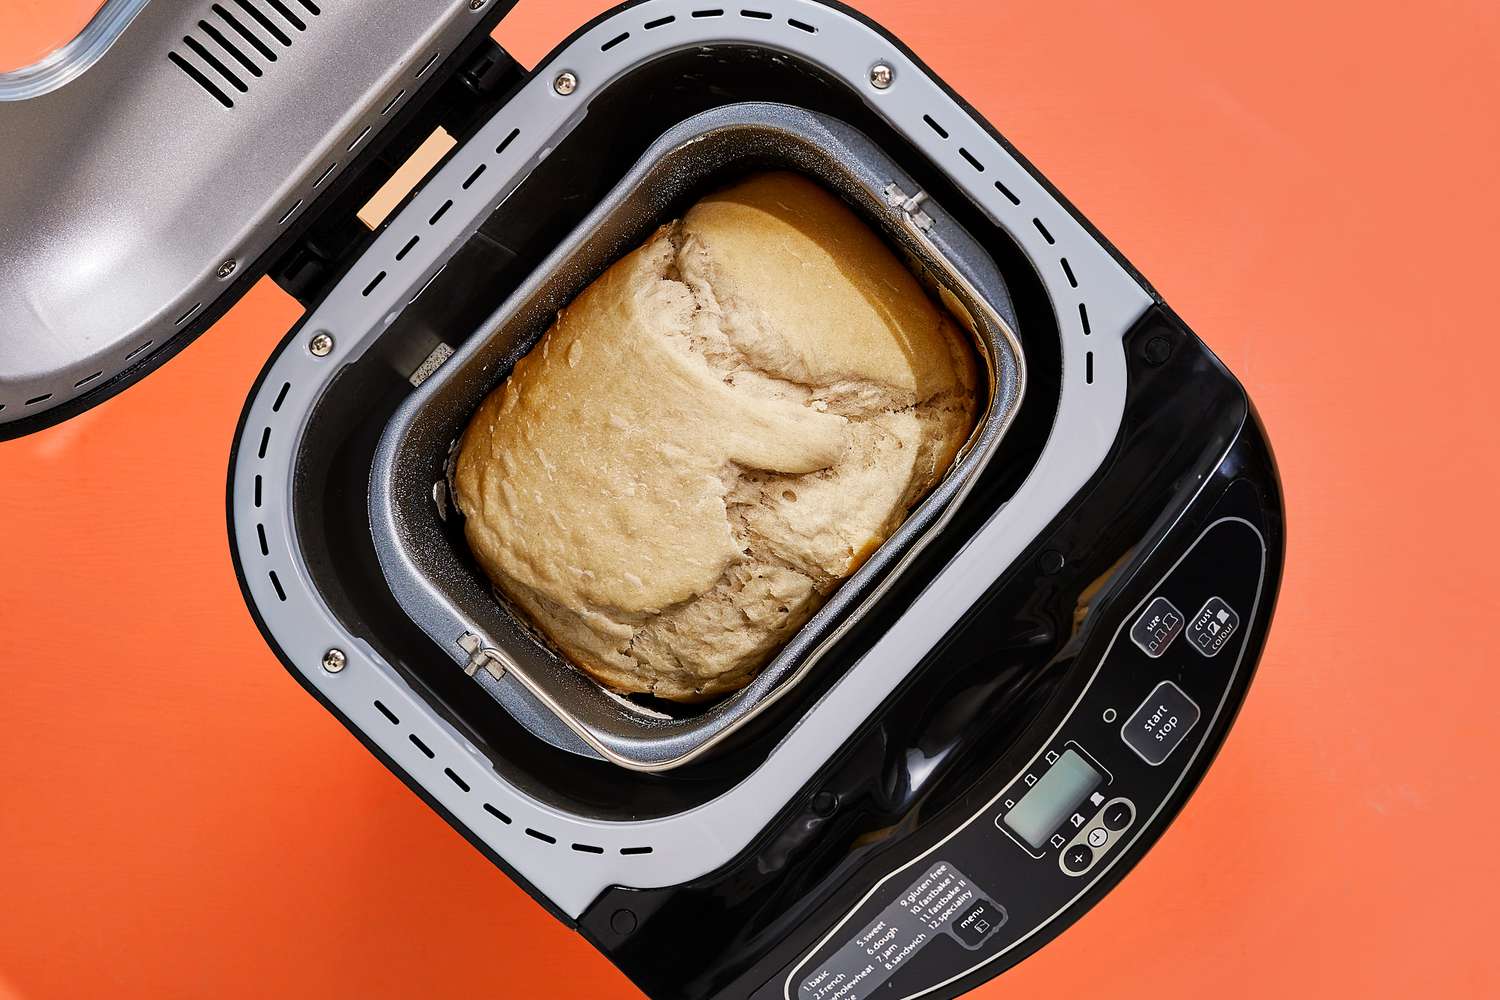
- Rest the Dough: Once the dough is well-kneaded, place it back in the mixing bowl and cover it with a clean kitchen towel. Allow the dough to rest for at least 30 minutes to allow the gluten to relax and the flavors to develop.
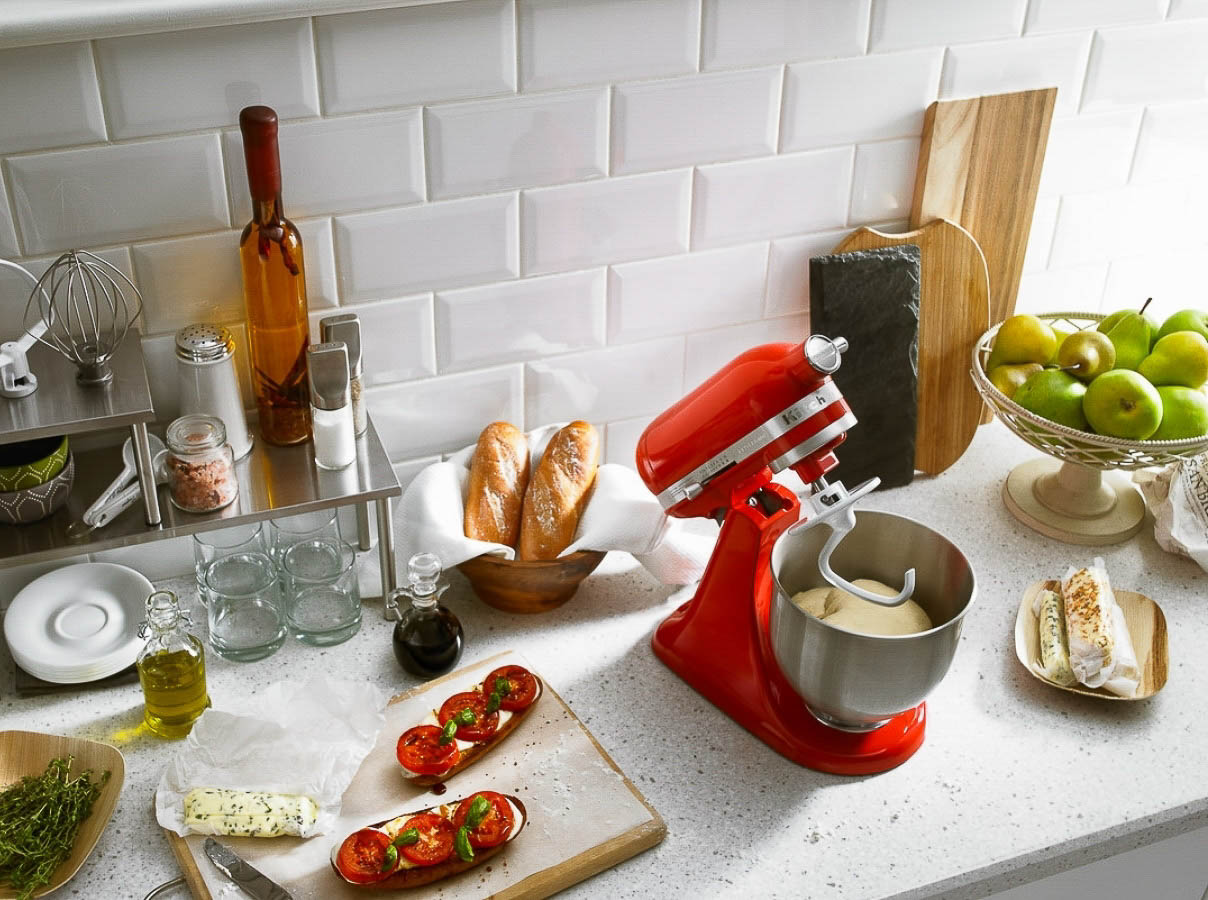
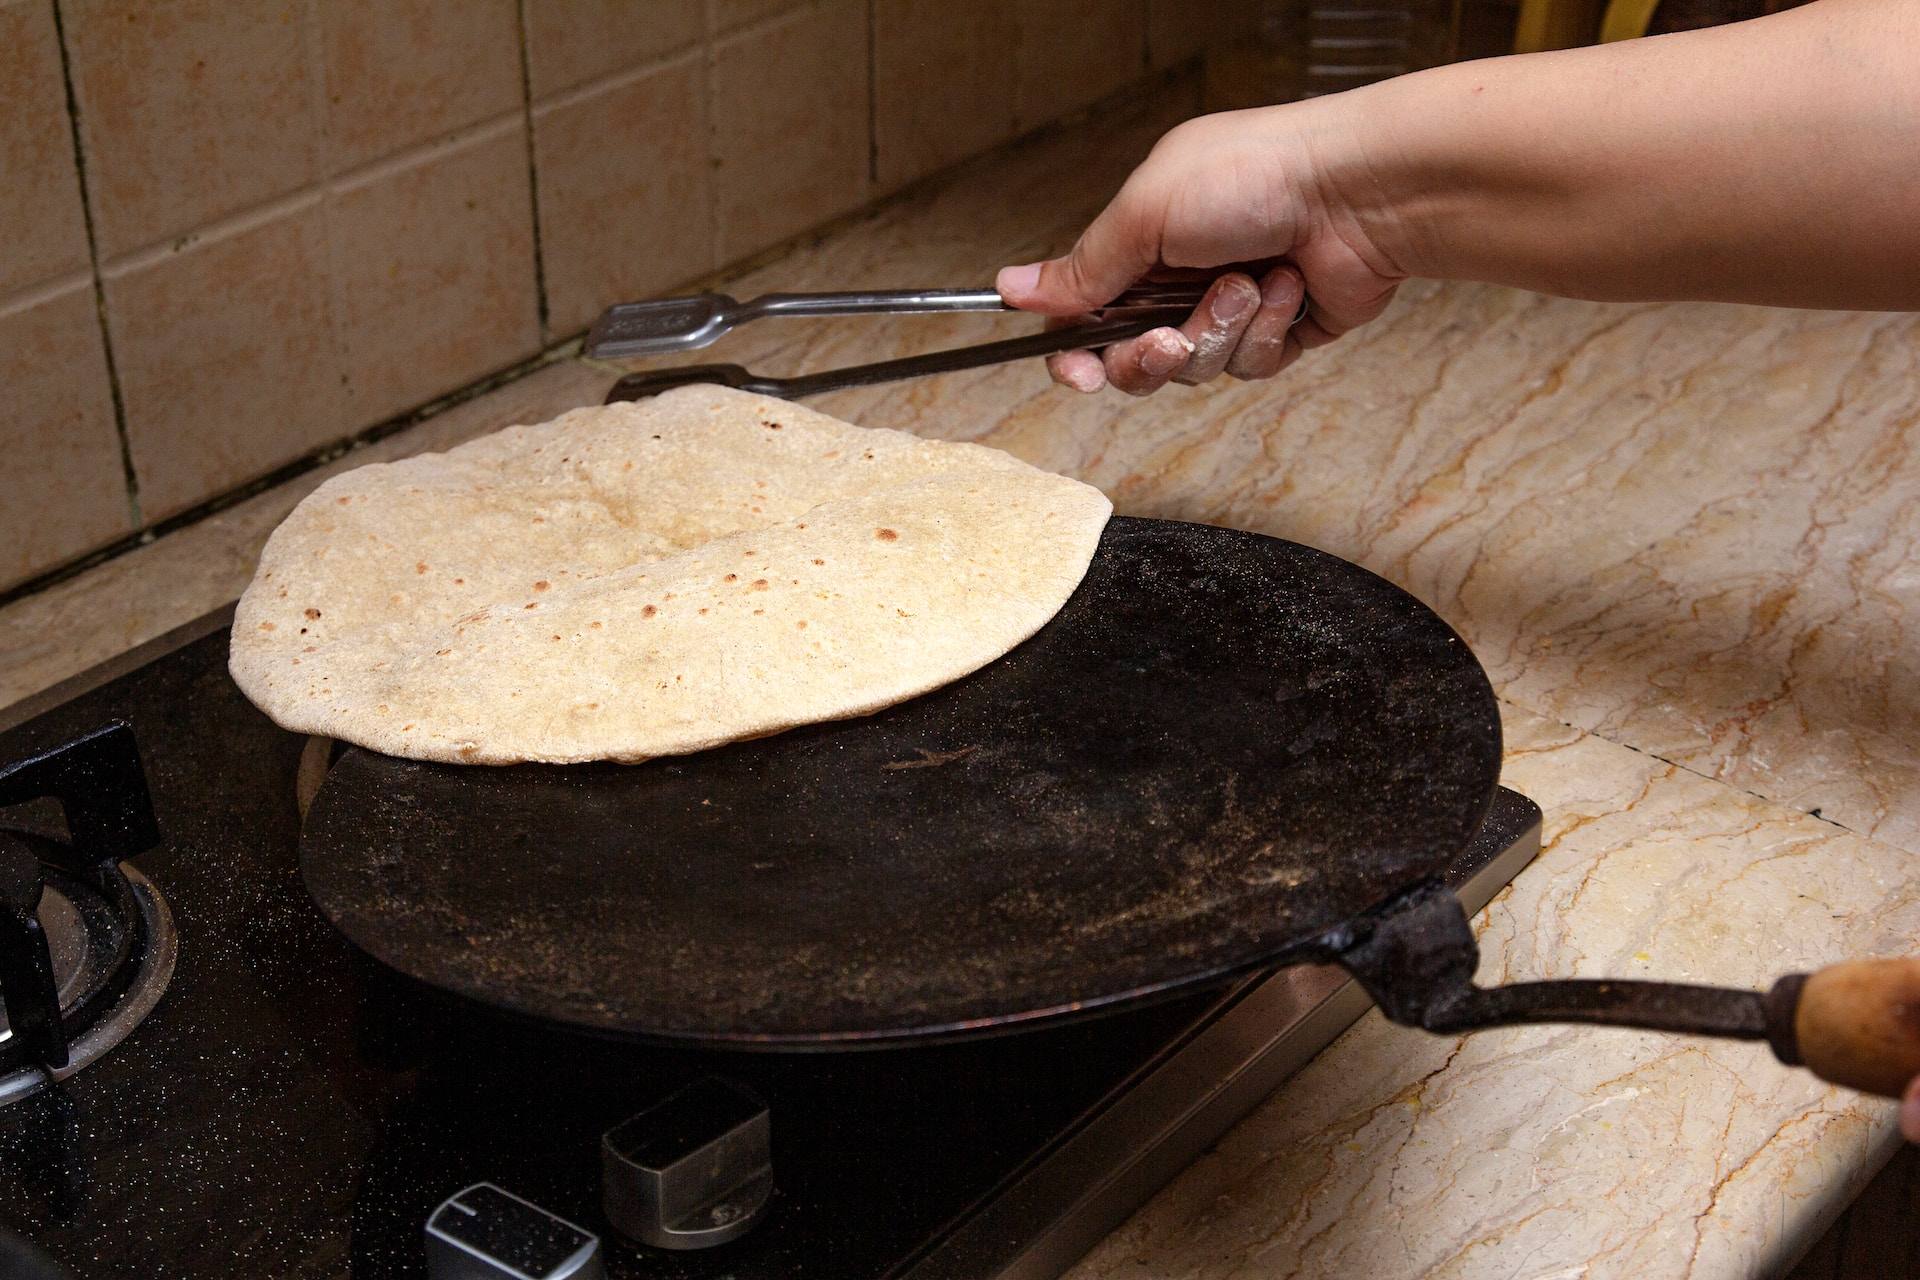
- Use as Directed: Your kneaded dough is now ready to be used in your favorite dhal recipe. Whether you’re making roti, paratha, or any other dhal-based dish, your perfectly kneaded dough will take your culinary creations to the next level.
Tips for Perfecting Your Kneading Technique
Here are some additional tips to help you perfect your kneading technique:
- Be Patient: Kneading takes time and practice. Don’t rush the process, and give the dough the attention it deserves.
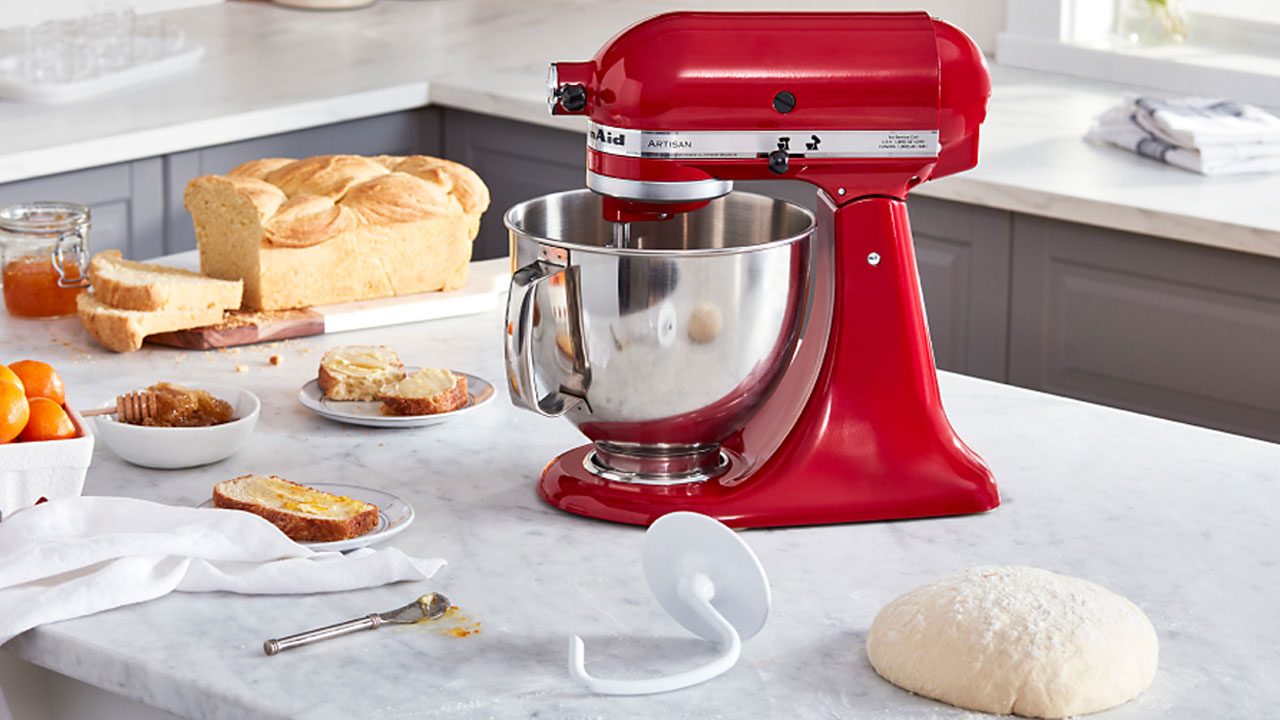
- Use the Right Flour: Different types of flour have different levels of gluten, which can affect the kneading process. Use the appropriate flour for the best results.
- Adjust the Water: Depending on the humidity and other factors, you may need to adjust the amount of water in your dough. Add it gradually until the dough reaches the right consistency.
- Experiment with Flavors: Don’t be afraid to add herbs, spices, or other flavorings to your dough. This is a great way to customize the taste of your dhal.
Practice Makes Perfect
Like any culinary skill, kneading dough for dhal takes practice. Don’t be discouraged if your first attempt isn’t perfect. With time and experience, you’ll develop a knack for kneading dough that will impress your family and friends.
So, roll up your sleeves, gather your ingredients, and start kneading. Your homemade dhal dishes will never be the same!
Was this page helpful?
Related Articles