When it comes to grilling, the Classic Weber Kettle is a beloved and iconic choice for many outdoor cooking enthusiasts. Its simple design and versatility make it a popular option for grilling a wide variety of foods. Whether you're a seasoned grilling pro or a novice looking to master the art of grilling on a Weber Kettle, this guide will provide you with the tips and techniques you need to elevate your grilling game.
Getting Started
Before you fire up your Weber Kettle, it's essential to make sure you have all the necessary tools and ingredients on hand. Here's what you'll need to get started:
- Weber Kettle Grill: The star of the show, of course! Make sure it's clean and in good working condition.
- Charcoal: Opt for high-quality charcoal that will provide consistent heat and long-lasting burn time.
- Lighter Fluid or Chimney Starter: Choose your preferred method for lighting the charcoal.
- Grill Tongs and Spatula: Essential for flipping and moving food around the grill.
- Meat Thermometer: To ensure your meat is cooked to perfection.
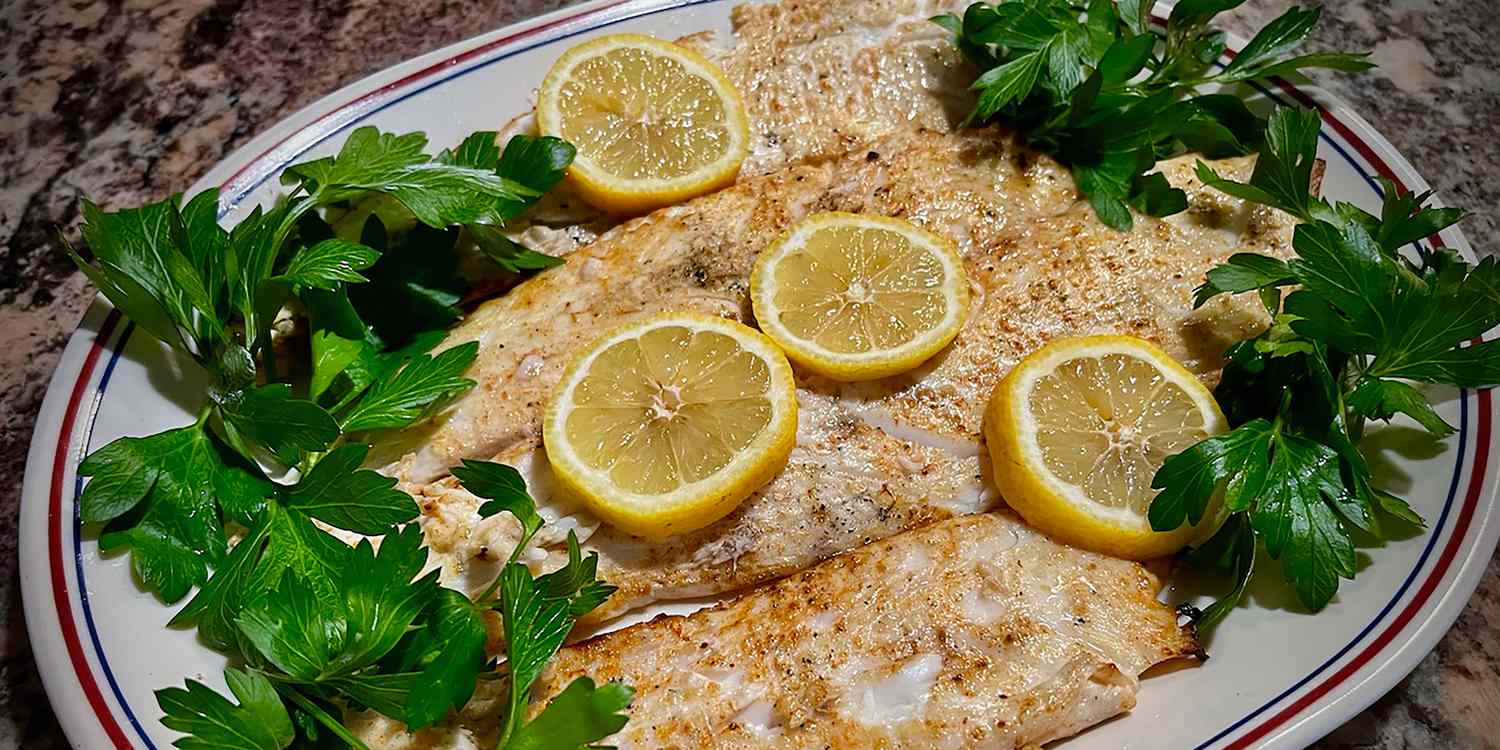
- Assorted Meats and Vegetables: Choose your favorite cuts of meat and an assortment of fresh vegetables to grill.
Preparing the Grill
Now that you have everything you need, it's time to prepare the grill for cooking:
- Clean the Grates: Use a grill brush to clean the grates and remove any leftover residue from previous grilling sessions.
- Charcoal Placement: If you're using a charcoal chimney starter, fill it with charcoal and light it according to the manufacturer's instructions. Once the charcoal is hot and ashy, carefully pour it onto one side of the charcoal grate. If using lighter fluid, arrange the charcoal in a pyramid shape and douse it with lighter fluid before lighting.
- Adjust the Vents: Open the vents on the bottom of the grill to allow air to flow and promote combustion. Adjust the vents on the lid to control the temperature inside the grill.
Grilling Techniques
Now that the grill is ready, it's time to start cooking! Here are some essential grilling techniques to keep in mind:
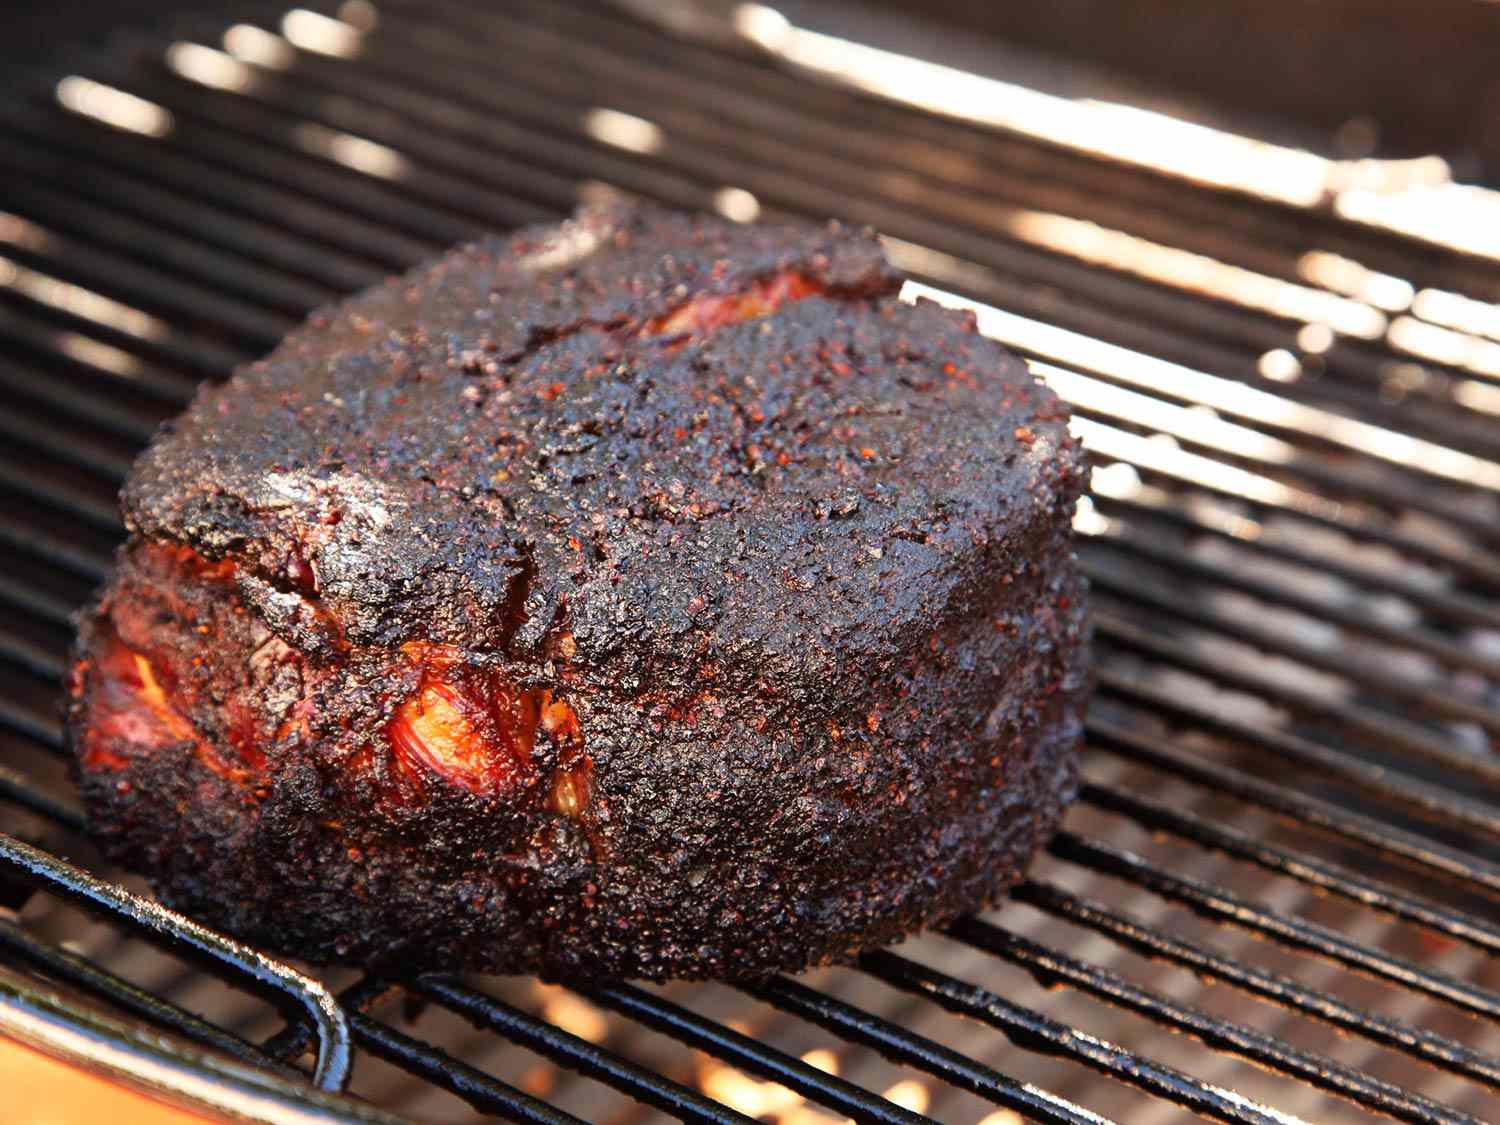
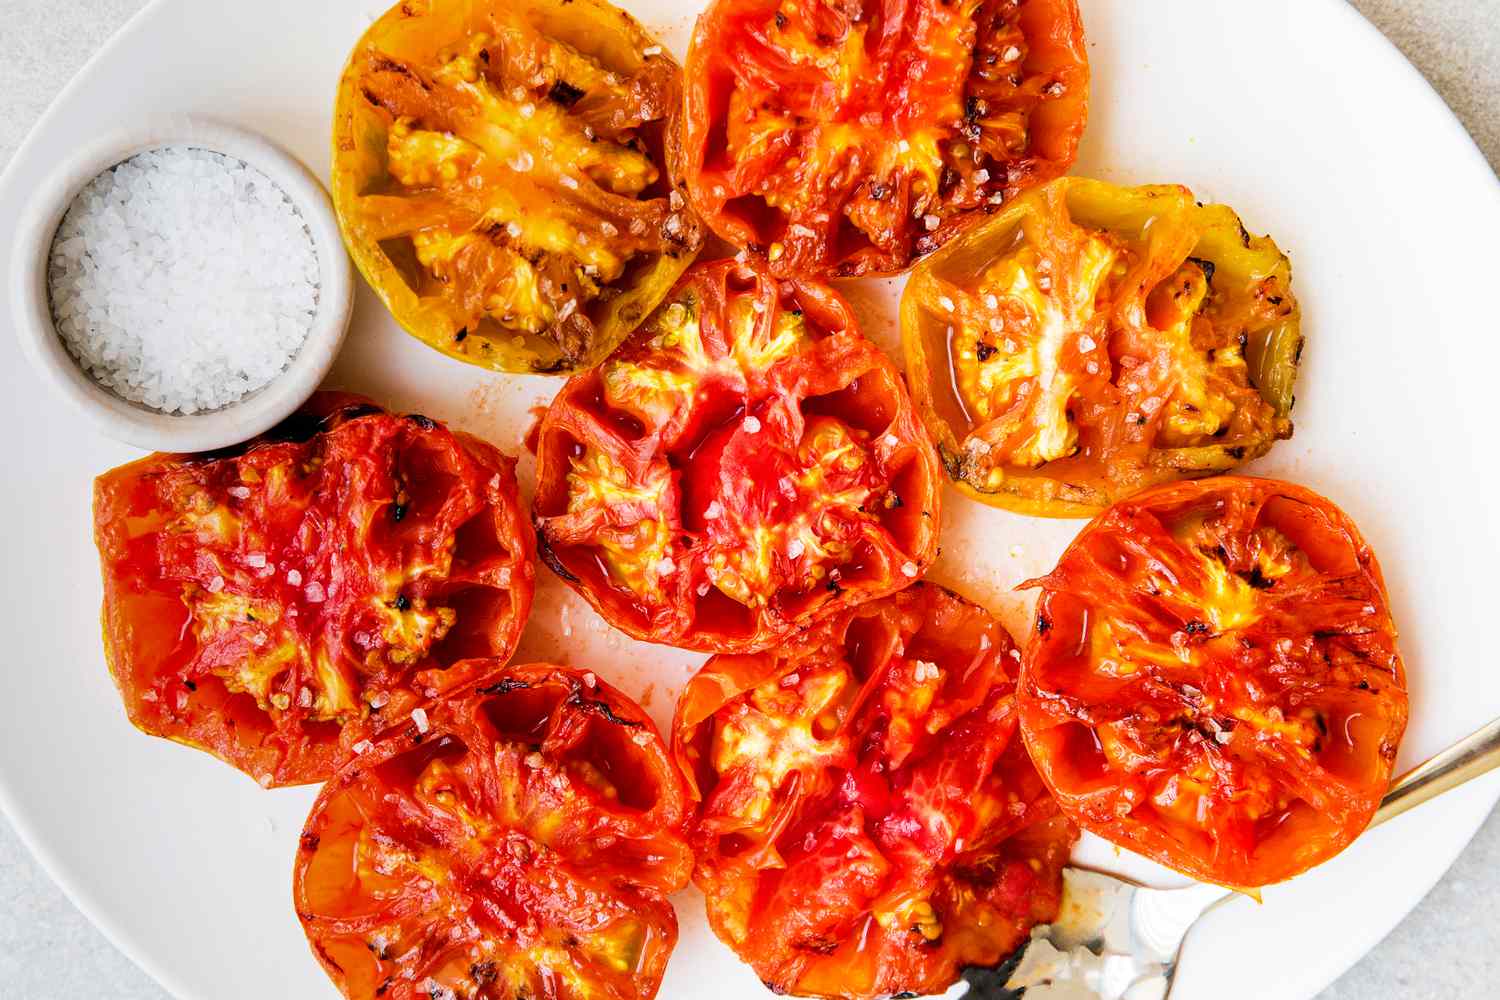
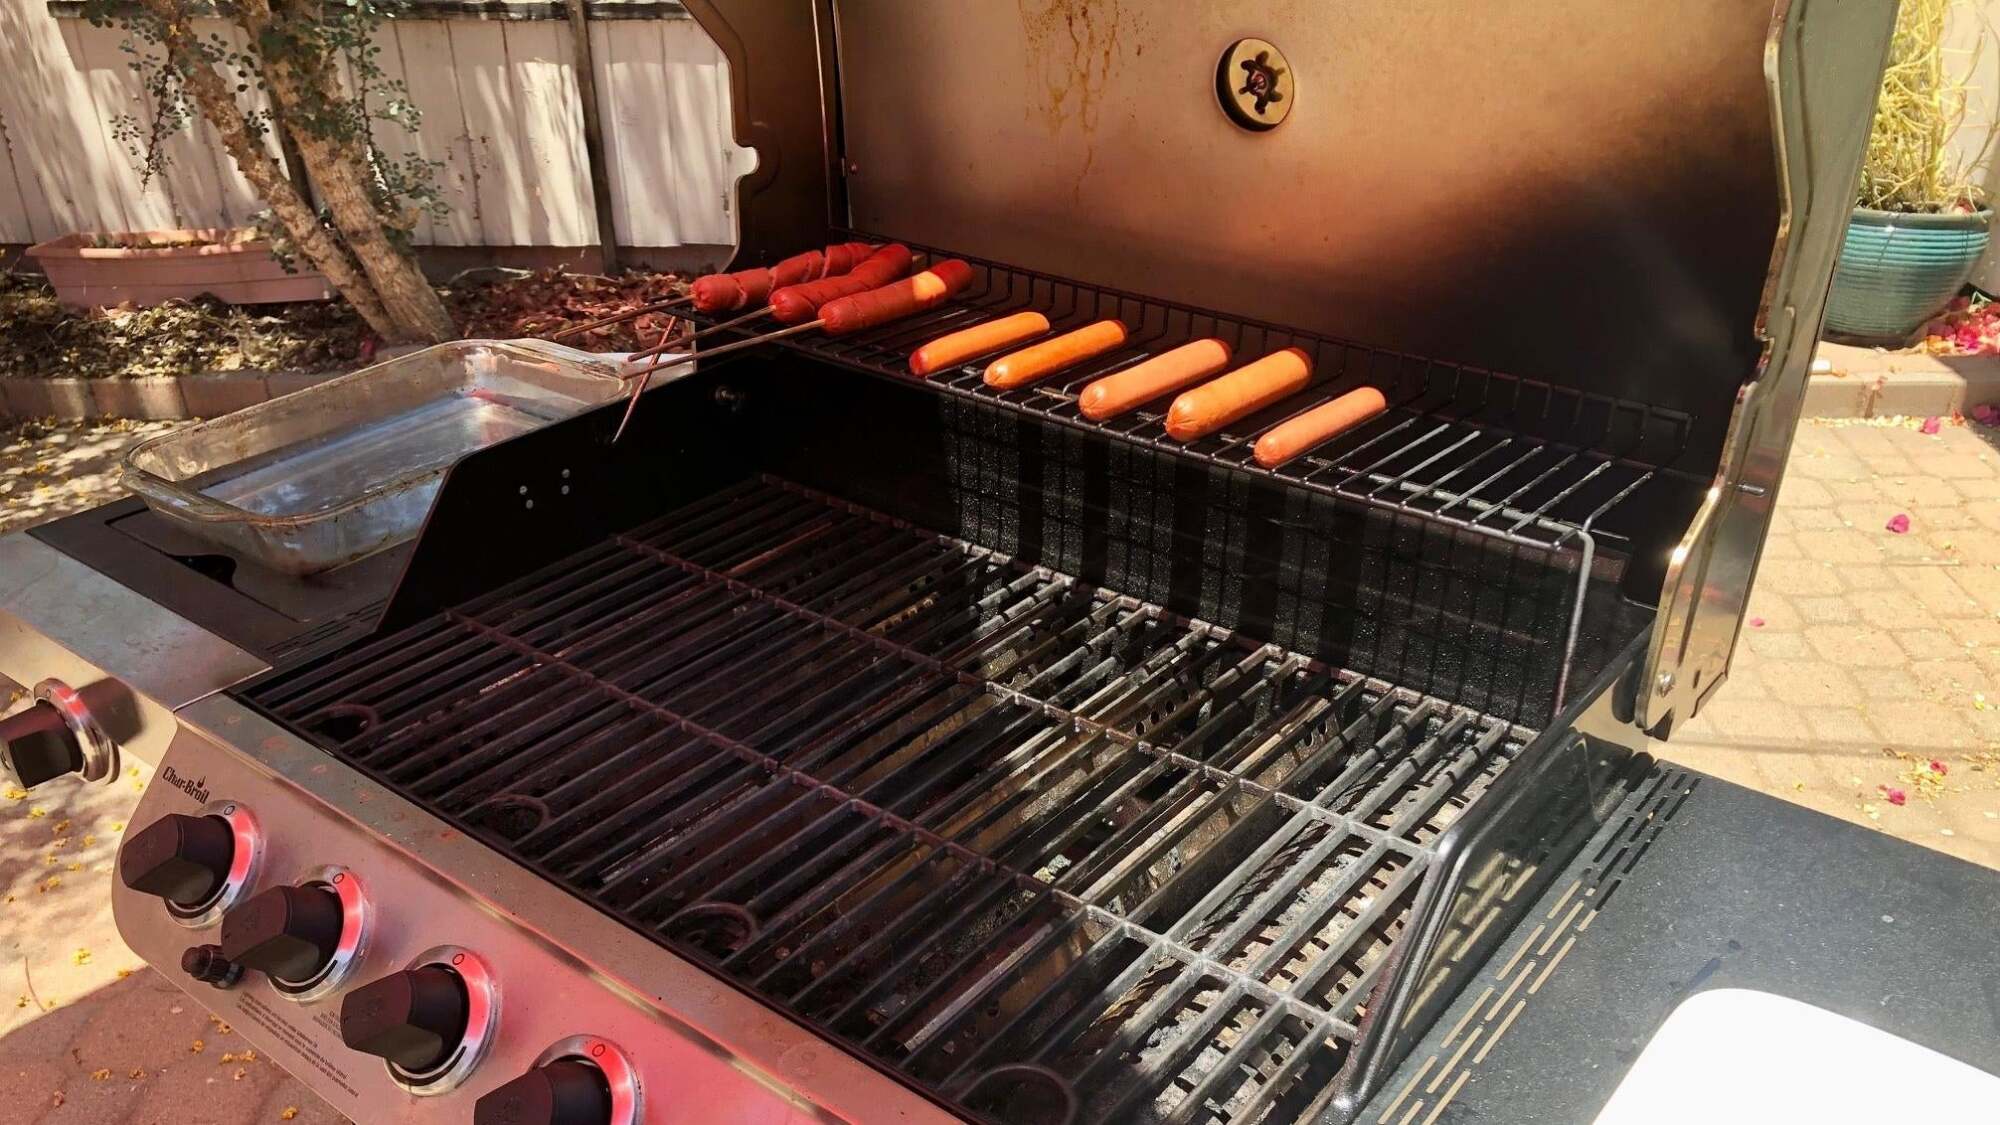
- Direct vs. Indirect Heat: One of the great features of the Weber Kettle is its ability to create both direct and indirect heat zones. For foods that require quick cooking, such as burgers and vegetables, place them directly over the coals. For larger cuts of meat that require longer cooking times, such as a whole chicken or pork shoulder, use the indirect heat method by placing the food on the side of the grill opposite the coals.
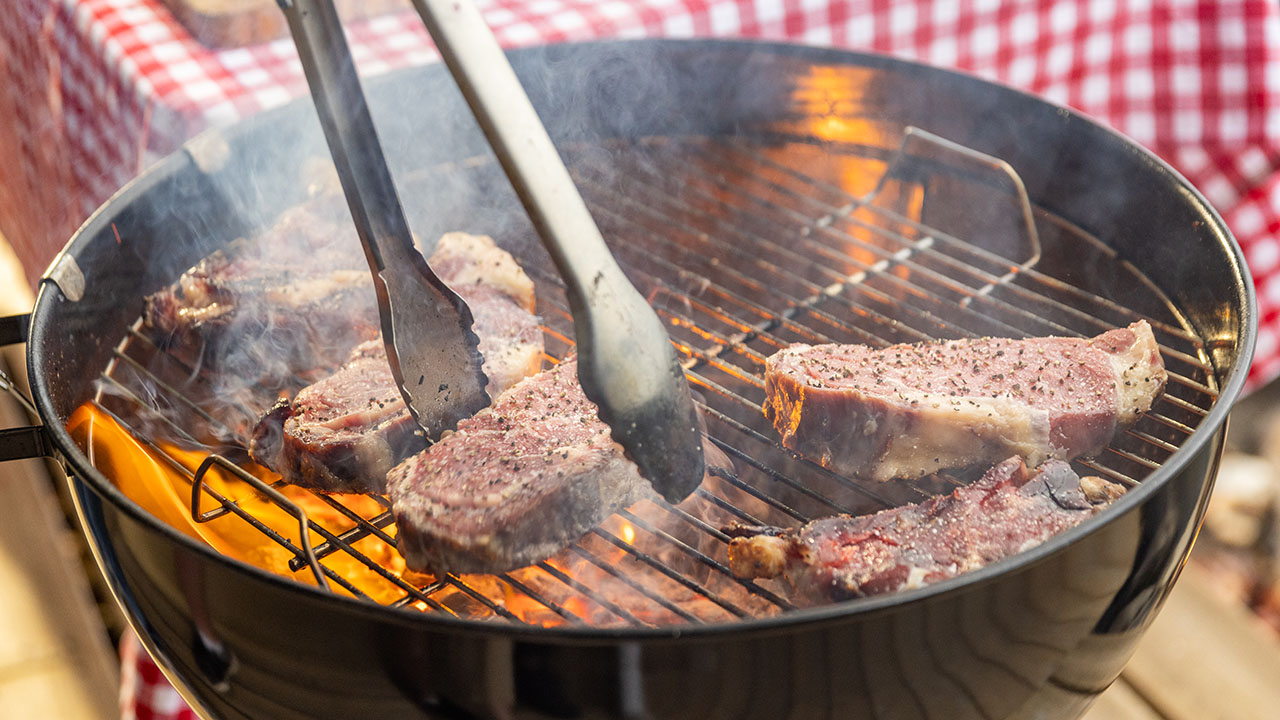
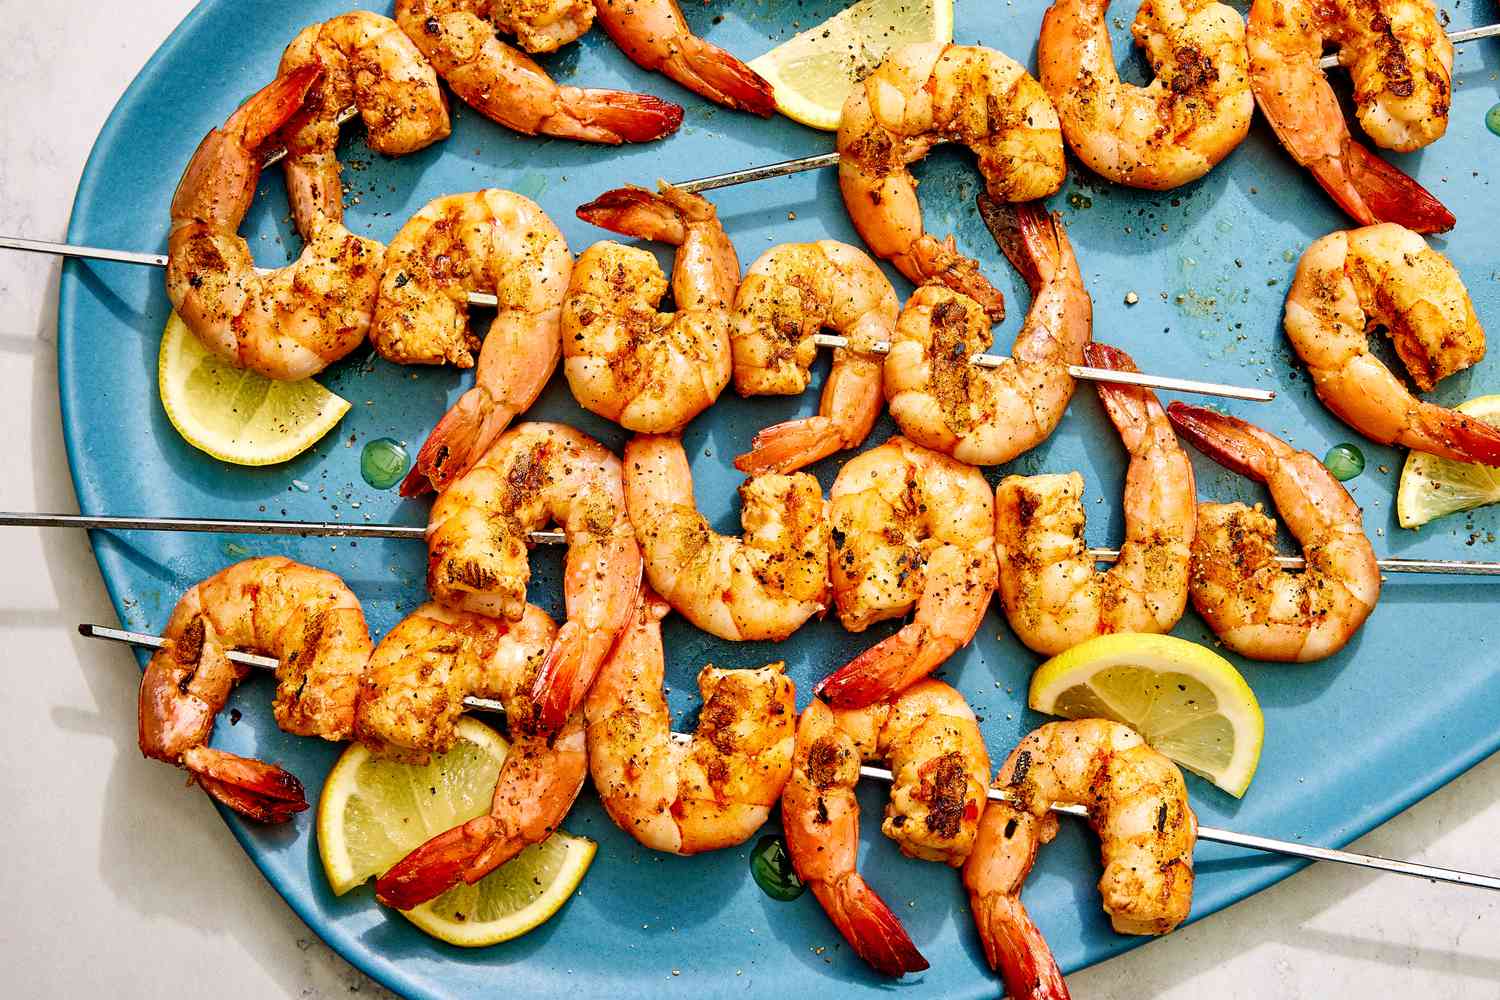
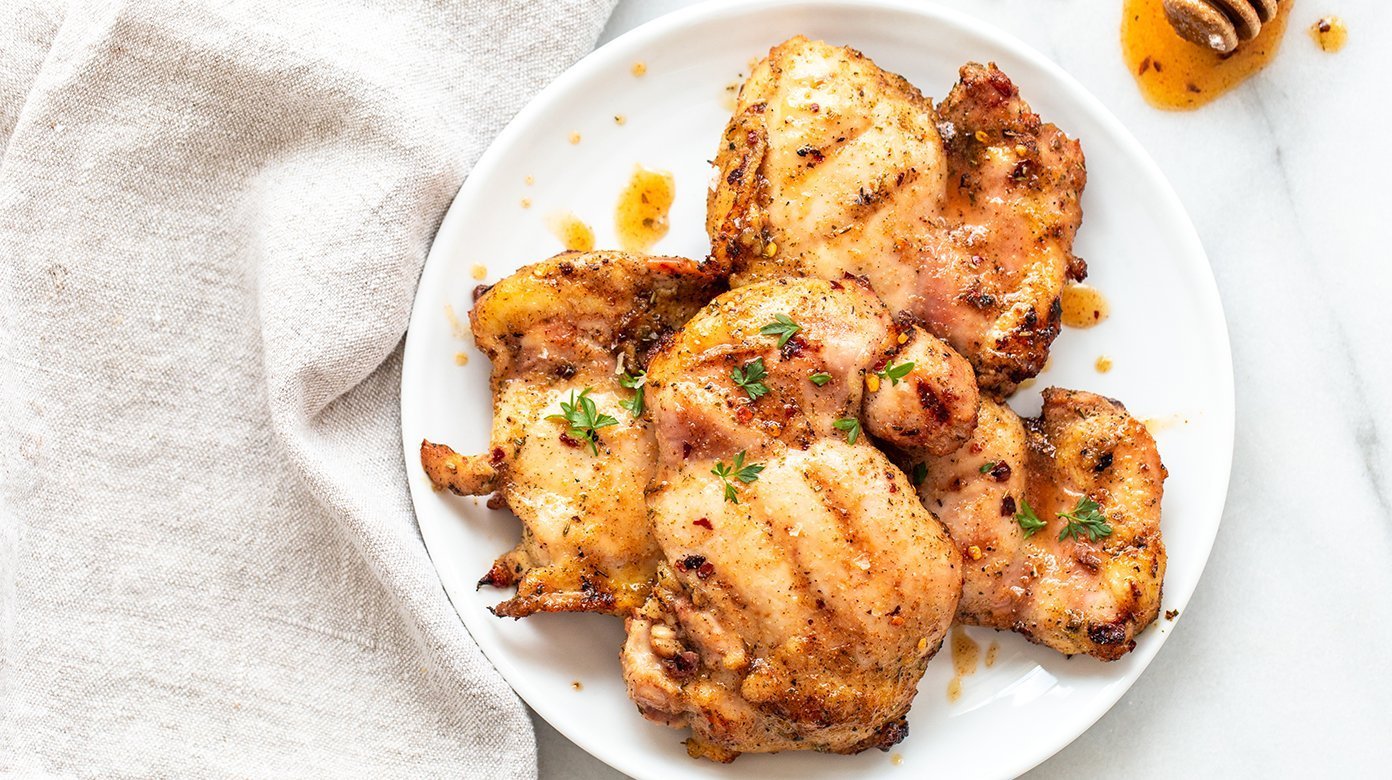
- Lid On, Lid Off: Knowing when to cook with the lid on versus off is crucial. Keeping the lid on helps retain heat and smoke, making it ideal for items that benefit from a smoky flavor, like ribs or brisket. On the other hand, cooking with the lid off is suitable for foods that cook quickly and benefit from direct exposure to the flames, such as steaks or skewers.
Tips for Success
To ensure your grilling experience is a success, keep these additional tips in mind:
- Monitoring the Temperature: Use a meat thermometer to ensure your meats are cooked to the desired level of doneness. Different meats have different optimal internal temperatures, so it's essential to keep a close eye on this.
- Flipping and Moving: Use long-handled tongs and a spatula to flip and move food around the grill. Avoid using a fork, as piercing the meat can cause juices to escape, leading to dry and less flavorful results.
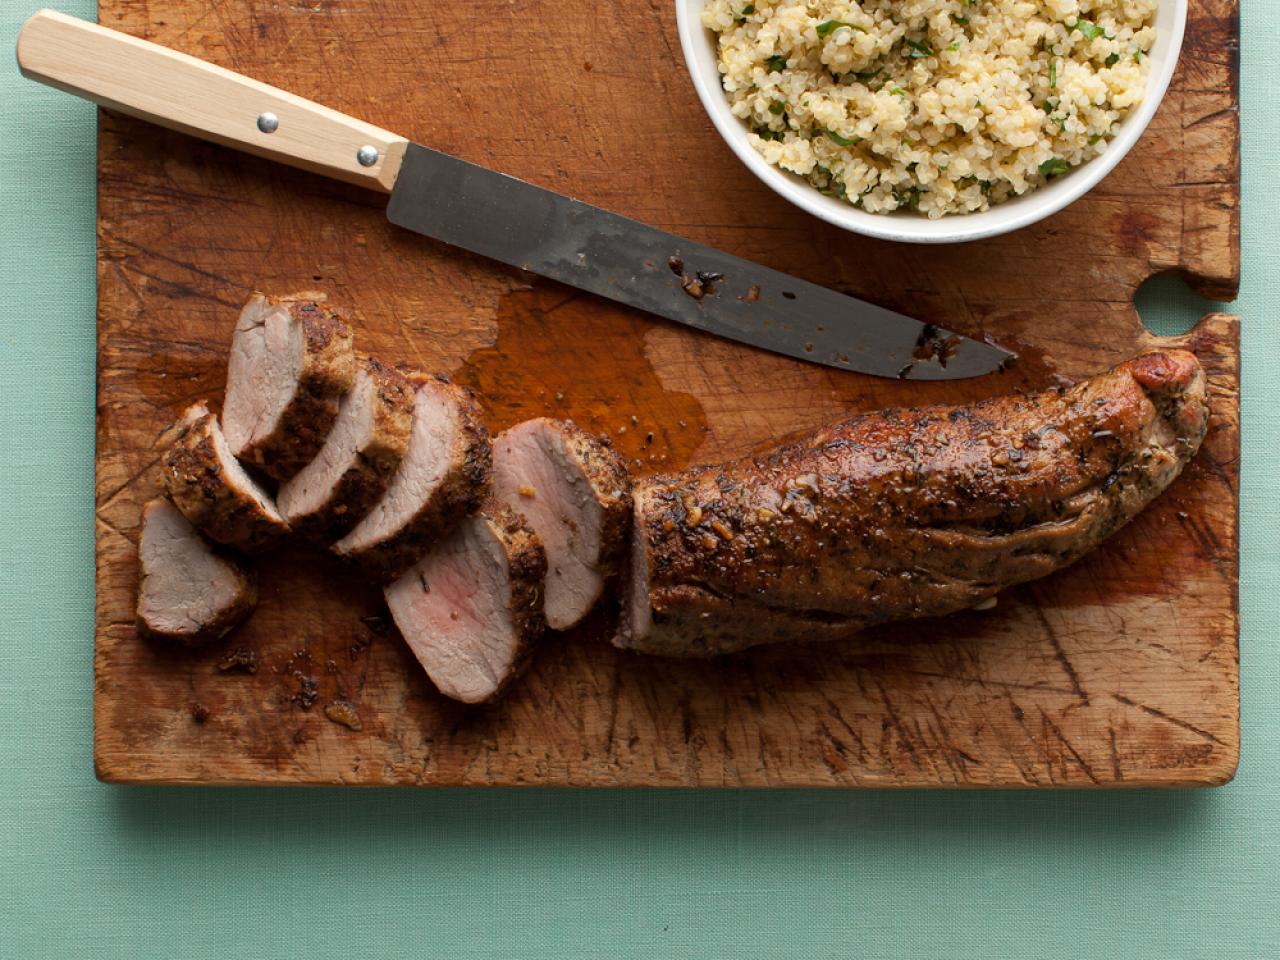
- Resting Time: Allow your grilled meats to rest for a few minutes before serving. This allows the juices to redistribute, resulting in a juicier and more flavorful end product.
Conclusion
Grilling on a Classic Weber Kettle is a time-honored tradition that yields delicious and satisfying results. By following these tips and techniques, you can elevate your grilling game and impress your friends and family with mouthwatering grilled dishes. So, fire up your Weber Kettle, gather your favorite ingredients, and get ready to savor the smoky, charred goodness that only a well-grilled meal can provide.
Was this page helpful?
Read Next: How To Grill Onions On Grill
Related Articles