Welcome to the Ultimate Guide on Glazing an Already Cooked Ham!
So you’ve got a delicious ham that’s already cooked, and now you want to take it to the next level with a mouthwatering glaze. Whether it’s for a holiday gathering, a special dinner, or just because you’re craving some sweet and savory goodness, glazing a ham is a fantastic way to elevate its flavor and appearance.
Choosing the Right Glaze
Before you start glazing, it’s important to choose the right glaze for your ham. There are countless options to consider, from classic brown sugar and honey glazes to more unique combinations like maple and Dijon mustard or pineapple and cloves. The key is to select a glaze that complements the natural flavors of the ham while adding a touch of sweetness and depth.
Here are a few popular glaze ideas to get you started:
- Classic Brown Sugar and Mustard Glaze
- Honey and Orange Glaze
- Maple and Bourbon Glaze
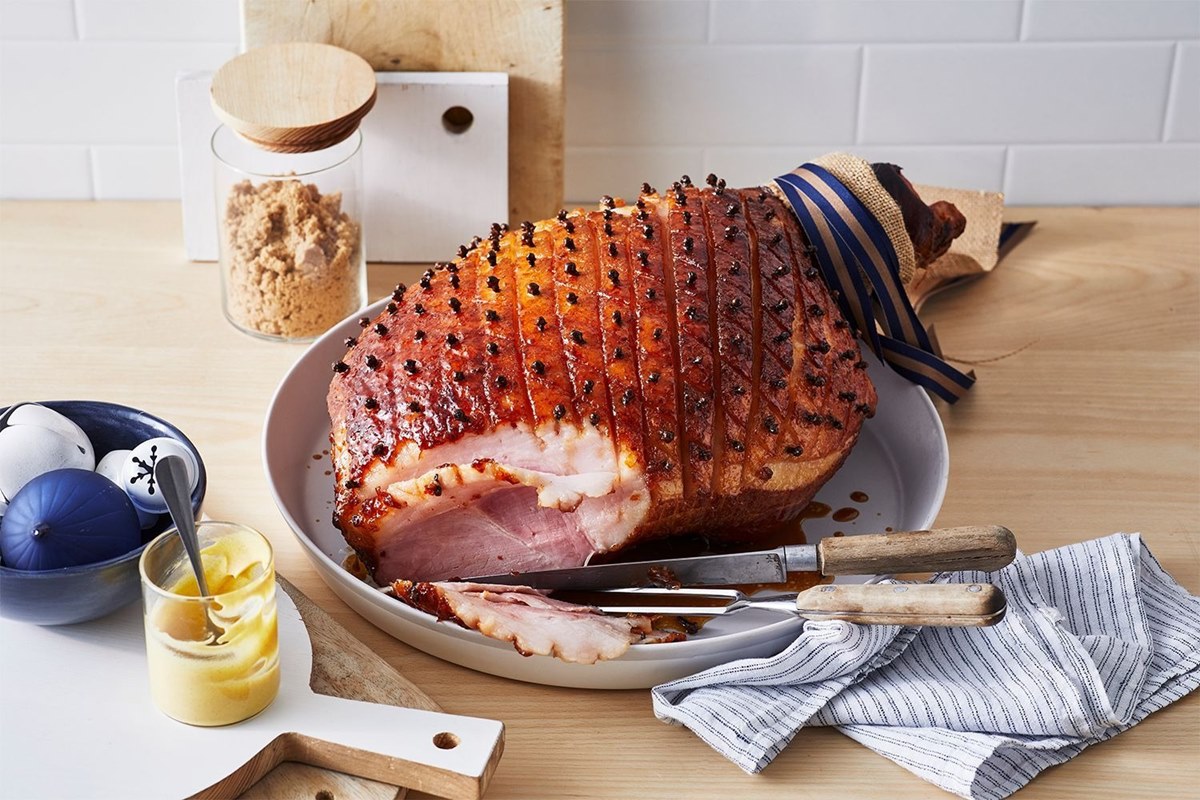
- Pineapple and Clove Glaze
Preparing the Ham
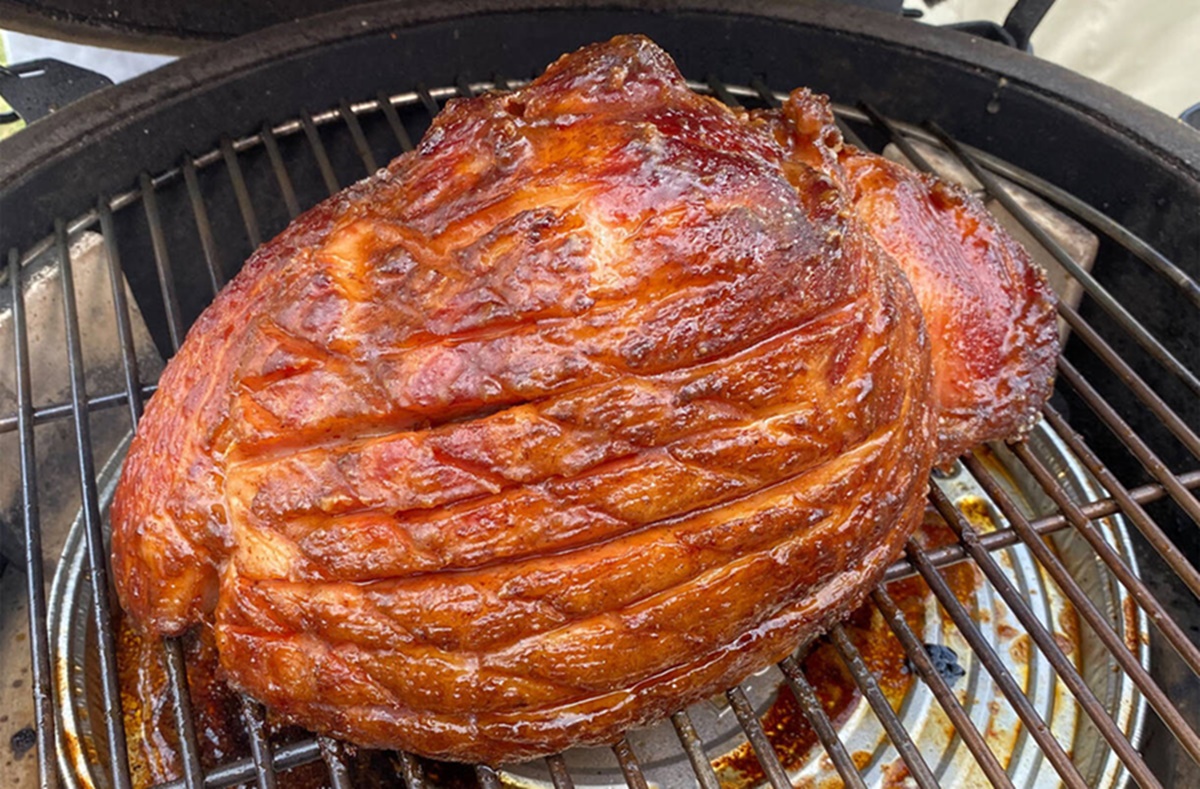
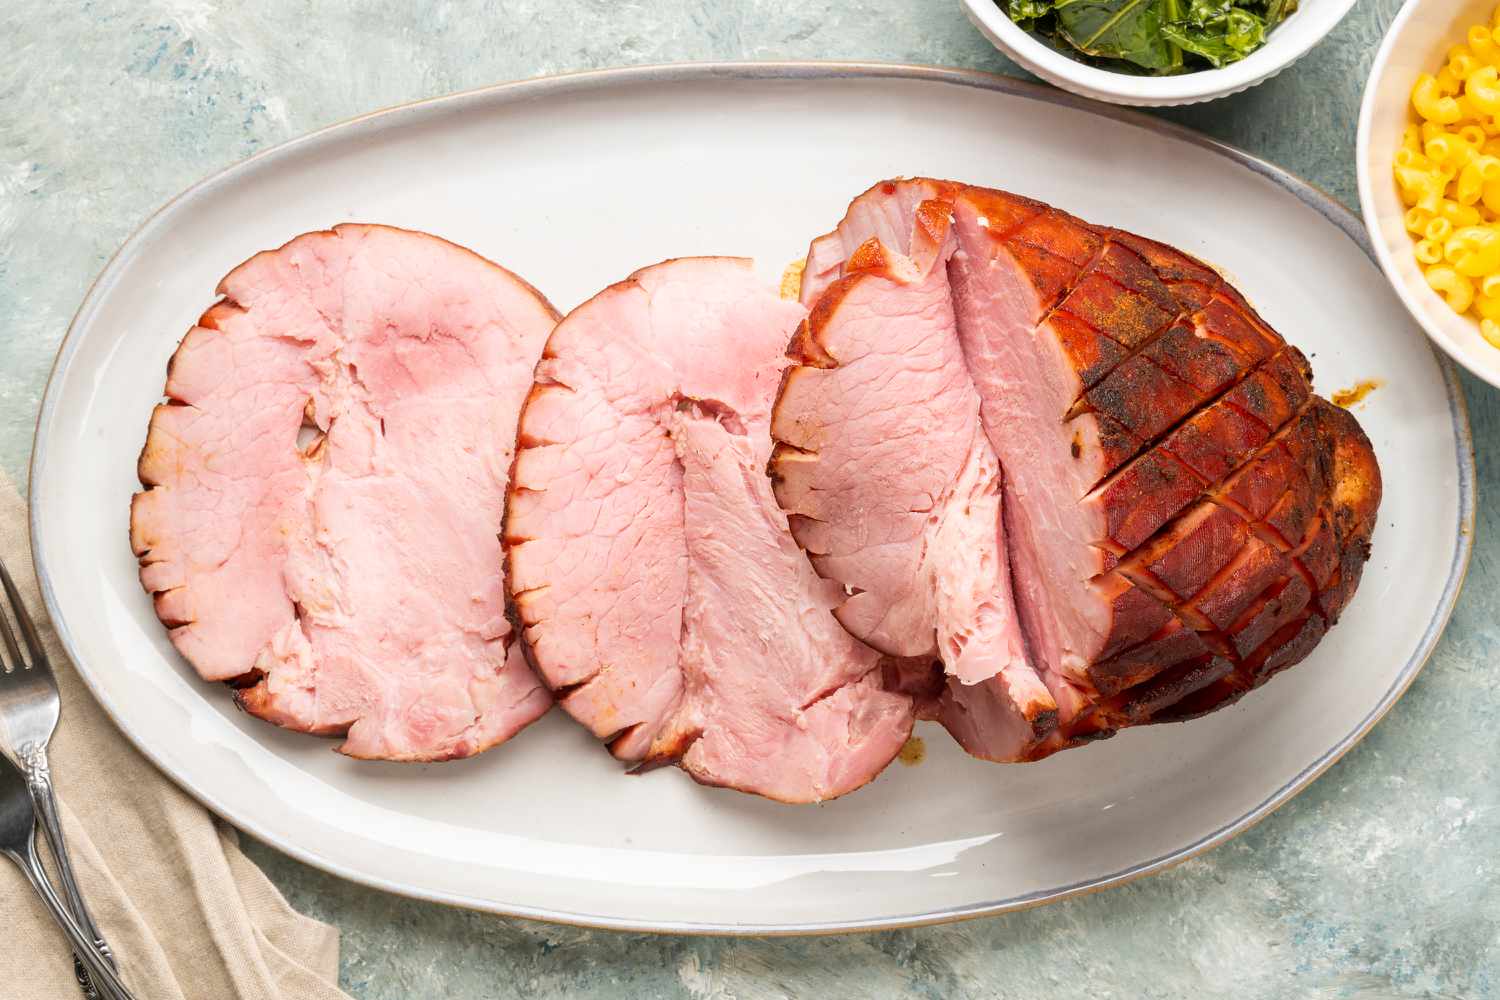
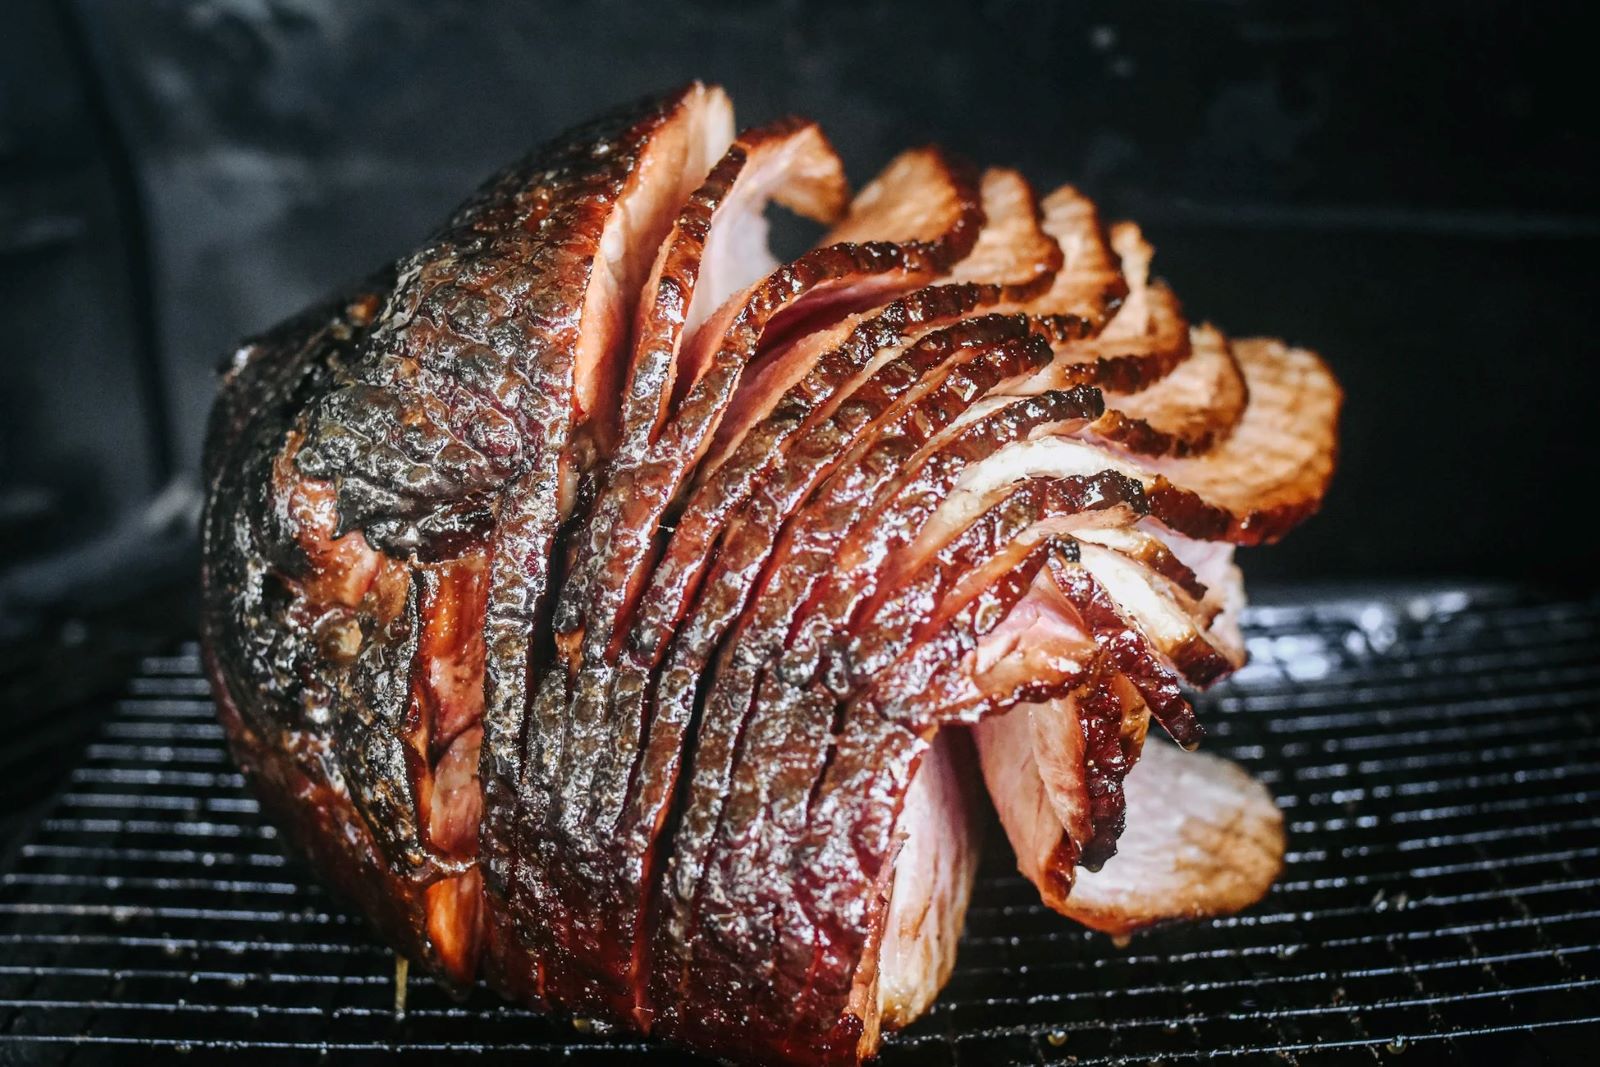
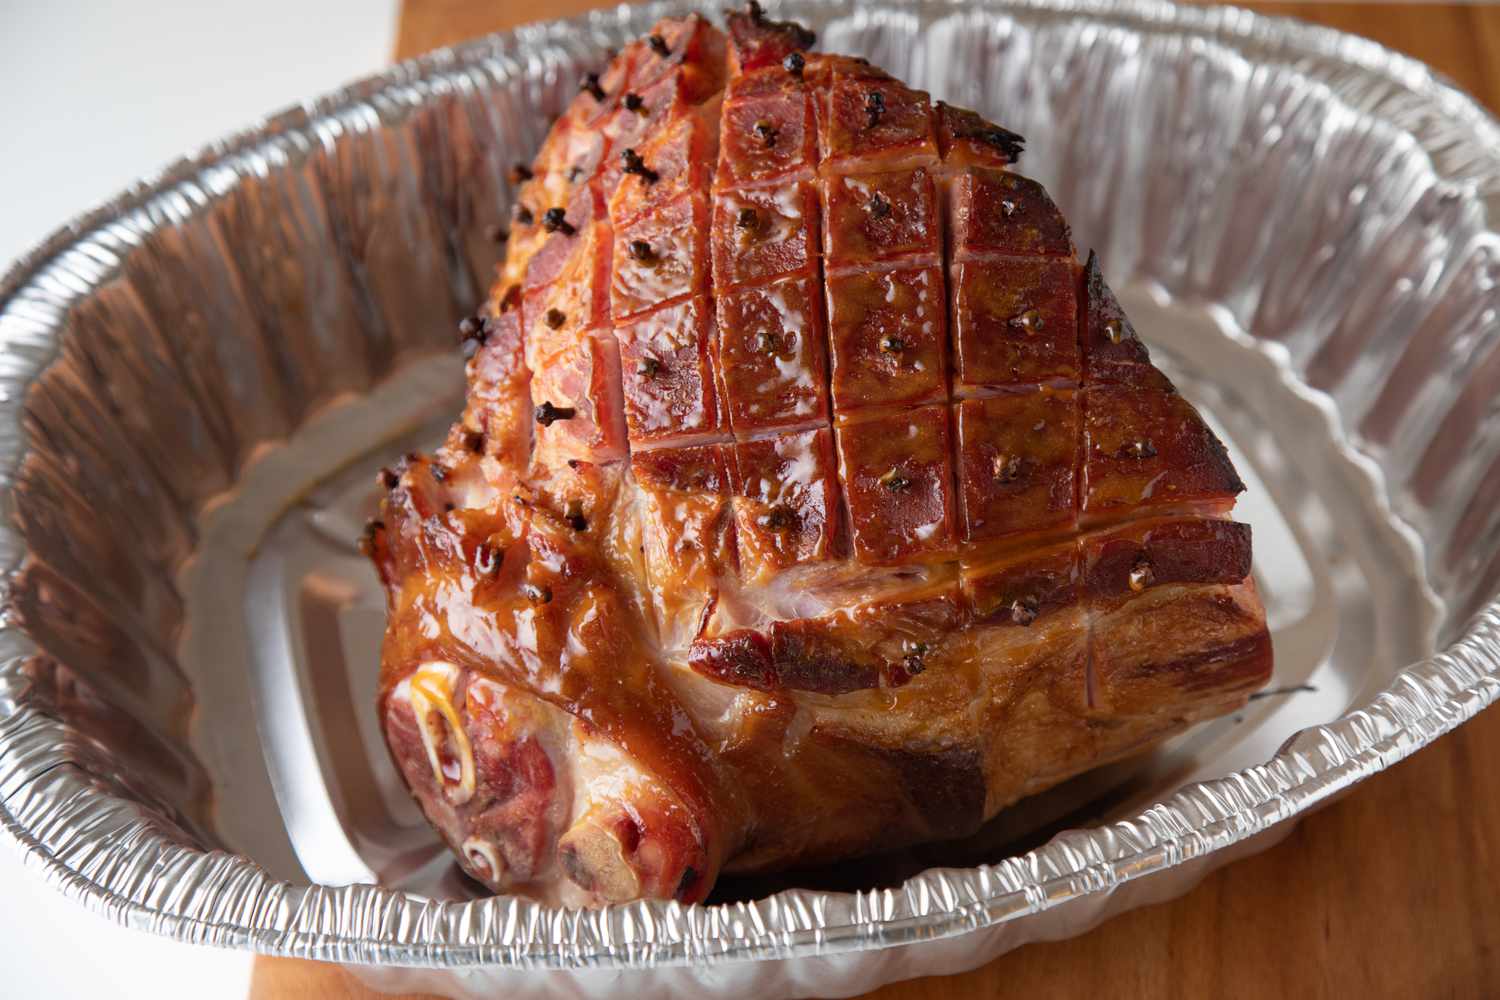
Before you can apply the glaze, you’ll need to prepare the ham. Start by preheating your oven to 325°F (165°C). If your ham is frozen, make sure it’s fully thawed before you begin. Place the ham in a roasting pan and score the surface in a diamond pattern to help the glaze penetrate and create a beautiful caramelized crust.
Applying the Glaze
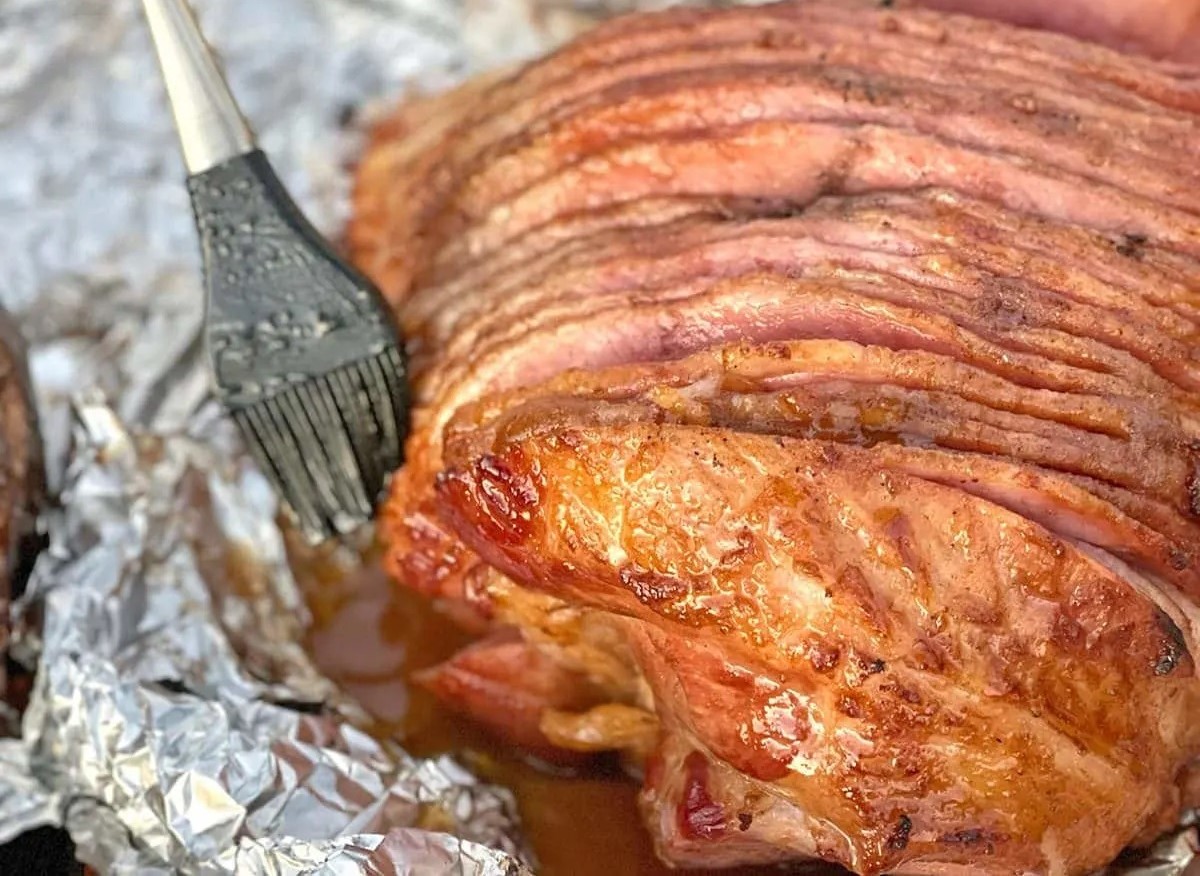
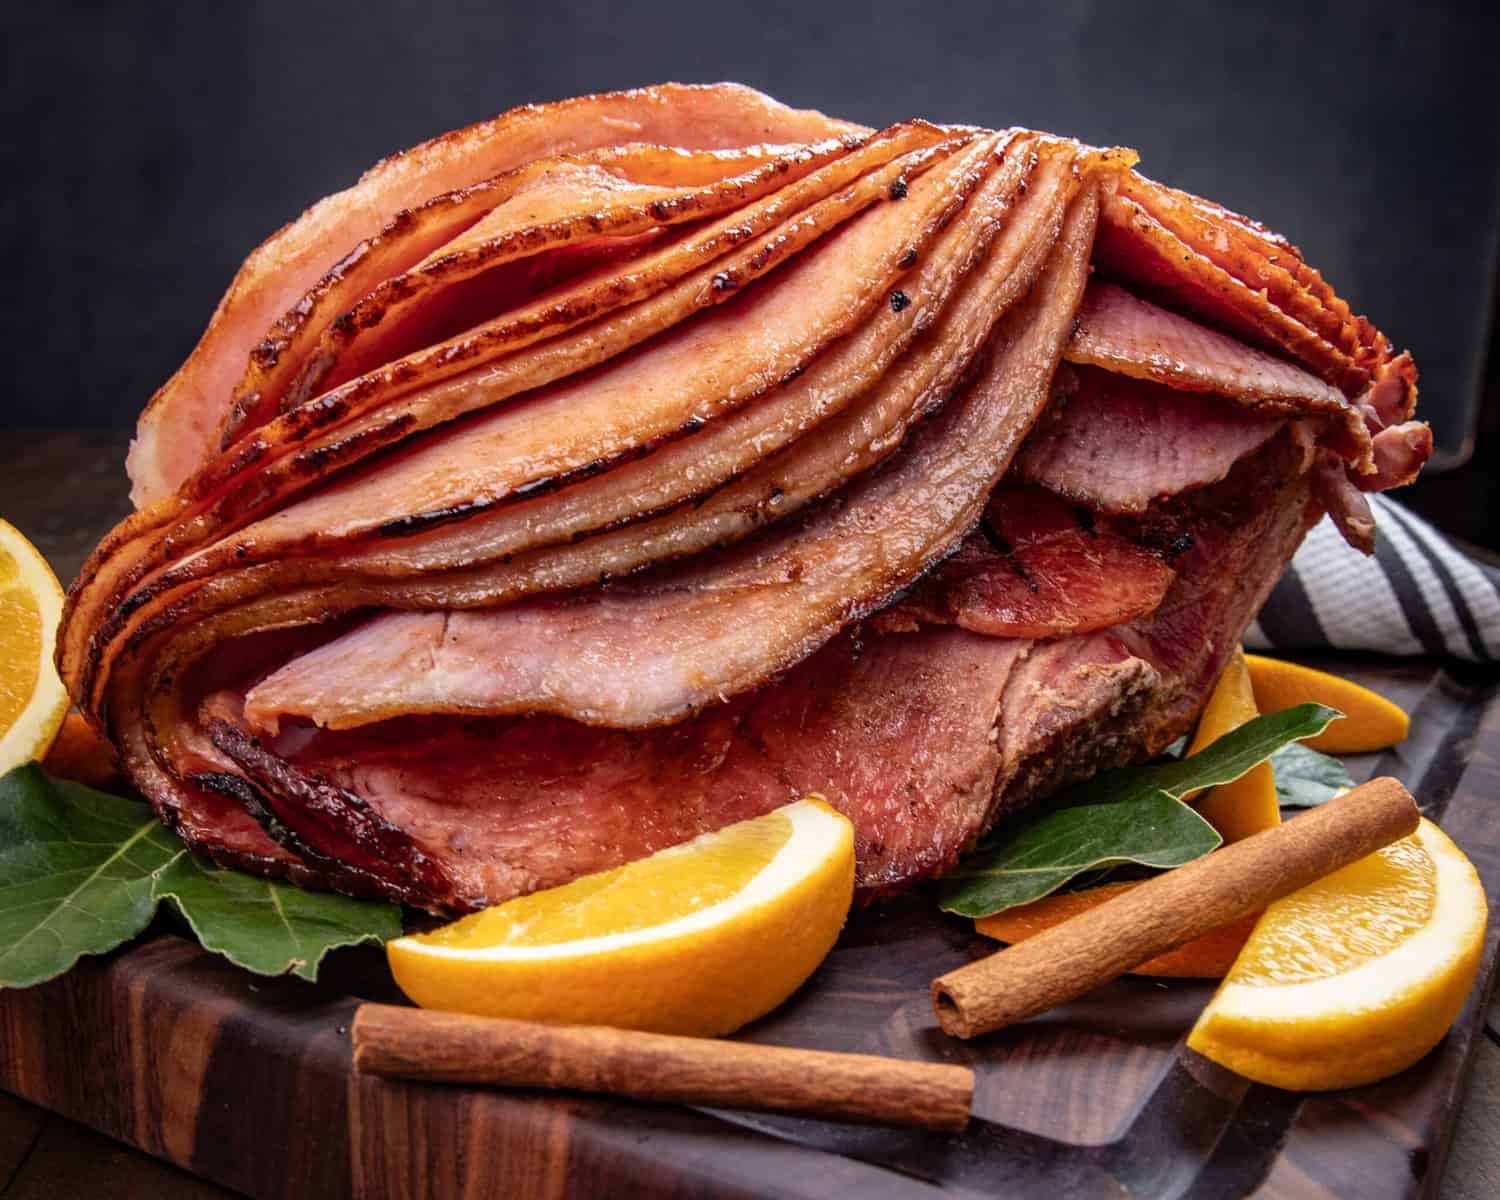
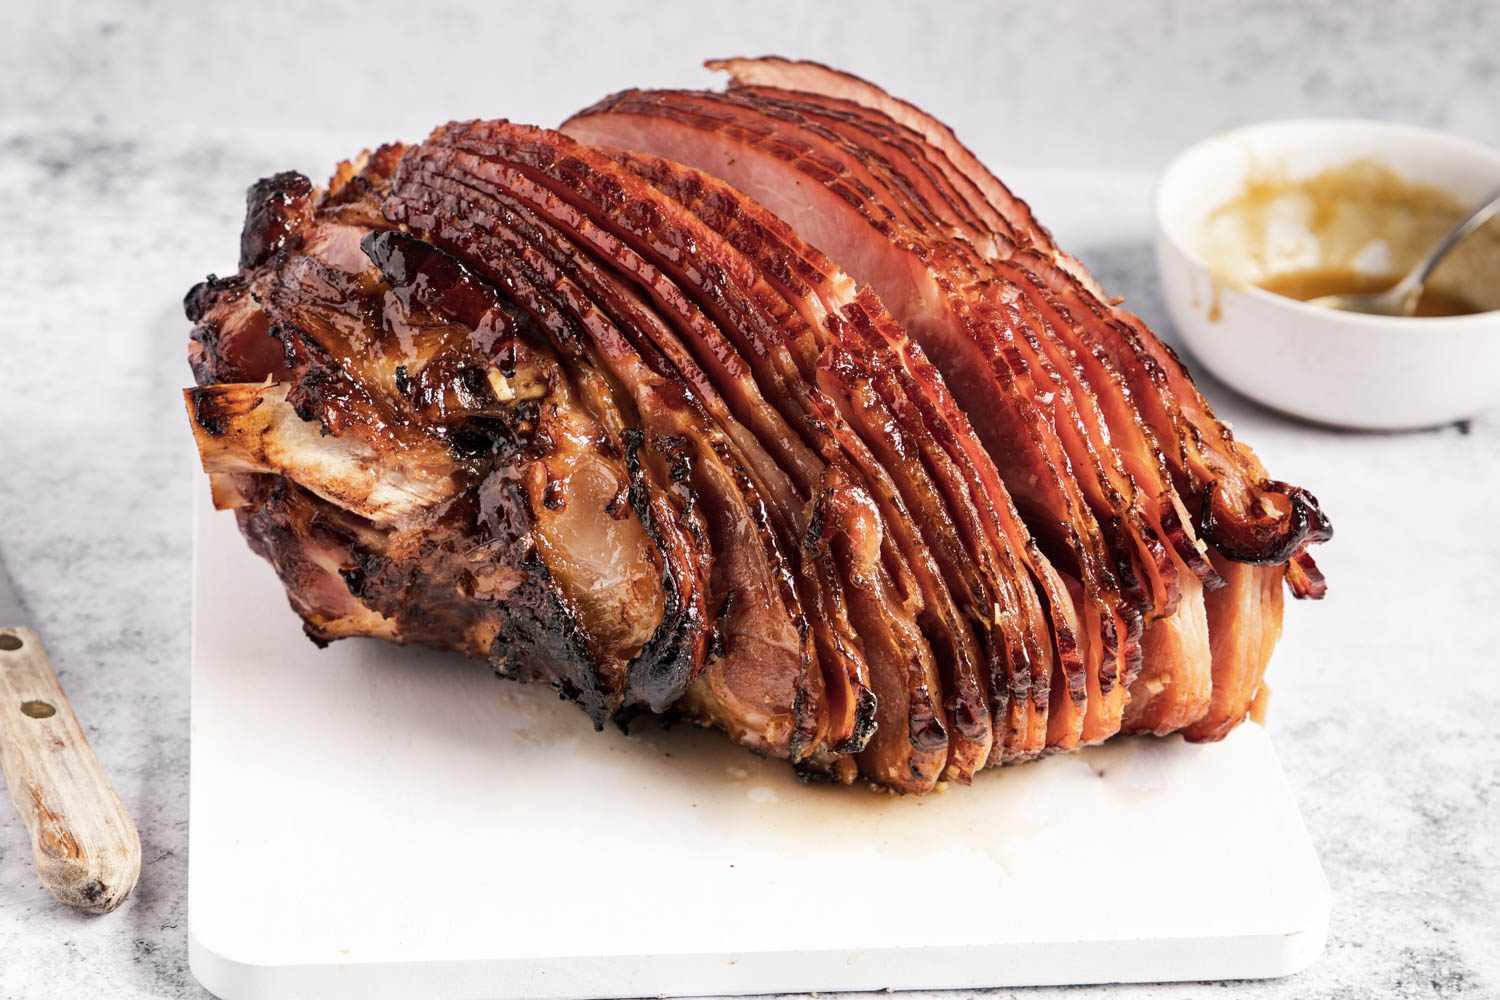
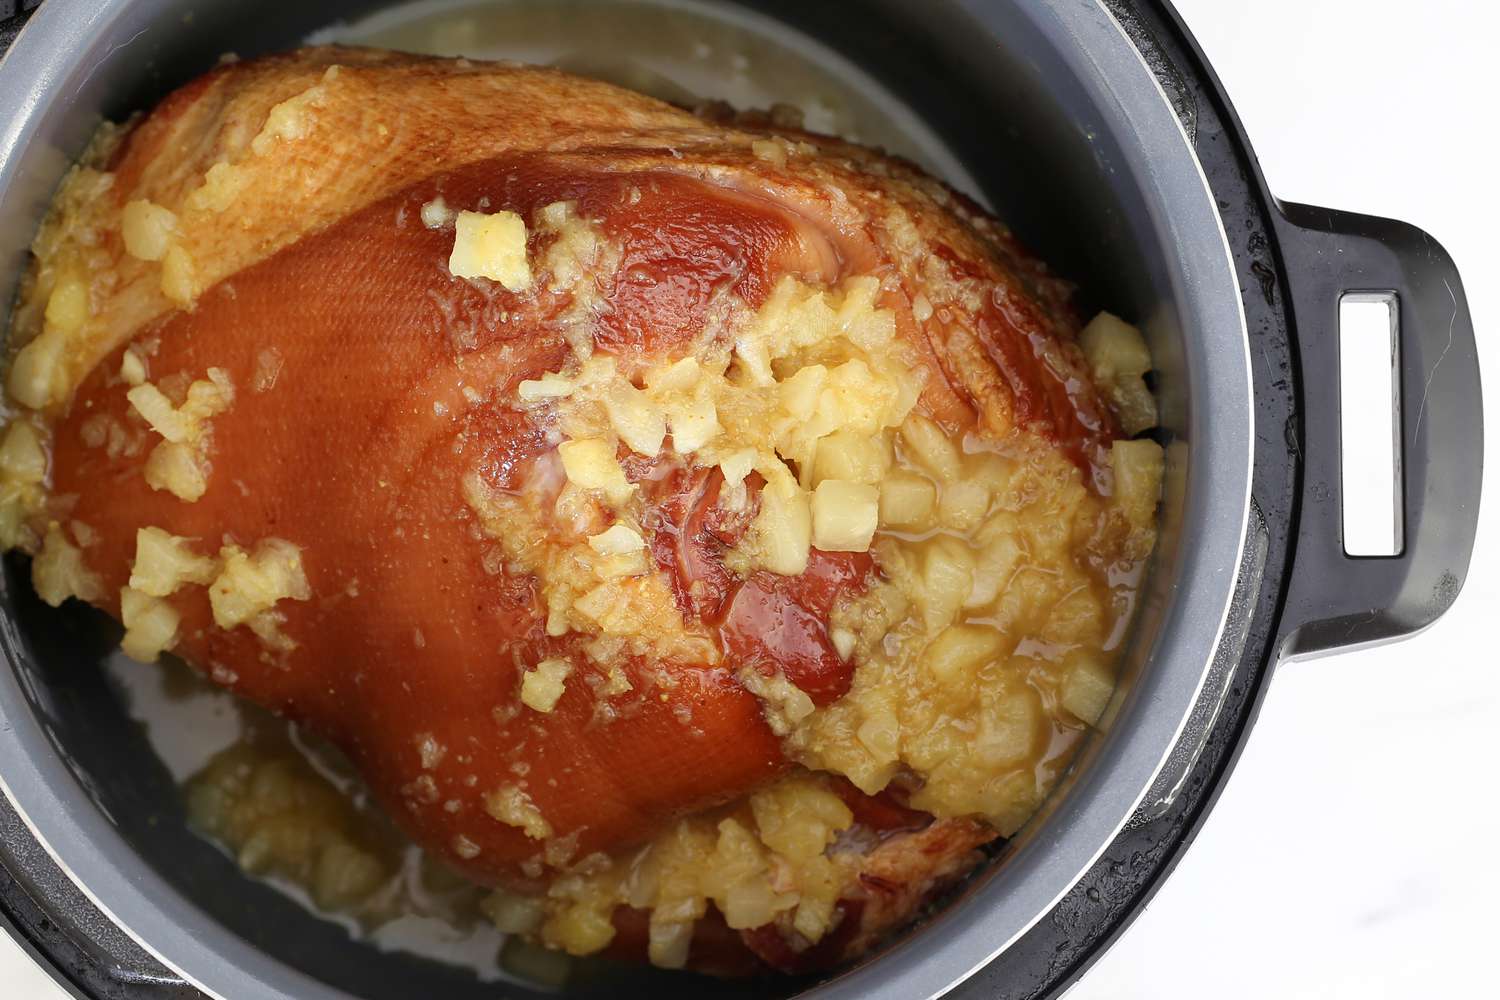
Now comes the fun part – applying the glaze! Using a brush or spoon, generously coat the entire surface of the ham with your chosen glaze. Make sure to get into all the nooks and crannies created by the scoring. For an extra flavor boost, you can also pour any remaining glaze into the bottom of the roasting pan to mingle with the ham juices as it cooks.
Baking the Glazed Ham
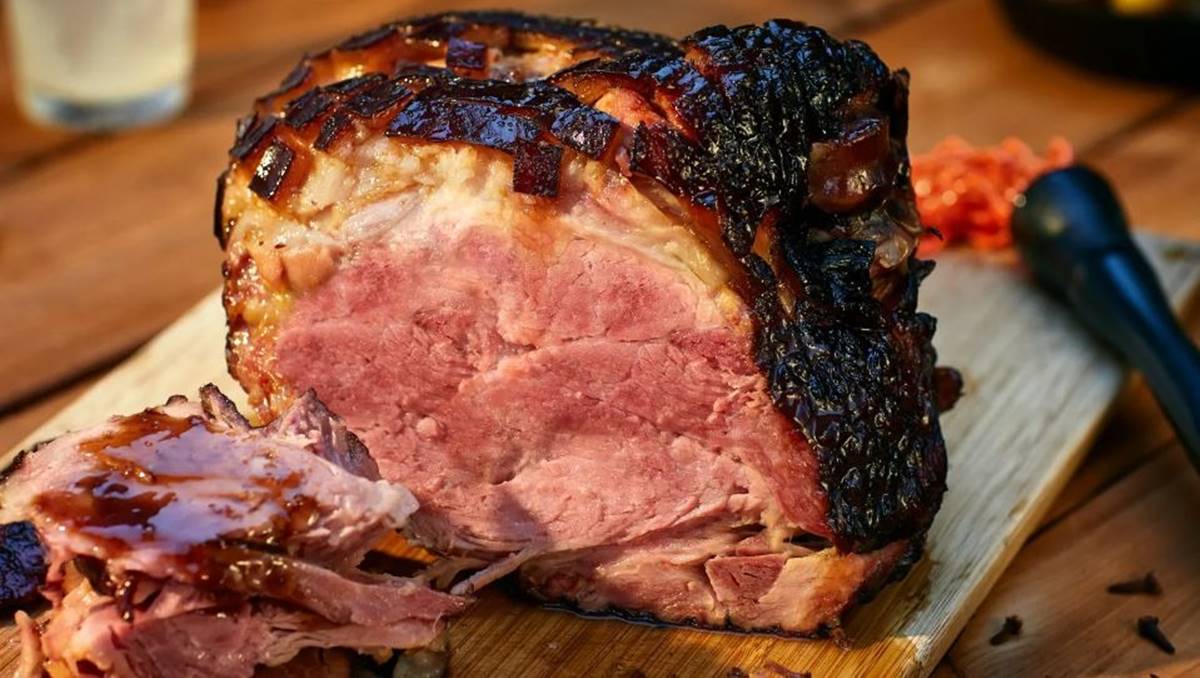
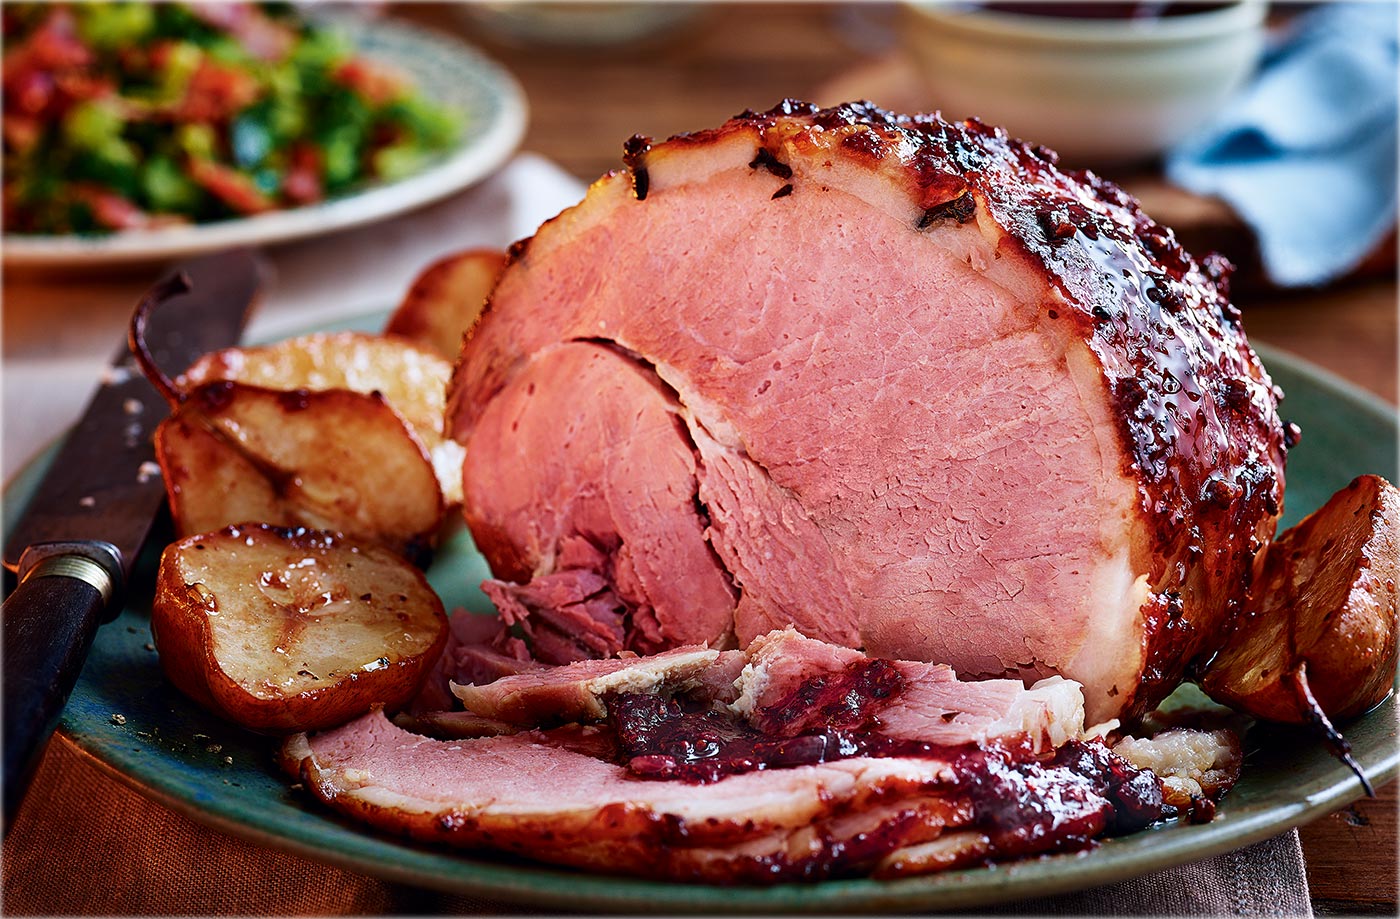
Once the ham is fully glazed, it’s time to bake it to perfection. Cover the ham with foil and place it in the preheated oven. The general rule of thumb is to bake the ham for 10-12 minutes per pound, or until it reaches an internal temperature of 140°F (60°C). About 20 minutes before the ham is done, remove the foil to allow the glaze to caramelize and create a beautiful, glossy finish.
Serving and Enjoying
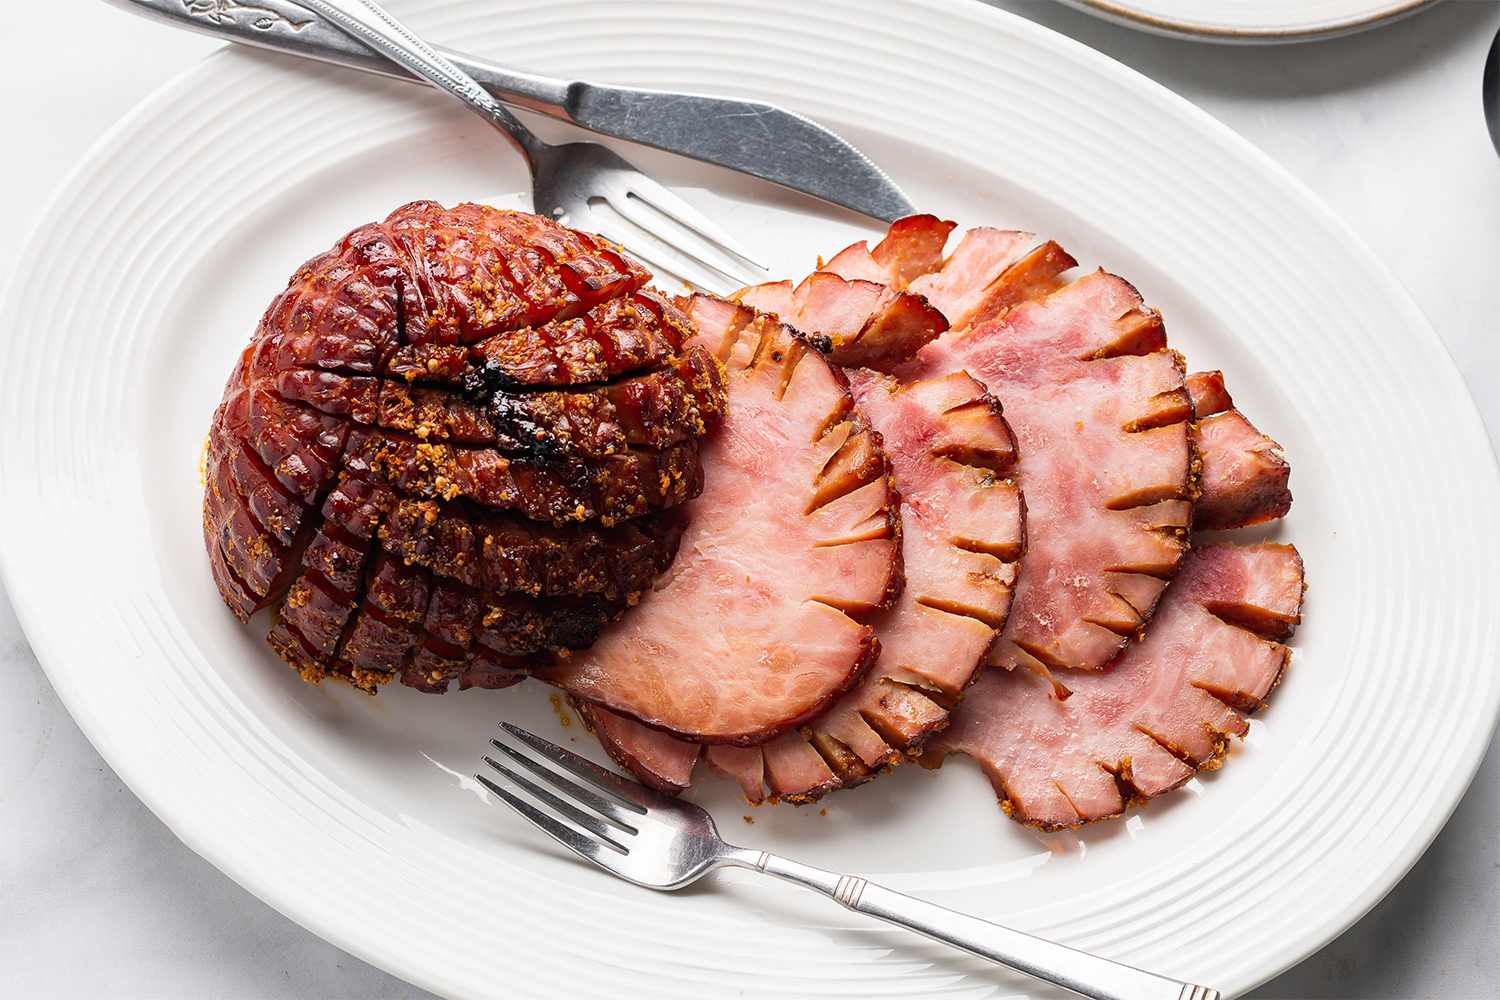
Once the ham is out of the oven and has had a chance to rest, it’s ready to be sliced and served. The glaze will have created a deliciously sticky and flavorful coating that will have your guests coming back for seconds (and maybe even thirds!). Whether you’re serving it with classic sides like mashed potatoes and green beans or incorporating it into sandwiches and salads, your glazed ham is sure to be a hit.
Conclusion
Glazing an already cooked ham is a fantastic way to add a burst of flavor and visual appeal to a classic dish. With the right glaze and a little bit of love, you can transform a simple ham into a show-stopping centerpiece for any meal. So go ahead, get creative with your glaze, and enjoy the delicious results!
Was this page helpful?
Related Articles