Mastering the Perfect Rack of Ribs on the Grill
There’s nothing quite like sinking your teeth into tender, juicy ribs fresh off the grill. Whether you are hosting a backyard BBQ or simply looking to impress your family with a delicious meal, knowing how to cook a rack of ribs on the grill is a skill every food enthusiast should master. Follow these steps, and you’ll be on your way to grilling perfection!
1. Selecting the Perfect Rack of Ribs
When it comes to ribs, choosing the right cut is crucial. St. Louis-style ribs or baby back ribs are the most popular options, known for their tender meat and rich flavor. Look for ribs with ample marbling and uniform thickness for consistent cooking.
- St. Louis-Style Ribs: Known for their meaty texture and well-balanced fat, these ribs are a favorite among grilling enthusiasts.
- Baby Back Ribs: Tender and lean, these smaller ribs are perfect for those who prefer a slightly milder flavor.
Remember to ask your butcher to remove the silver skin from the back of the rack, as it can hinder the absorption of flavors during the cooking process.
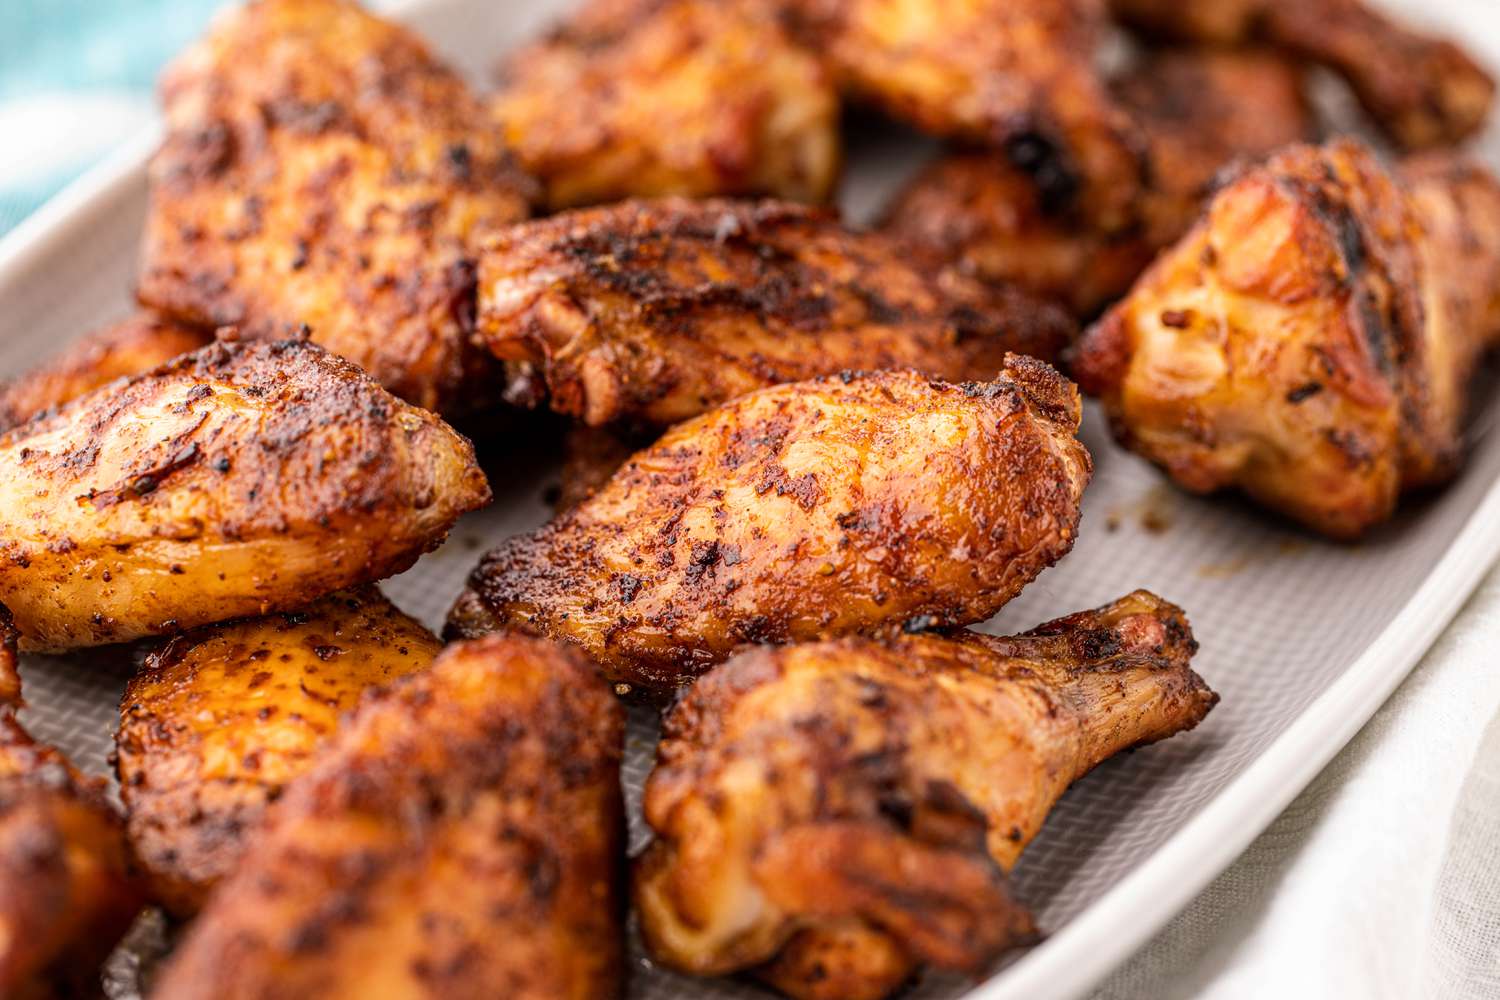
2. Prepare a Flavor-Packed Rub
A good rub can elevate your ribs from tasty to downright unforgettable. Create a dry rub by combining a blend of spices such as paprika, brown sugar, garlic powder, chili powder, salt, and pepper. Customize the rub to your taste preferences, adding a hint of cayenne pepper for some heat or smoked paprika for a smoky flavor.
3. Prepping the Grill
Preheat your grill to medium heat, aiming for a temperature of around 225-250°F (107-121°C). For added flavor, consider using wood chips or chunks, such as hickory or applewood, for a subtle smoky taste.
Indirect grilling is essential when cooking ribs. This means that the heat source should be placed on one side of the grill, and the ribs on the other. This method allows for slow, even cooking, preventing the meat from drying out.
4. Slow and Low Cooking
Once the grill is preheated and set up for indirect grilling, it’s time to cook those ribs to perfection. Place the rack bone-side down on the grill grates, away from direct heat. Close the lid and allow the ribs to cook slowly and absorb the flavors for approximately 4-6 hours.
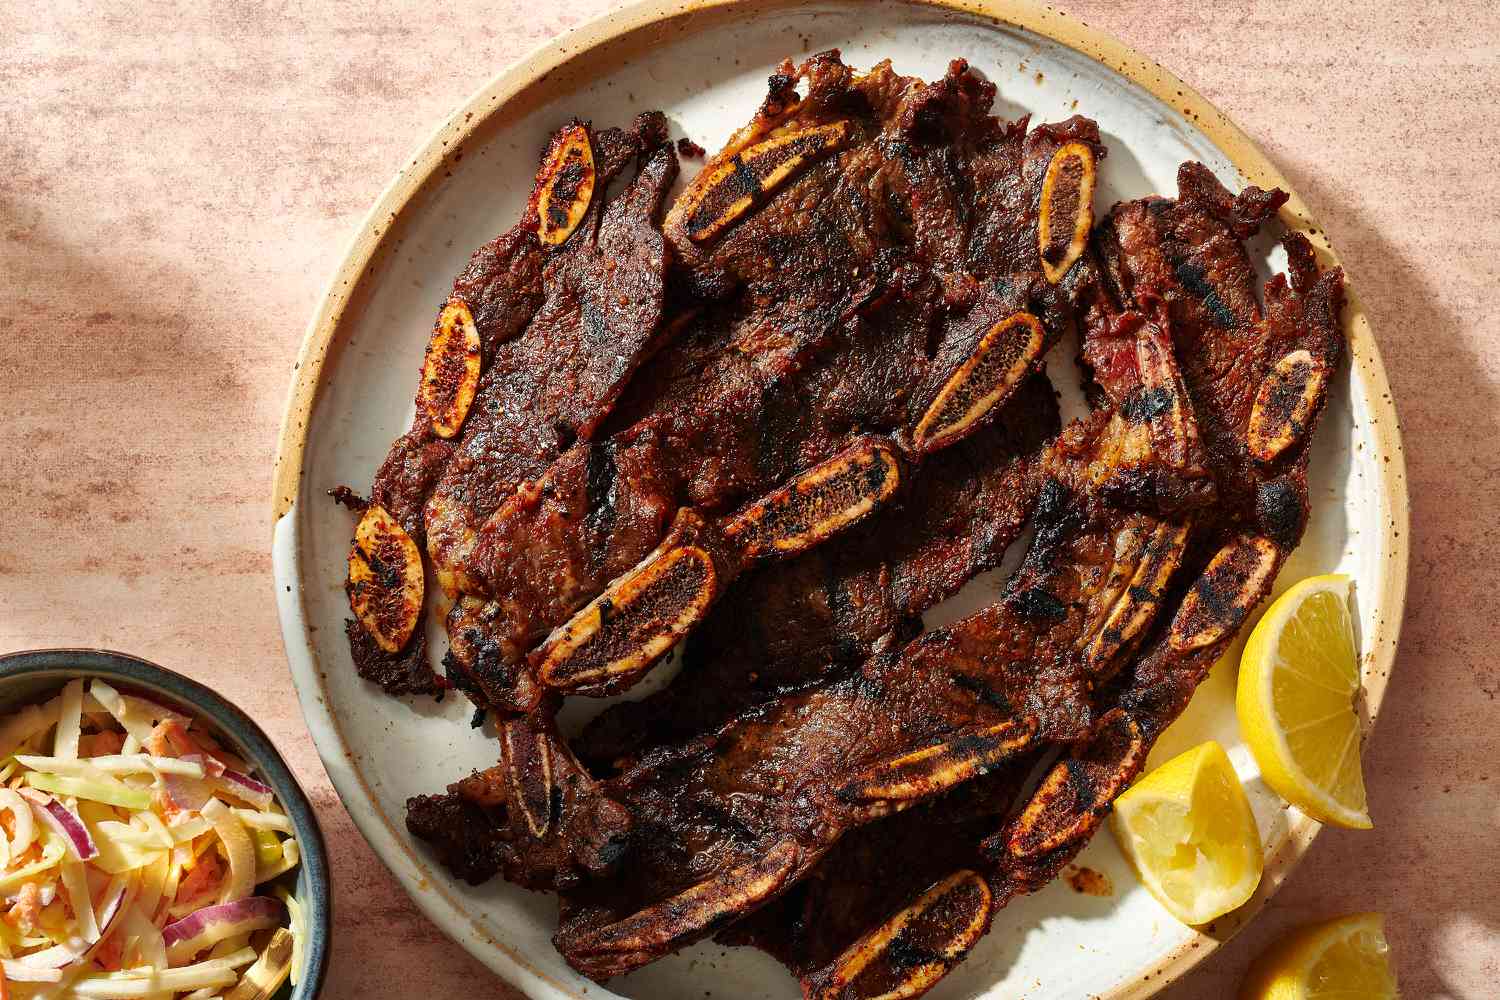
5. Saucing it Up
After a few hours of cooking, it’s time to apply your favorite barbecue sauce. Brush on the sauce generously using a basting brush and let it caramelize over the ribs for an additional 20-30 minutes. Be sure to monitor the heat carefully as the sugars in the sauce can burn quickly.
6. Let Them Rest
Once the ribs are cooked to perfection, remove them from the grill and give them a chance to rest. This allows the juices to redistribute, resulting in even more succulent ribs. Tent the ribs lightly with aluminum foil and let them rest for about 10-15 minutes.
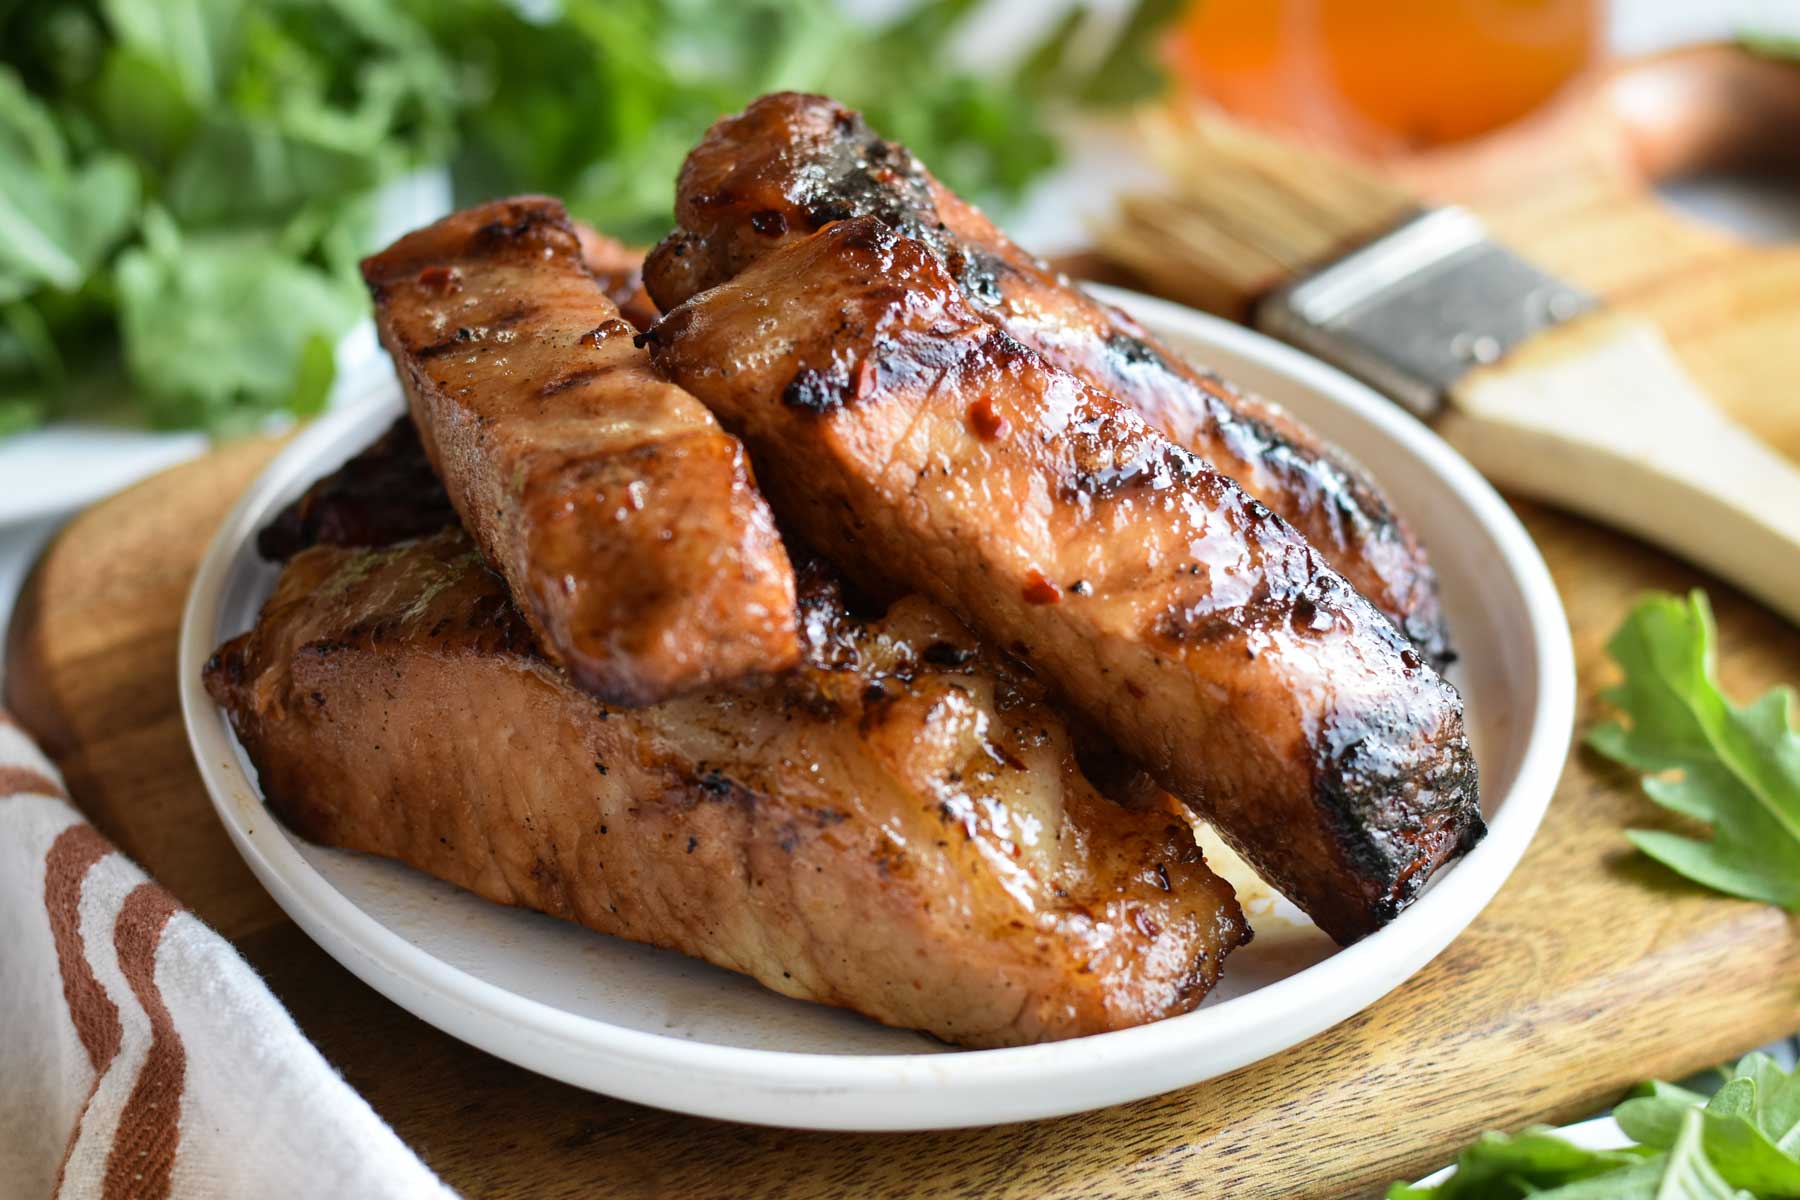
7. Slice, Serve, and Enjoy!
Using a sharp knife, slice the rack of ribs between the bones, and watch as the tender meat falls off. Serve them up with your favorite sides and get ready to savor the delicious flavors you’ve created.
Now that you’ve mastered the art of cooking a rack of ribs on the grill, it’s time to share this culinary skill with your friends and family. Remember, practice makes perfect, so don’t be afraid to experiment with different rubs and sauces to create your signature ribs that will leave everyone begging for more.
Was this page helpful?
Read Next: How To Cook Bbq Chicken Thighs In The Oven
Related Articles