Get Creative with Your Watermelon Carving
Watermelons are a staple of summer, and what better way to celebrate the season than by carving a tiki watermelon? This fun and creative activity is perfect for parties, barbecues, or just a fun family activity. With a little bit of patience and creativity, you can turn a regular watermelon into a stunning tiki masterpiece.
Step 1: Gather Your Supplies
Before you begin carving your tiki watermelon, make sure you have all the necessary supplies on hand. You will need:
- A large, ripe watermelon
- A sharp knife
- A pencil or washable marker
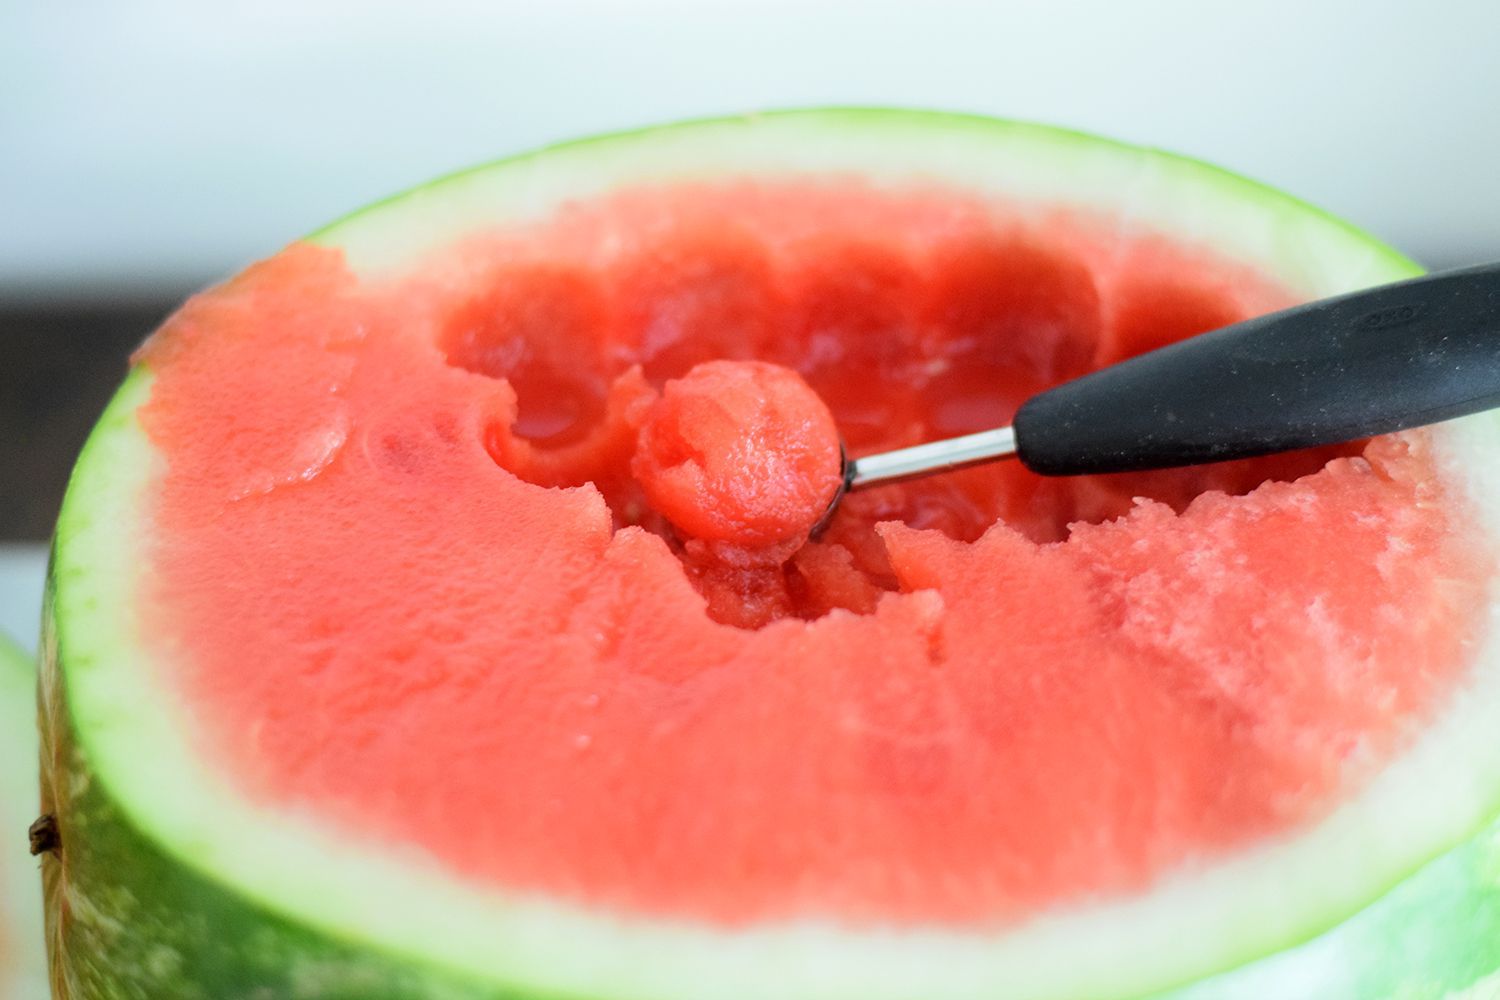
- A melon baller or small spoon
- A variety of other fruits for garnish (optional)
Step 2: Prepare Your Watermelon
Start by washing the watermelon thoroughly to remove any dirt or debris from the rind. Once it’s clean, use the pencil or washable marker to sketch out your tiki design. You can go for a traditional tiki face or get creative and come up with your own unique design.
Step 3: Carve Your Tiki
Using a sharp knife, carefully carve out the features of your tiki design. Take your time and work slowly to ensure precision. Once you have carved out the main features, use a melon baller or small spoon to scoop out the flesh from the areas you want to hollow out. This will give your tiki a three-dimensional look and make it stand out.
Step 4: Add Garnishes (Optional)
If you want to take your tiki watermelon to the next level, consider adding some garnishes. You can use other fruits like strawberries, kiwi, or pineapple to create a colorful and eye-catching display. Simply use toothpicks to attach the fruit to the watermelon and let your creativity run wild.
Step 5: Display and Enjoy
Once your tiki watermelon masterpiece is complete, it’s time to show it off! Place it on a serving platter and watch as your guests marvel at your handiwork. Not only does it make for a stunning centerpiece, but it’s also a delicious and refreshing treat for everyone to enjoy.
Conclusion
Carving a tiki watermelon is a fun and creative way to elevate your summer gatherings. Whether you’re hosting a luau-themed party or just want to add a touch of whimsy to your next barbecue, a tiki watermelon is sure to impress. So grab a watermelon and some carving tools, and let your imagination run wild!
Was this page helpful?
Read Next: How To Carve A Tomahawk Steak
Related Articles