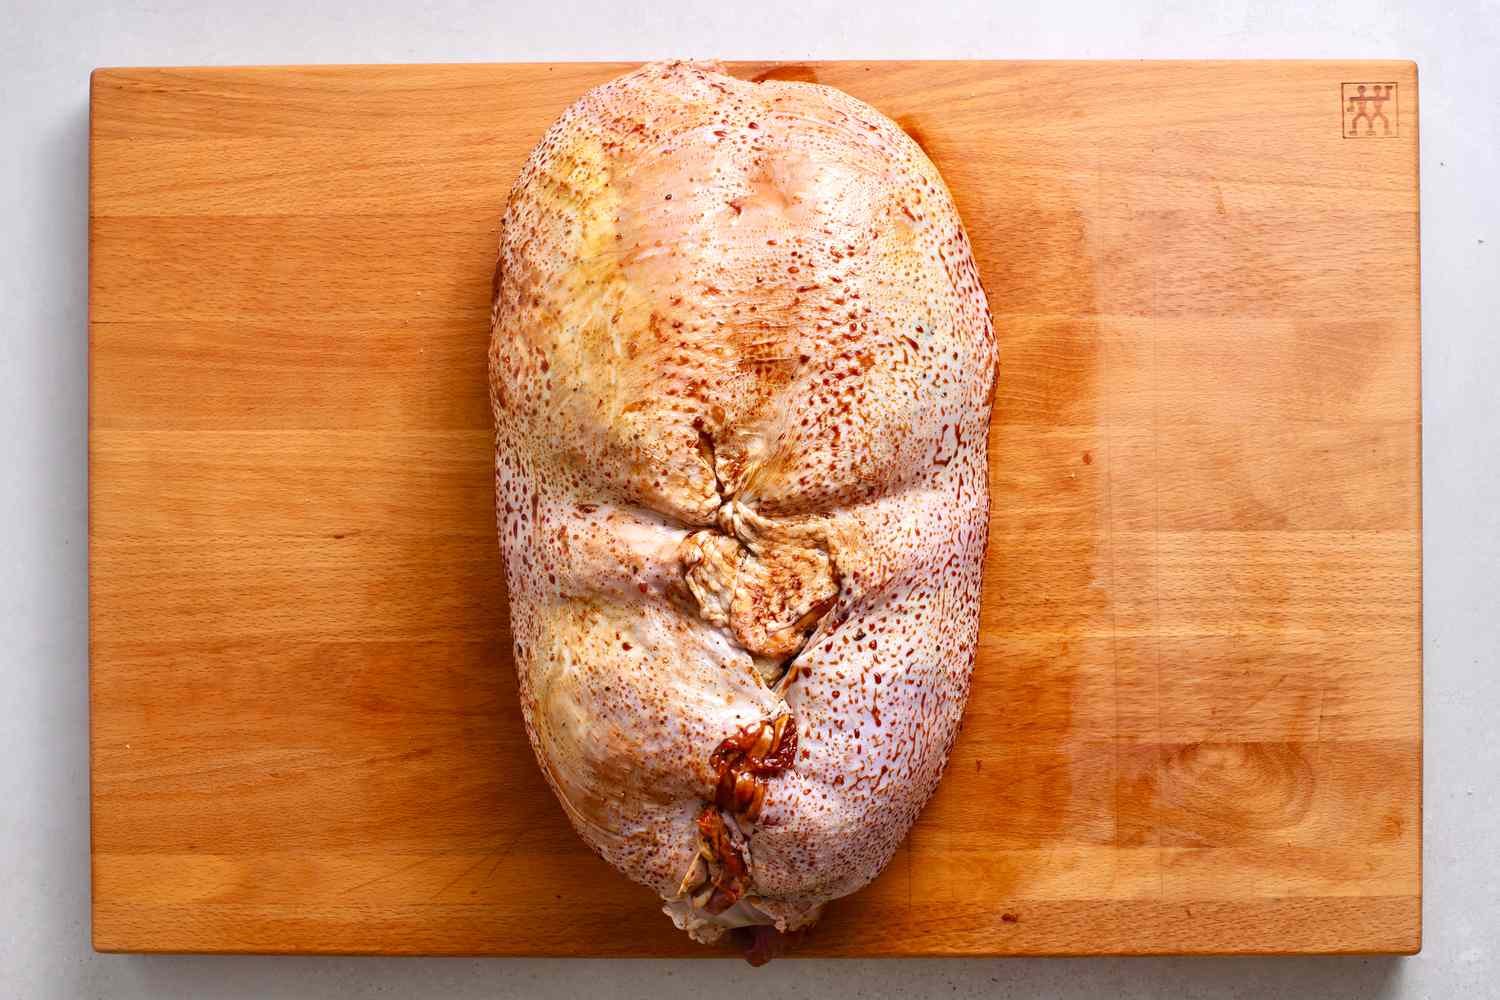
Carving a Rolled Rump Roast Like a Pro
Carving a rolled rump roast can seem like a daunting task, but with the right technique, you can easily impress your guests with perfectly sliced, tender meat. Whether you’re preparing a special dinner or hosting a holiday feast, mastering the art of carving a rolled rump roast is a valuable skill for any home cook. Follow these simple steps to carve your rolled rump roast like a pro.
What You’ll Need
Before you begin, make sure you have the following tools on hand:
- Sharp carving knife
- Cutting board
- Meat fork or tongs
Let the Roast Rest
Before you start carving, it’s important to let the roast rest for about 10-15 minutes. This allows the juices to redistribute, ensuring a moist and flavorful result. Place the roast on a cutting board and cover it loosely with foil to keep it warm while it rests.
Locate the Grain
Identifying the direction of the grain is crucial for carving a rolled rump roast. The grain refers to the natural lines in the meat fibers. Use a sharp knife to make shallow cuts across the top of the roast to help you determine the direction of the grain.
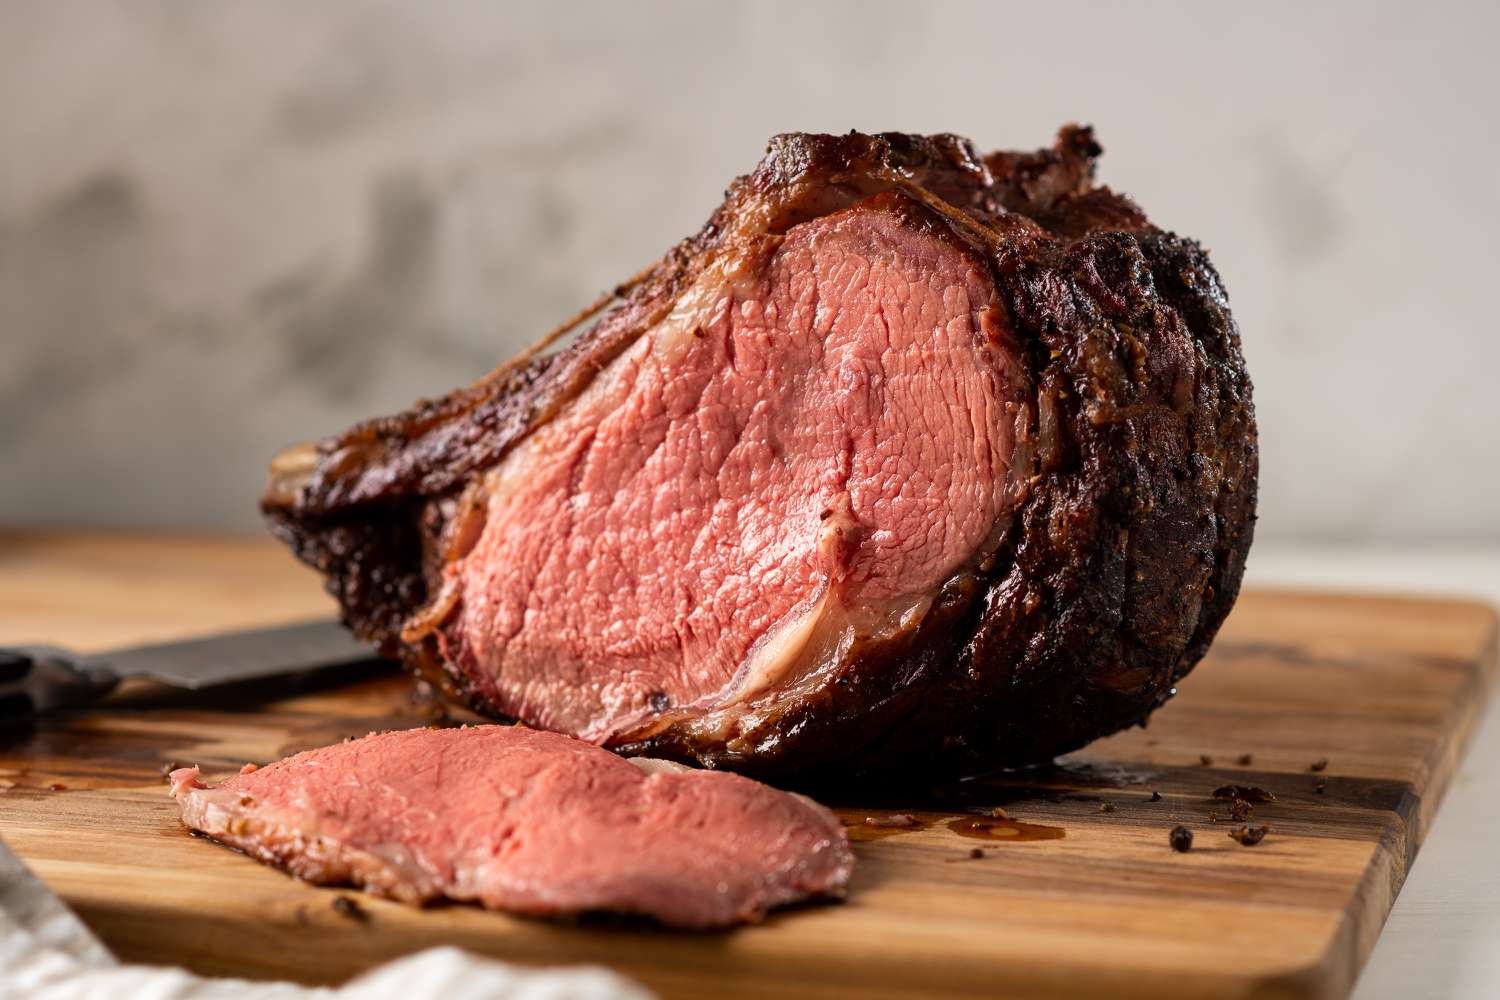
Carve Against the Grain
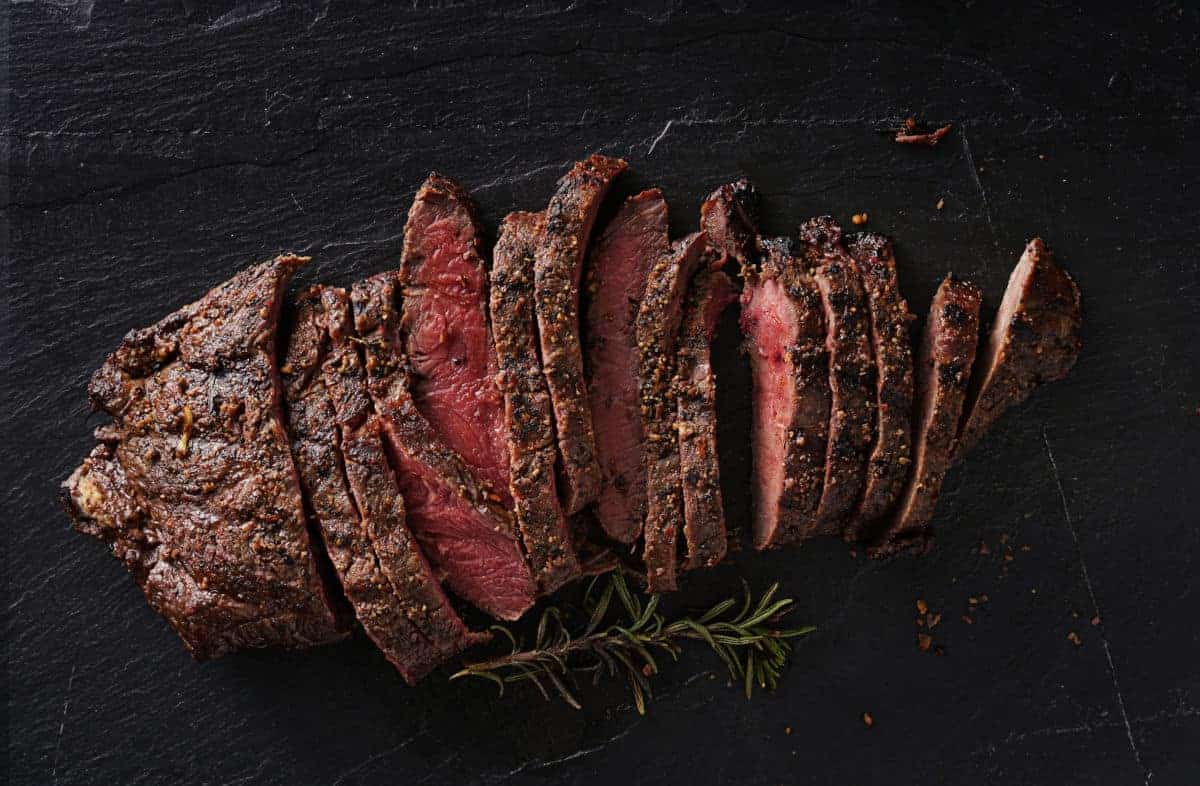
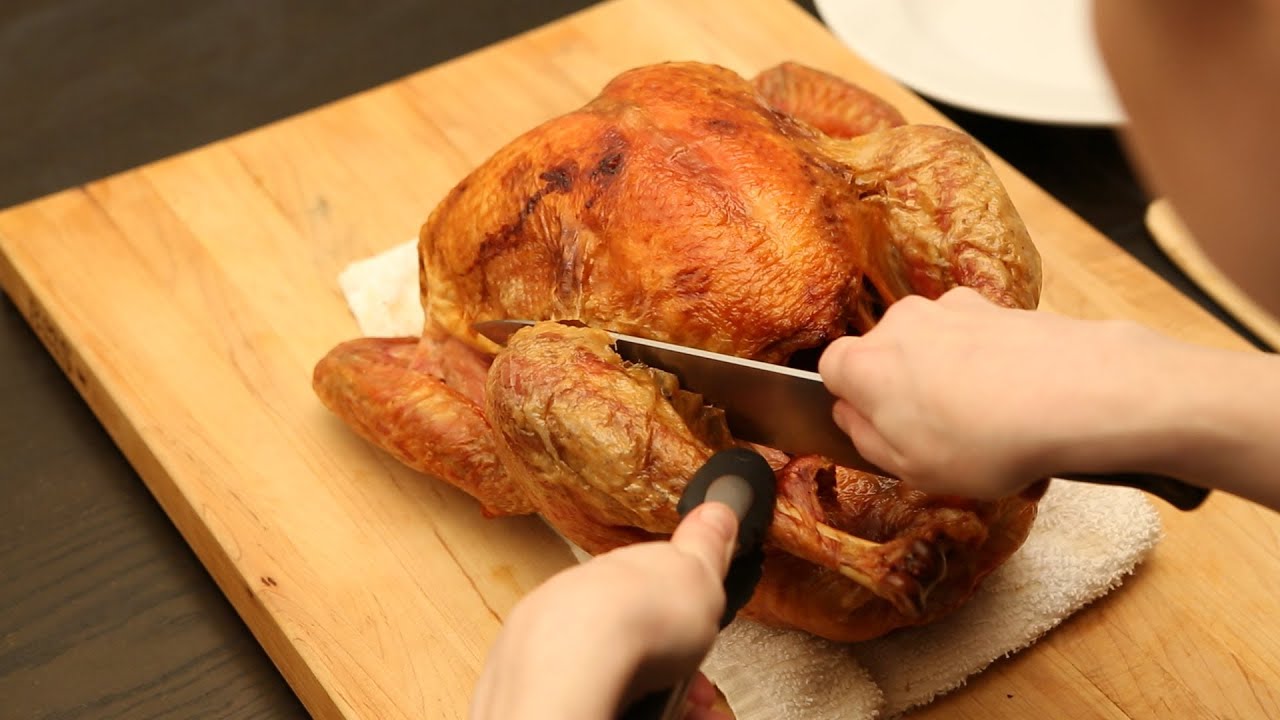
Once you’ve located the grain, it’s time to start carving. Use a sharp carving knife to slice the roast against the grain. This technique helps break up the muscle fibers, resulting in tender, easy-to-chew slices.
Slice and Serve
As you carve the roast, aim for thin, even slices. Arrange the slices on a serving platter, and be sure to save any flavorful pan juices to drizzle over the meat. Once you’ve finished carving, it’s time to serve and enjoy your delicious rolled rump roast.
Additional Tips
Here are a few extra tips to ensure your carved rolled rump roast turns out perfectly:
- Use a sharp knife: A sharp carving knife will make the carving process much easier and safer.
- Take your time: Carving a roast is not a race. Take your time to ensure each slice is just right.
- Practice makes perfect: If you’re new to carving roasts, don’t be discouraged if it takes a few tries to get the hang of it. With practice, you’ll become a pro in no time.
With these simple steps and tips, you can confidently carve a rolled rump roast like a pro. Whether it’s for a special occasion or a Sunday dinner, your perfectly carved roast is sure to be a hit with family and friends.
Was this page helpful?
Read Next: How To Carve Eye Round Roast
Related Articles