Step-by-Step Guide: How to Carve a Crown Roast of Pork
Carving a crown roast of pork can seem like a daunting task, but with the right technique, it can be a rewarding and impressive way to serve this delicious cut of meat. Whether you’re preparing a holiday feast or hosting a special dinner, mastering the art of carving a crown roast of pork will surely impress your guests. Follow these simple steps to carve your crown roast like a pro.
What You’ll Need:
- Carving knife
- Cutting board
- Roast holder or two forks
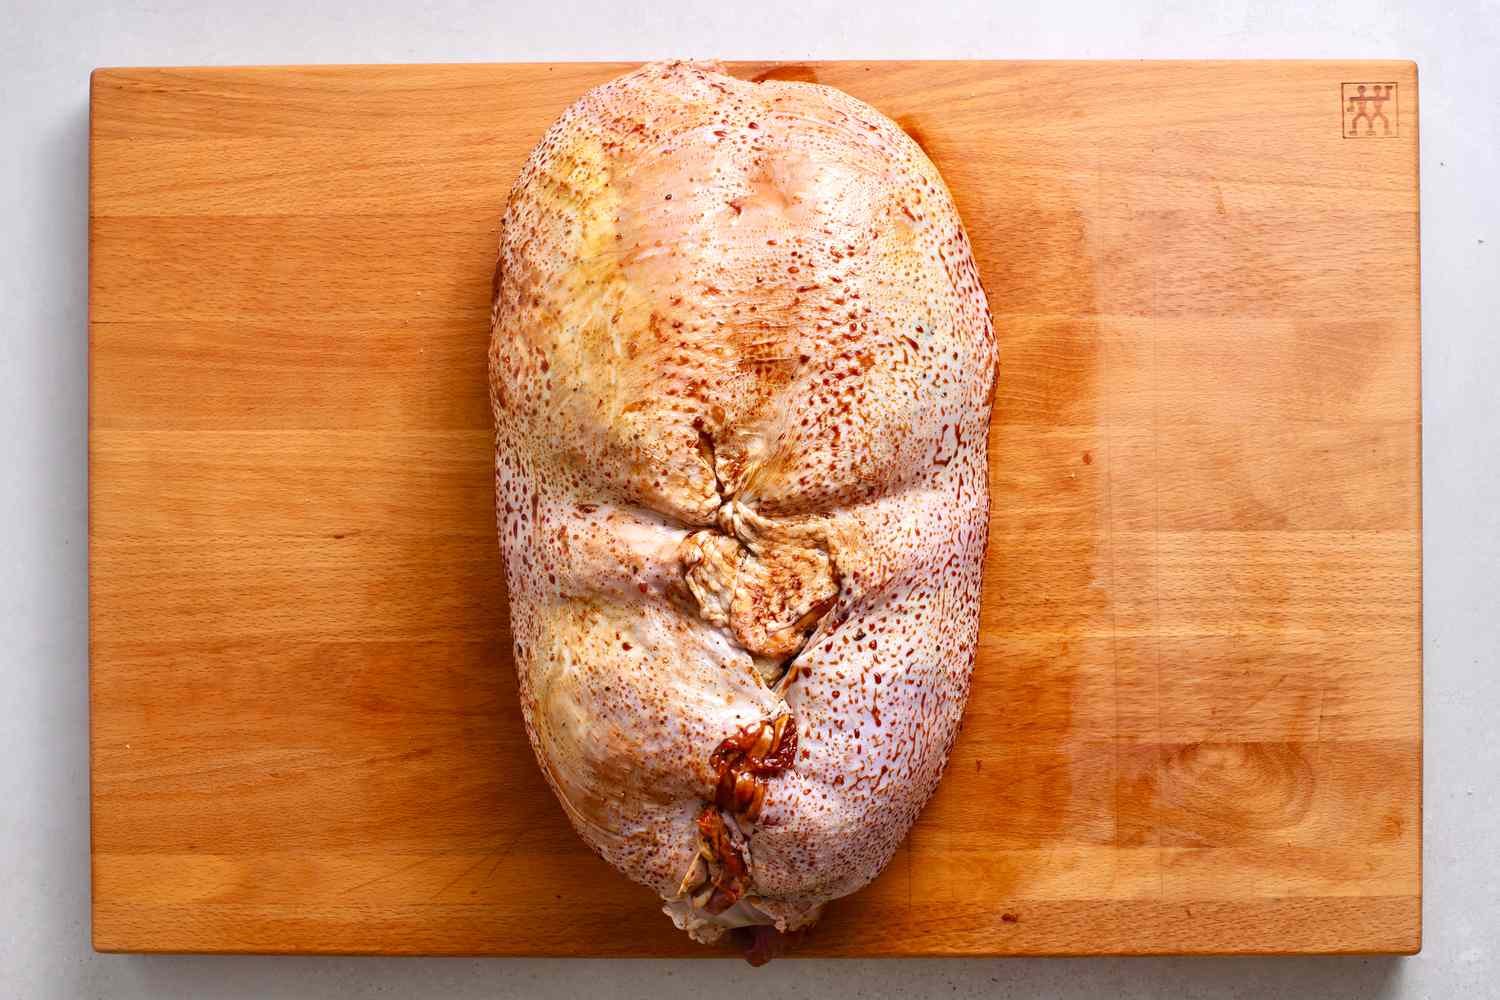
Step 1: Let the Roast Rest
Before you begin carving, allow the crown roast of pork to rest for about 10-15 minutes. This will help the juices redistribute, making the meat more tender and flavorful.
Step 2: Remove the Stuffing
If your crown roast is stuffed, carefully remove the stuffing and transfer it to a serving dish. This will make it easier to carve the meat without the obstruction of the stuffing.
Step 3: Identify the Bones
Take a moment to identify the bones that form the “crown” shape of the roast. This will help you visualize where to make your cuts.
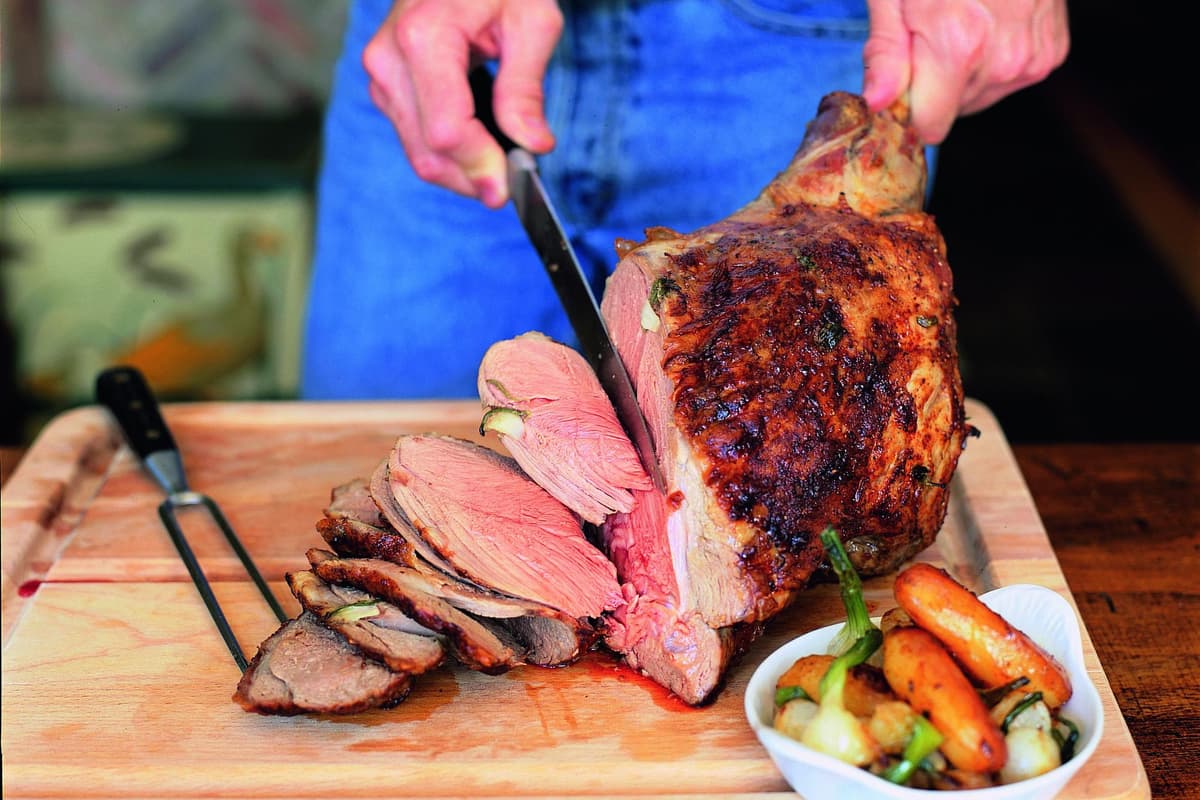
Step 4: Carve Between the Bones
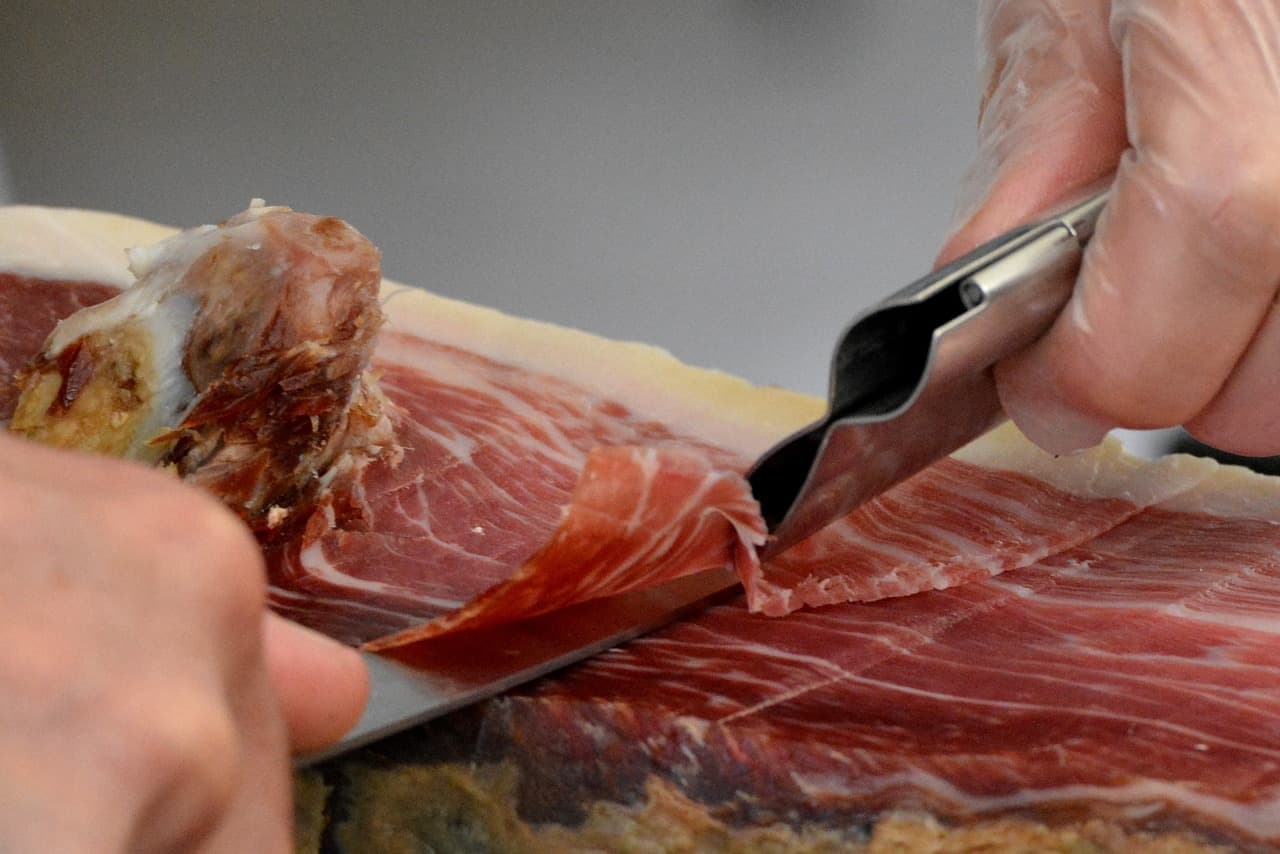
Using a sharp carving knife, carefully slice between the bones to create individual pork chops. Start from the center and work your way outwards, following the natural curve of the roast.
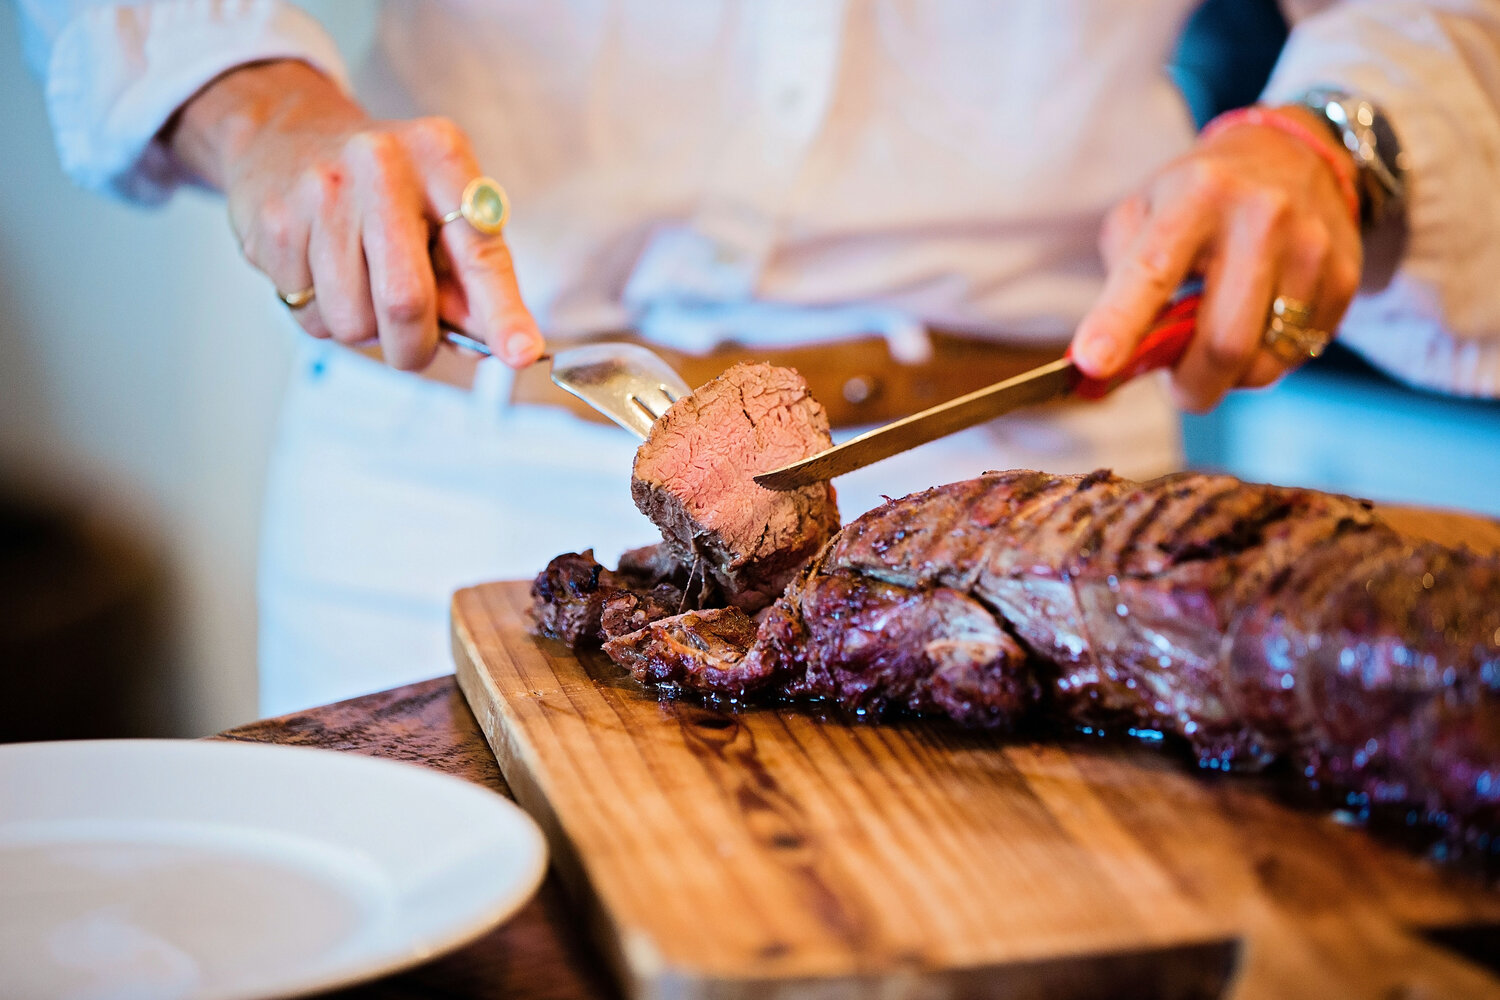
Step 5: Serve and Enjoy
Once you have carved all the chops, transfer them to a serving platter. If you removed the stuffing, you can place it in the center of the crown roast for a beautiful presentation. Now, it’s time to enjoy your deliciously carved crown roast of pork!
Carving a crown roast of pork may take a bit of practice, but with these simple steps, you’ll be able to impress your guests with a stunning presentation and mouthwatering pork chops. So, next time you’re planning a special meal, consider serving a crown roast of pork and show off your newfound carving skills!
Remember, practice makes perfect, so don’t be discouraged if your first attempt isn’t flawless. With time and experience, you’ll become a master at carving crown roasts of pork.
Was this page helpful?
Read Next: How To Carve Deer Liver
Related Articles