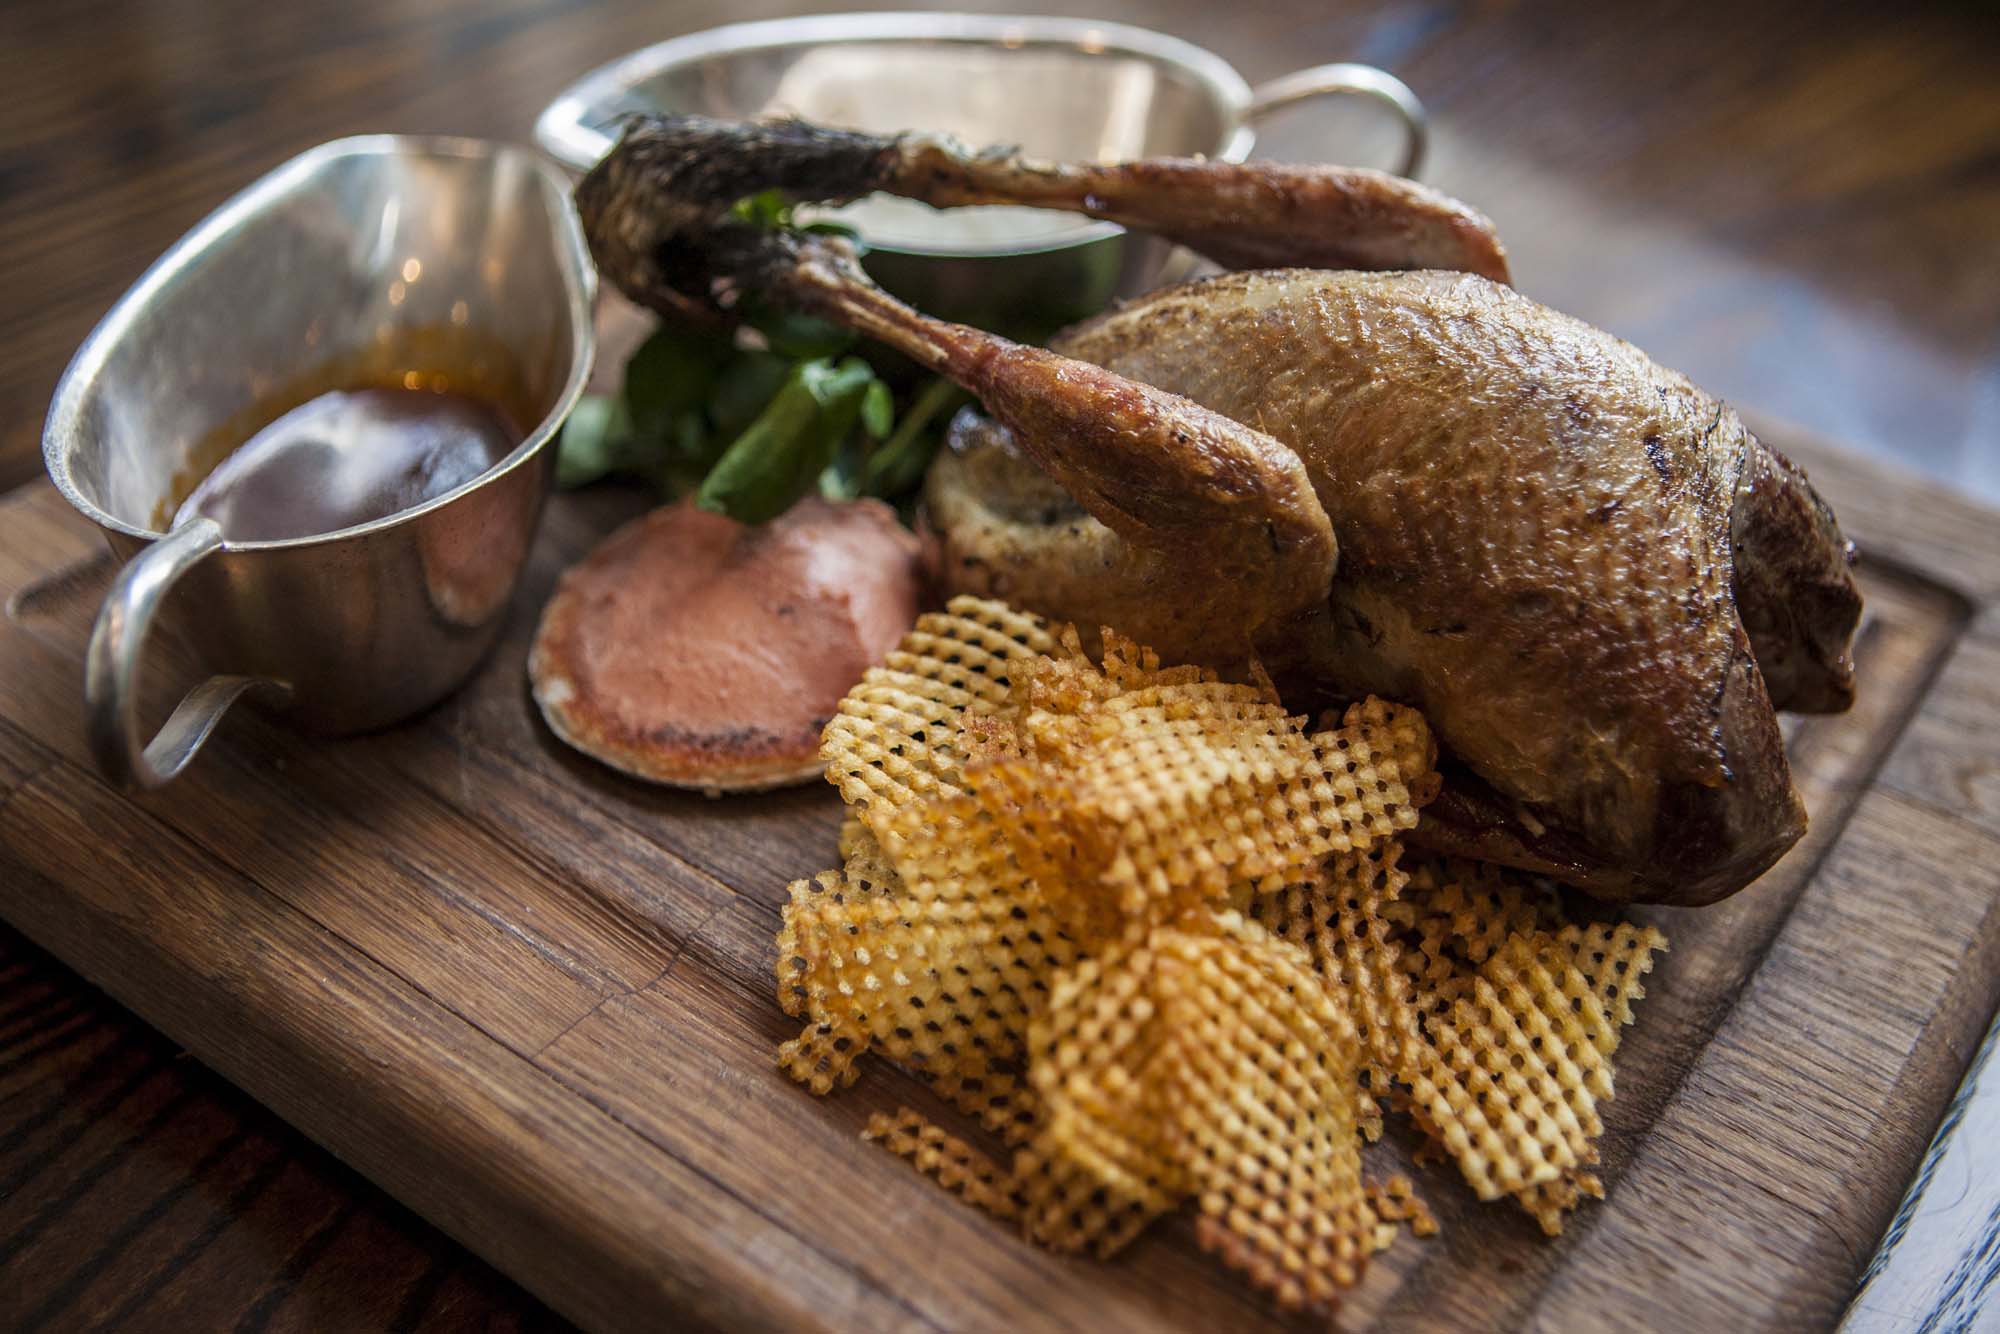
Step-by-Step Guide: How to Carve a Whole Semi Boneless Ham
Carving a whole semi boneless ham may seem like a daunting task, but with the right technique, it can be a rewarding and delicious experience. Whether you’re preparing a holiday feast or hosting a special gathering, knowing how to carve a ham properly is essential. Follow these simple steps to carve a whole semi boneless ham like a pro.
What You’ll Need:
- Whole semi boneless ham
- Sharp carving knife
- Cutting board
- Serving platter
Step 1: Prepare Your Workstation
Before you begin carving, make sure you have a clean and spacious area to work. Place a non-slip cutting board on a stable surface, and have your serving platter nearby to transfer the carved ham slices.
Step 2: Position the Ham
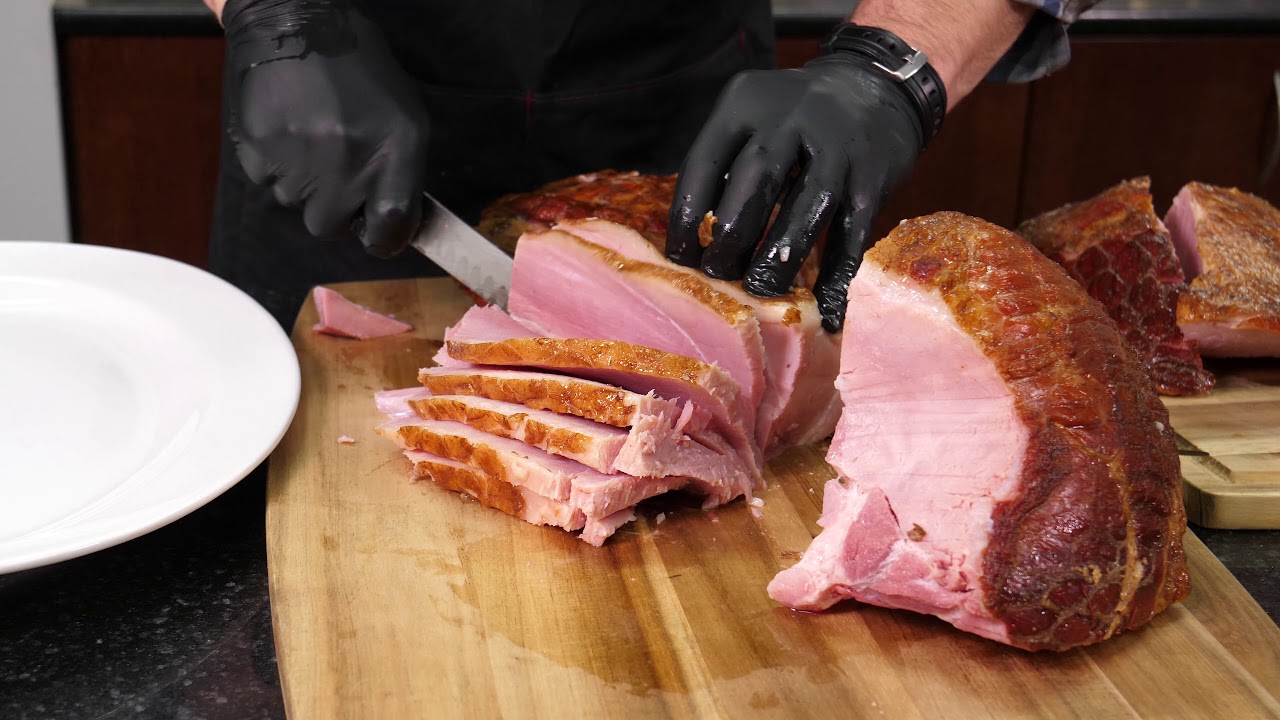
Place the whole semi boneless ham on the cutting board with the flat side down. This will provide stability as you carve the ham.
Step 3: Locate the Bone
Identify the bone in the ham. A semi boneless ham has had the hip, thigh, and pelvic bones removed, leaving the shank bone intact. You’ll want to carve around this bone to create uniform slices.
Step 4: Carve the First Slice
Using a sharp carving knife, make a long, straight cut along the natural seam of the ham. This will help you separate the slices from the bone and make it easier to carve.
Step 5: Carve Across the Grain
When carving the ham, it’s important to cut across the grain to ensure tender and flavorful slices. This means slicing perpendicular to the lines of muscle fibers in the meat.
Step 6: Create Uniform Slices
Continue to carve the ham, creating even slices of your desired thickness. Aim for slices that are consistent in size to ensure an appealing presentation and even cooking.
Step 7: Transfer to Serving Platter
As you carve the ham, carefully transfer the slices to a serving platter. Arrange them neatly to showcase your skillful carving and make it easier for your guests to serve themselves.
Step 8: Serve and Enjoy
Once the ham is carved, it’s ready to be served and enjoyed. Whether you’re serving it as the main course or using it in sandwiches and other dishes, your beautifully carved ham is sure to be a hit.
Now that you’ve mastered the art of carving a whole semi boneless ham, you can impress your family and friends with your culinary expertise. With these simple steps, you’ll be able to carve a ham like a pro and elevate any special occasion with a delicious centerpiece.
Remember, practice makes perfect, so don’t be discouraged if your first attempt isn’t flawless. With time and experience, you’ll become more confident in your carving skills and be able to enjoy the fruits of your labor with pride.
Was this page helpful?
Read Next: How To Carve A Watermelon Inside Watermelon
