Carving a Picnic Roast: A Step-by-Step Guide
Carving a picnic roast can seem like a daunting task, but with the right technique, it can be a simple and enjoyable process. Whether you’re preparing a picnic roast for a special occasion or simply looking to impress your guests, mastering the art of carving is essential. In this guide, we’ll walk you through the step-by-step process of carving a picnic roast like a pro.
What You’ll Need
Before you begin carving your picnic roast, it’s important to gather the necessary tools. Here’s what you’ll need:
- Sharp carving knife
- Cutting board
- Meat fork or tongs
- Platter for serving
Step 1: Let the Roast Rest
Before you start carving, allow the picnic roast to rest for 10-15 minutes. This will allow the juices to redistribute, ensuring a moist and flavorful result.
Step 2: Find the Grain
Identifying the grain of the meat is crucial for carving. The grain refers to the direction in which the muscle fibers run. Look for the lines that run across the surface of the roast – this is the grain.
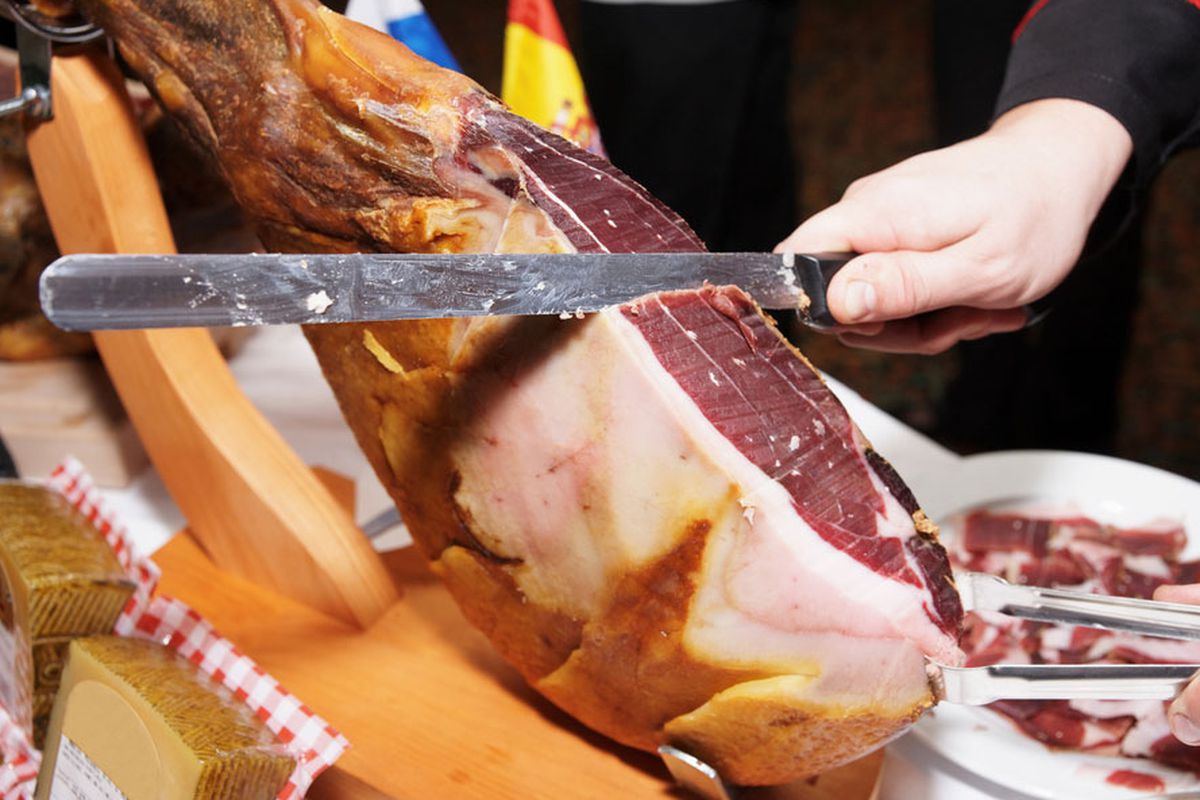
Step 3: Begin Carving
Using a sharp carving knife, start by making thin slices against the grain. This will help ensure tenderness and make the meat easier to chew.
Step 4: Slice and Serve
Continue slicing the roast, maintaining a consistent thickness. As you carve, transfer the slices to a serving platter using a meat fork or tongs. Arrange the slices neatly on the platter for an attractive presentation.
Step 5: Enjoy!
Once the roast is fully carved, it’s time to savor the fruits of your labor. Serve the succulent slices of picnic roast to your eager guests and bask in their admiration of your carving skills.
Tips for Success
Here are a few additional tips to ensure your picnic roast carving is a resounding success:
- Use a sharp knife: A sharp carving knife will make the process much easier and safer.
- Carve against the grain: This will result in tender, easy-to-eat slices.
- Practice makes perfect: Don’t be discouraged if your first attempt isn’t flawless. With practice, you’ll become a carving master in no time.
With these simple steps and tips, you’ll be well-equipped to carve a picnic roast with confidence and finesse. So, go ahead and impress your friends and family with your newfound carving skills!
Was this page helpful?
Related Articles