Mastering the Art of Cooking Sticky Rice in the Microwave
Gone are the days when you needed a traditional stove and a bamboo steamer to enjoy delicious sticky rice. With a microwave and a few simple steps, you can achieve perfectly cooked sticky rice from the comfort of your own kitchen. Whether you’re a rice lover or just exploring new culinary horizons, this guide will teach you how to cook sticky rice in the microwave and elevate your cooking skills.
Why Choose the Microwave Method?
Using the microwave to cook sticky rice offers several advantages:
- Efficiency: The microwave method significantly reduces cooking time compared to traditional stovetop methods.
- Simplicity: With just a microwave and a microwave-safe container, you can easily prepare sticky rice without any specialized equipment.
- Consistency: By following the proper technique, microwave cooking ensures even heat distribution, resulting in consistently tender and sticky rice.
Step-by-Step Guide to Cooking Sticky Rice in the Microwave
Now that we’ve highlighted the benefits, let’s jump into the step-by-step process of cooking sticky rice in the microwave:
Step 1: Rinse and Soak the Rice
Start by rinsing your sticky rice in cold water until the water runs clear. This helps remove excess starch and ensures a fluffier end result. After rinsing, place the rice in a microwave-safe bowl and cover it with water. Allow the rice to soak for at least 1 hour or up to overnight for optimal stickiness.
Step 2: Drain and Measure the Rice
After the soaking period, drain the water from the rice using a fine mesh strainer. Measure the desired quantity of rice based on your needs and transfer it back to the microwave-safe bowl.
Step 3: Add Water and Salt
Add water to the bowl, using a 1:1 ratio of rice to water. For enhanced flavor, sprinkle a pinch of salt over the rice and water mixture. Stir gently with a fork to distribute the salt evenly.
Step 4: Cover and Microwave
Cover the bowl with a microwave-safe lid or plastic wrap, leaving a small vent for steam to escape. Place the bowl in the microwave and set it to high power. Microwave for 5 minutes, then reduce the power to 50% and continue cooking for an additional 10-12 minutes.
Step 5: Let it Rest
Once the cooking time is complete, let the rice rest in the microwave with the door closed for 5 minutes. This allows the steam to distribute evenly and further enhances the stickiness of the rice.
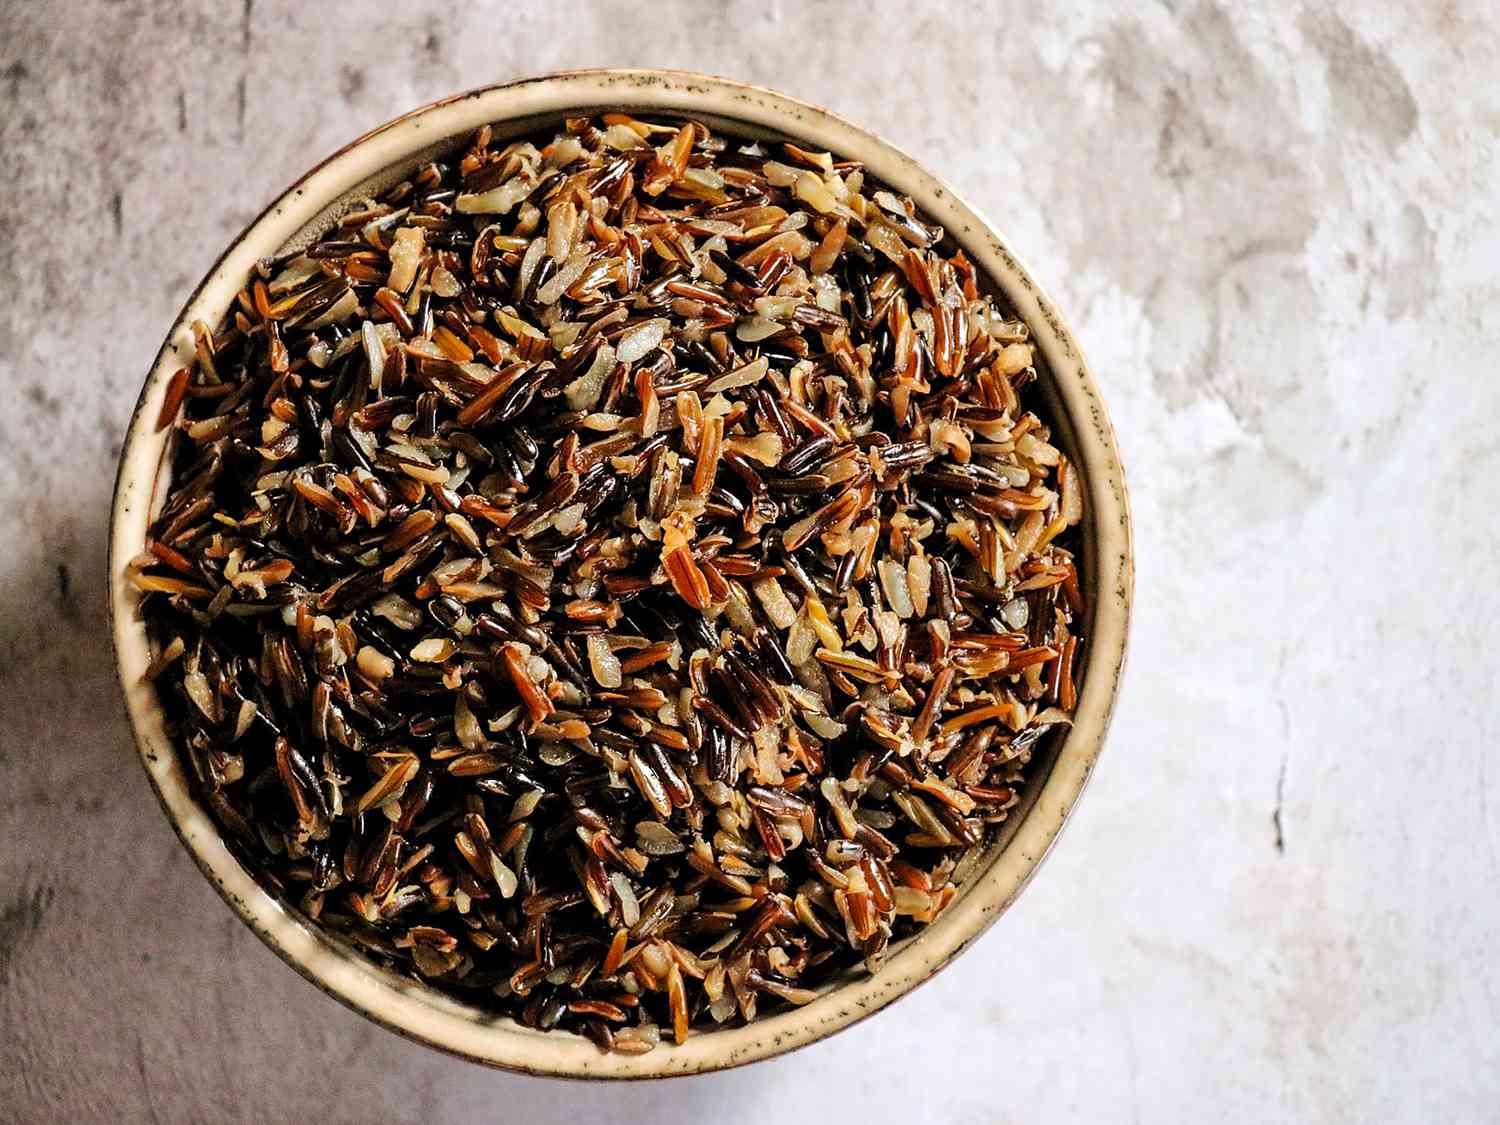
Step 6: Fluff and Serve
Using a fork, gently fluff the rice to separate the grains. Your perfectly cooked sticky rice is now ready to be enjoyed as a side dish, a base for stir-fried dishes, or in sushi rolls!
Experiment with Flavors
While sticky rice is delicious on its own, you can take your culinary adventure a step further by experimenting with flavors. Here are a few ideas to get you started:
- Coconut Sticky Rice: Add coconut milk to the rice and water mixture for a subtle tropical flavor.
- Lemon Zest Sticky Rice: Stir in some grated lemon zest to infuse a refreshing citrus aroma.
- Sesame Sticky Rice: Drizzle a small amount of toasted sesame oil over the cooked rice to add nutty undertones.
The possibilities are endless, so don’t be afraid to get creative and tailor your sticky rice to suit your taste preferences!
Conclusion
Cooking sticky rice in the microwave is a convenient and foolproof method that can satisfy your cravings in no time. With this step-by-step guide, you can now confidently embark on your sticky rice cooking journey. So, grab your microwave-safe bowl, some sticky rice, and get ready to impress your taste buds with this delightful dish!
Was this page helpful?
Related Articles