Delicious and Creative: Baking Bread in Tin Cans
Are you looking for a fun and unique way to bake bread? Look no further than your kitchen pantry! Baking bread in tin cans is not only a creative way to enjoy homemade bread, but it also adds a charming touch to your baking routine. In this article, we will guide you through the process of baking bread in tin cans, from preparation to serving. Let’s get started!
Ingredients You’ll Need:
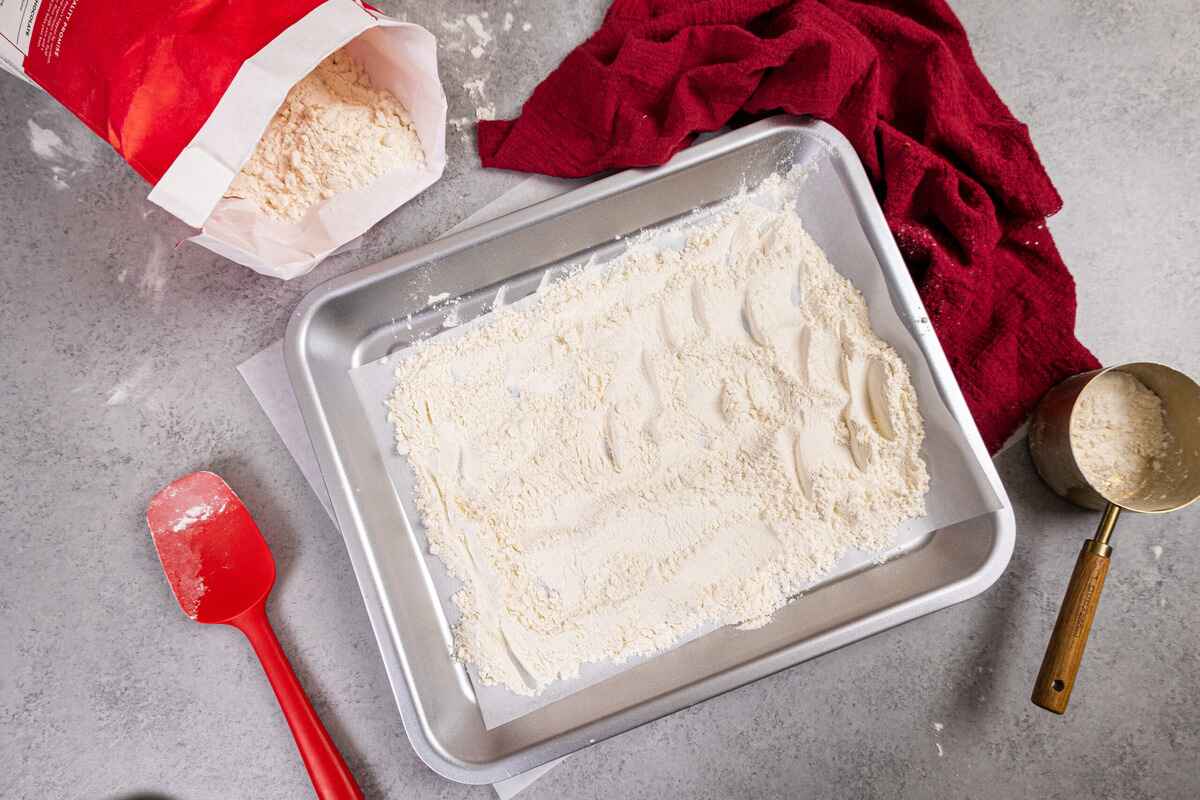
- 3 cups all-purpose flour
- 1 packet active dry yeast
- 1 teaspoon salt
- 1 cup warm water
- 2 tablespoons sugar
- 2 tablespoons olive oil
- Butter or cooking spray for greasing the tin cans
Step 1: Prepare the Dough
In a large mixing bowl, combine the warm water, sugar, and yeast. Let it sit for 5-10 minutes until it becomes frothy. Then, add the olive oil and salt to the mixture. Gradually stir in the flour until a dough forms.
Step 2: Let the Dough Rise
Place the dough in a greased bowl, cover it with a kitchen towel, and let it rise in a warm place for about an hour, or until it doubles in size.
Step 3: Prepare the Tin Cans
While the dough is rising, prepare your tin cans by greasing them with butter or cooking spray. Make sure to use clean, empty tin cans that have been thoroughly washed and dried.
Step 4: Fill the Tin Cans
Once the dough has risen, punch it down and divide it into equal portions. Shape each portion into a ball and place it into the greased tin cans, filling them about halfway.
Step 5: Let the Dough Rise Again
Cover the tin cans with a kitchen towel and let the dough rise for an additional 30-45 minutes, or until it reaches the top of the cans.
Step 6: Bake the Bread
Preheat your oven to 375°F (190°C). Place the tin cans on a baking sheet and bake the bread for 25-30 minutes, or until the top is golden brown and the bread sounds hollow when tapped.
Step 7: Enjoy Your Tin Can Bread!
Once the bread is baked, carefully remove it from the tin cans and let it cool on a wire rack. Slice and serve the bread with your favorite spreads or enjoy it on its own!
Baking bread in tin cans is a delightful way to add a creative twist to your baking adventures. Whether you’re making bread for yourself or as a thoughtful gift for a friend, the charming shape of tin can bread is sure to impress. So, roll up your sleeves, gather your ingredients, and let the aroma of freshly baked bread fill your kitchen!
Was this page helpful?
Read Next: How To Bake Sliced Eggplant In The Oven
Related Articles