Top Tips For Making Jam
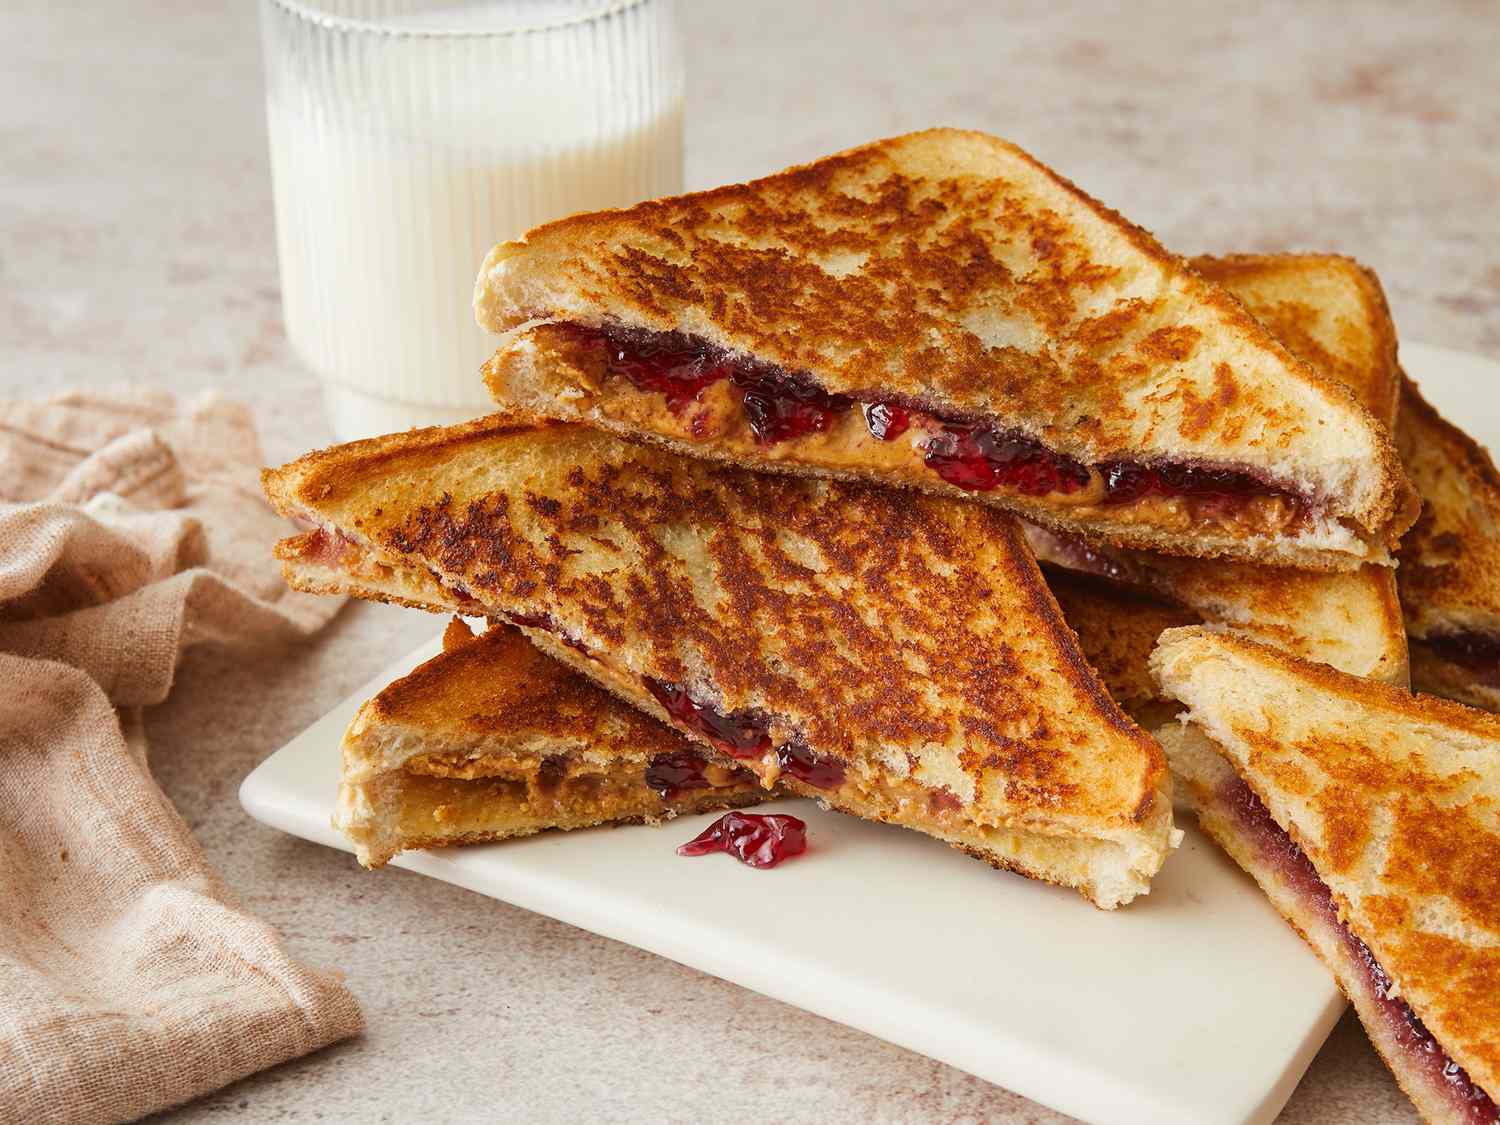
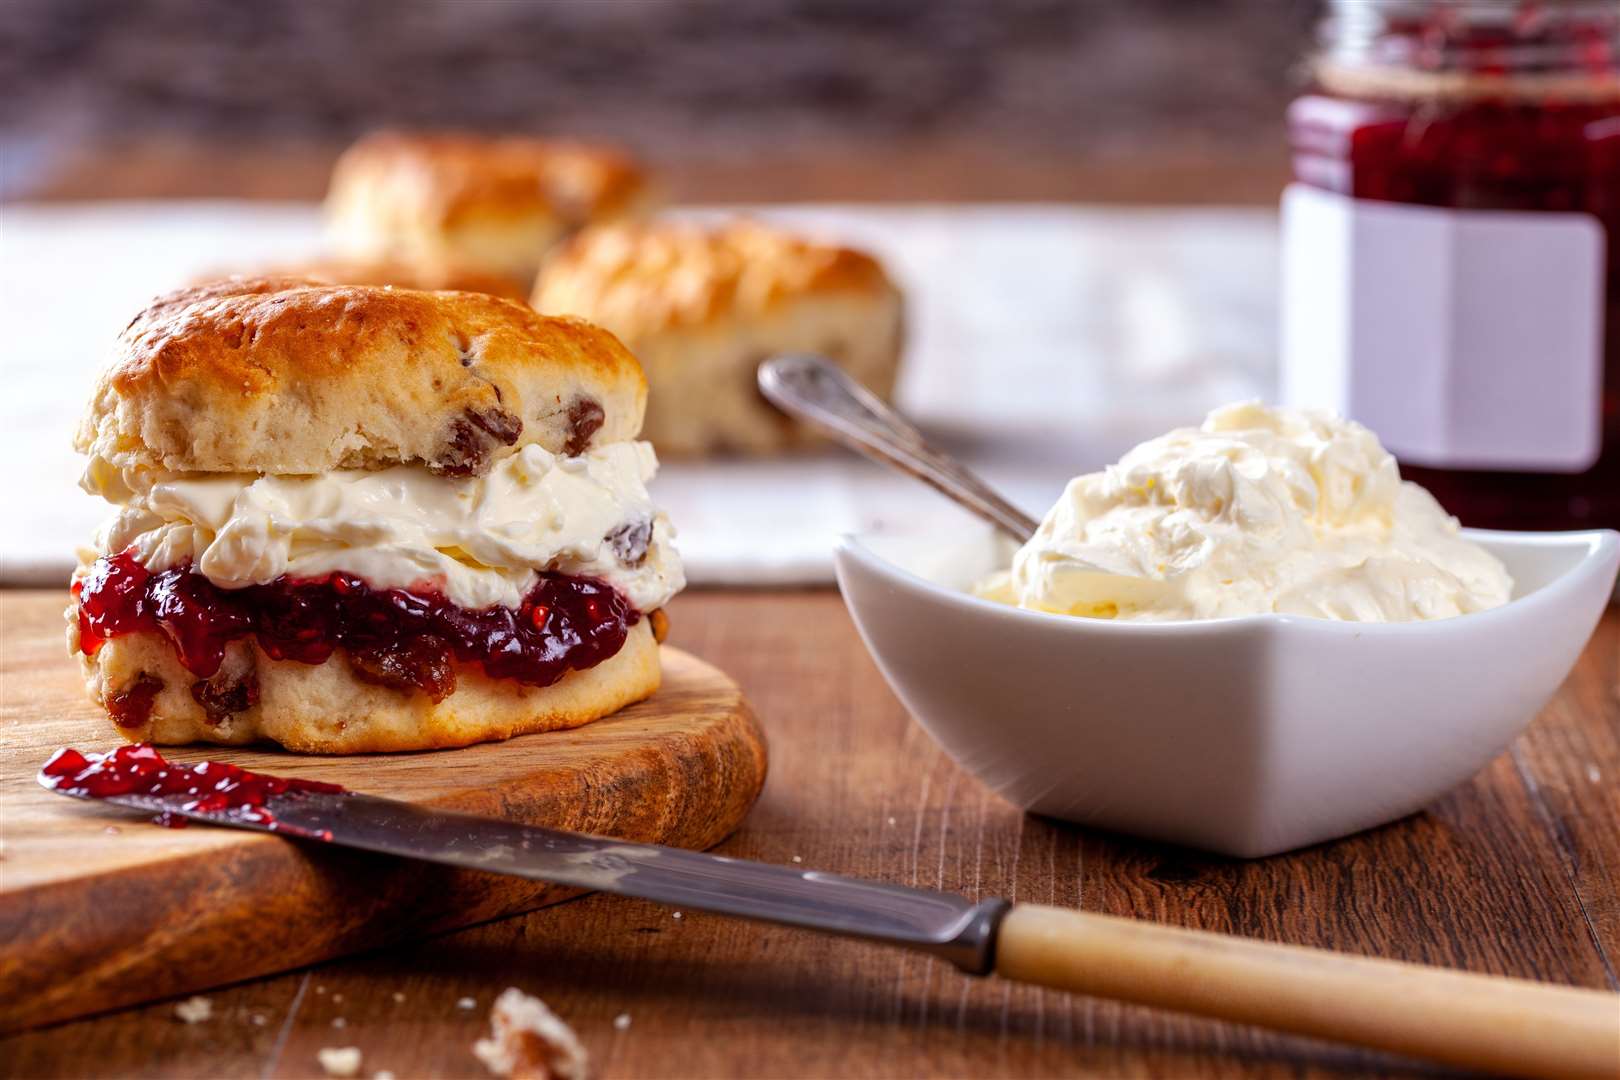
Are you a fan of homemade jam? There’s nothing quite like spreading fresh, fruity goodness on a slice of warm toast. Making jam at home is not only a delicious hobby, but it’s also a great way to use up those excess fruits from your garden or local farmers’ market. Whether you’re a beginner or a seasoned jam maker, these tried and tested tips will ensure that your jam turns out perfectly every time.
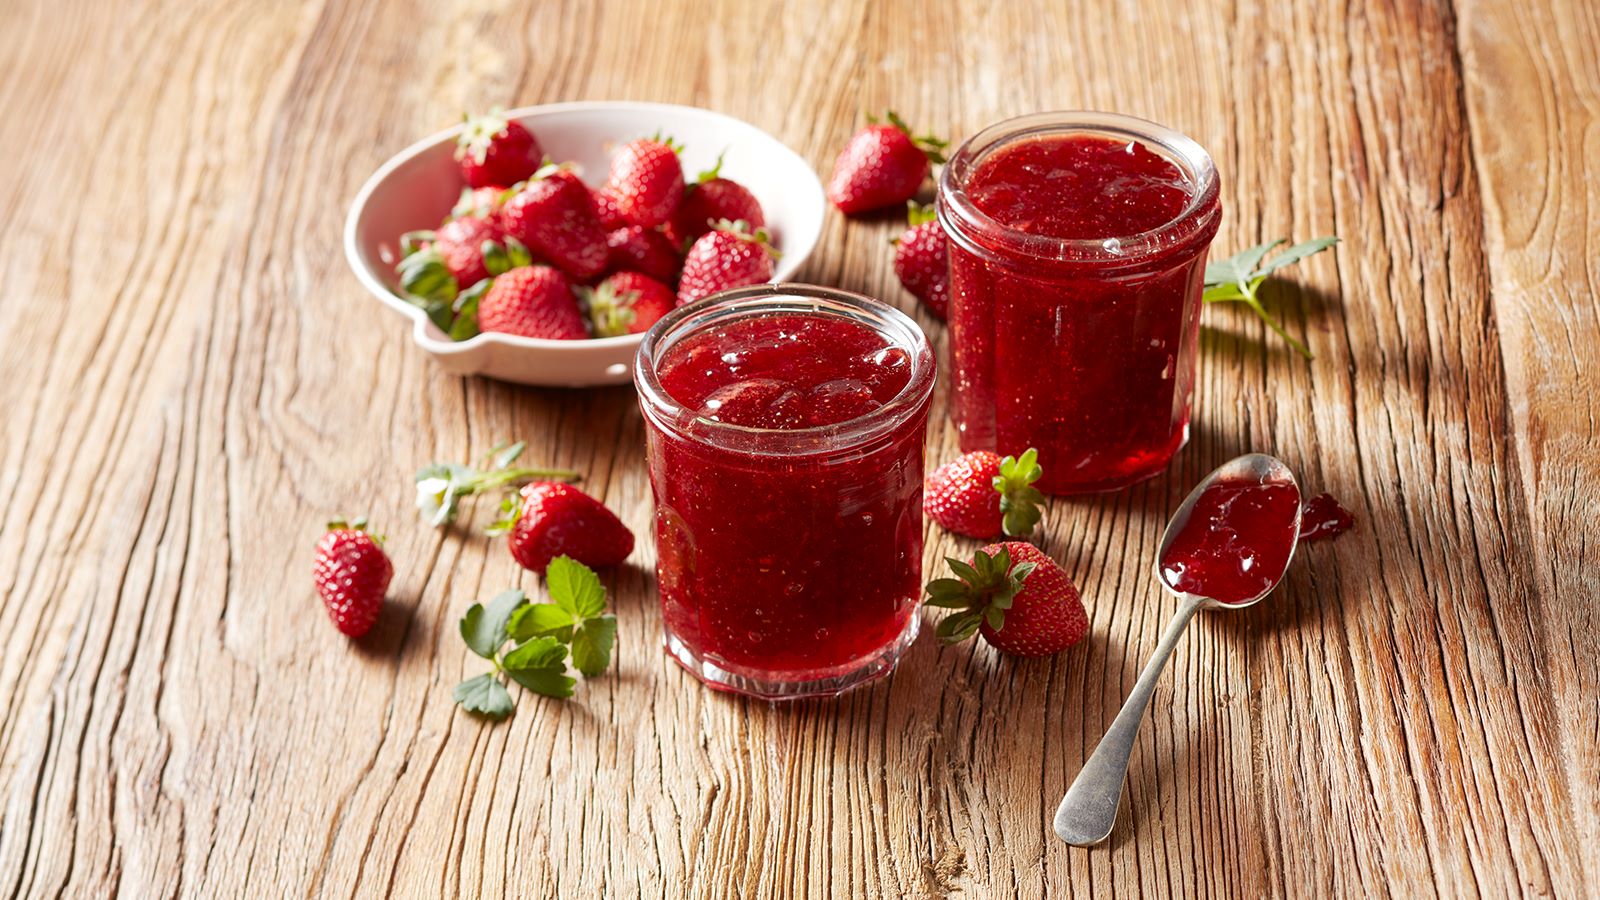
1. Choose the right fruit:
The key to a tasty and flavorful jam lies in selecting the right fruit. Look for ripe, juicy fruits that are in season for the best flavor. Berries like strawberries, raspberries, and blueberries are popular choices. Alternatively, you can experiment with peaches, apricots, or even mix different fruits together to create unique flavor combinations.
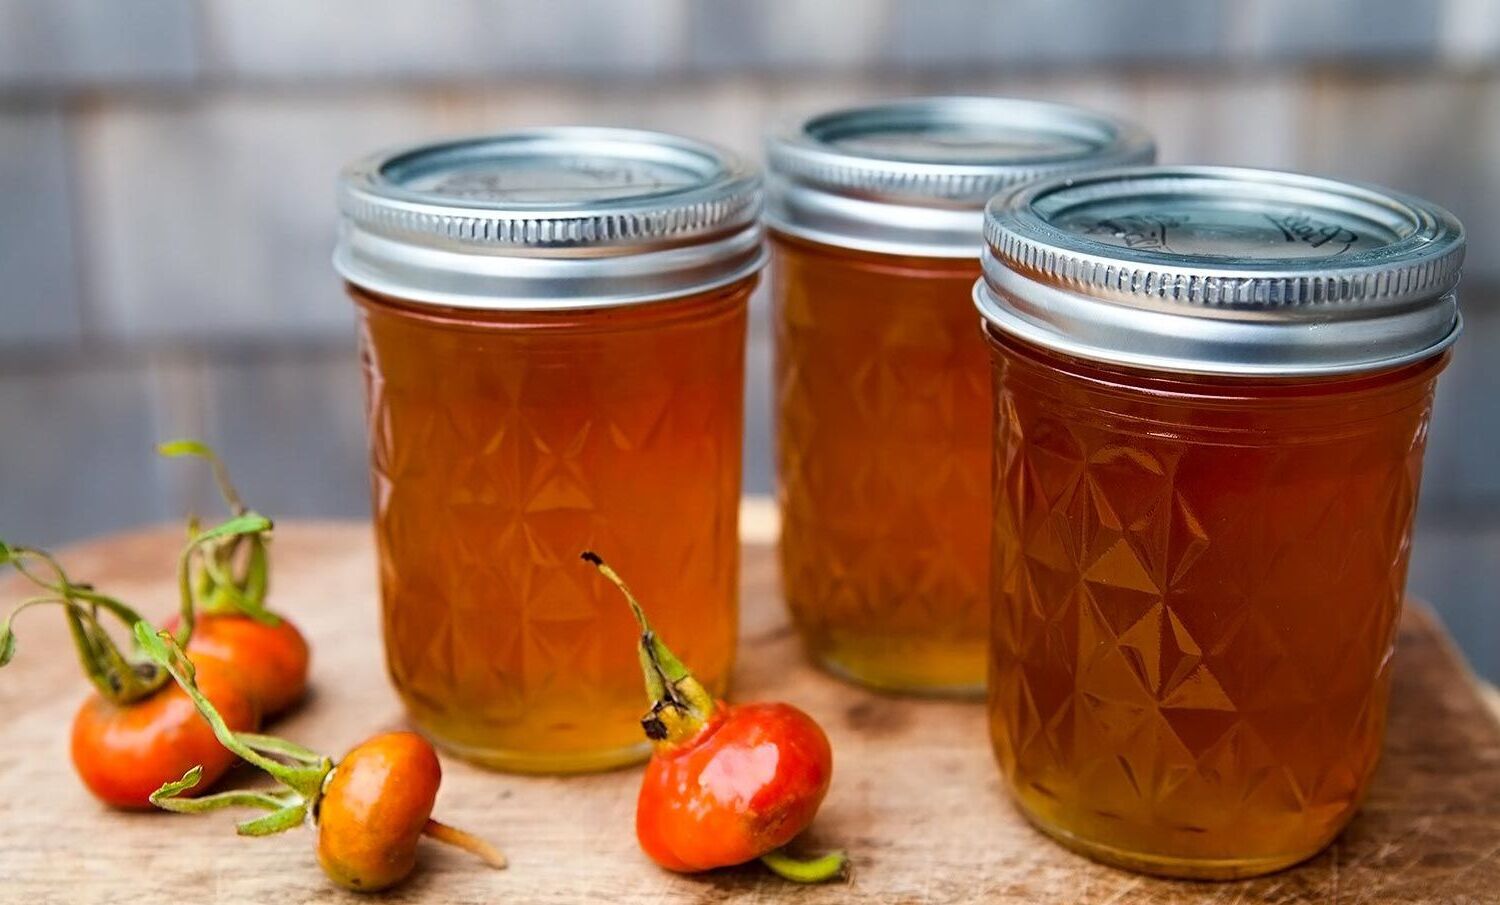
2. Prepare your jars:
Before you start making jam, make sure your jars are clean and sterilized. Wash them with hot soapy water and then rinse thoroughly. Place the jars in a large pot of boiling water for about 10 minutes to sterilize them. Remove them from the water using tongs or a jar lifter and let them cool before filling with your homemade jam.
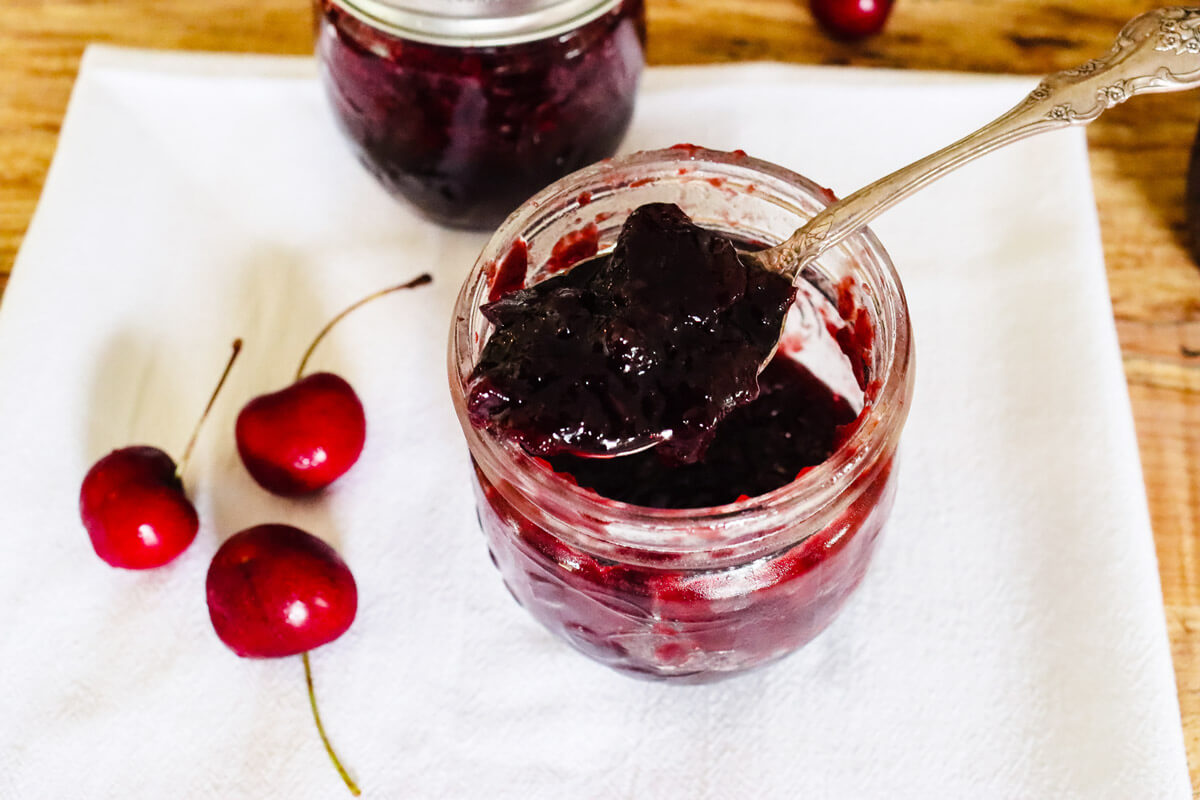
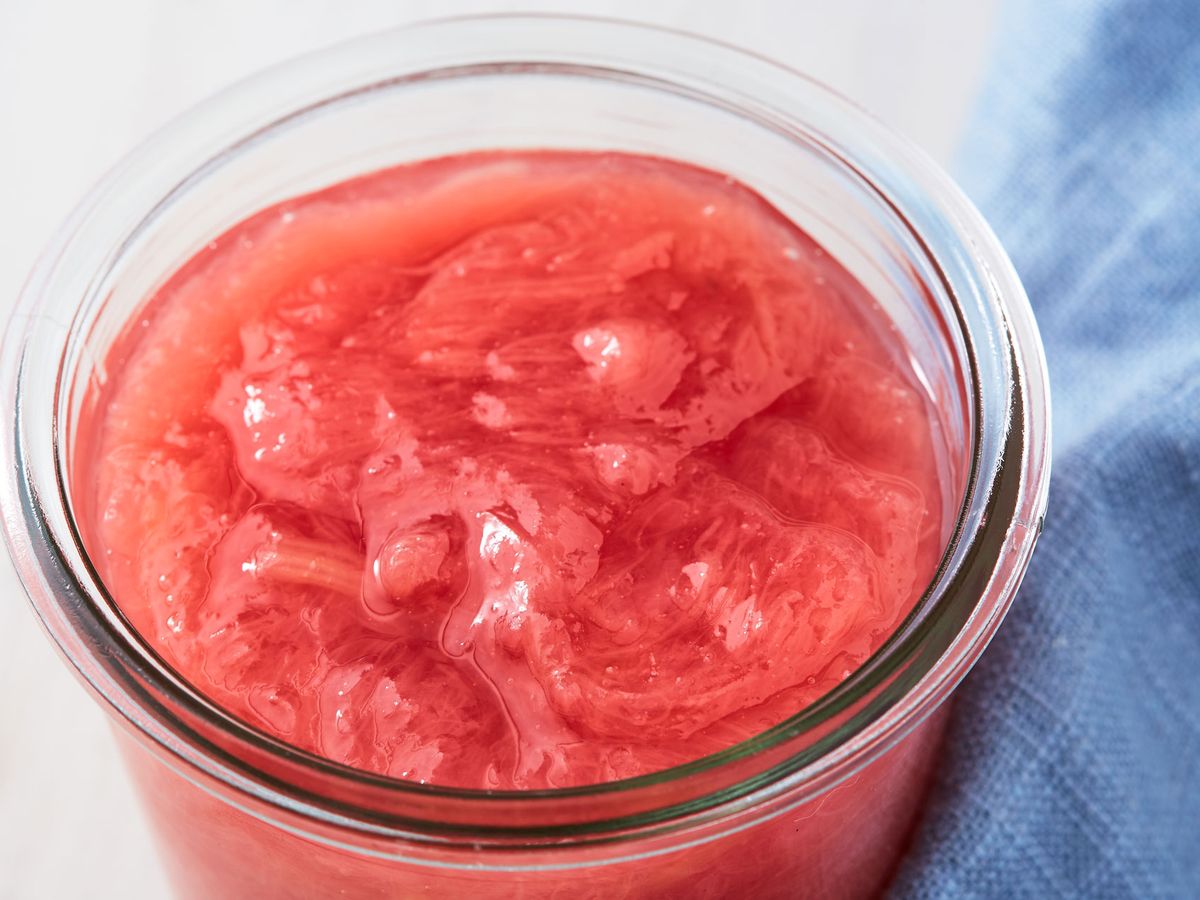
3. Get the right consistency:
One of the trickiest parts of making jam is getting the right consistency. To achieve the perfect balance between a thick and spreadable jam, and one that’s not overly runny, you’ll need to monitor the cooking time carefully. Use a candy thermometer to check the temperature, as different fruits require different cooking times. Gel point for most fruits is around 220°F (104°C).
4. Don’t forget the acid:
Acidity is crucial for jam making, as it helps with both flavor and preservation. Most fruits naturally contain some acidity, but it’s important to add a bit more lemon juice or citric acid if your fruit is low in acidity. This will ensure that your jam stays fresh and doesn’t spoil quickly.
5. Get creative with flavors:
While traditional flavors like strawberry or raspberry jam are always a hit, don’t be afraid to get creative and experiment with different flavor combinations. Add spices like cinnamon or nutmeg, or even a splash of your favorite liquor like rum or brandy. The possibilities are endless, and you might just stumble upon a new family favorite.
6. Test for doneness:
To know if your jam has reached the desired consistency, perform a “wrinkle test.” Place a small amount of jam on a chilled plate and push it gently with your finger. If it wrinkles and doesn’t flow back together, then it’s done. If it’s still runny, keep simmering for a little longer until it reaches the right consistency.
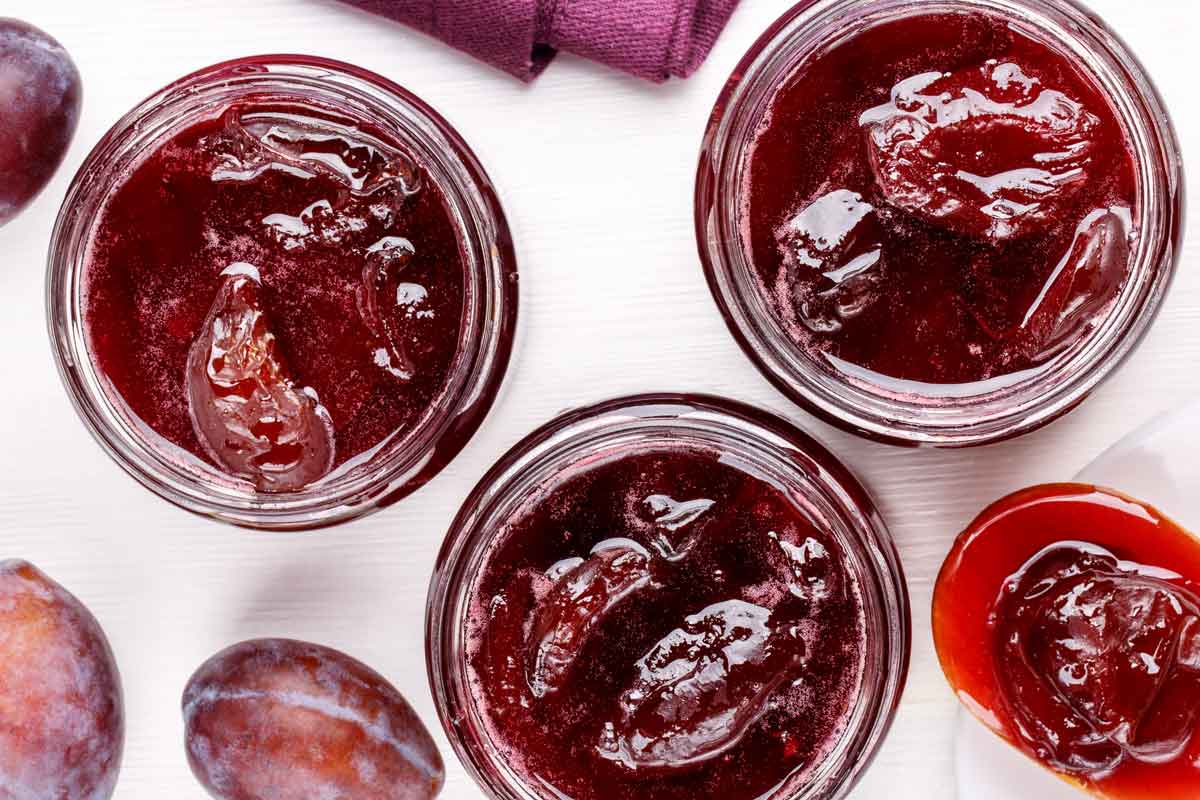
7. Store properly:
Once your jam is made and sealed in jars, it’s important to store them correctly. Store your homemade jam in a cool, dark place like a pantry or cupboard. Make sure the jars are tightly sealed to prevent air from entering. Properly stored jam can last up to a year, but it’s best to consume it within 6 months for optimal flavor.
So, what are you waiting for? Put on your apron, gather your favorite fruits, and start making delicious homemade jam with these top tips. Get creative, experiment with flavors, and share your tasty creations with friends and family. Happy jam making!
Was this page helpful?
Roco Mamas
RocoMamas (https://www.rocomamas.com.au/) menu goes far beyond our artisanal-style “Smashed Burgers." We also serve up some seriously messy ribs (pork, beef and lamb), as well as MOFO Chicken Wings with an array of side dishes to choose from. We also prepare and hand make our secret sauces fresh every day at the store. Customers can also choose to ‘build’ their own burgers by ticking items from our burgers menu. You can even give your new burger a name. At RocoMamas, it’s all about customisation.
Related Articles