Novelty Ice Cream Week: How To Make Your Own King Cones
Novelty Ice Cream Week: How To Make Your Own King Cones
Novelty Ice Cream Week: How to Make Your Own King Cones
Ice cream is always a delicious treat, but why stick to the regular cones when you can have a little fun with novelty ice cream? In this edition of Novelty Ice Cream Week, we’re going to show you how to make your own King Cones – a regal and indulgent twist on the classic ice cream cone. Follow along for a step-by-step guide to creating this royal treat.
Ingredients:
Ice Cream of your choice (vanilla, chocolate, or any other flavor you love!)
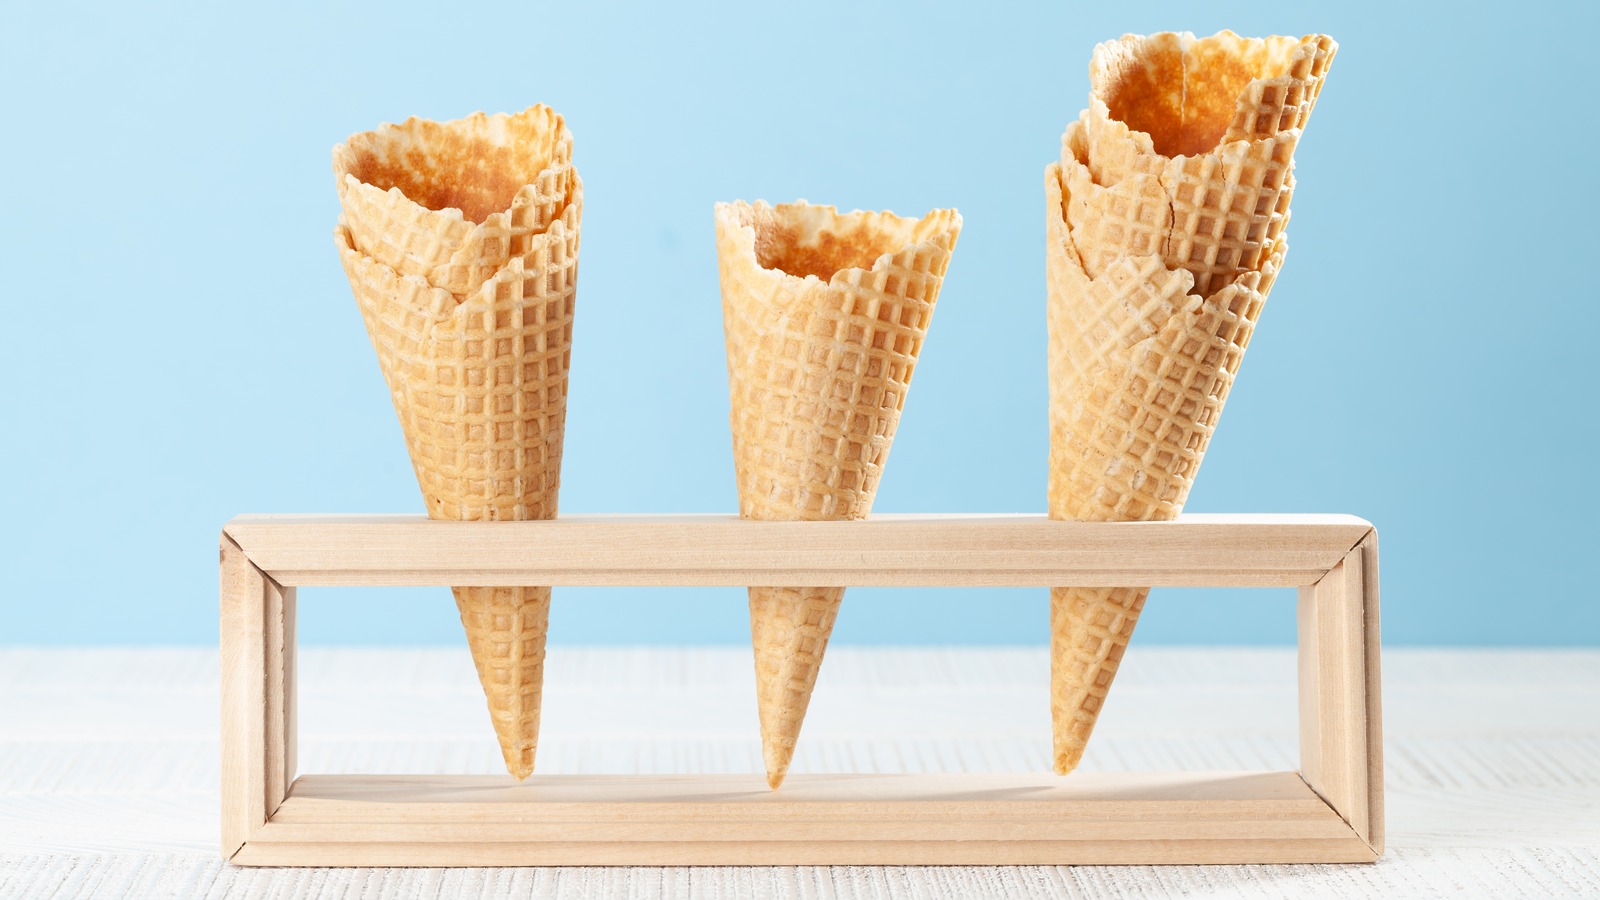
Sugar cones
Waffle cones
Chocolate chips
Sprinkles
Whipped cream
Maraschino cherries
Instructions:
Start by preparing your ice cream. You can either make your own homemade ice cream or use store-bought ice cream. Choose a flavor that complements the toppings you’ll be adding to your King Cones.
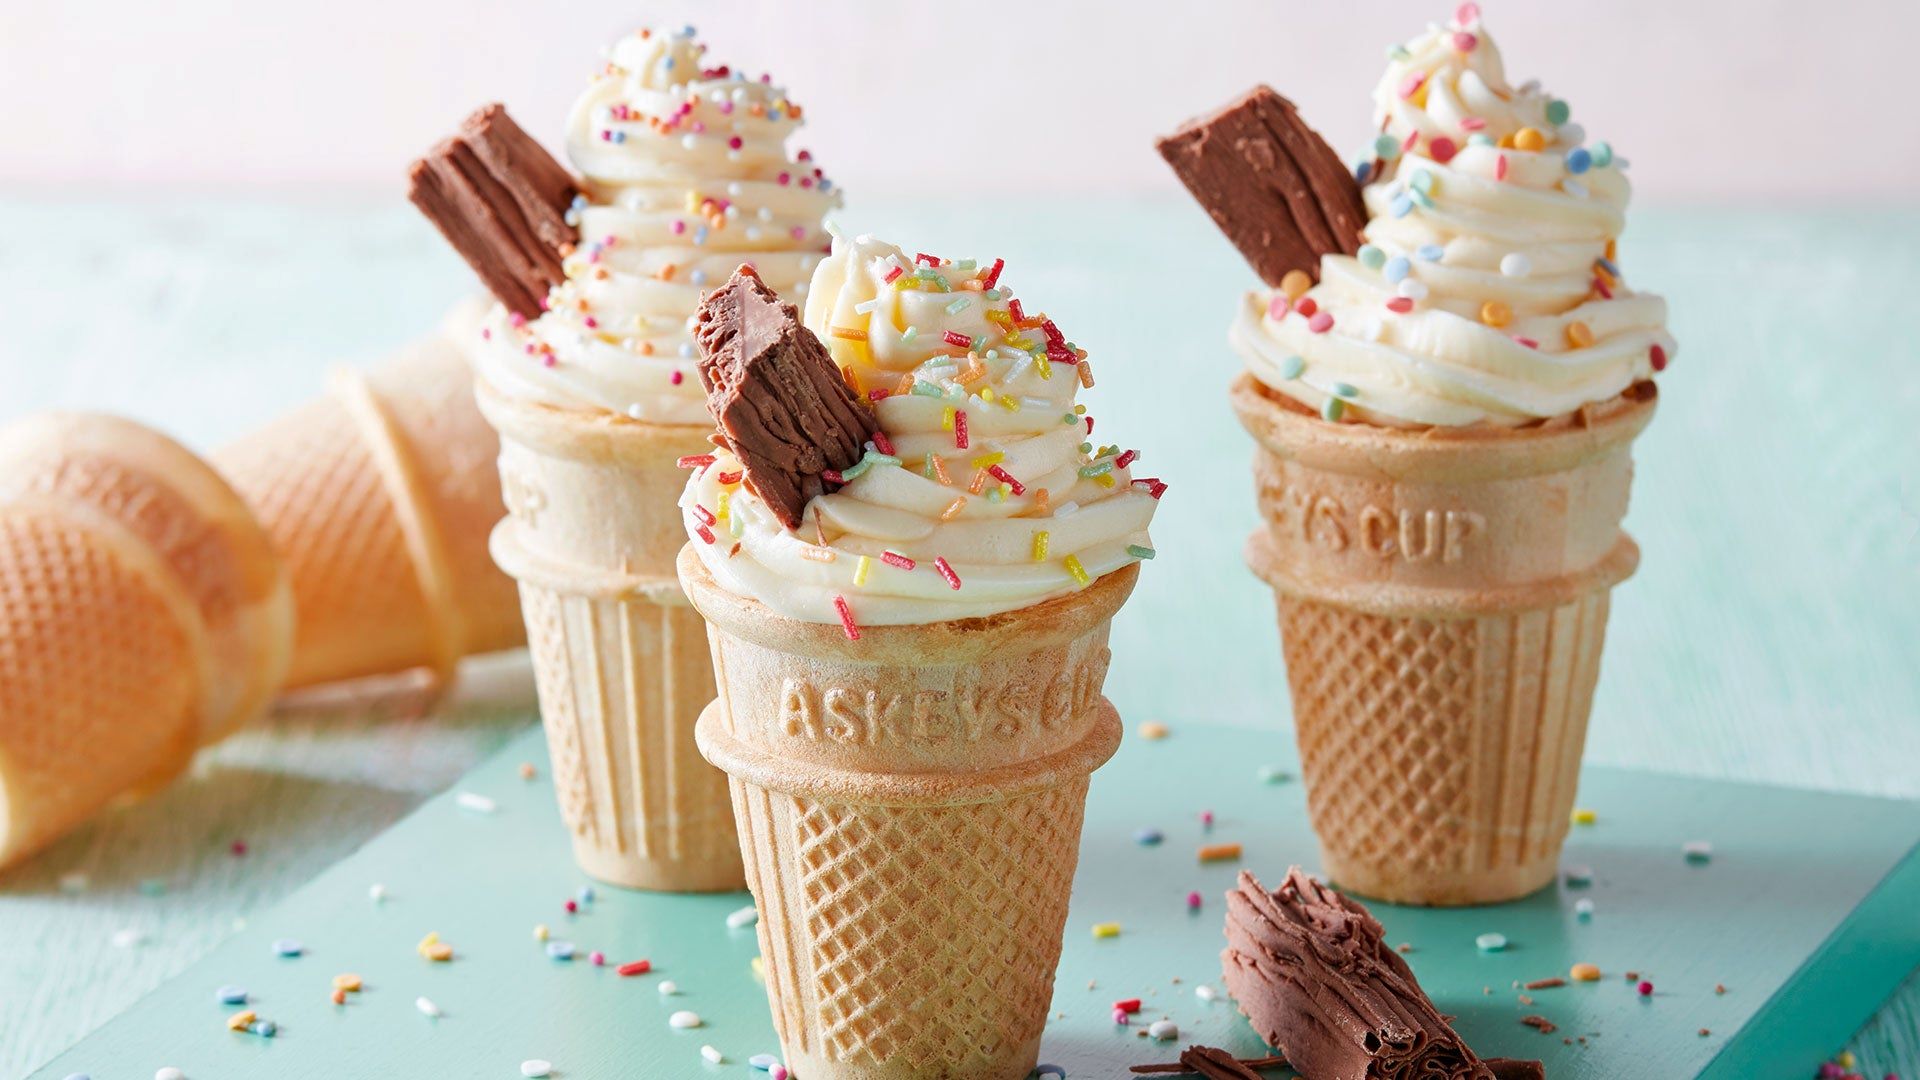
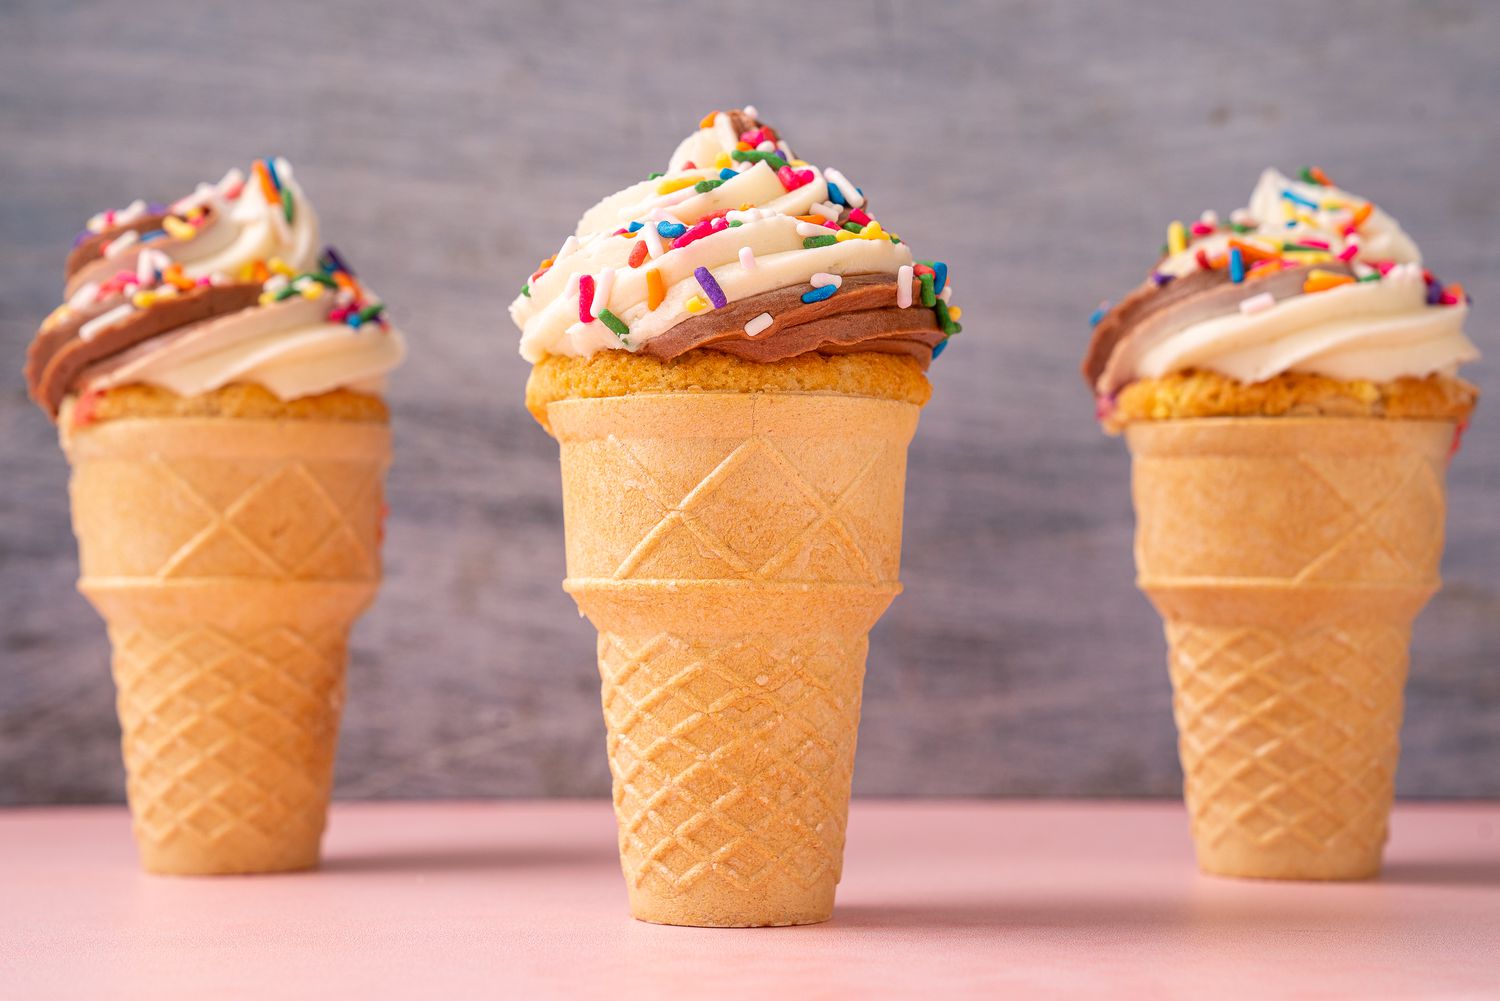
Take a sugar cone and dip the rim into melted chocolate. Let it dry for a few seconds, allowing the chocolate to harden.
With an icing bag or a spoon, fill the sugar cone with your chosen ice cream flavor. Make it nice and tall, like a royal crown.
Next, take a waffle cone and press it gently on top of the filled sugar cone. This will create the brim of your King Cone.
Melt some more chocolate chips and dip the waffle cone brim into it. Before the chocolate hardens, quickly add a sprinkle of colorful sprinkles. This gives your King Cone a touch of whimsy.
Add a dollop of whipped cream on top of the waffle cone brim. For an extra touch of elegance, add a maraschino cherry on top of the whipped cream.
Repeat the steps above to create more King Cones, using different ice cream flavors and toppings. Get creative and mix and match flavors and decorations.
Place your King Cones in the freezer for at least an hour to allow the ice cream to harden and the toppings to set.
Once your King Cones are fully set, it’s time to enjoy the royal treat! Indulge in the creamy ice cream, crunchy cones, and delightful toppings.
Making your own King Cones is a fantastic way to add a touch of novelty to your ice cream experience. Whether you’re hosting a party, looking for a fun project with the kids, or simply treating yourself, these regal treats are sure to impress. So, grab your ingredients and get ready to savor the magic of King Cones!
Want to learn more about making your own novelty ice cream cones at home? Share your thoughts on King Cones and other fun ice cream creations in the Baking and Desserts forum!
FAQ:
How long does it take to make homemade king cones?
The time it takes to make homemade king cones may vary depending on your experience in the kitchen and the equipment you have available. However, on average, it takes about 1 to 2 hours to prepare the ingredients, make the cone batter, bake the cones, and allow them to cool before filling them with ice cream.
What ingredients do I need to make king cones?
To make homemade king cones, you will need the following ingredients:
– All-purpose flour
– Granulated sugar
– Unsalted butter
– Egg whites
– Vanilla extract
– Salt
– Heavy cream
– Your choice of ice cream flavors
– Optional toppings such as sprinkles or chocolate sauce
Can I make king cones without an ice cream cone maker?
Yes, you can make king cones without a dedicated ice cream cone maker. While an ice cream cone maker can streamline the process, you can also achieve great results using a regular waffle cone maker or even a non-stick frying pan. Simply spread the batter thinly on the heated surface, shape it into a cone while it’s still pliable, and allow it to cool and harden.
How do I fill the king cones with ice cream without them collapsing?
Filling king cones with ice cream can be a delicate process to avoid collapsing the cones. One effective way is to create a seal at the bottom of the cone by inserting a small scoop of melted chocolate or Nutella before adding the ice cream. This prevents the ice cream from leaking out and helps keep the cone intact while savoring your delightful creation.
Can I make king cones ahead of time?
Yes, you can make king cones ahead of time. Once the cones have cooled and hardened completely, store them in an airtight container or wrap them individually in plastic wrap to maintain freshness. However, it’s recommended to fill them with ice cream shortly before serving to ensure they remain crisp and avoid any potential softening.
Are there gluten-free options for making king cones?
Absolutely! If you follow a gluten-free diet, you can use alternative flours such as almond flour or rice flour in place of all-purpose flour. Additionally, ensure that any other ingredients you use in the cone batter, such as flavorings or toppings, are also gluten-free. This way, you can indulge in your own homemade gluten-free king cones.
Can I experiment with different flavors and fillings for king cones?
Certainly! Part of the fun of making your own king cones is getting creative with flavors and fillings. You can explore various options based on your preferences. Consider adding different extracts or spices to the cone batter for a unique taste. When it comes to the fillings, feel free to experiment with different ice cream flavors, toppings, and even adding mix-ins like crushed cookies or fruit. The possibilities are endless!
Was this page helpful?
YesNo
Related Articles
What Is An Ice Cream Slurpee
How To Bake Cake And Ice Cream Cones
15 New Ways To Use Ice Cream Cones
How To Bake A Cupcake In An Ice Cream Cone
What Is The Difference Between A Sugar Cone And Waffle Cone?
Here’s An Ice Cream That Tastes Like Ice Cream Cones