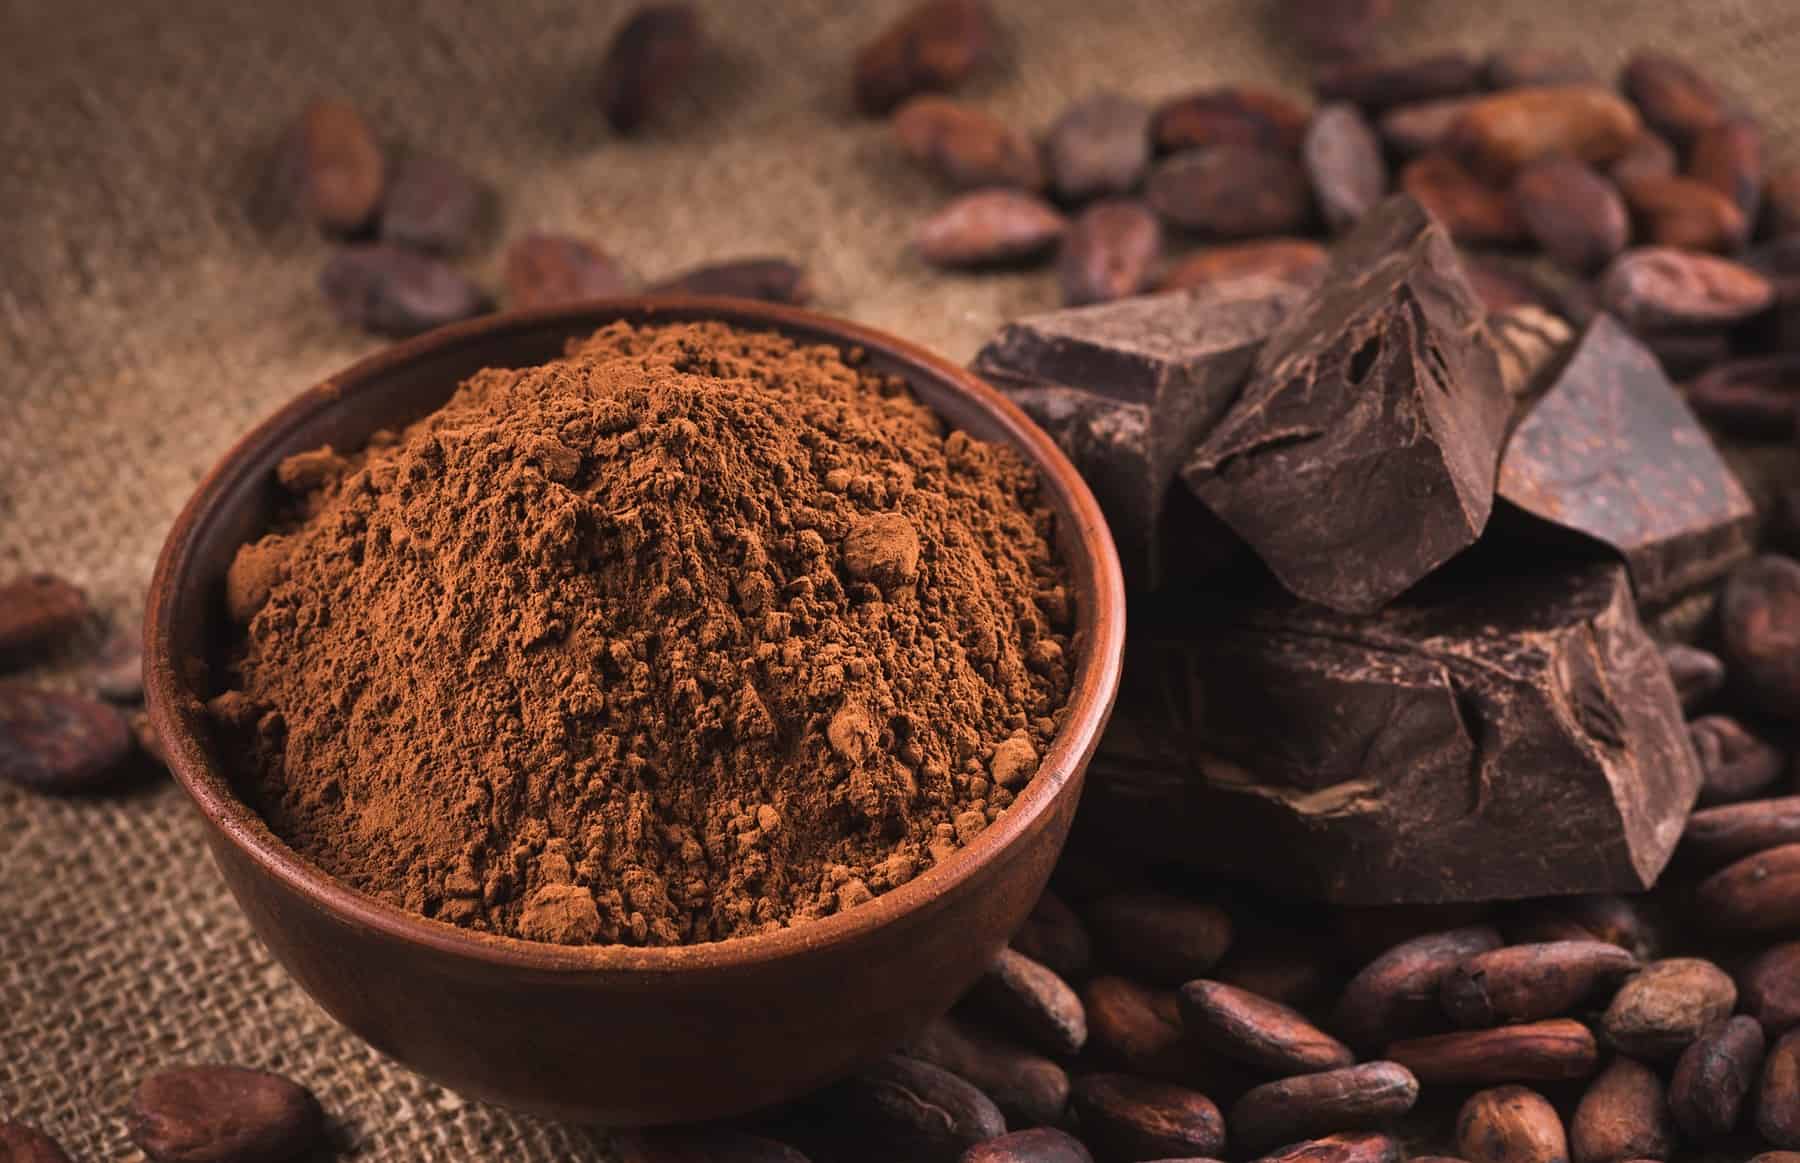
Mastering the Art of Tempering Chocolate for Molds
Welcome to the wonderful world of chocolate! If you’re an aspiring chocolatier or just a chocolate enthusiast, learning how to temper chocolate for molds is a crucial skill. Tempering chocolate is the process of heating and cooling chocolate to specific temperatures in order to achieve a smooth and glossy finish with a satisfying snap. When it comes to molding chocolate, proper tempering is essential for creating professional-looking and delectable treats.
Why Tempering Chocolate is Important
Tempering chocolate is not just about aesthetics; it also affects the texture and shelf life of the final product. Properly tempered chocolate will have a crisp snap, a smooth mouthfeel, and a shiny appearance. Additionally, tempered chocolate has a stable crystalline structure, which prevents it from melting too easily and allows it to set firmly when molded.
Understanding the Tempering Process
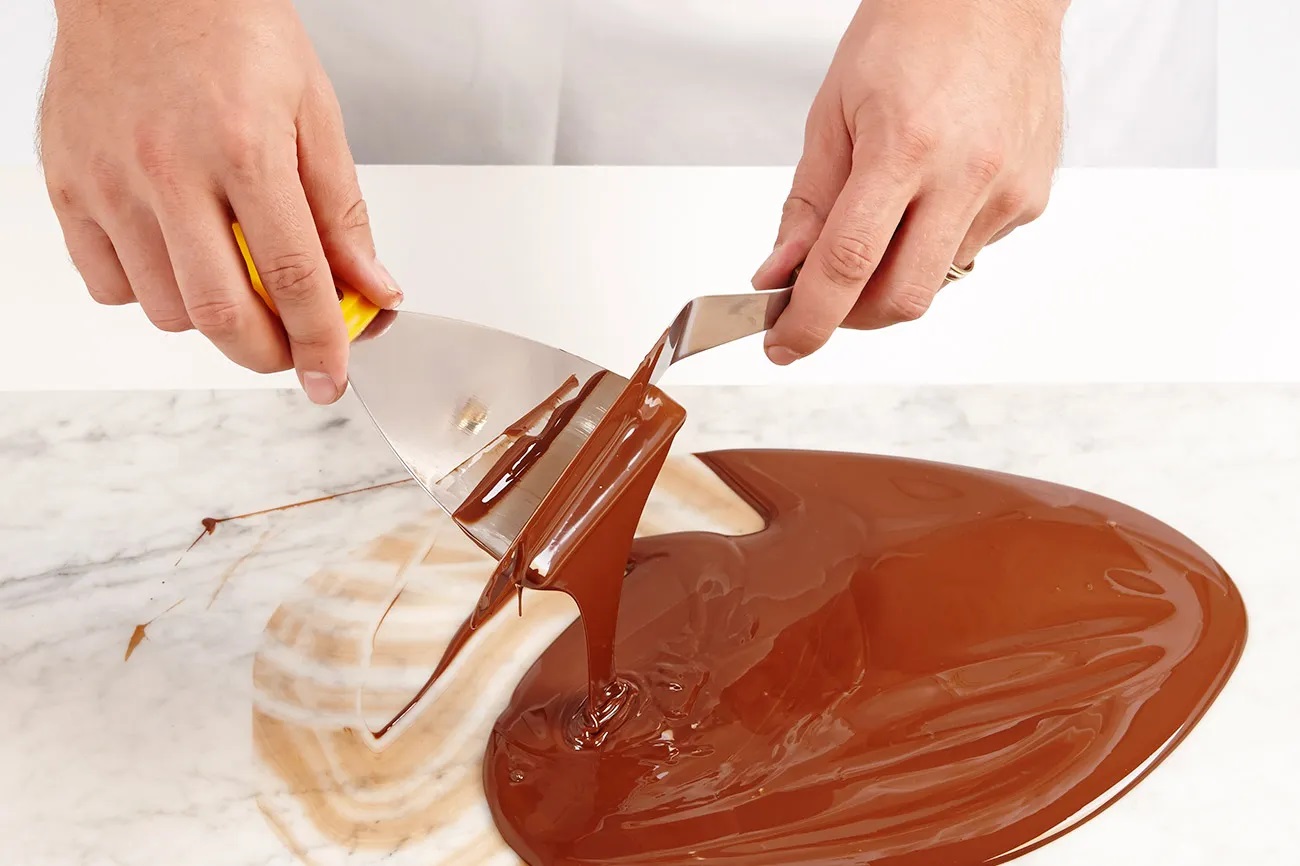
Tempering chocolate involves precise temperature control to ensure that the cocoa butter in the chocolate forms the correct type of crystals. There are several methods for tempering chocolate, but the most common technique involves the following steps:
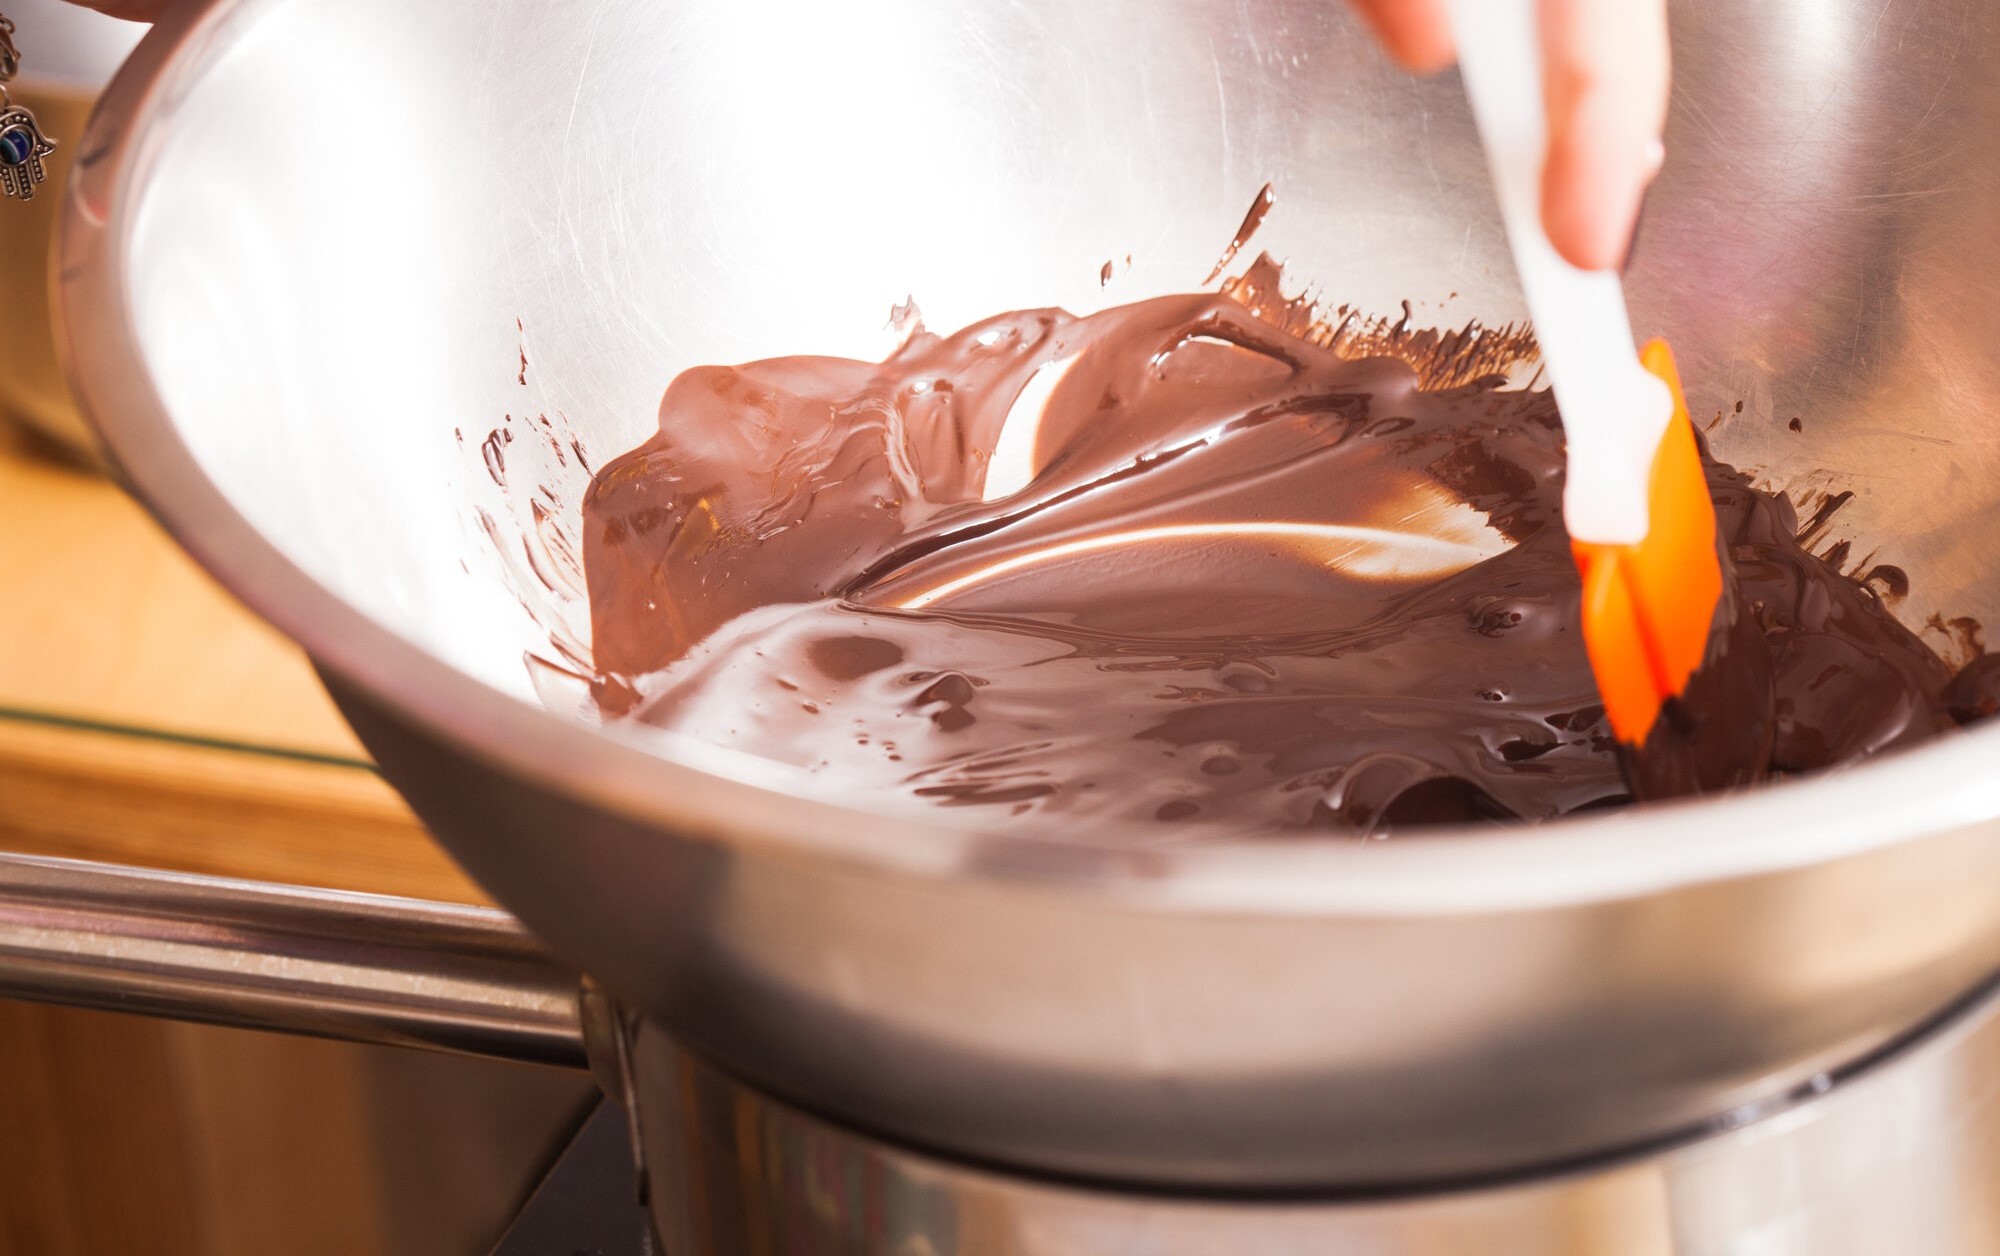
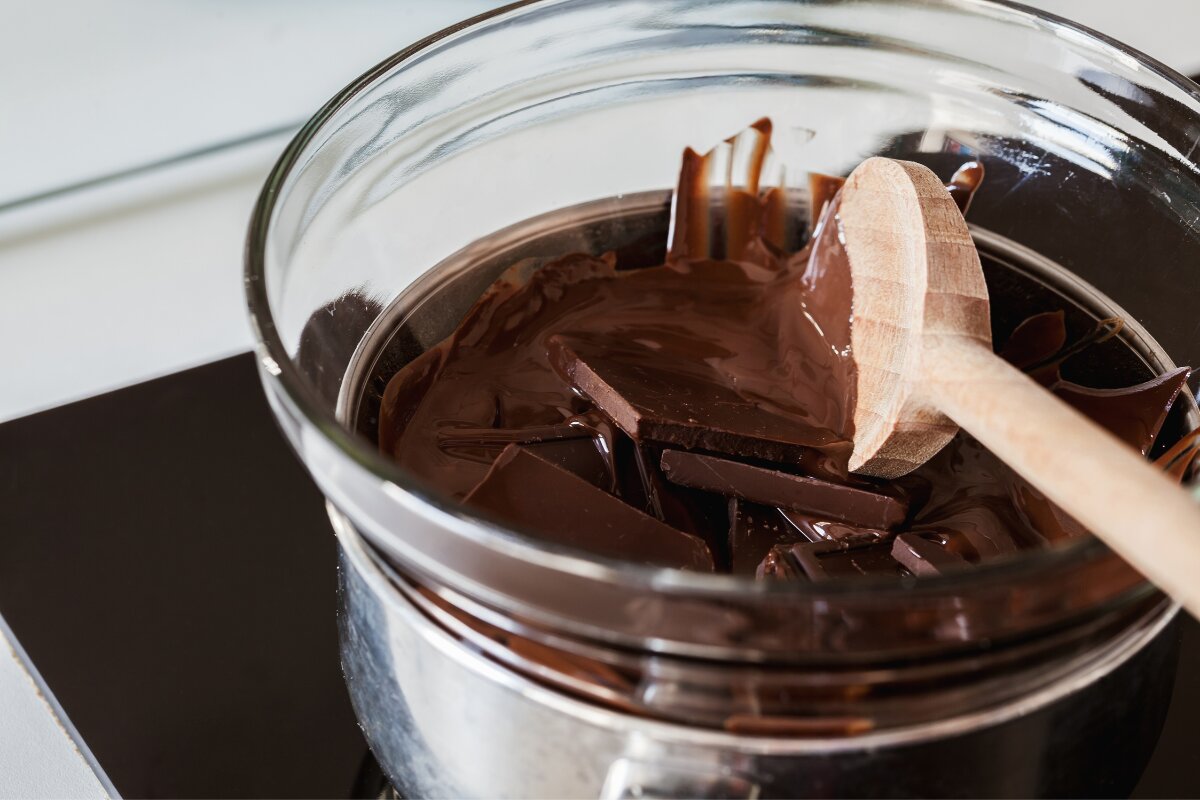
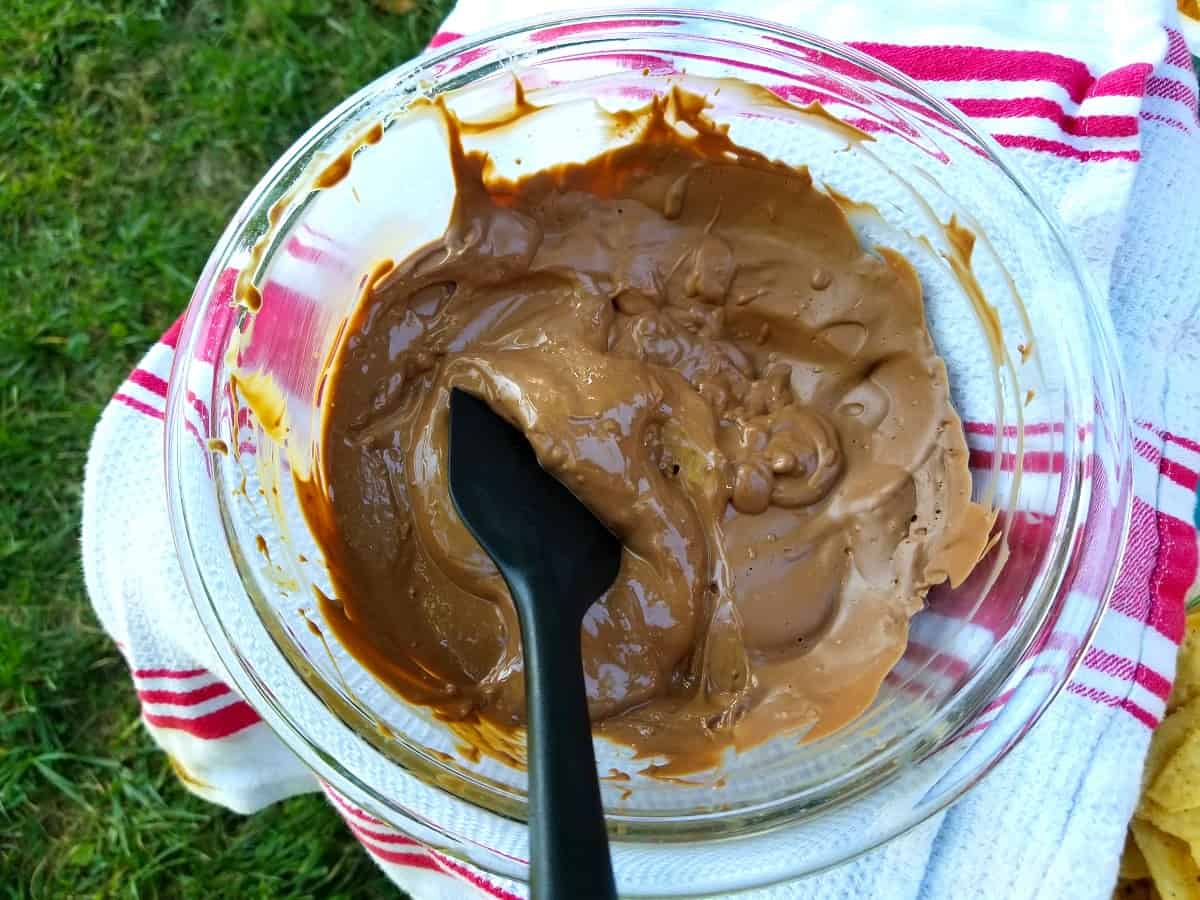
- Melting: Begin by melting the chocolate gently over a double boiler or in the microwave, stirring frequently to ensure even heating. Be sure not to exceed the recommended temperature for the type of chocolate you are using.
- Cooling: Once the chocolate is completely melted, it needs to be cooled to a specific temperature to encourage the formation of stable crystals. This is typically done by adding unmelted chocolate to the melted chocolate and stirring until it reaches the desired temperature.
- Warming: After the chocolate has been cooled to the proper temperature, it needs to be gently warmed to eliminate any unstable crystals that may have formed. This is achieved by gently heating the chocolate to a specific temperature, depending on the type of chocolate being tempered.
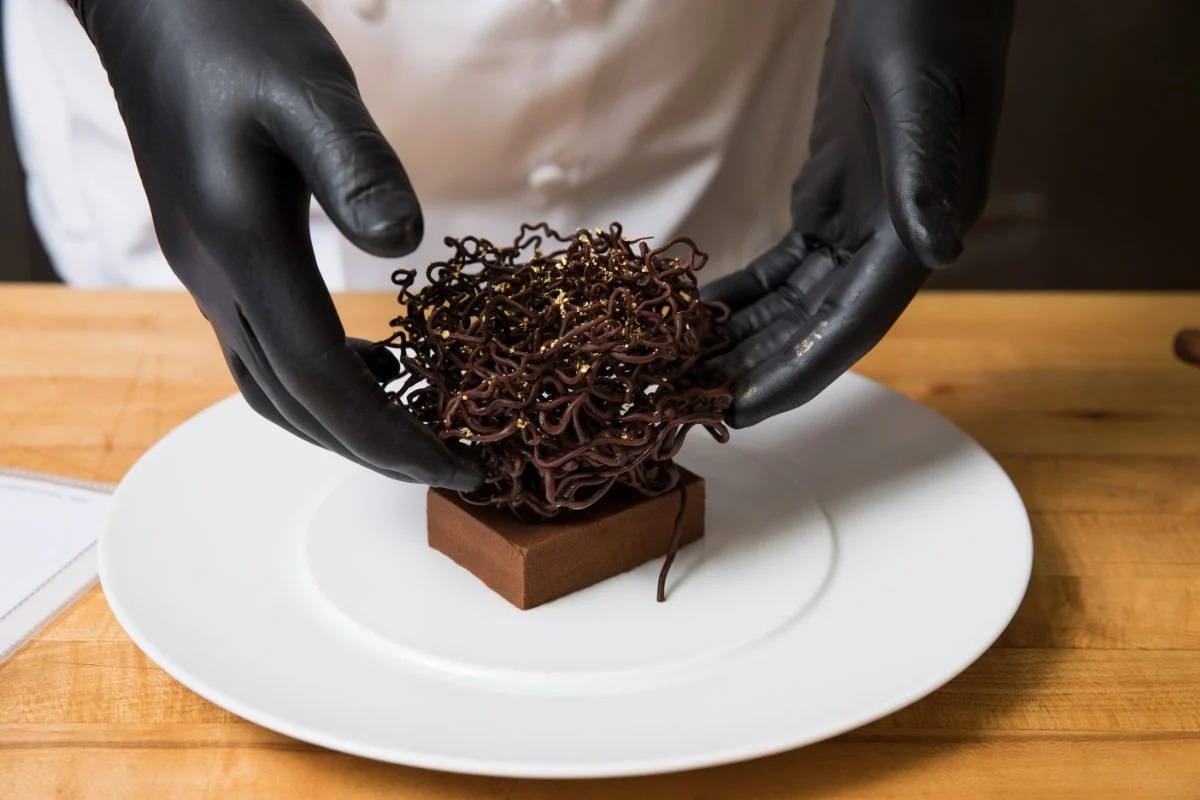
Tempering Chocolate for Molds
When it comes to molding chocolate, the tempering process is especially important for achieving professional-looking results. Here’s how to temper chocolate specifically for molds:
- Prepare Your Work Area: Before you begin, make sure your molds are clean and completely dry. Any moisture or residue in the molds can affect the texture and appearance of the molded chocolate.
- Temper the Chocolate: Follow the steps for tempering chocolate as outlined above, ensuring that the chocolate is brought to the correct temperatures for melting, cooling, and warming.
- Fill the Molds: Once the chocolate is properly tempered, carefully pour it into the molds, tapping the molds gently on the counter to release any air bubbles and ensure that the chocolate fills the entire cavity.
- Set and Unmold: Allow the chocolate to set at room temperature or in the refrigerator until it is completely firm. Once set, carefully unmold the chocolates, handling them as little as possible to avoid fingerprints or smudges.
Tips for Success
Tempering chocolate can be a bit finicky, but with practice and attention to detail, you can achieve beautiful, professional-looking molded chocolates. Here are some additional tips to help you succeed:
- Use High-Quality Chocolate: The quality of the chocolate you use will greatly impact the final result. Choose high-quality chocolate with a high cocoa butter content for the best results.
- Monitor the Temperatures: Invest in a good quality chocolate thermometer to ensure accuracy when tempering chocolate. Precision is key to successful tempering.
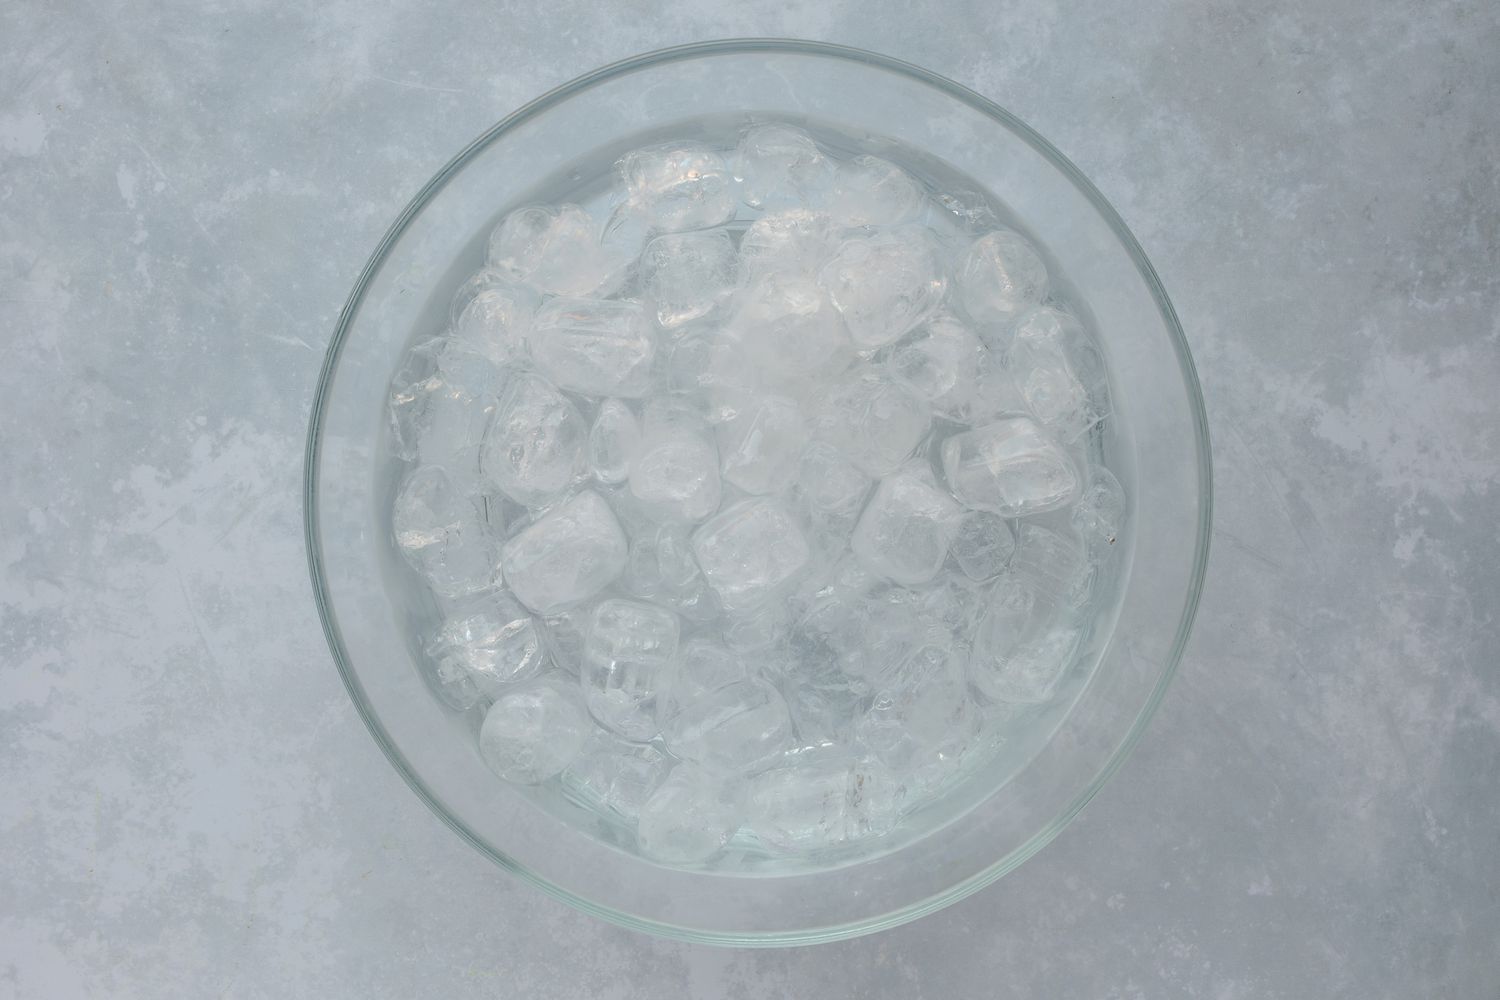
- Work in a Cool Environment: Chocolate is sensitive to temperature, so try to work in a cool, dry environment to prevent the chocolate from overheating or cooling too quickly.
- Practice Patience: Tempering chocolate takes time and patience. Rushing the process can result in chocolate that is not properly tempered, so take your time and follow the steps carefully.
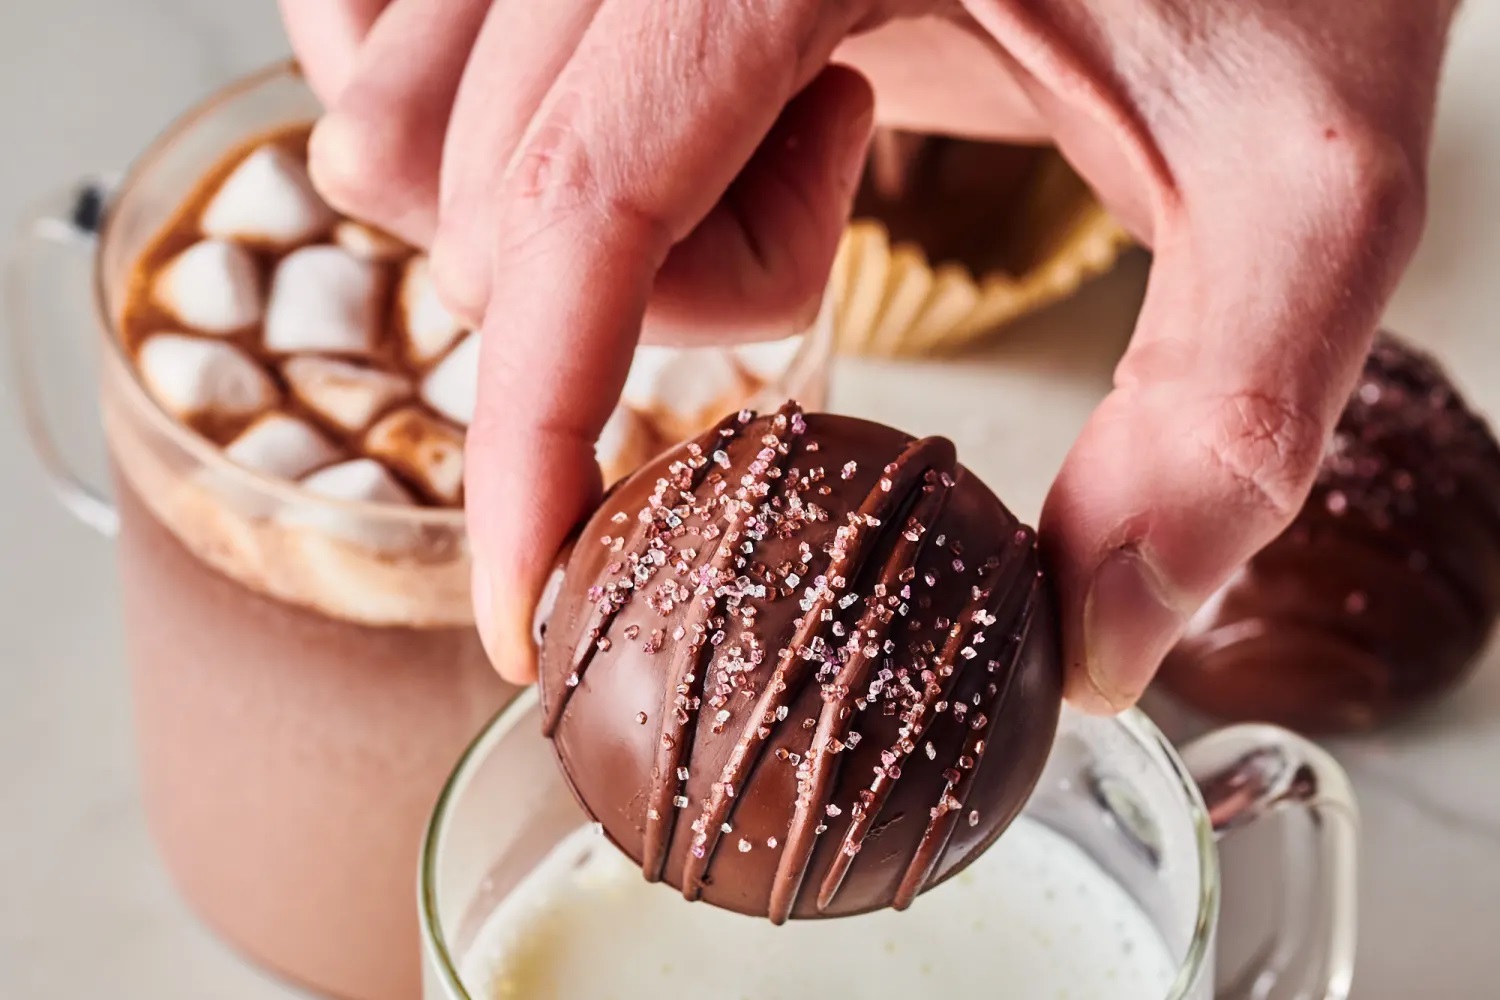
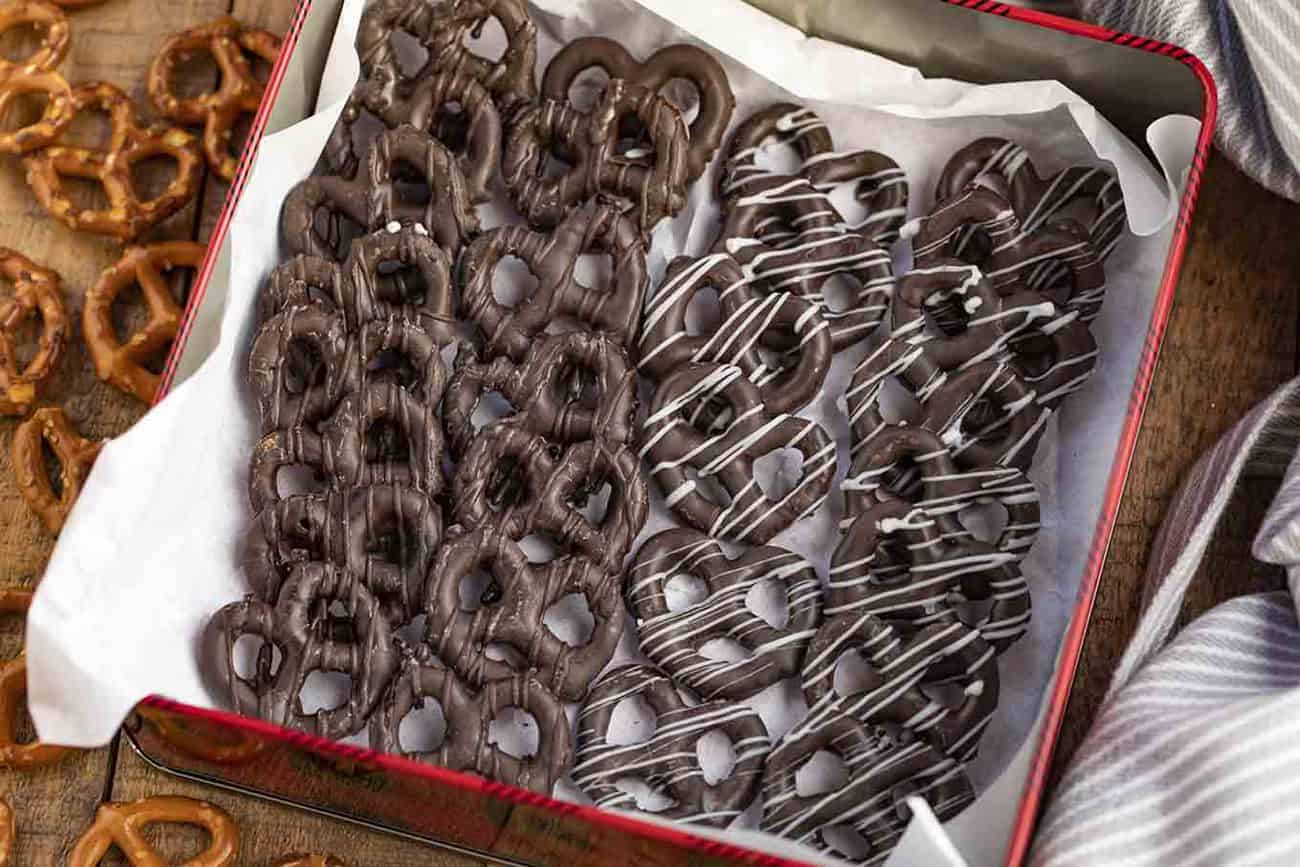
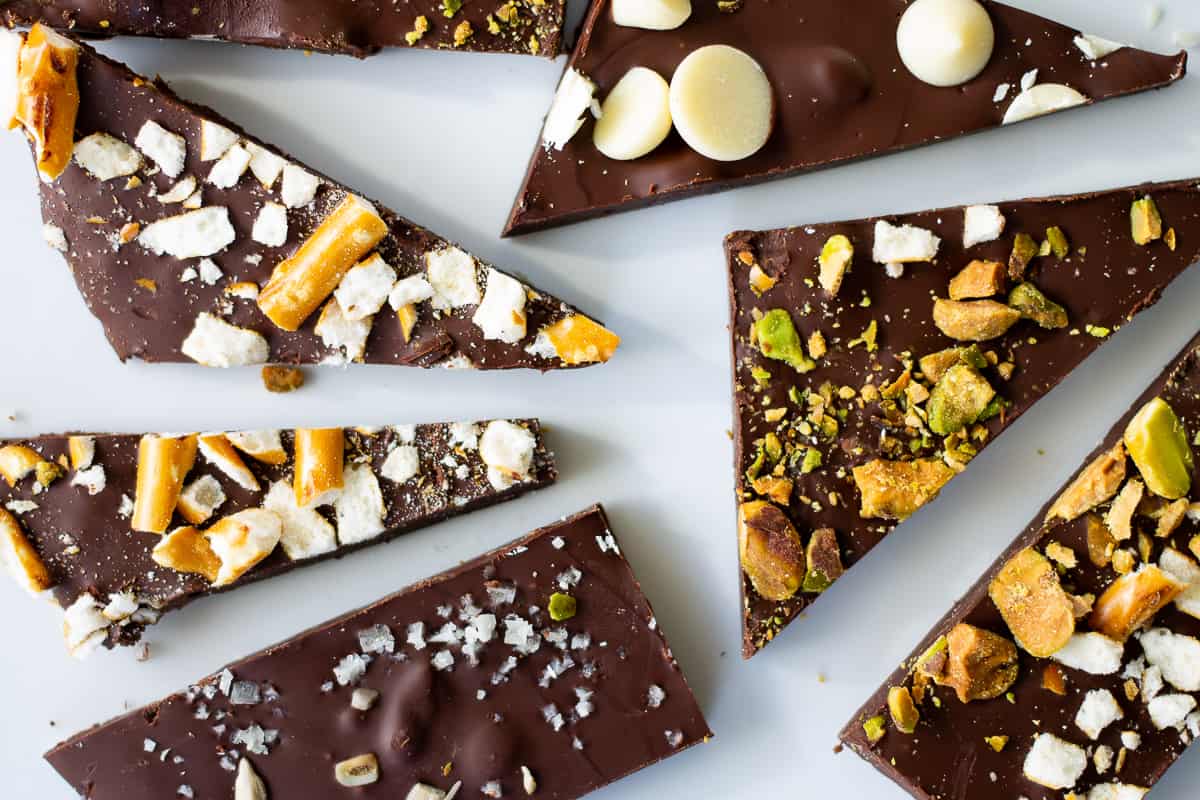
With these tips and a bit of practice, you’ll be well on your way to mastering the art of tempering chocolate for molds. Whether you’re making homemade truffles, chocolate bars, or other molded treats, properly tempered chocolate will elevate your creations to a professional level.
So, roll up your sleeves, gather your favorite molds, and get ready to impress your friends and family with beautifully molded chocolates that not only look stunning but also taste absolutely divine!
Was this page helpful?
Related Articles