Mastering the Art of Tempering and Piping Chocolate
Chocolate is a versatile and delicious ingredient that can be used in a variety of ways, from creating decadent desserts to adding a touch of sweetness to savory dishes. One of the key techniques in working with chocolate is tempering, which involves heating and cooling the chocolate to ensure a smooth and glossy finish. Additionally, piping chocolate allows for intricate designs and decorations that can elevate any dessert to the next level. In this guide, we will explore the process of tempering and piping chocolate to help you master these essential skills.
Tempering Chocolate
Tempering chocolate is essential for achieving a professional finish and ensuring that the chocolate has a smooth texture and a satisfying snap when bitten into. The process involves carefully melting the chocolate, then cooling it to specific temperatures to stabilize the cocoa butter crystals. Here’s how to temper chocolate like a pro:
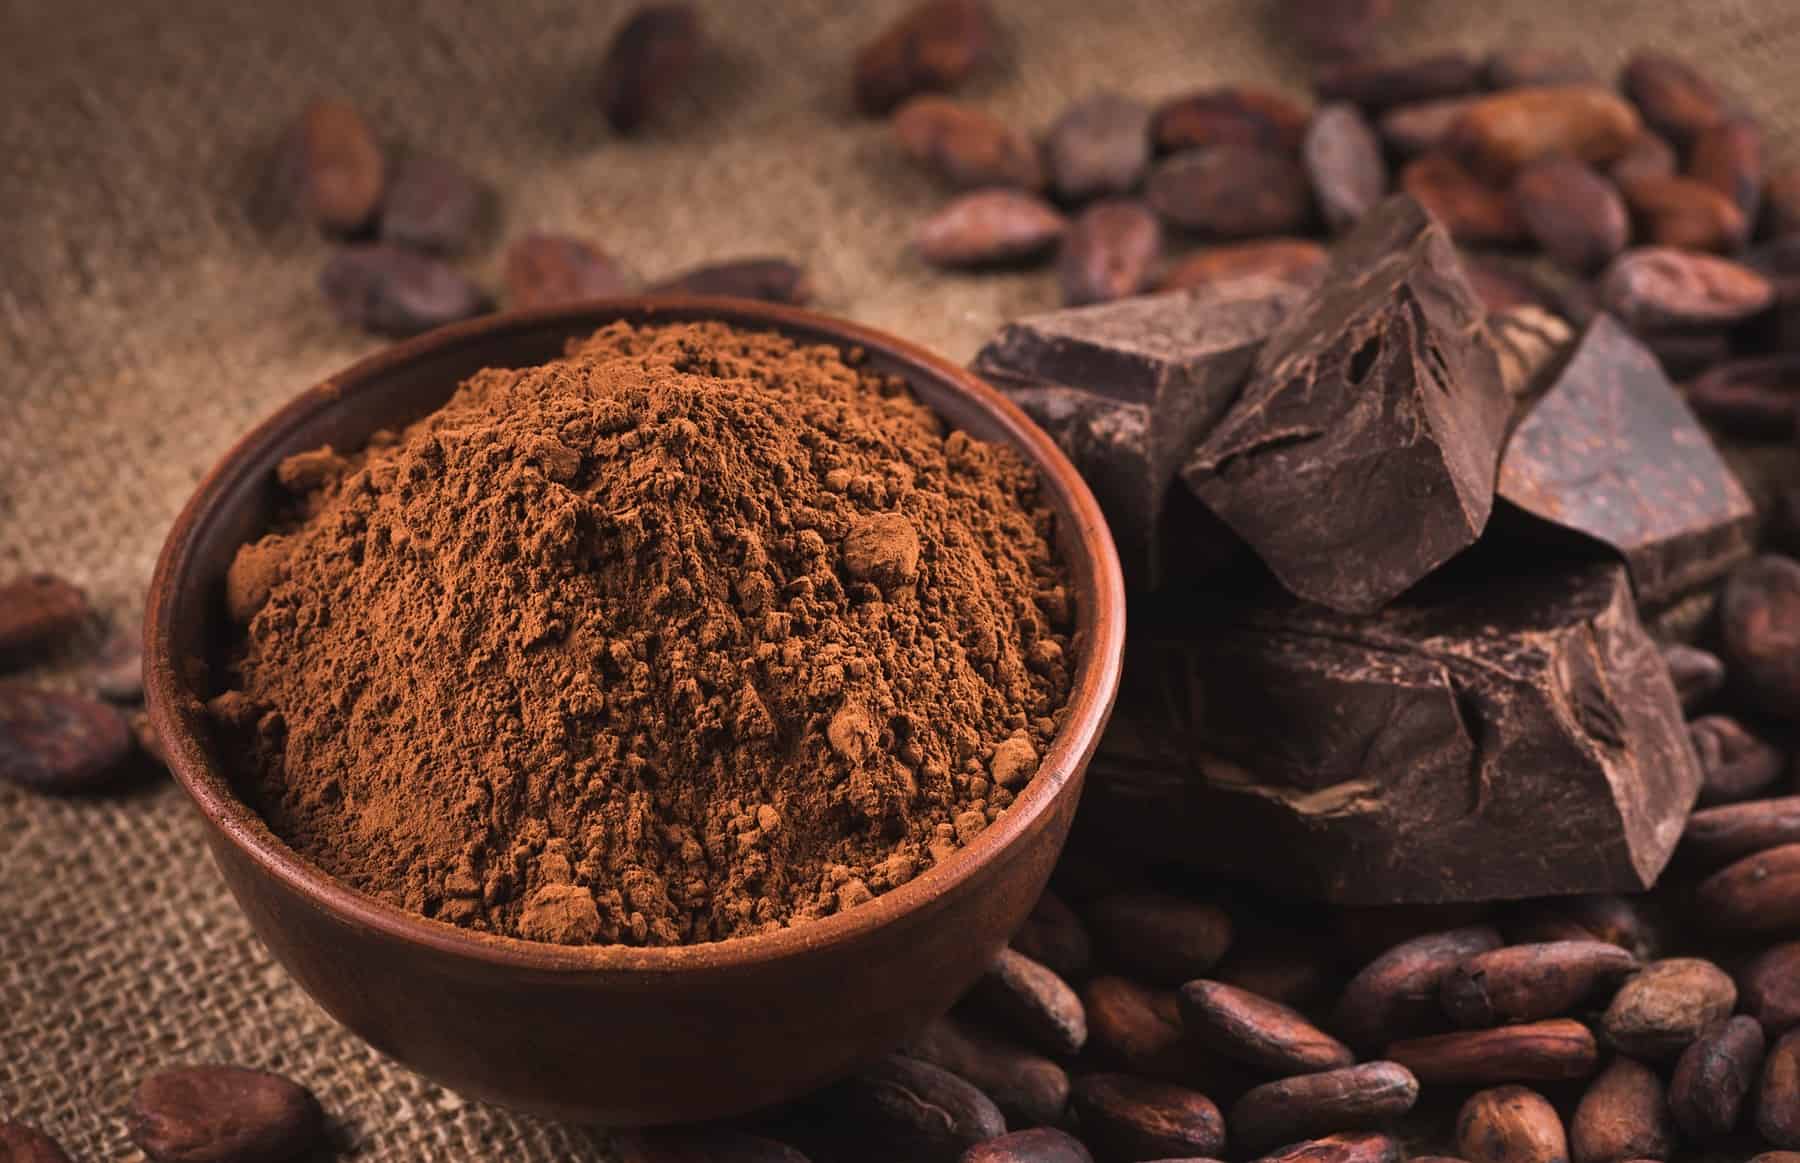
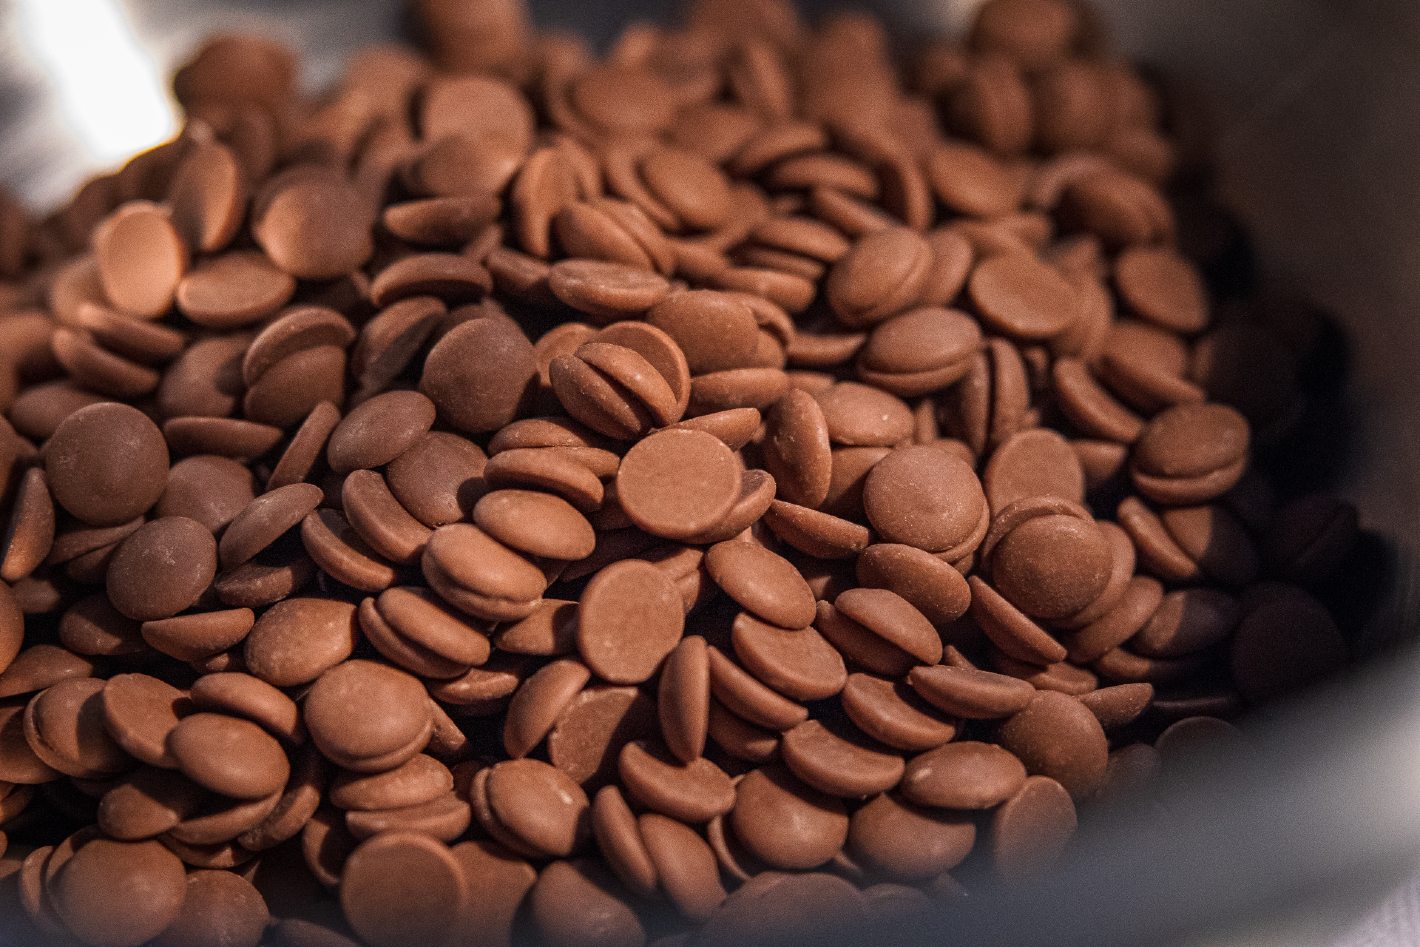
- Chop the Chocolate: Start by chopping the chocolate into small, uniform pieces. This will help it melt evenly and quickly.
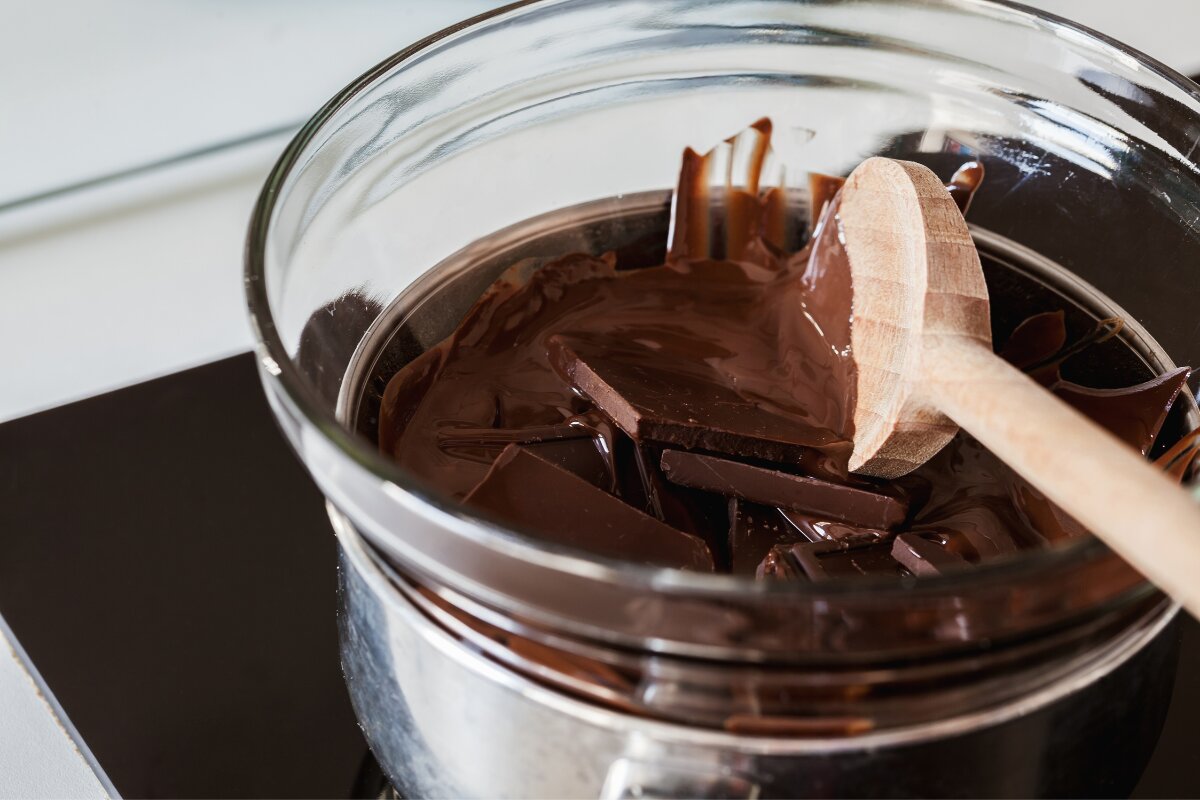
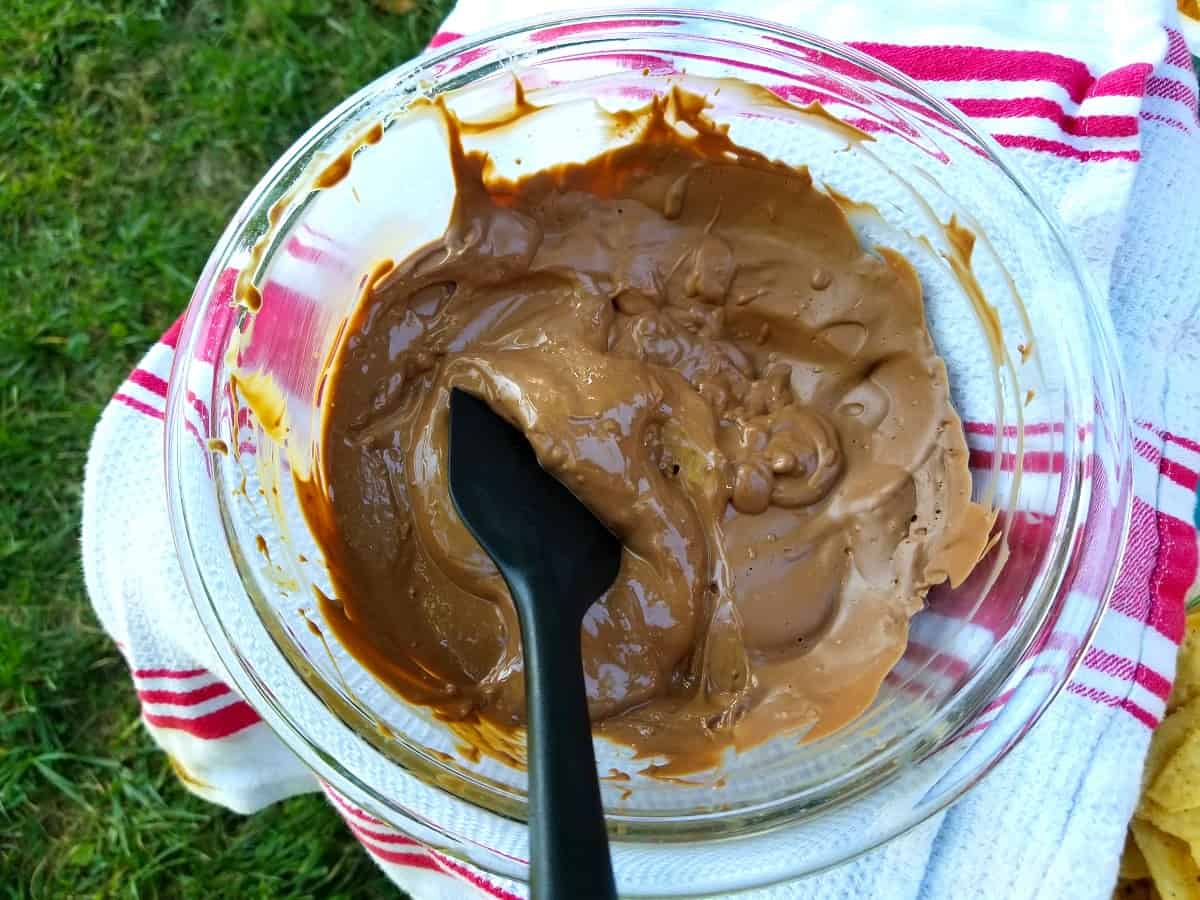
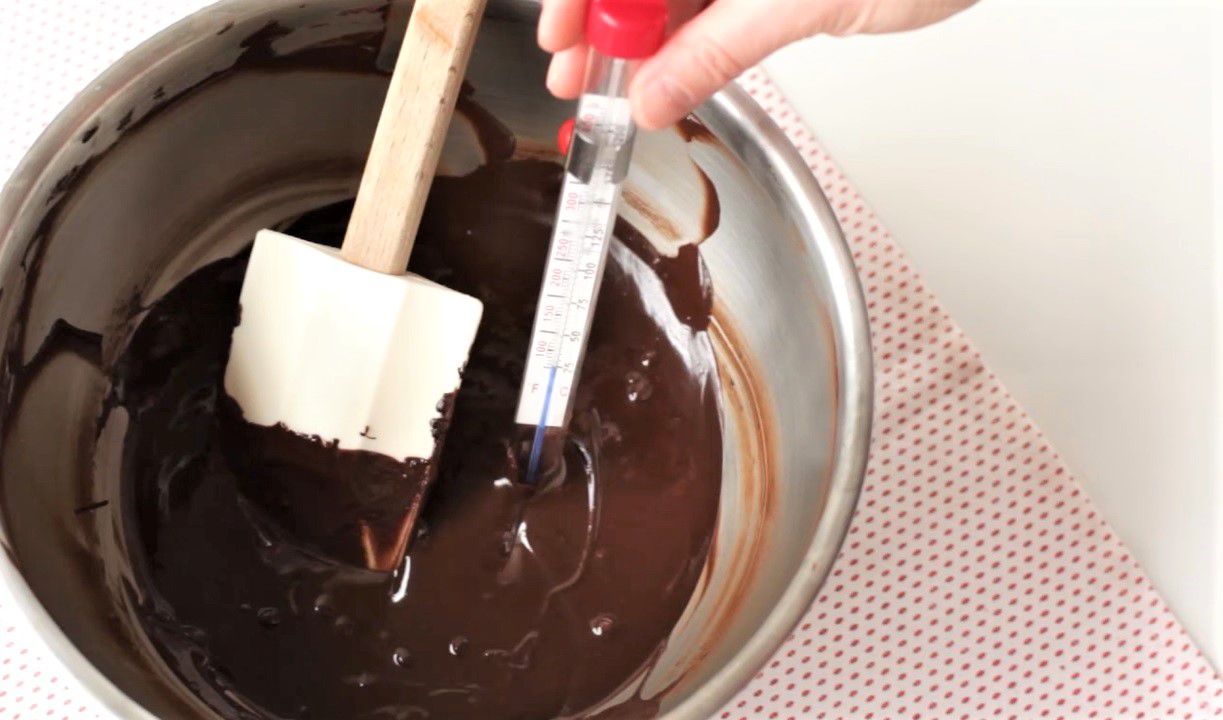
- Melt the Chocolate: Place two-thirds of the chopped chocolate into a heatproof bowl and set it over a pot of simmering water. Stir the chocolate gently and frequently as it melts, ensuring that no water or steam comes into contact with the chocolate.
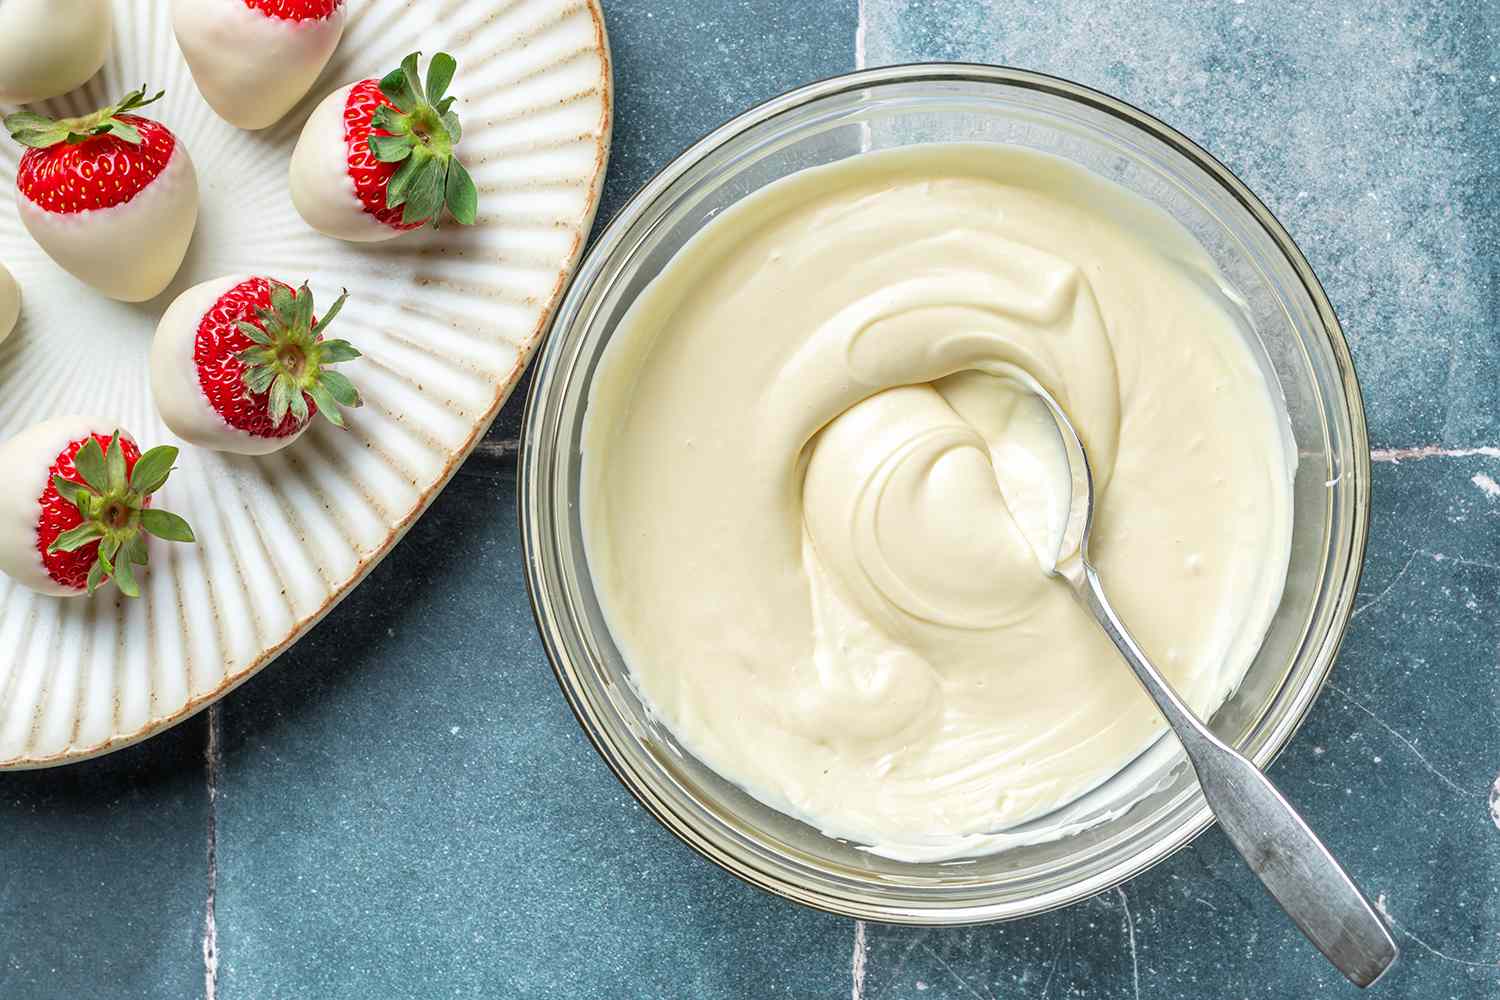
- Cool the Chocolate: Once the chocolate has melted, remove it from the heat and add the remaining one-third of the chopped chocolate. Stir continuously until all the chocolate has melted and the temperature reaches 88-90°F (31-32°C) for dark chocolate, 86-88°F (30-31°C) for milk chocolate, and 82-84°F (28-29°C) for white chocolate.
- Reheat the Chocolate (optional): If the chocolate has not reached the desired temperature, you can gently reheat it over the simmering water for a few seconds at a time, stirring constantly, until it reaches the correct temperature. Be careful not to overheat the chocolate.
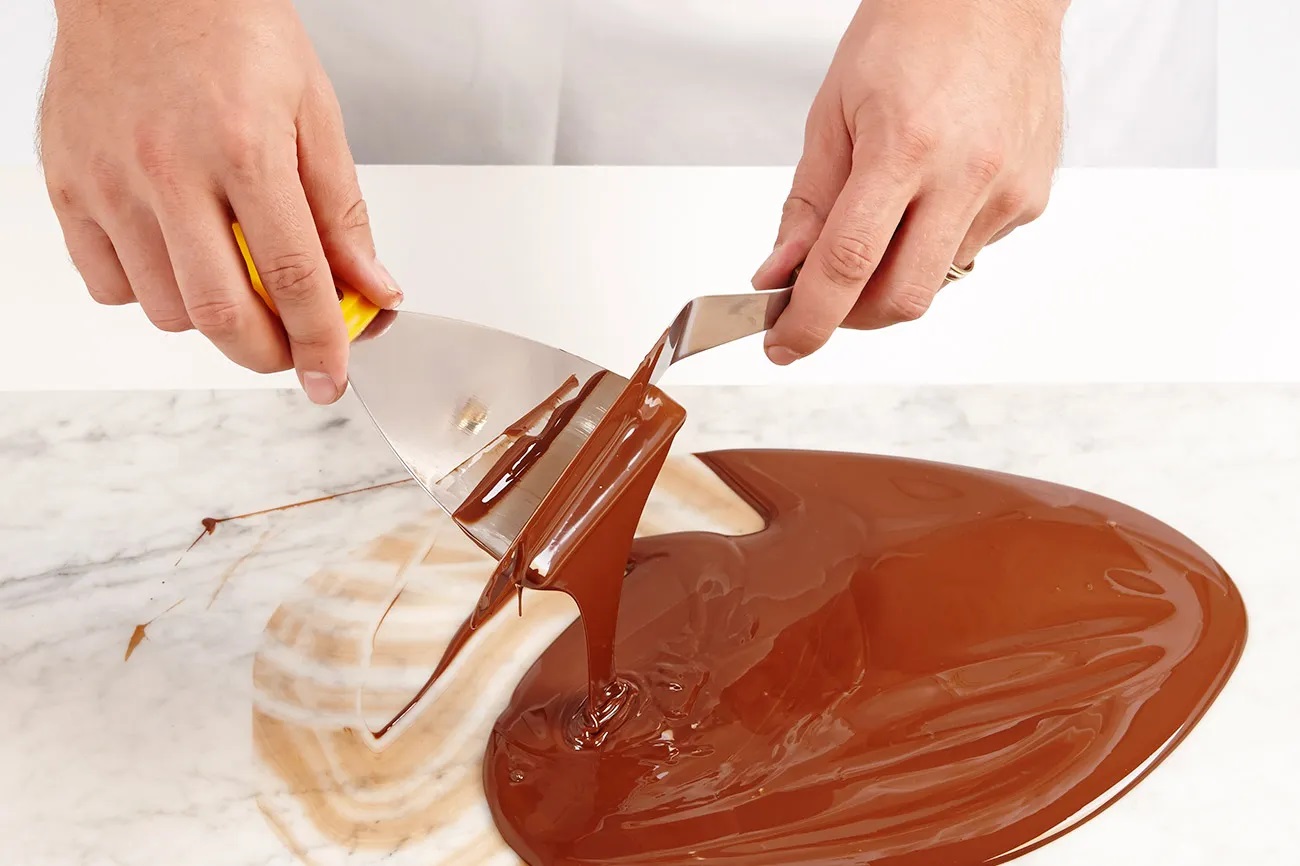
- Test the Tempering: To ensure that the chocolate is properly tempered, spread a small amount onto a piece of parchment paper and allow it to set at room temperature for a few minutes. It should have a shiny appearance and a firm texture. If the chocolate sets too quickly or has streaks or a dull appearance, it may need to be re-tempered.
Piping Chocolate
Piping chocolate allows for intricate designs and decorations that can elevate any dessert to the next level. Whether you’re creating delicate chocolate garnishes or piping intricate patterns on cakes and pastries, mastering the art of piping chocolate can take your confectionery skills to new heights. Here’s how to pipe chocolate like a pro:
- Prepare the Piping Bag: Fit a piping bag with a small round tip or a fine writing tip, depending on the design you want to create. Fill the bag with tempered chocolate, taking care not to overfill it.
- Practice on Parchment Paper: Before piping onto your dessert or pastry, practice your designs on a piece of parchment paper to get a feel for the flow and consistency of the chocolate.
- Pipe with Precision: When you’re ready to pipe onto your dessert, hold the piping bag at a 45-degree angle and apply gentle, consistent pressure to create your desired design. You can create swirls, zigzags, loops, or any other pattern you desire.
- Set the Chocolate: Once you’ve piped your chocolate design, allow it to set at room temperature or in the refrigerator, depending on the recipe and the specific requirements of your dessert.
By mastering the art of tempering and piping chocolate, you can add a professional touch to your homemade desserts and elevate your culinary creations to new heights. With practice and patience, you can become a skilled chocolatier and impress your friends and family with your beautifully crafted chocolate creations.
So, go ahead and unleash your creativity with tempered and piped chocolate, and take your desserts to the next level!
Was this page helpful?
Related Articles