Welcome to the Ultimate Guide on Using the Masterbuilt Electric Smoker!
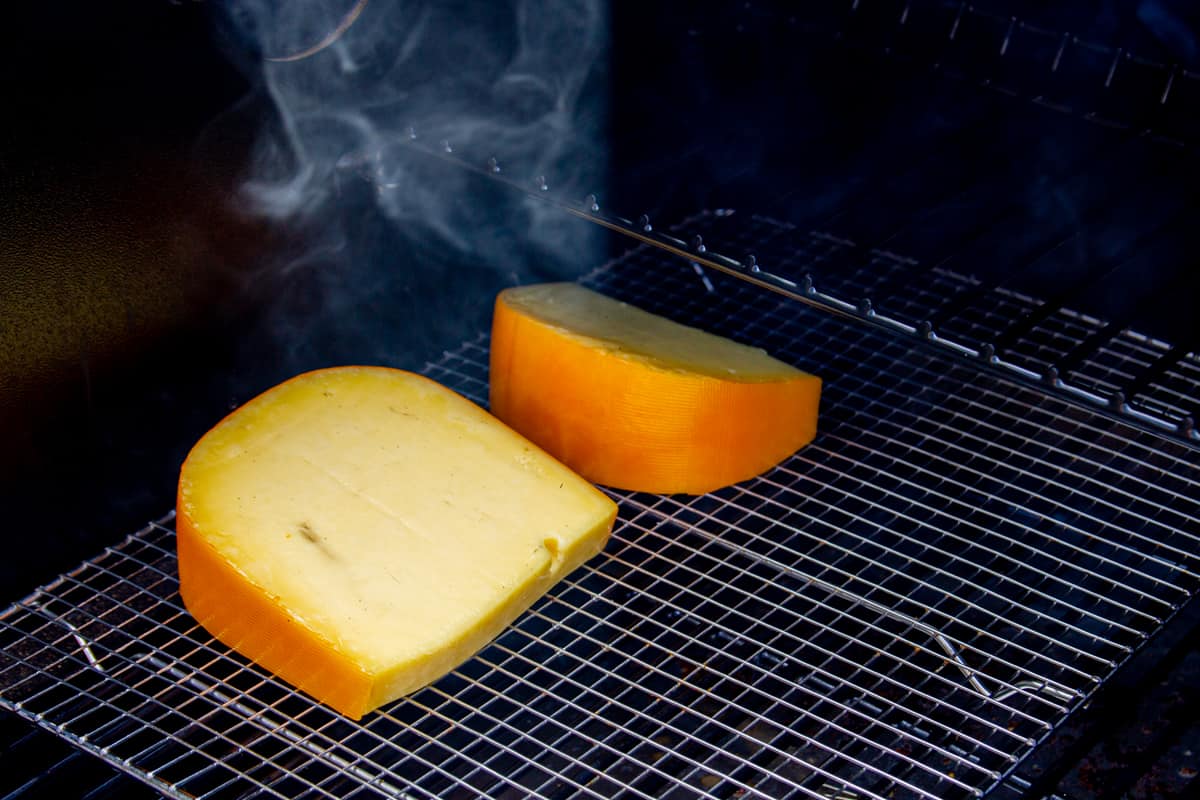
If you’re a fan of smoked meats, vegetables, or even cheeses, then the Masterbuilt Electric Smoker is a must-have in your kitchen arsenal. This electric smoker makes the process of smoking food incredibly easy and convenient, allowing you to achieve that delicious smoky flavor without the hassle of traditional charcoal or wood smokers. In this guide, we’ll walk you through the steps of using the Masterbuilt Electric Smoker like a pro.
Step 1: Seasoning Your Smoker
Before you start smoking your favorite foods, it’s essential to season your Masterbuilt Electric Smoker. This process helps to remove any manufacturing residues and prepares the smoker for optimal performance. Here’s how to do it:
- Start by wiping down the interior of the smoker with a damp cloth to remove any dust or debris.
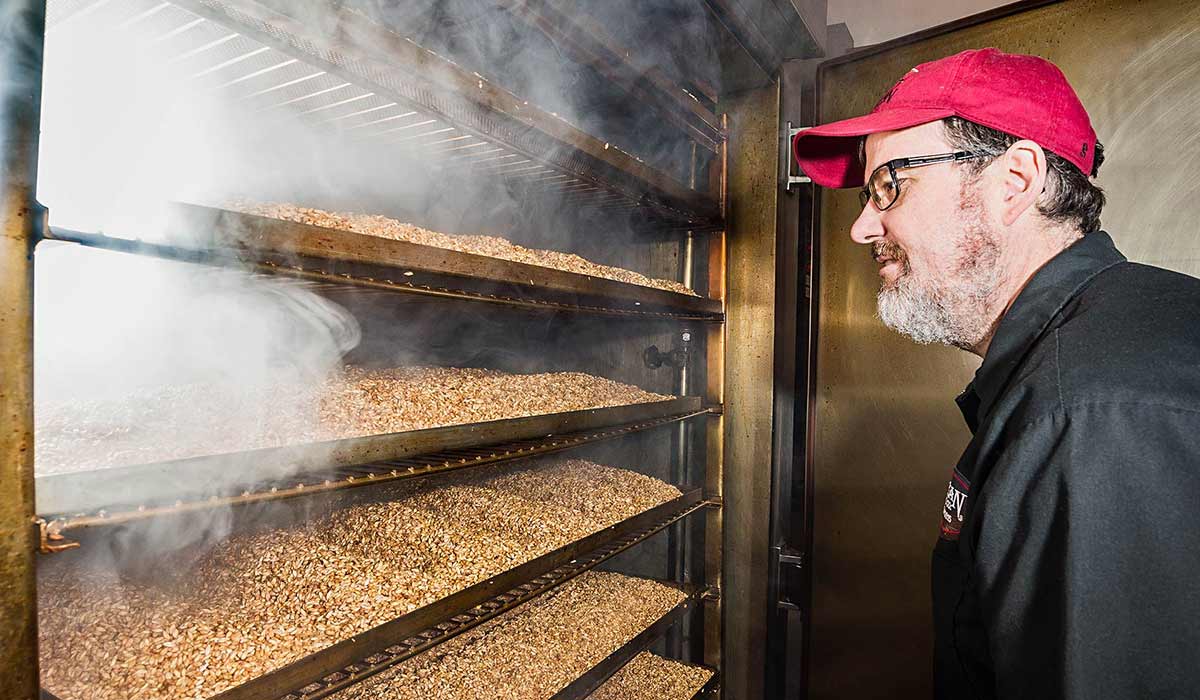
- Next, preheat the smoker to 275°F for about 3 hours with a handful of wood chips in the chip loader. This will help burn off any residues and impart a smoky flavor to the interior.
- Once the initial 3 hours are up, allow the smoker to cool down completely before moving on to the next step.
Step 2: Preparing Your Food
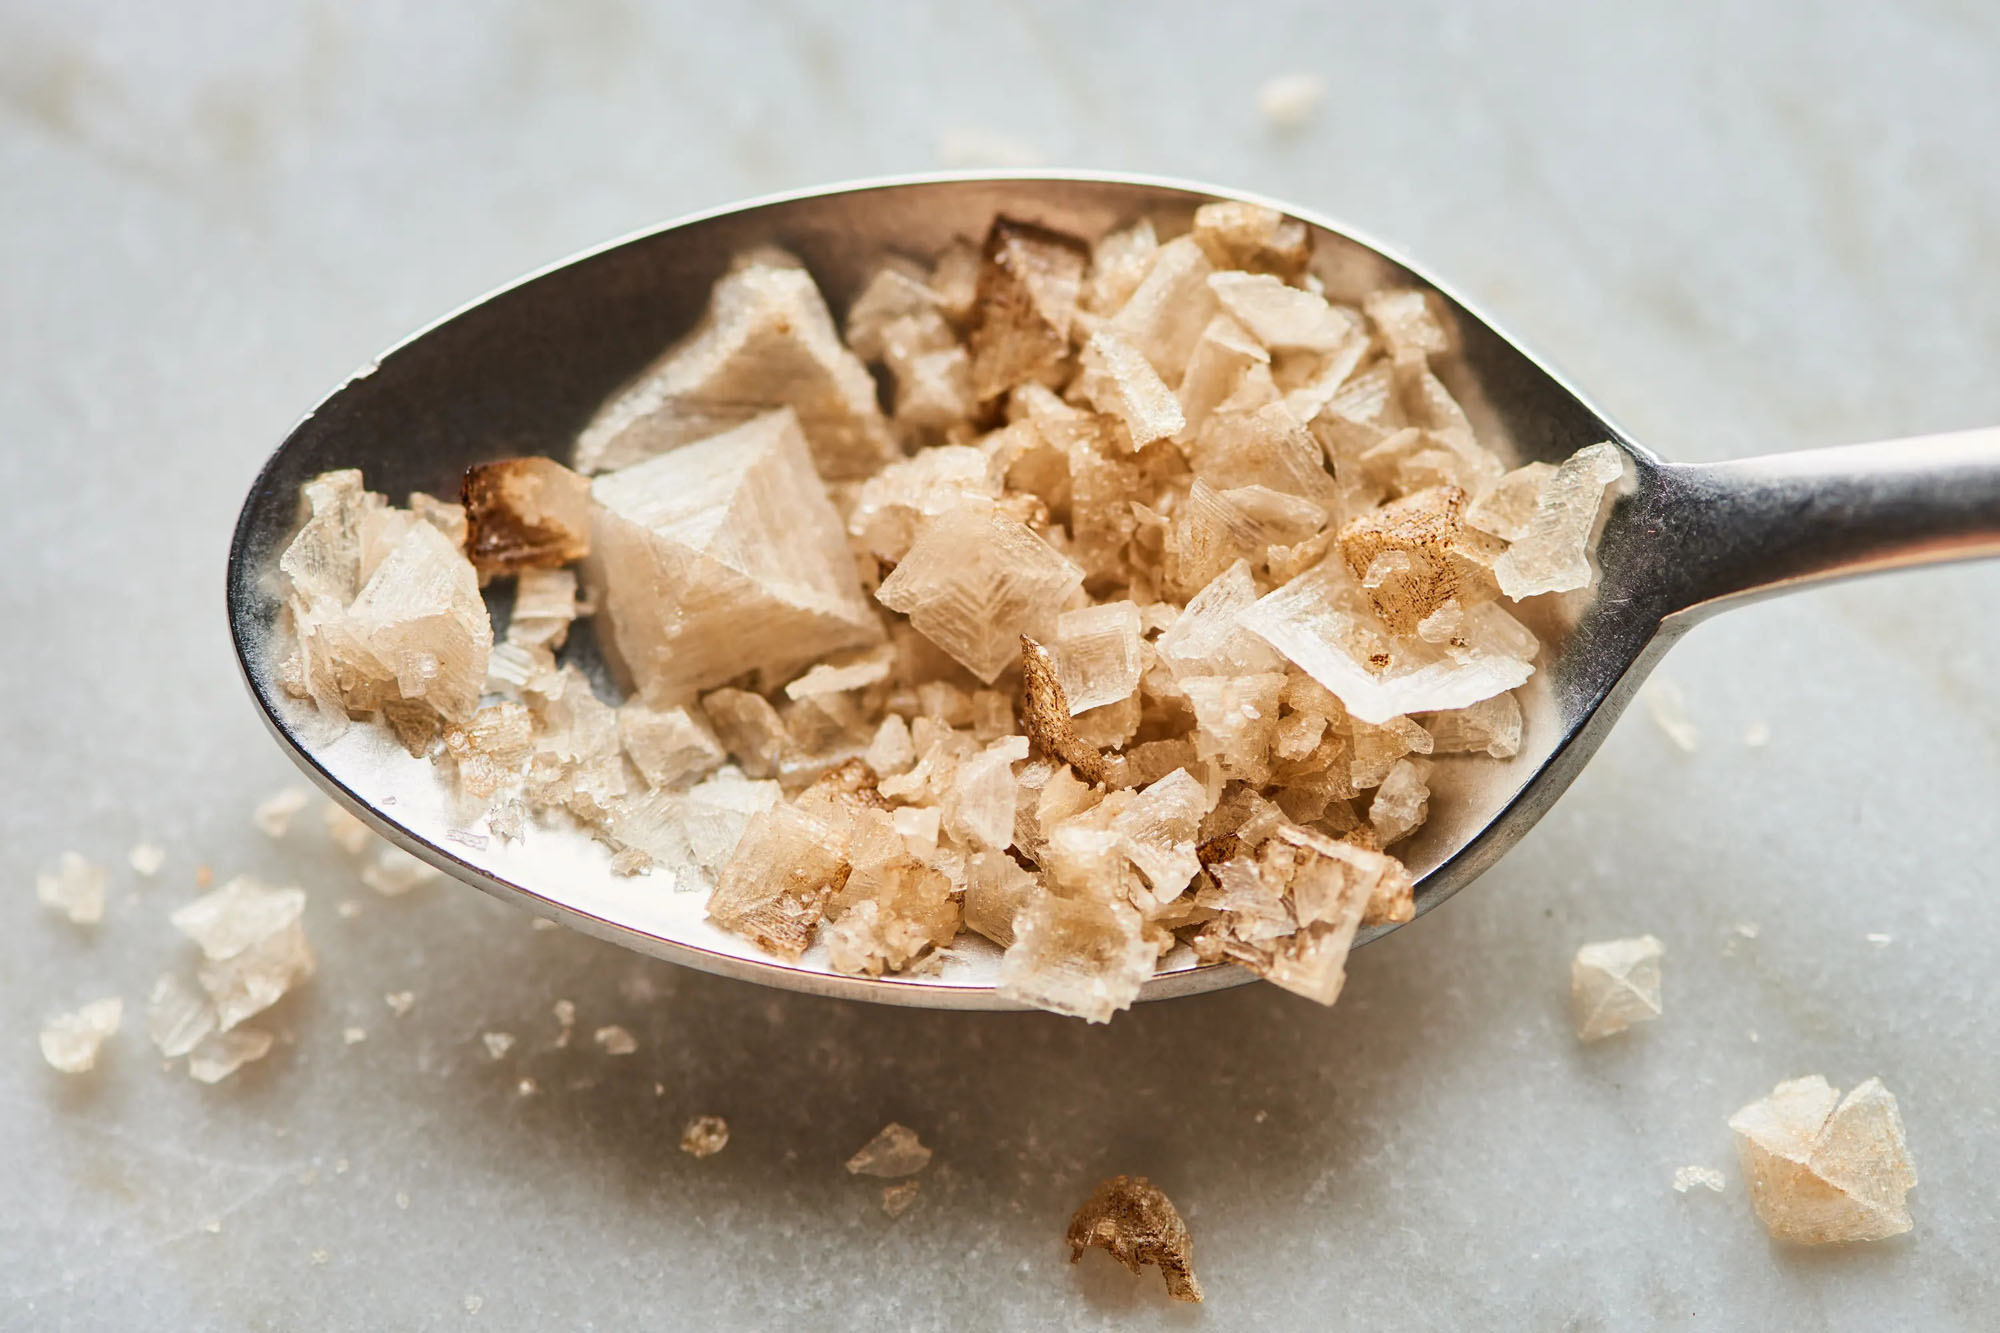
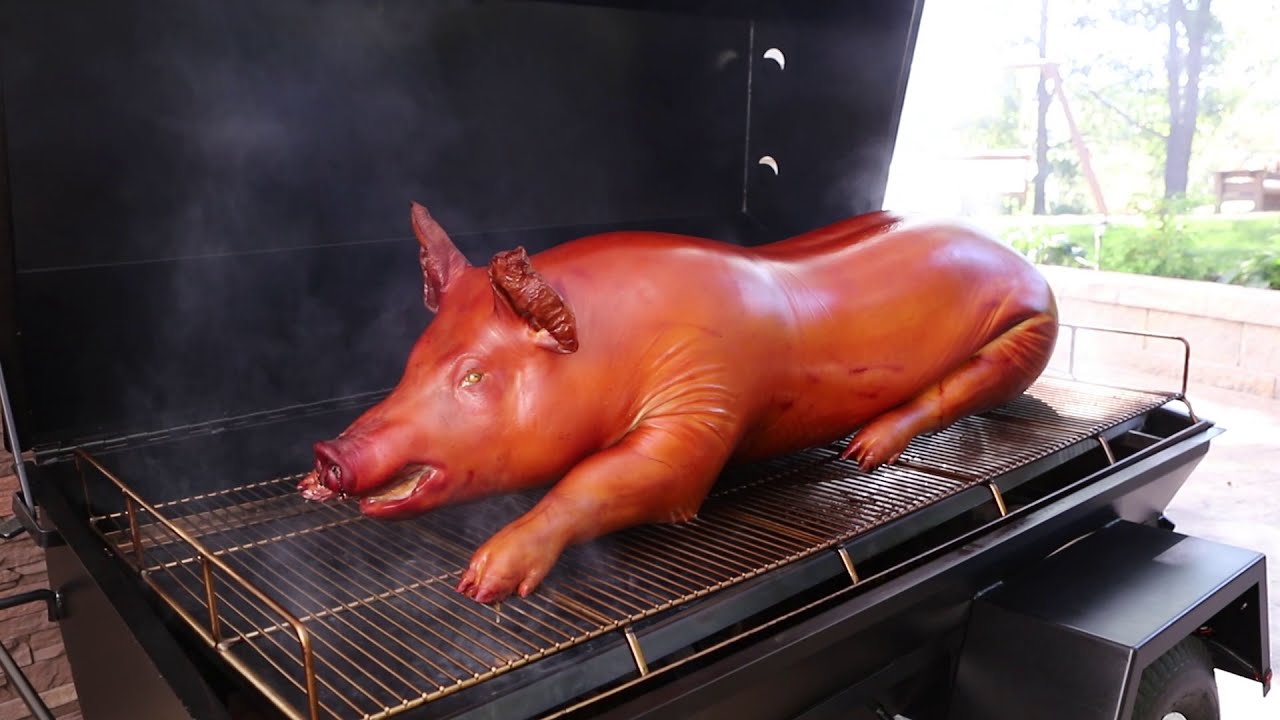
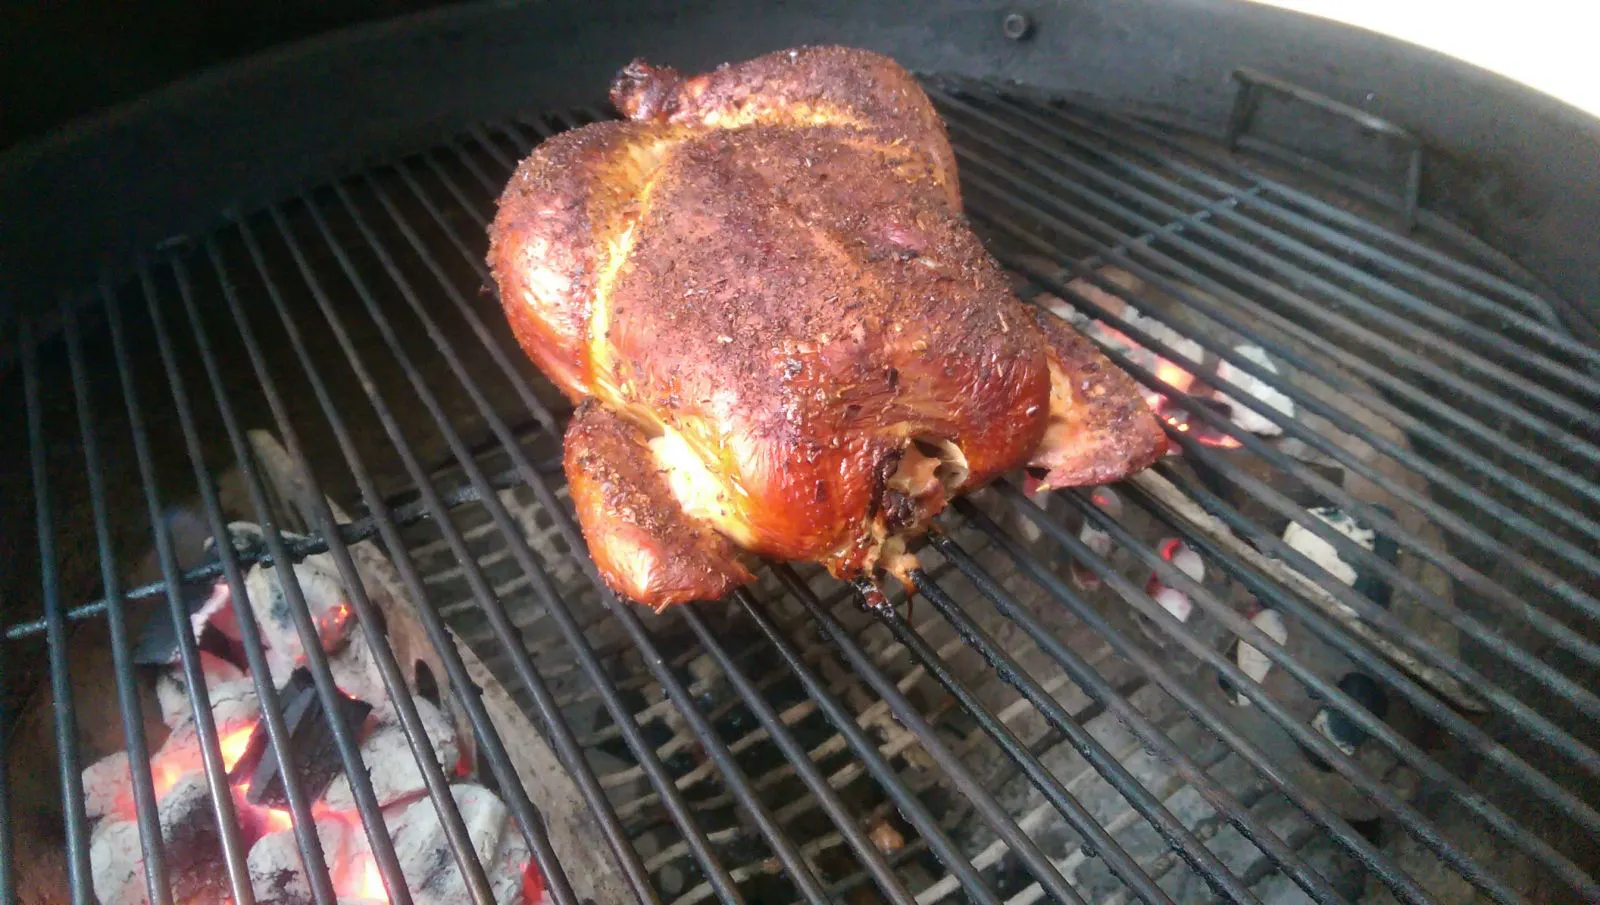
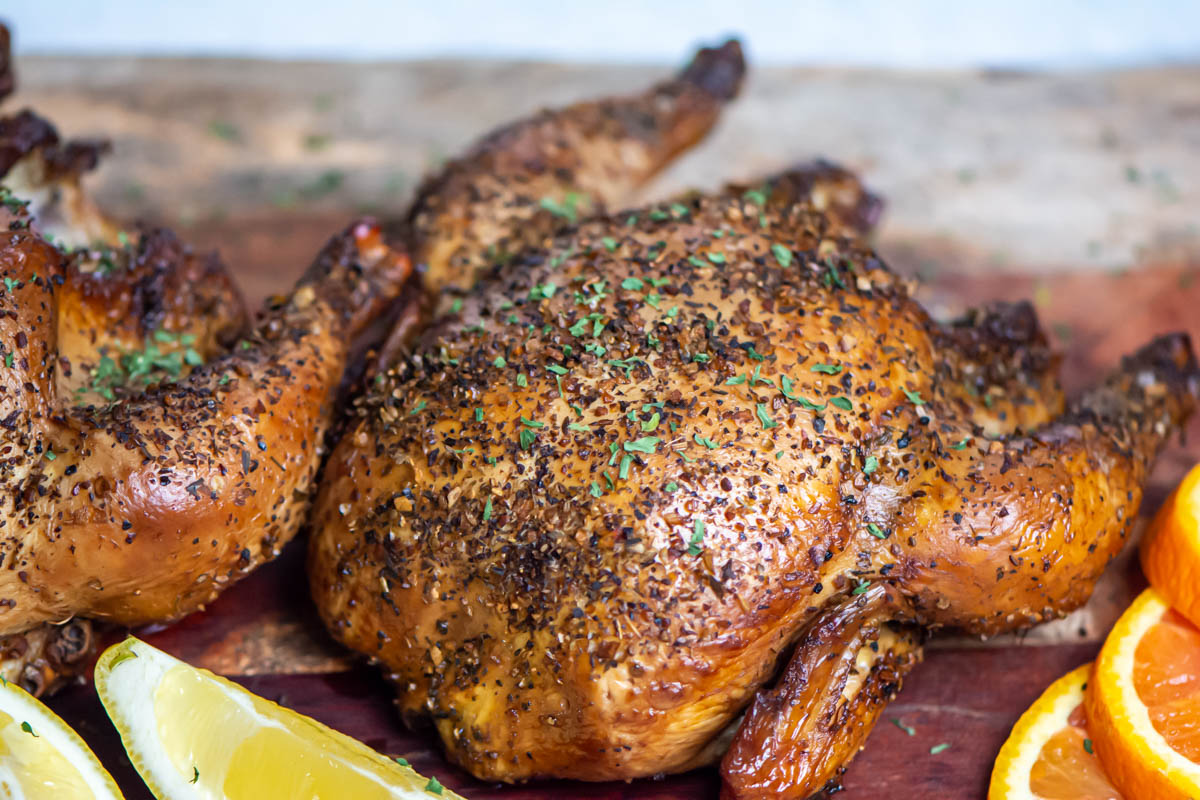
Now that your smoker is seasoned and ready to go, it’s time to prepare the food you want to smoke. Whether it’s a rack of ribs, a whole chicken, or some fresh vegetables, the key is to season your ingredients with your favorite rubs and marinades to enhance the flavor. Make sure to pat the food dry before placing it in the smoker to ensure a good smoke adherence.
Step 3: Using the Smoker
Once your food is prepped, it’s time to fire up the Masterbuilt Electric Smoker and get smoking! Here’s a simple step-by-step guide to using the smoker:
- Fill the wood chip loader with your preferred wood chips – hickory, mesquite, apple, or cherry are popular choices.
- Plug in the smoker and set the temperature according to the recommended setting for the type of food you’re smoking.
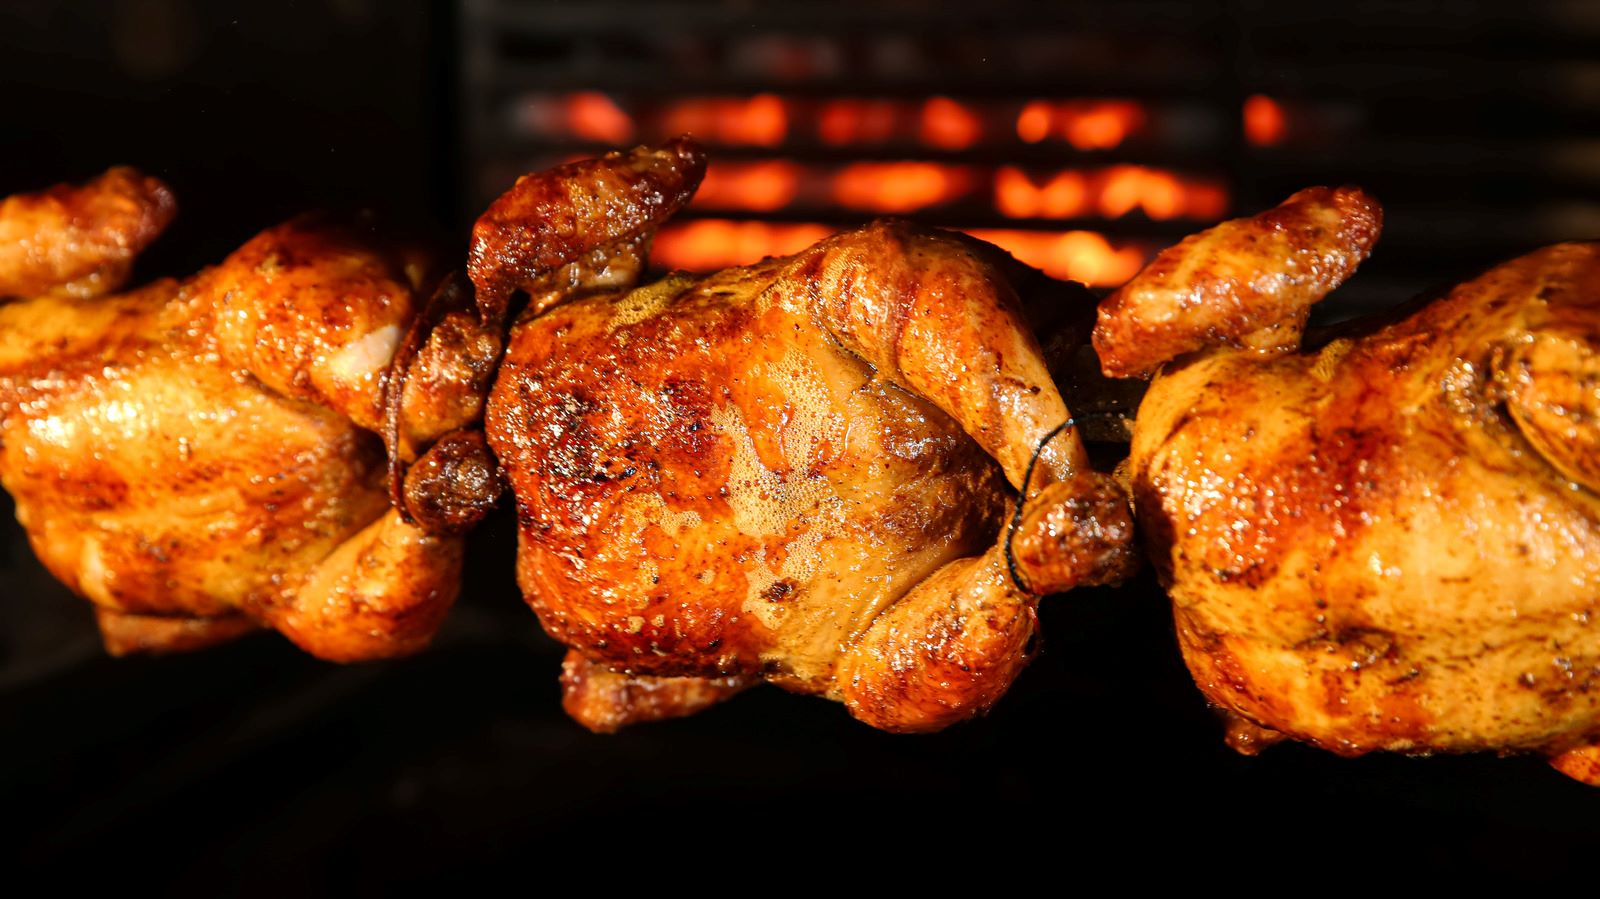
- Place your food on the racks inside the smoker, making sure to leave enough space between each item for the smoke to circulate.
- Close the door of the smoker and let the magic happen! The built-in thermostat will regulate the temperature, while the wood chips will generate the perfect amount of smoke.
Step 4: Monitoring the Process
While the smoker does most of the work for you, it’s essential to keep an eye on the smoking process to ensure that everything is going smoothly. You can use the built-in thermometer to monitor the internal temperature of the smoker and check the progress of your food without opening the door and releasing the smoke.
Step 5: Enjoying the Fruits of Your Labor
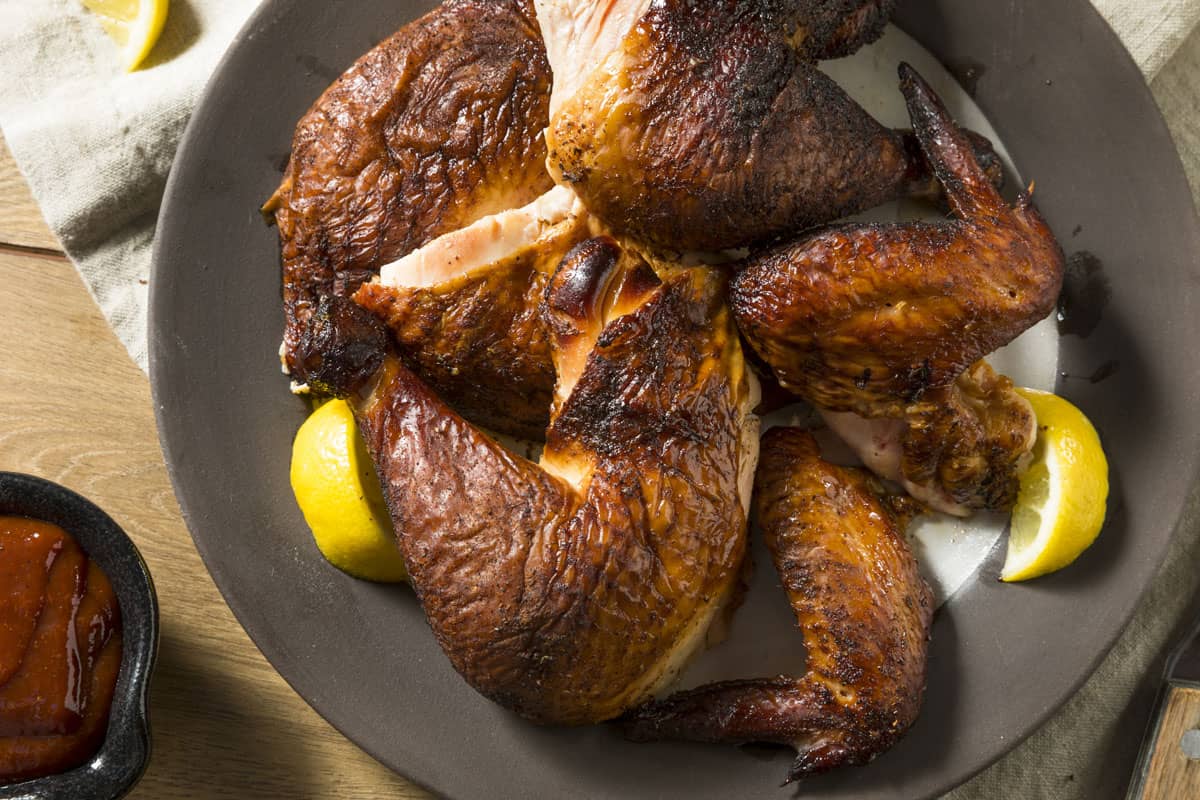
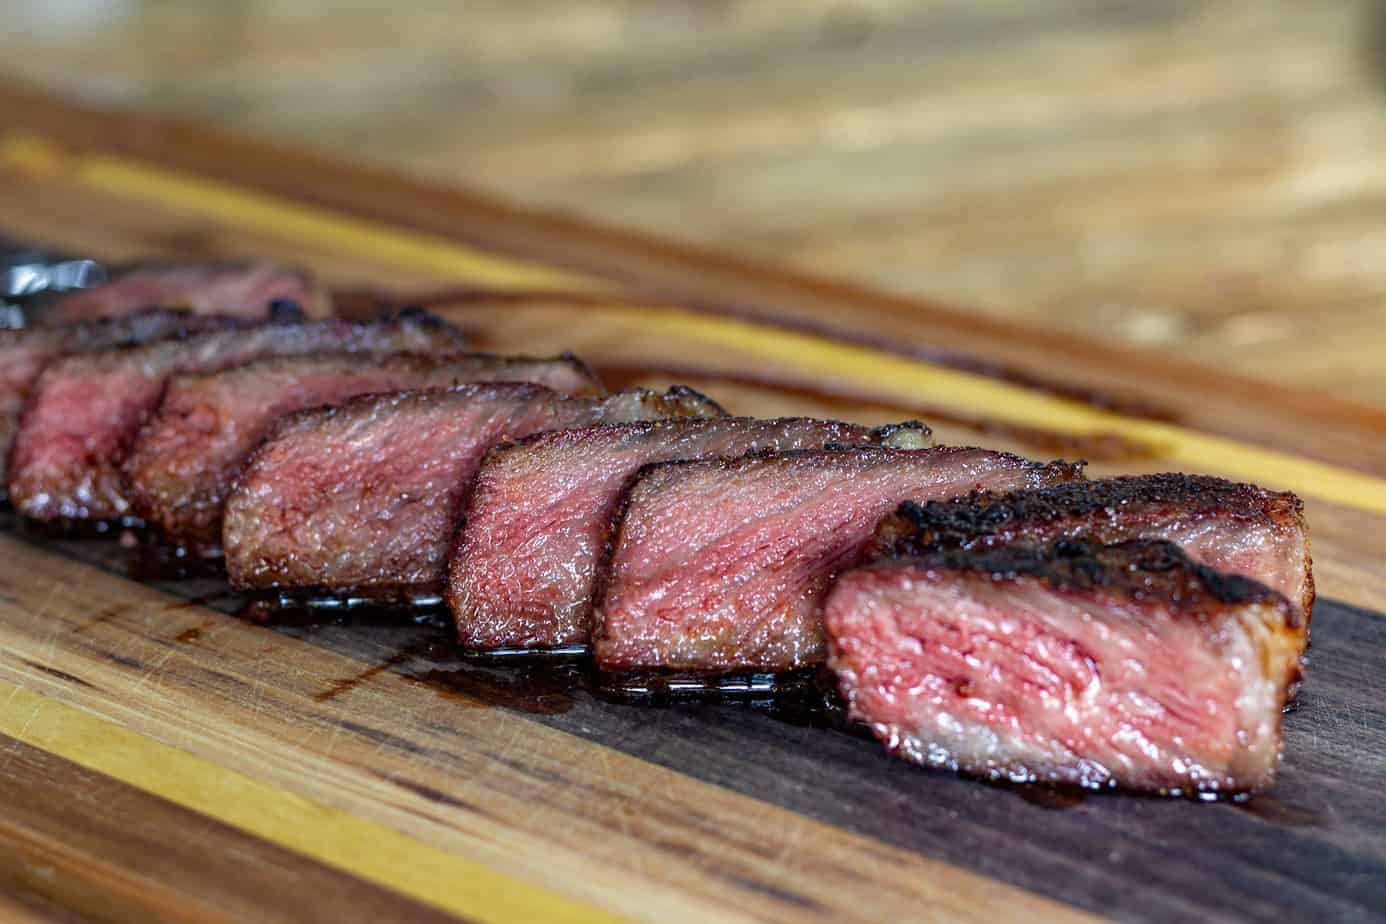
After patiently waiting for the smoking process to work its magic, it’s time to savor the delicious results. Once your food reaches the desired level of smokiness and tenderness, carefully remove it from the smoker and let it rest for a few minutes before serving. Then, dig in and enjoy the mouthwatering flavors that only a Masterbuilt Electric Smoker can deliver!
With these simple steps, you can become a master at using the Masterbuilt Electric Smoker to create delectable smoked dishes that will impress your friends and family. So, fire up your smoker, experiment with different wood chip flavors, and get ready to elevate your culinary creations to a whole new level of smoky goodness!
Was this page helpful?
Read Next: How To Smoke King Salmon Without A Smoker
Related Articles