How to Render Beef Bones for Nutrient-Rich Bone Broth
Welcome to our guide on how to render beef bones for making delicious and nutritious bone broth. Bone broth has gained popularity in recent years for its numerous health benefits, including supporting gut health, joint health, and providing essential nutrients. One of the key steps in making a flavorful and nutrient-rich bone broth is properly rendering the beef bones. In this article, we’ll walk you through the process of rendering beef bones to create a nourishing and flavorful bone broth.
Choosing the Right Beef Bones
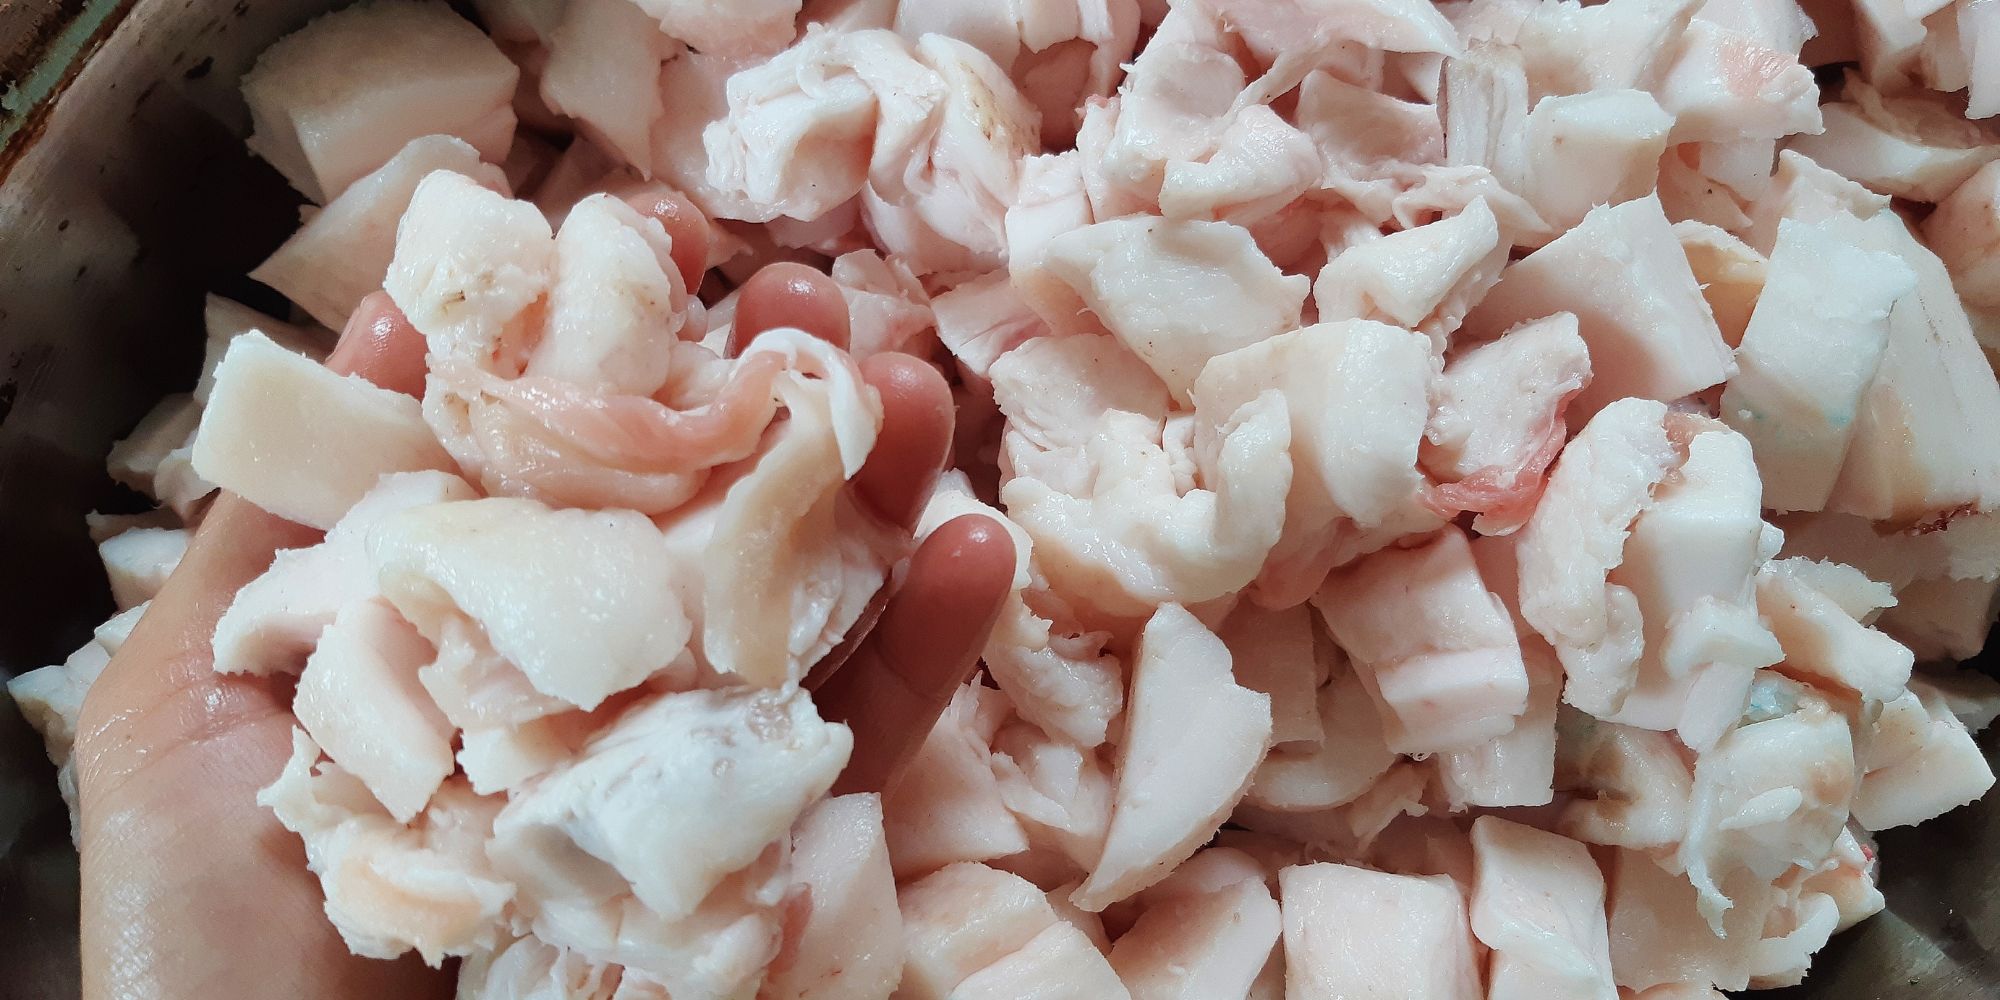
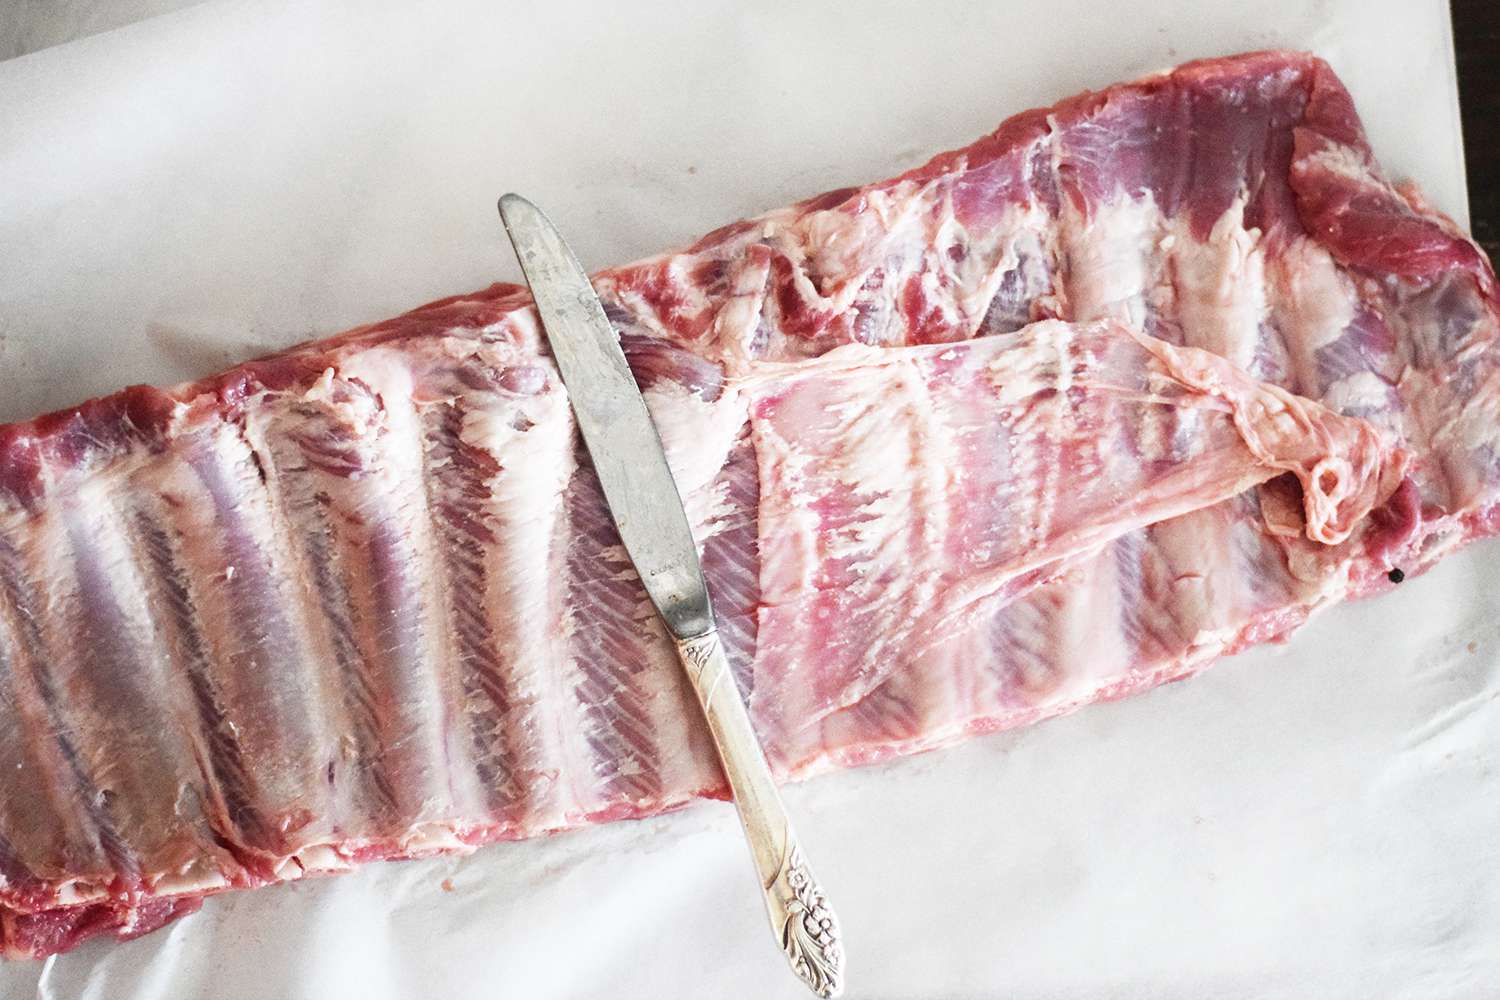
When it comes to making bone broth, the first step is to select the right beef bones. Look for high-quality, grass-fed beef bones from your local butcher or grocery store. Marrow bones, knuckle bones, and joint bones are excellent choices for rendering bone broth. These bones are rich in collagen, gelatin, and minerals, which are essential for creating a nutrient-dense broth.
Preparing the Beef Bones
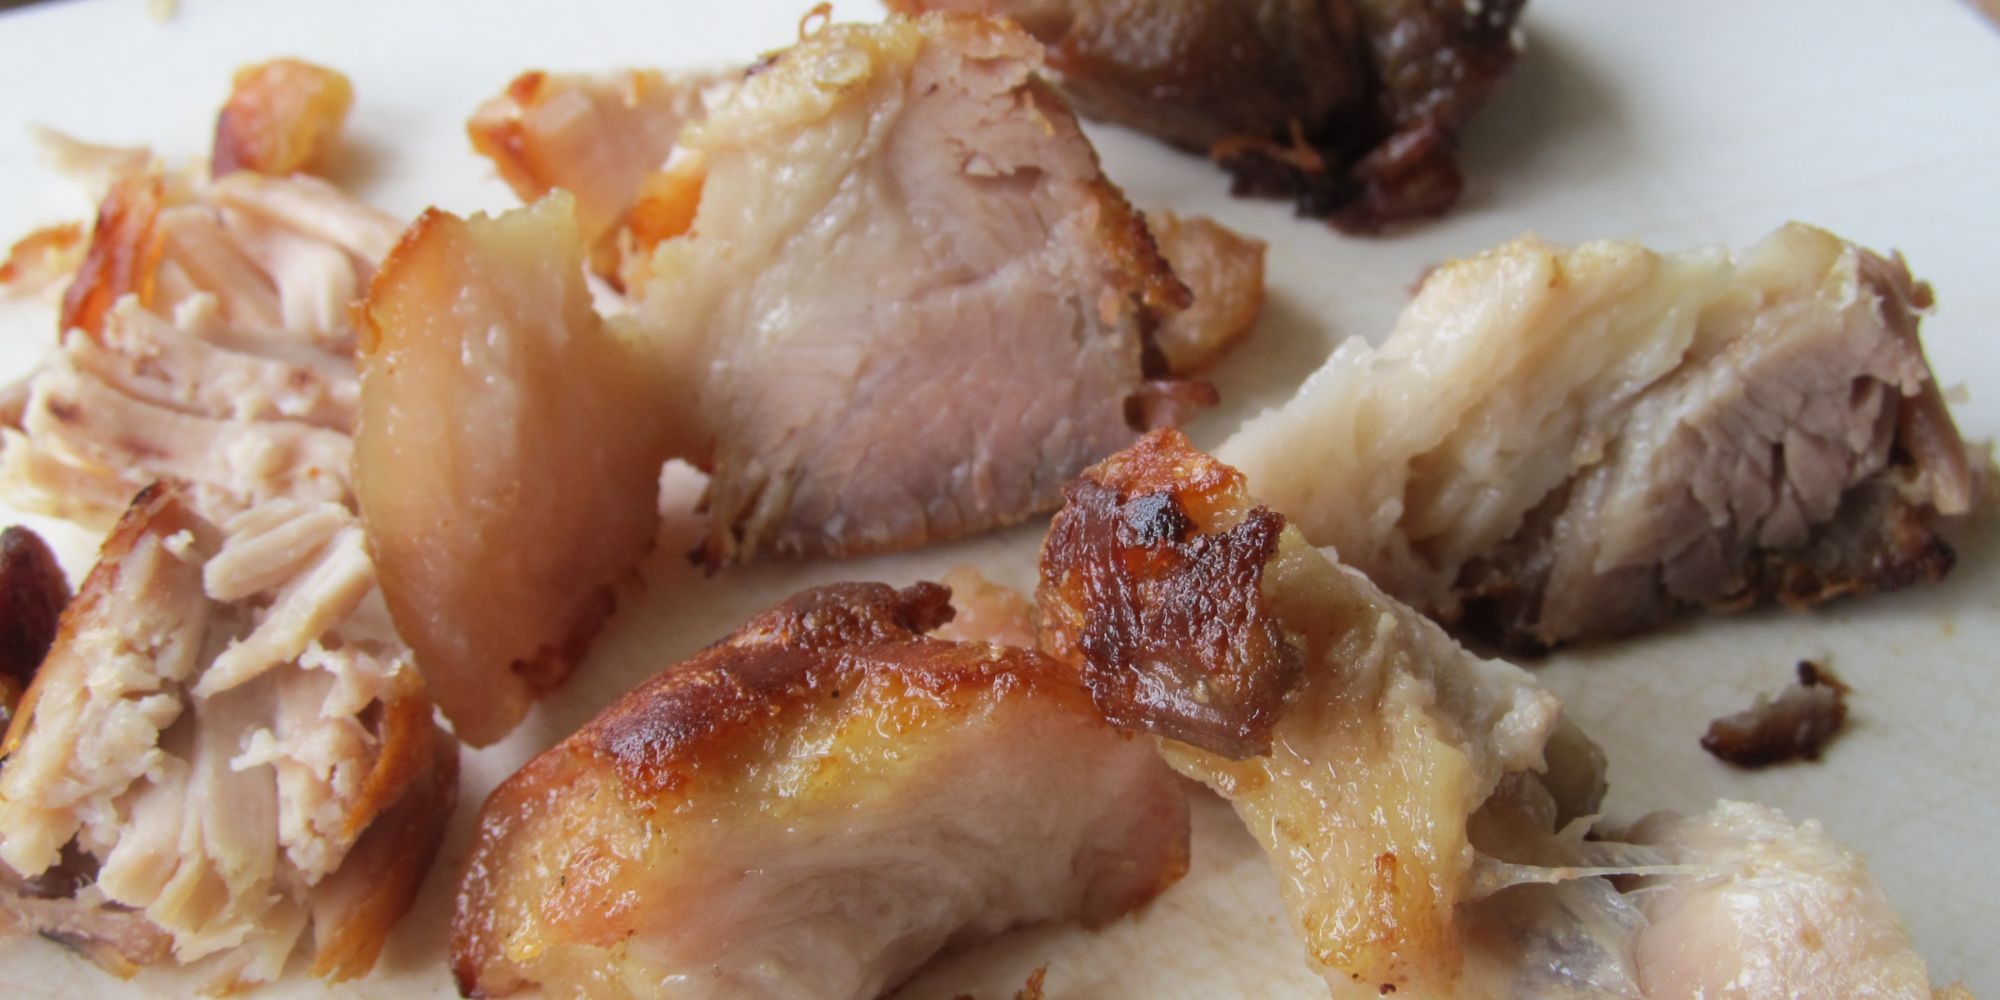
Before you begin the rendering process, it’s important to prepare the beef bones. Start by preheating your oven to 400°F (200°C). Place the beef bones on a baking sheet lined with parchment paper, ensuring that they are spread out in a single layer. Roasting the bones before rendering helps to enhance their flavor and richness.
Key Tip: For added depth of flavor, consider roasting the bones with aromatic vegetables such as onions, carrots, and celery.
Rendering the Beef Bones
Now, let’s dive into the process of rendering the beef bones for bone broth. Follow these simple steps to achieve a flavorful and nutrient-dense broth:
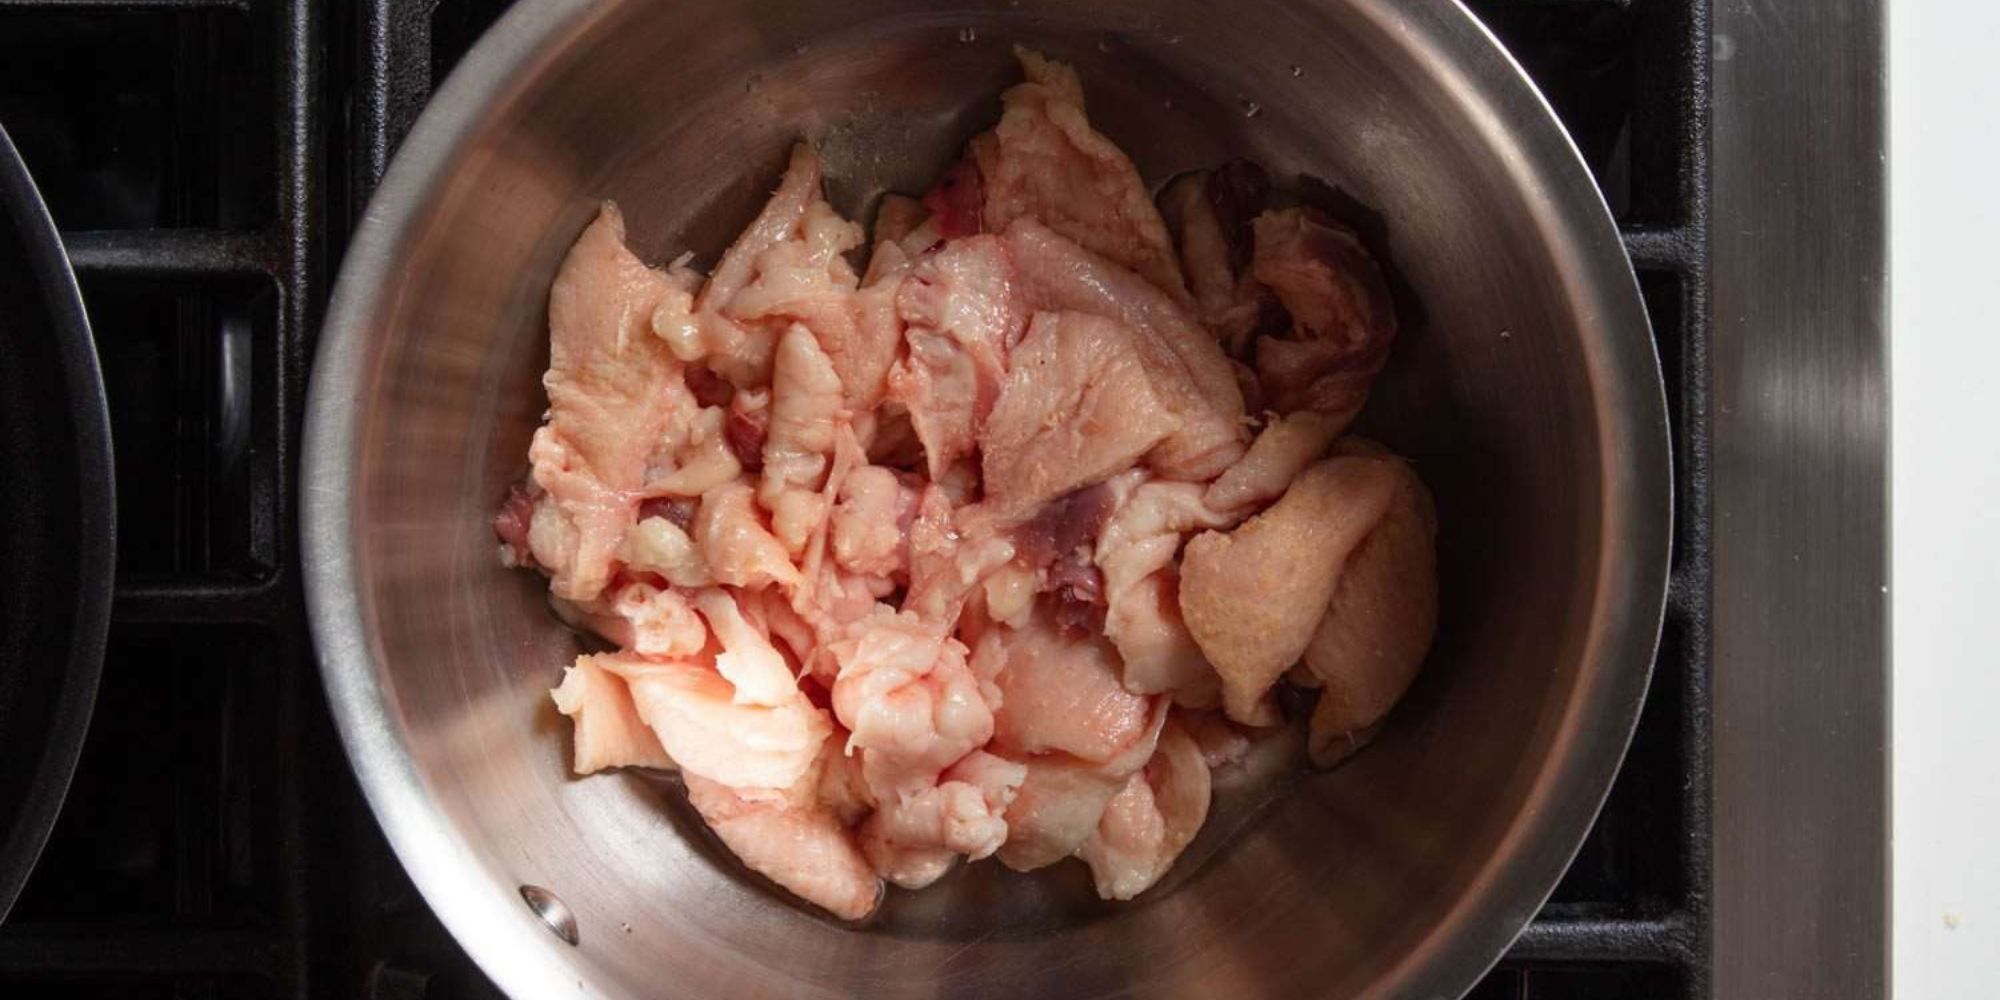
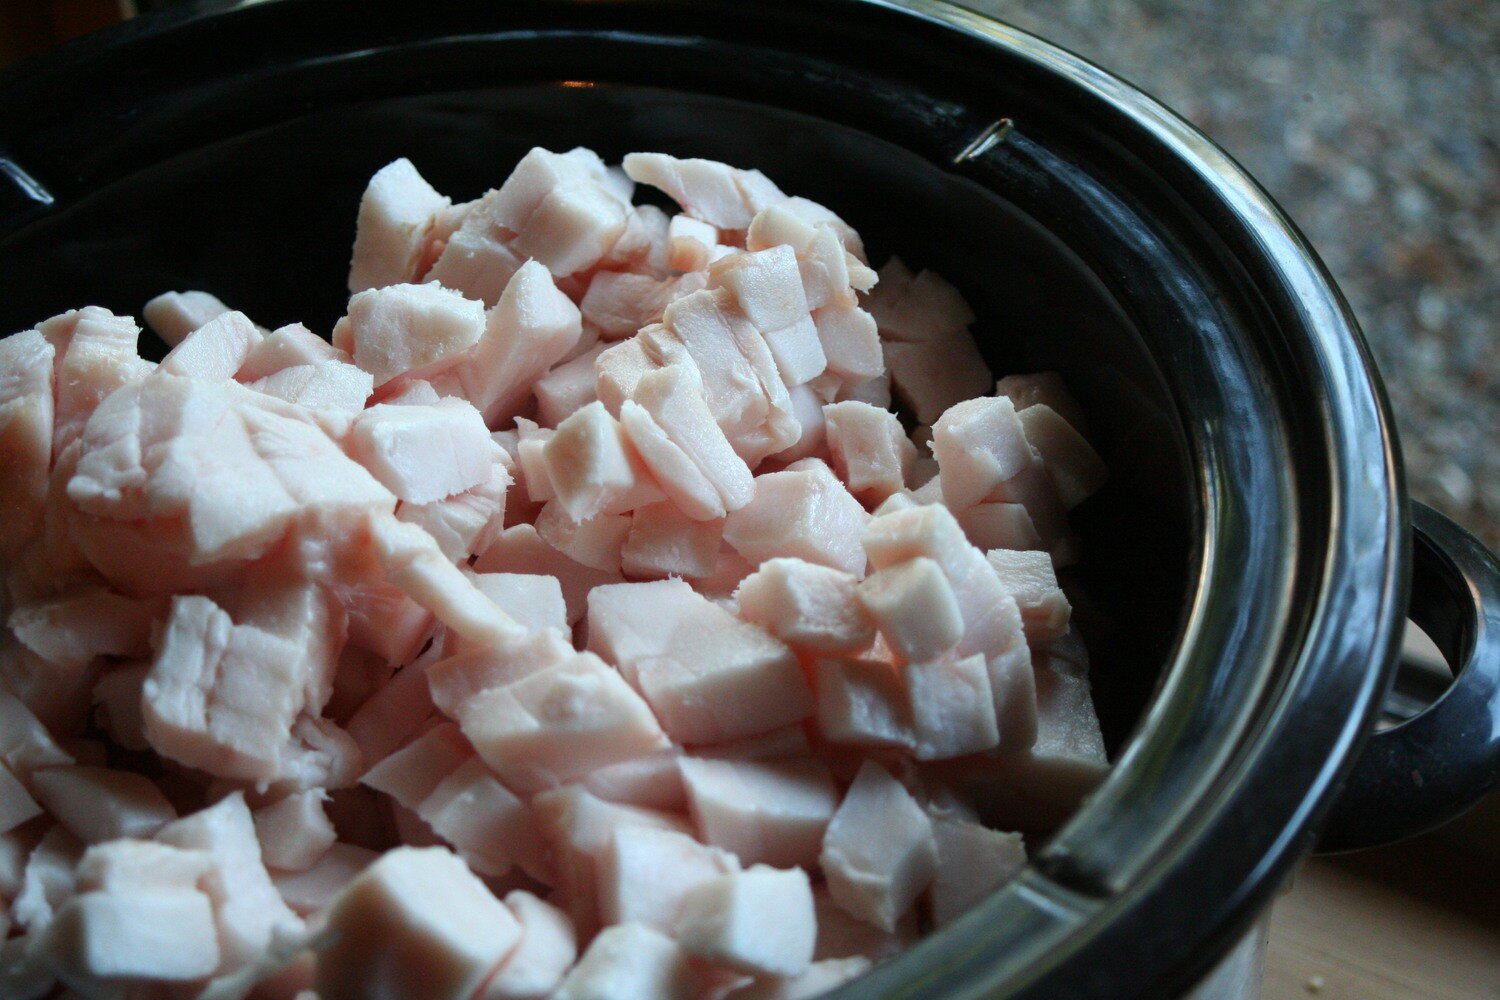
- Place the prepared beef bones in a large stockpot or slow cooker.
- Add enough water to cover the bones by a few inches.
- Bring the water to a gentle simmer over low heat.
- Skim off any foam or impurities that rise to the surface of the water.
- Key Tip: Adding a splash of apple cider vinegar to the water can help extract more nutrients from the bones.
- Allow the bones to simmer for at least 12-24 hours to fully extract the flavors and nutrients.
Straining and Storing the Bone Broth
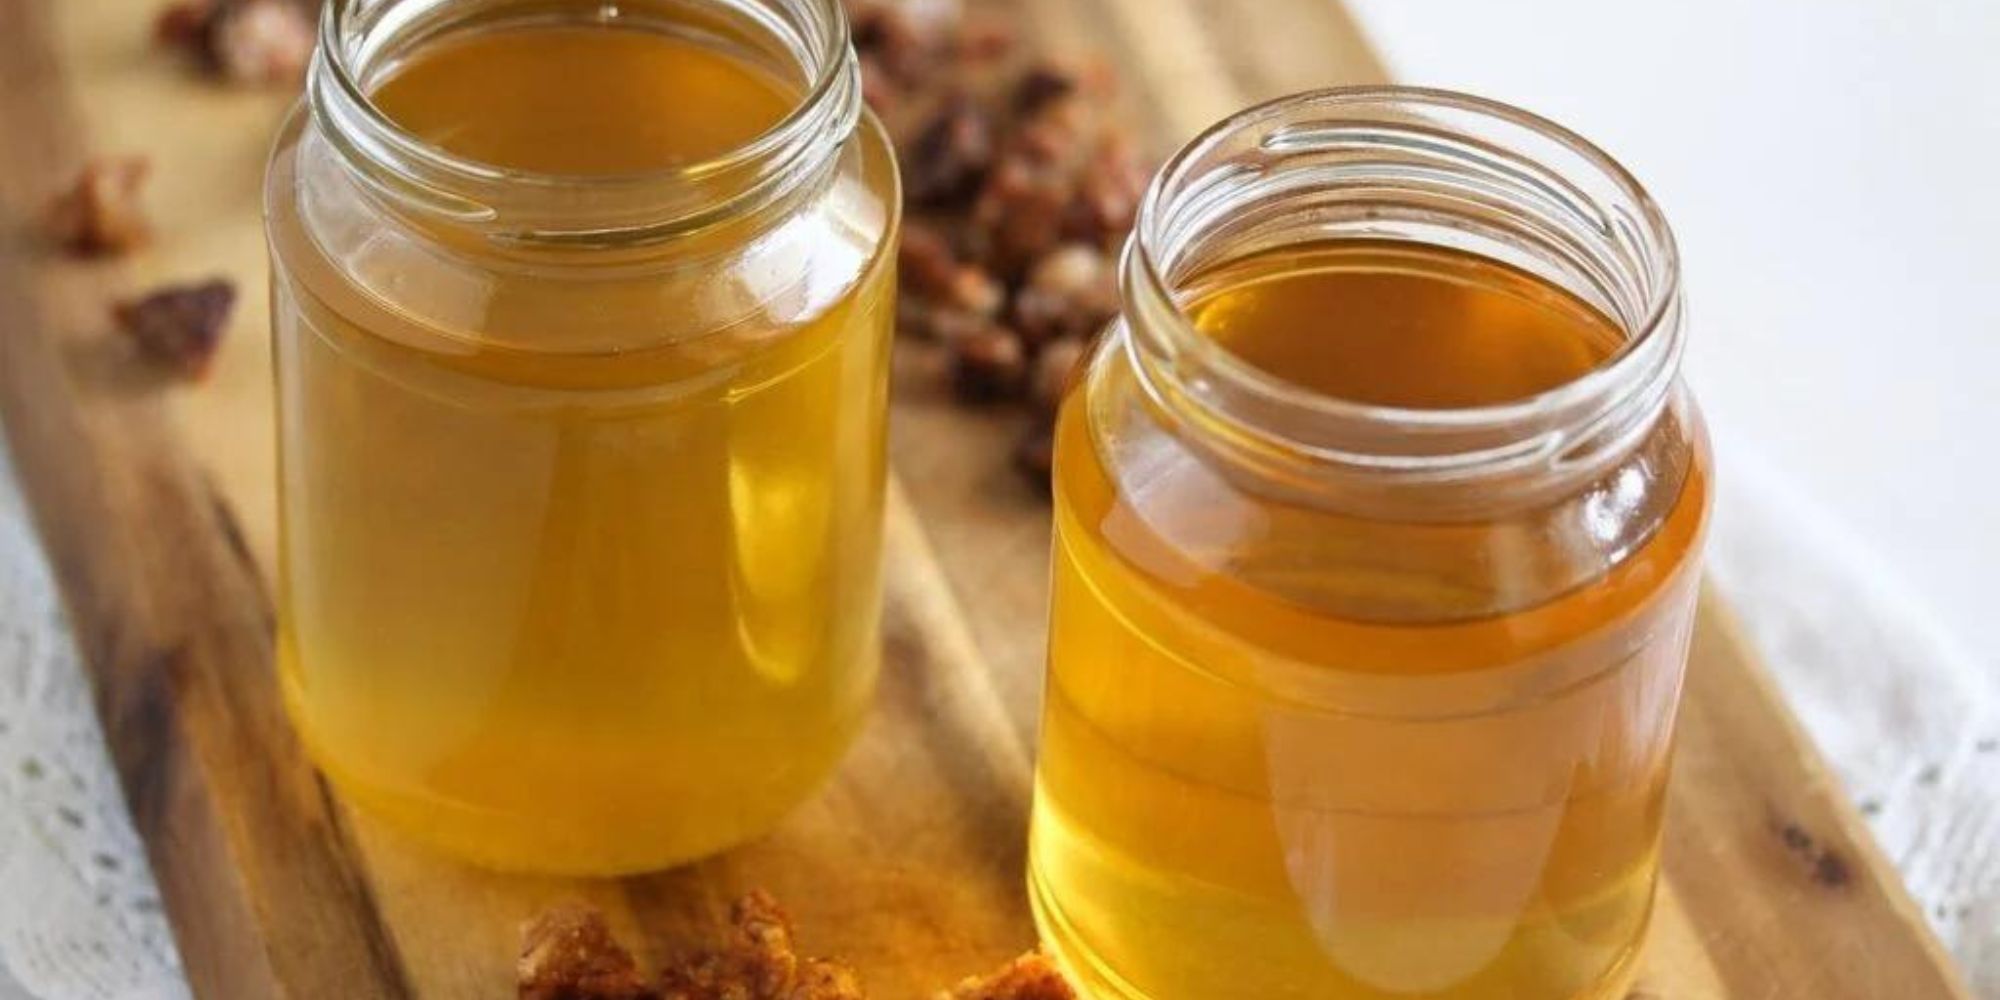
Once the beef bones have been simmered to perfection, it’s time to strain and store the bone broth. Use a fine-mesh strainer or cheesecloth to remove the bones and any remaining particles from the broth. Allow the broth to cool, then transfer it to airtight containers or mason jars for storage.
Key Tip: For convenience, consider freezing the bone broth in ice cube trays for easy portioning and use in recipes.
Using Rendered Beef Bones for Bone Broth
Now that you’ve successfully rendered the beef bones, you can use the nutrient-rich bone broth in a variety of recipes. Whether you’re making soups, stews, or simply enjoying a nourishing cup of broth, the possibilities are endless. The rendered beef bones have imparted their rich flavors and nutrients into the broth, making it a valuable addition to your culinary creations.
Conclusion
Rendering beef bones for bone broth is a simple yet rewarding process that yields a nourishing and flavorful liquid that can be enjoyed in countless ways. By following the steps outlined in this guide, you can create your own nutrient-rich bone broth at home, knowing that you’ve maximized the flavor and health benefits of the beef bones. So, roll up your sleeves, gather your ingredients, and get ready to savor the wholesome goodness of homemade bone broth.
Happy cooking!
Was this page helpful?
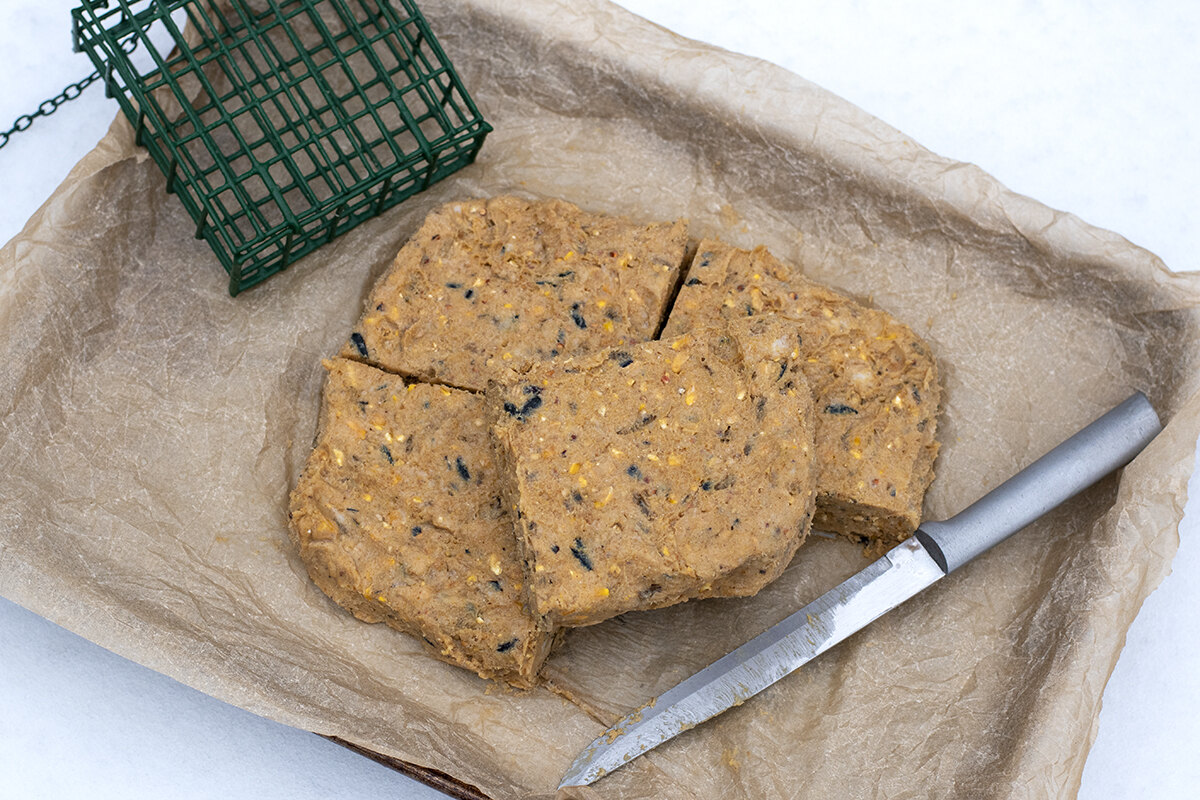
Read Next: How To Render Fat For Suet Cakes
Related Articles