Rendering Lard in the Oven: A Simple and Delicious Process
Are you looking for a way to make your own lard at home? Rendering lard in the oven is a simple and efficient method that allows you to create this versatile cooking fat with ease. Whether you want to use it for baking, frying, or seasoning, homemade lard adds a delicious flavor to your dishes. In this article, we’ll guide you through the process of rendering lard in the oven, so you can enjoy the benefits of this traditional cooking fat in your own kitchen.
What You’ll Need
Before you get started, gather the following ingredients and equipment:
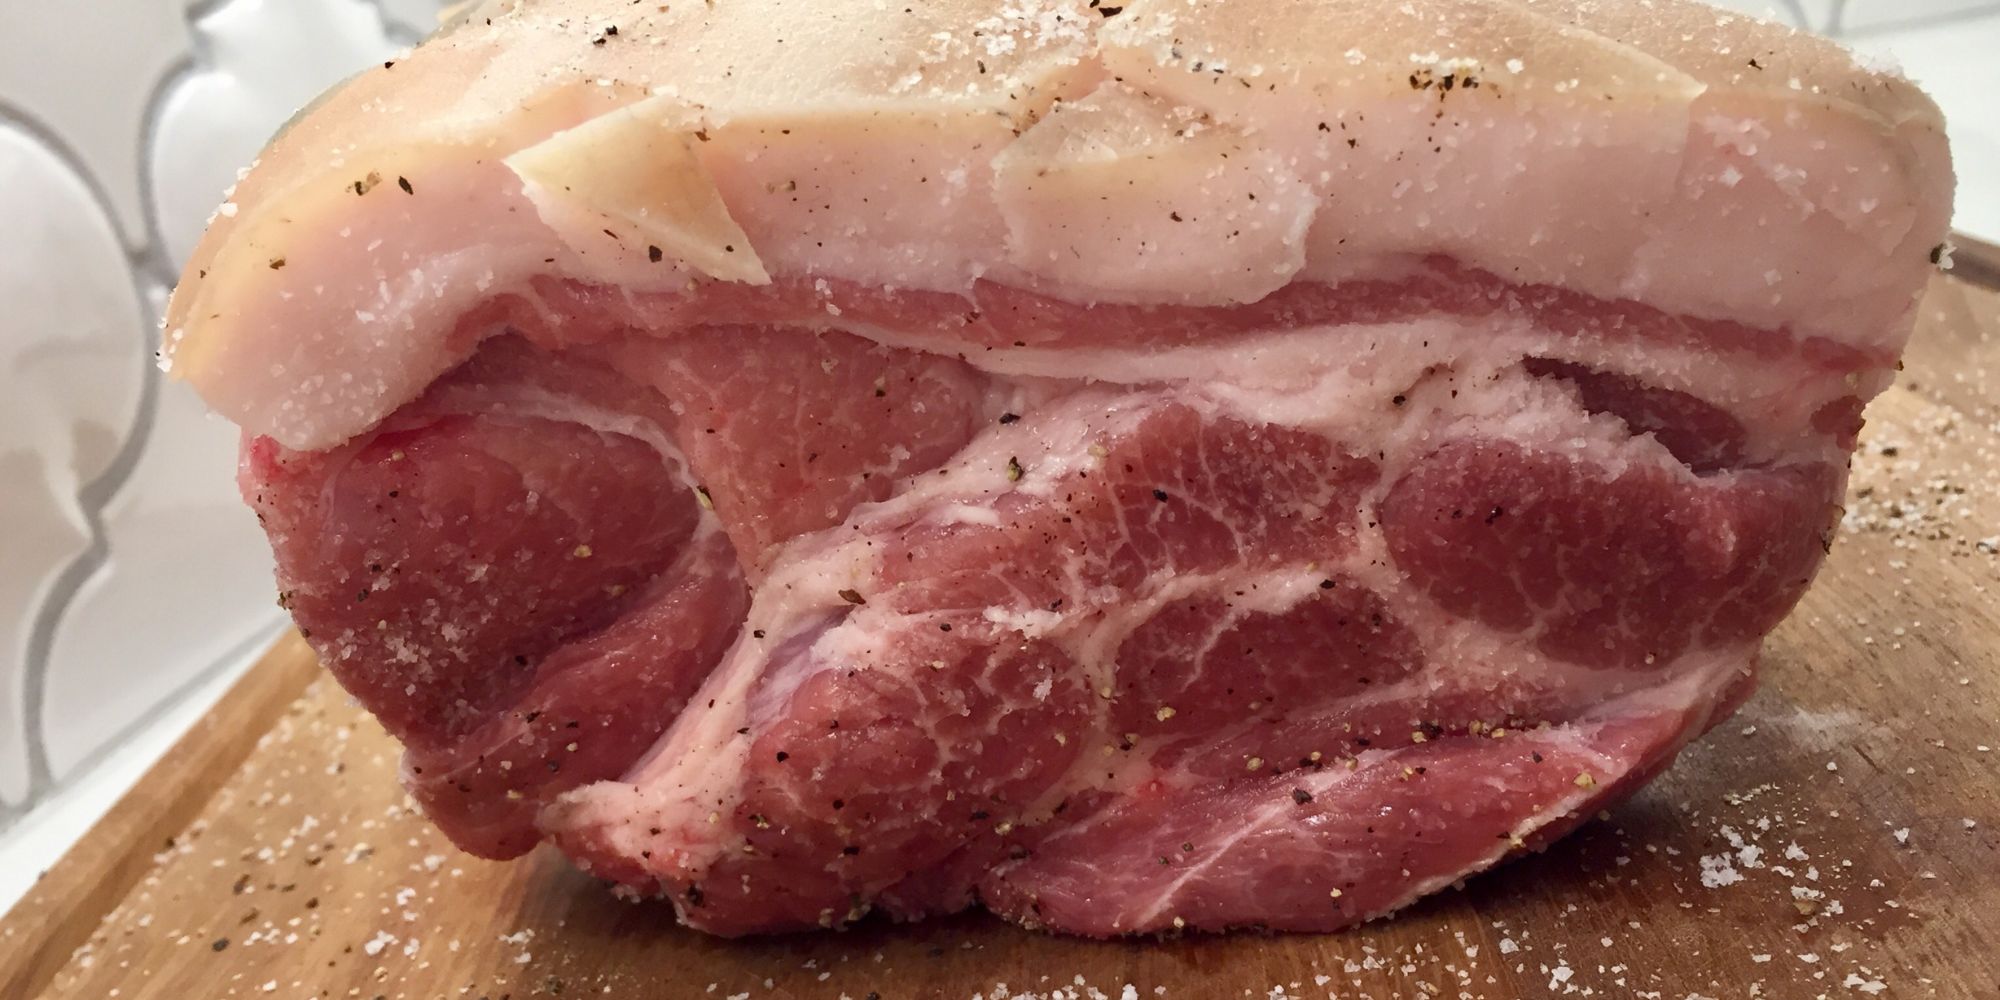
- Raw pork fat
- Sharp knife
- Cutting board
- Baking sheet
- Oven-safe pot or Dutch oven
- Strainer or cheesecloth
- Storage containers
Step-by-Step Instructions
Follow these simple steps to render lard in the oven:
- Preheat your oven to 250°F (121°C).
- Trim the raw pork fat into small pieces, removing any excess skin or meat.
- Spread the trimmed fat pieces in a single layer on a baking sheet.
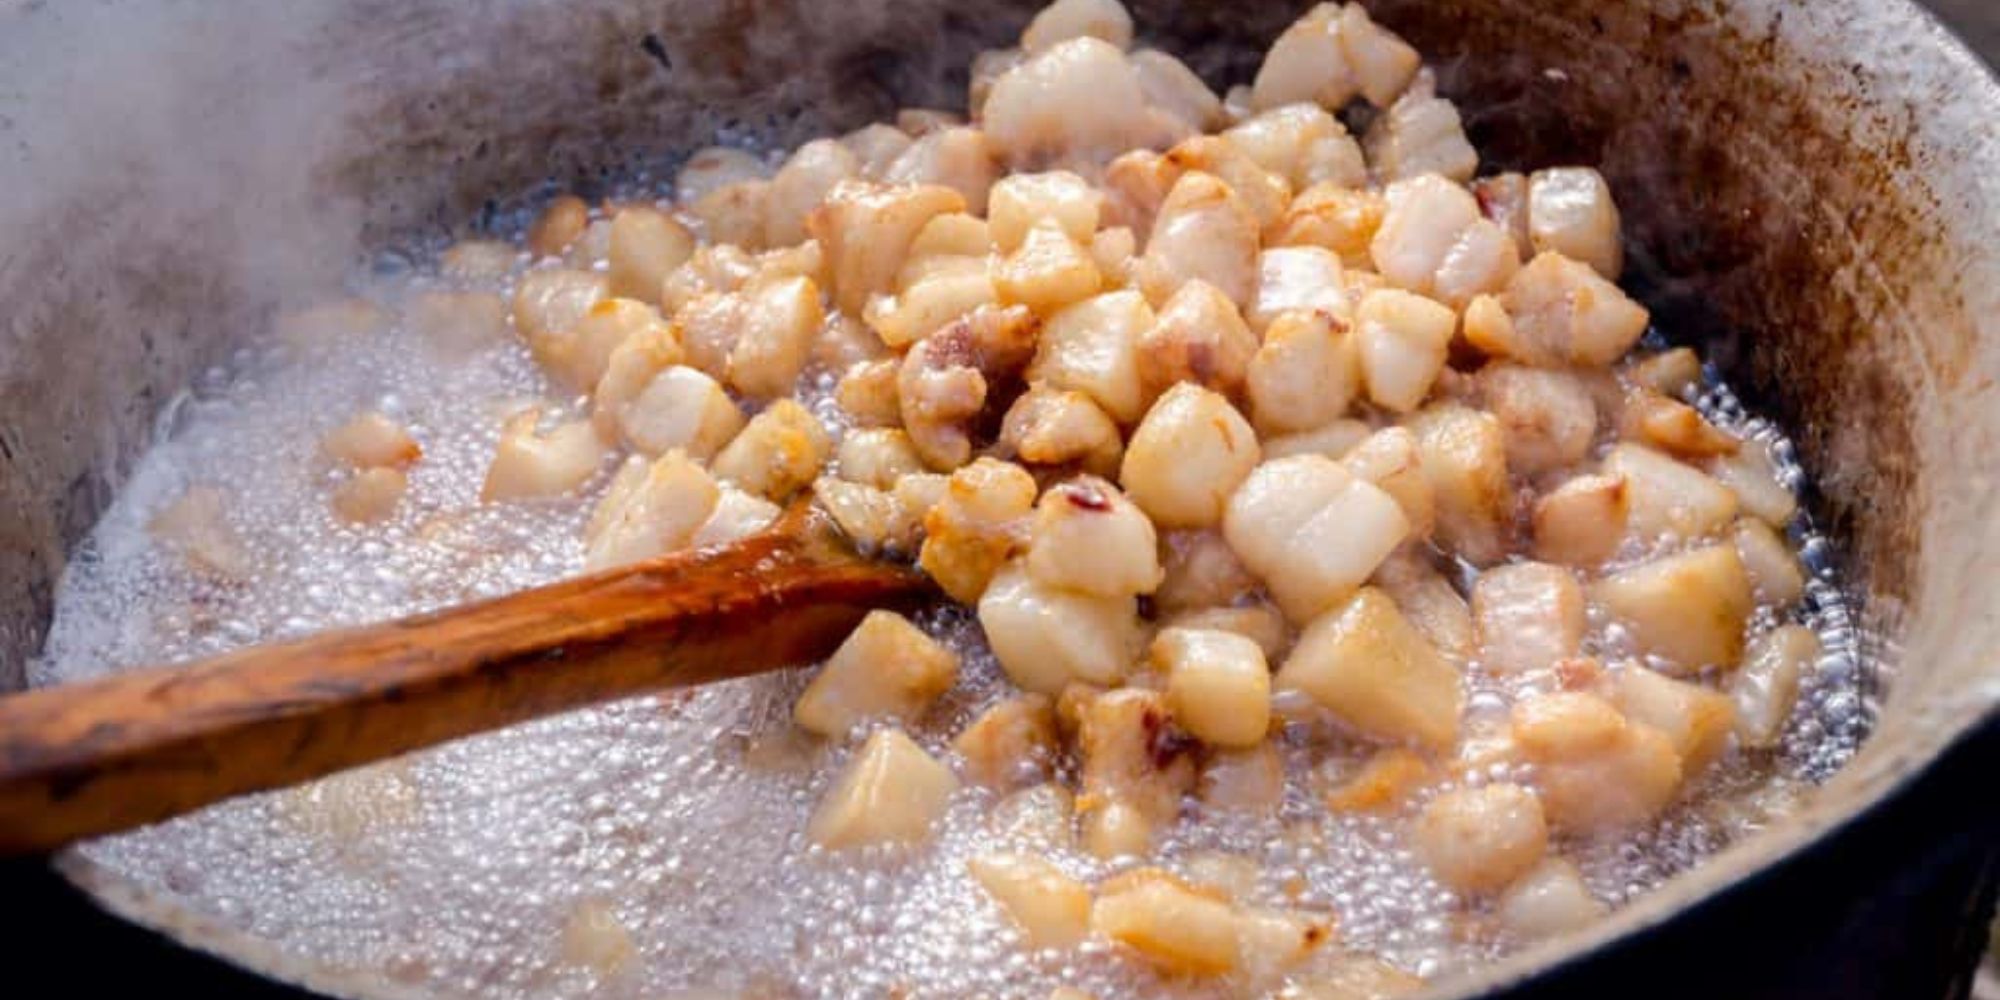
- Place the baking sheet in the preheated oven and allow the fat to slowly render for 2-3 hours. Stir the fat occasionally to ensure even cooking.
- Once the fat has melted and the cracklings are golden brown, remove the baking sheet from the oven.
- Using a strainer or cheesecloth, carefully strain the liquid fat into an oven-safe pot or Dutch oven. Discard the solid cracklings or save them for another use, such as adding them to soups or salads for extra flavor and crunch.
- Place the pot or Dutch oven on the stovetop over low heat and continue to cook the liquid fat for an additional 20-30 minutes, stirring occasionally. This will help remove any remaining moisture and ensure that the lard reaches the desired consistency.
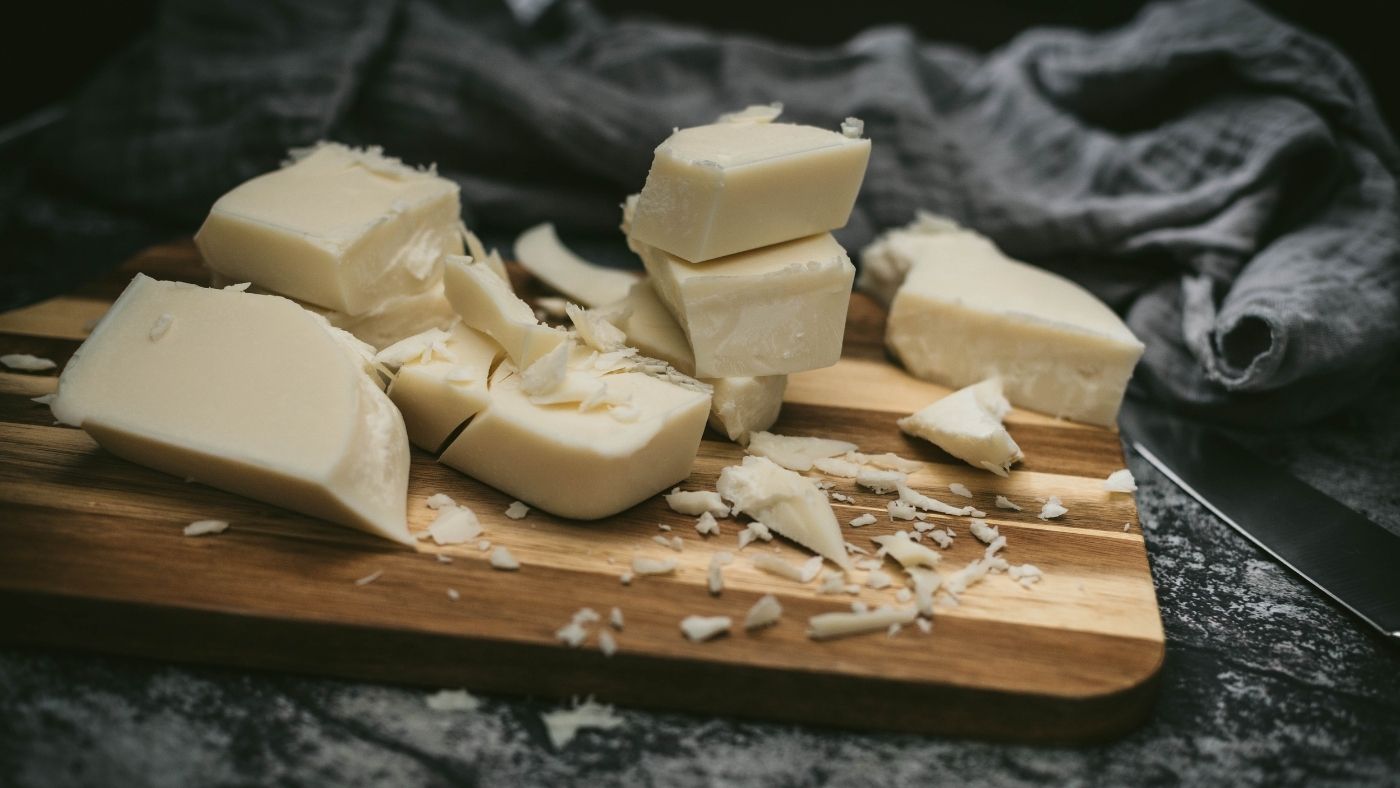
- Once the lard has a smooth texture and a pale golden color, remove it from the heat and allow it to cool slightly.
- Pour the rendered lard into clean, dry storage containers and allow it to cool completely before sealing the containers.
Storing Your Homemade Lard
Proper storage is essential to keep your homemade lard fresh and flavorful. Once it has cooled completely, store the lard in airtight containers in the refrigerator or freezer. When stored properly, homemade lard can last for several months, allowing you to enjoy its rich flavor in a variety of dishes.
Benefits of Homemade Lard
Rendering lard in the oven not only provides you with a delicious cooking fat, but it also offers several benefits:
- Rich flavor: Homemade lard adds a unique, savory flavor to both sweet and savory dishes.
- Versatility: Use lard for frying, baking, seasoning, and more.
- Cost-effective: Making your own lard at home can be more economical than purchasing it from the store.
- Control over ingredients: When you render lard at home, you have full control over the quality of the ingredients, ensuring a pure and natural product.
Final Thoughts
Rendering lard in the oven is a simple and rewarding process that allows you to create a versatile and flavorful cooking fat at home. By following these easy steps, you can enjoy the benefits of homemade lard in your favorite recipes while adding a touch of tradition to your cooking. Give it a try and experience the difference that homemade lard can make in your kitchen!
Was this page helpful?
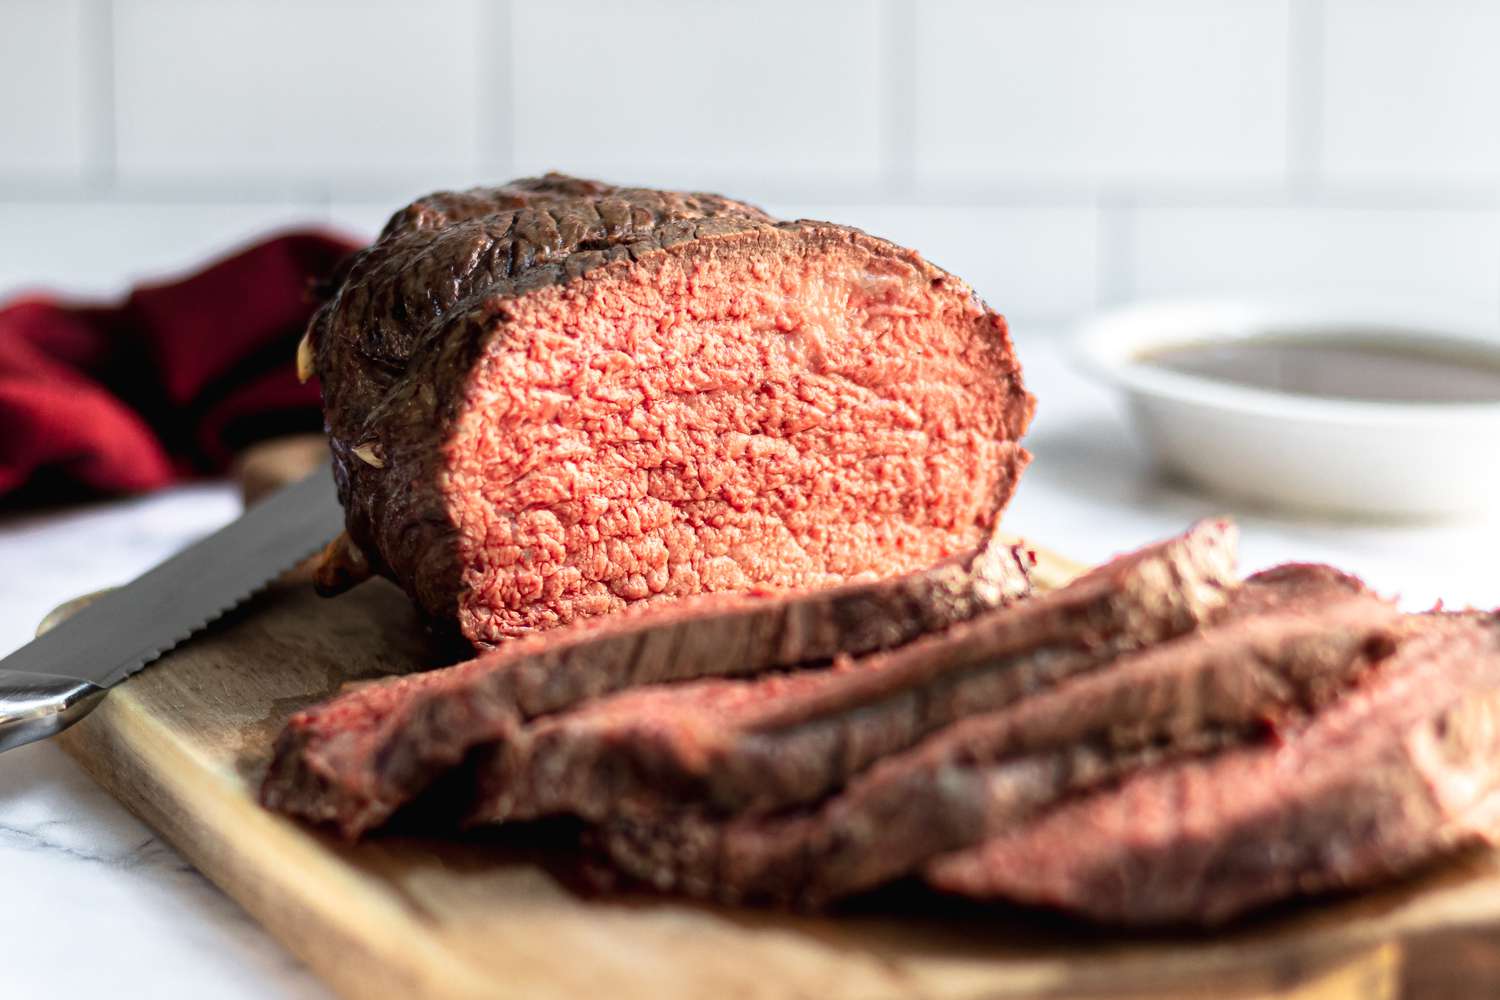
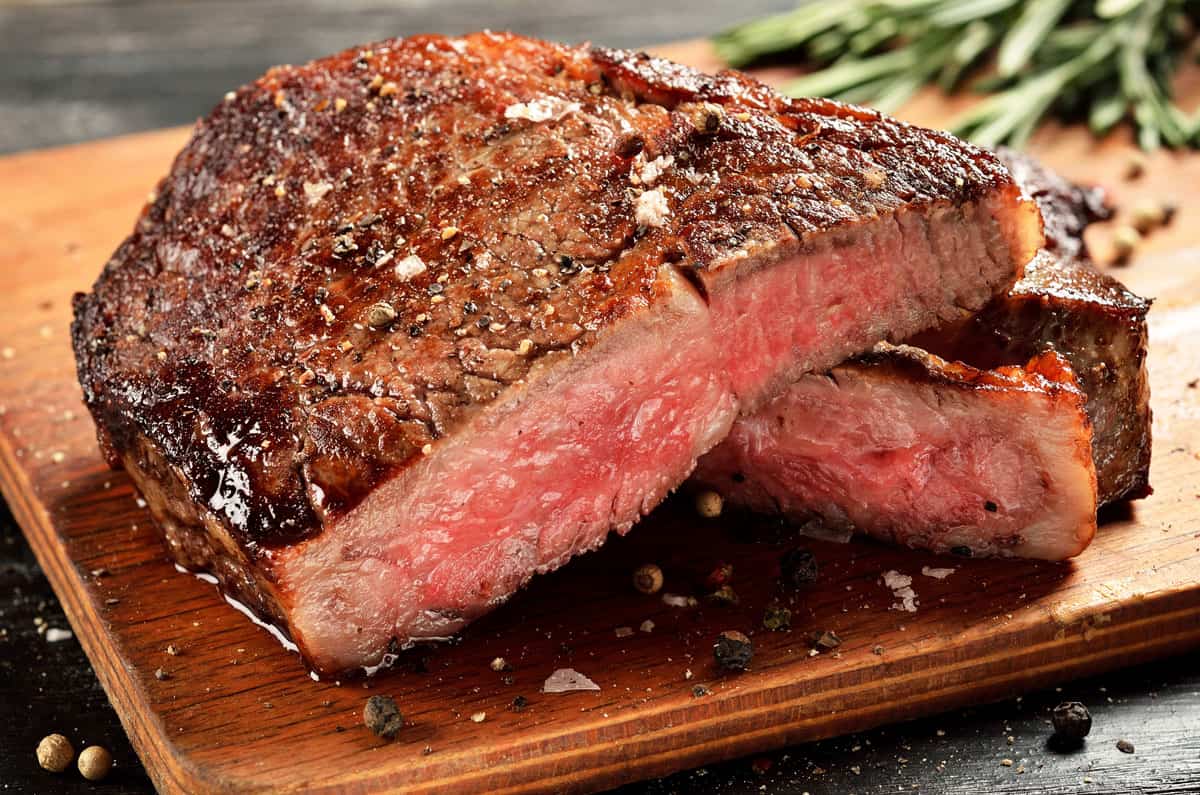
Read Next: How To Render Beef Fat Down For Lard
Related Articles