How to Make Bone Broth
Are you ready to discover the secret behind delicious and nutritious bone broth? Look no further because we have the ultimate guide right here! In this article, we will walk you through the step-by-step process of making homemade bone broth that will leave your taste buds begging for more. Get ready to nourish your body and soul with this ancient culinary tradition.
Why Bone Broth?
Before we get into the nitty-gritty of making bone broth, let’s talk about why it’s worth the effort. Bone broth is not only a flavorful and versatile culinary staple, but it also offers numerous health benefits. Rich in collagen, minerals, and amino acids, bone broth supports gut health, boosts the immune system, promotes healthy skin, and strengthens bones and joints. It’s a fantastic way to extract and absorb the nutrients from bones and connective tissues.
Ingredients for Homemade Bone Broth
Now that you understand the benefits, let’s gather the ingredients you’ll need to make your flavorful bone broth:
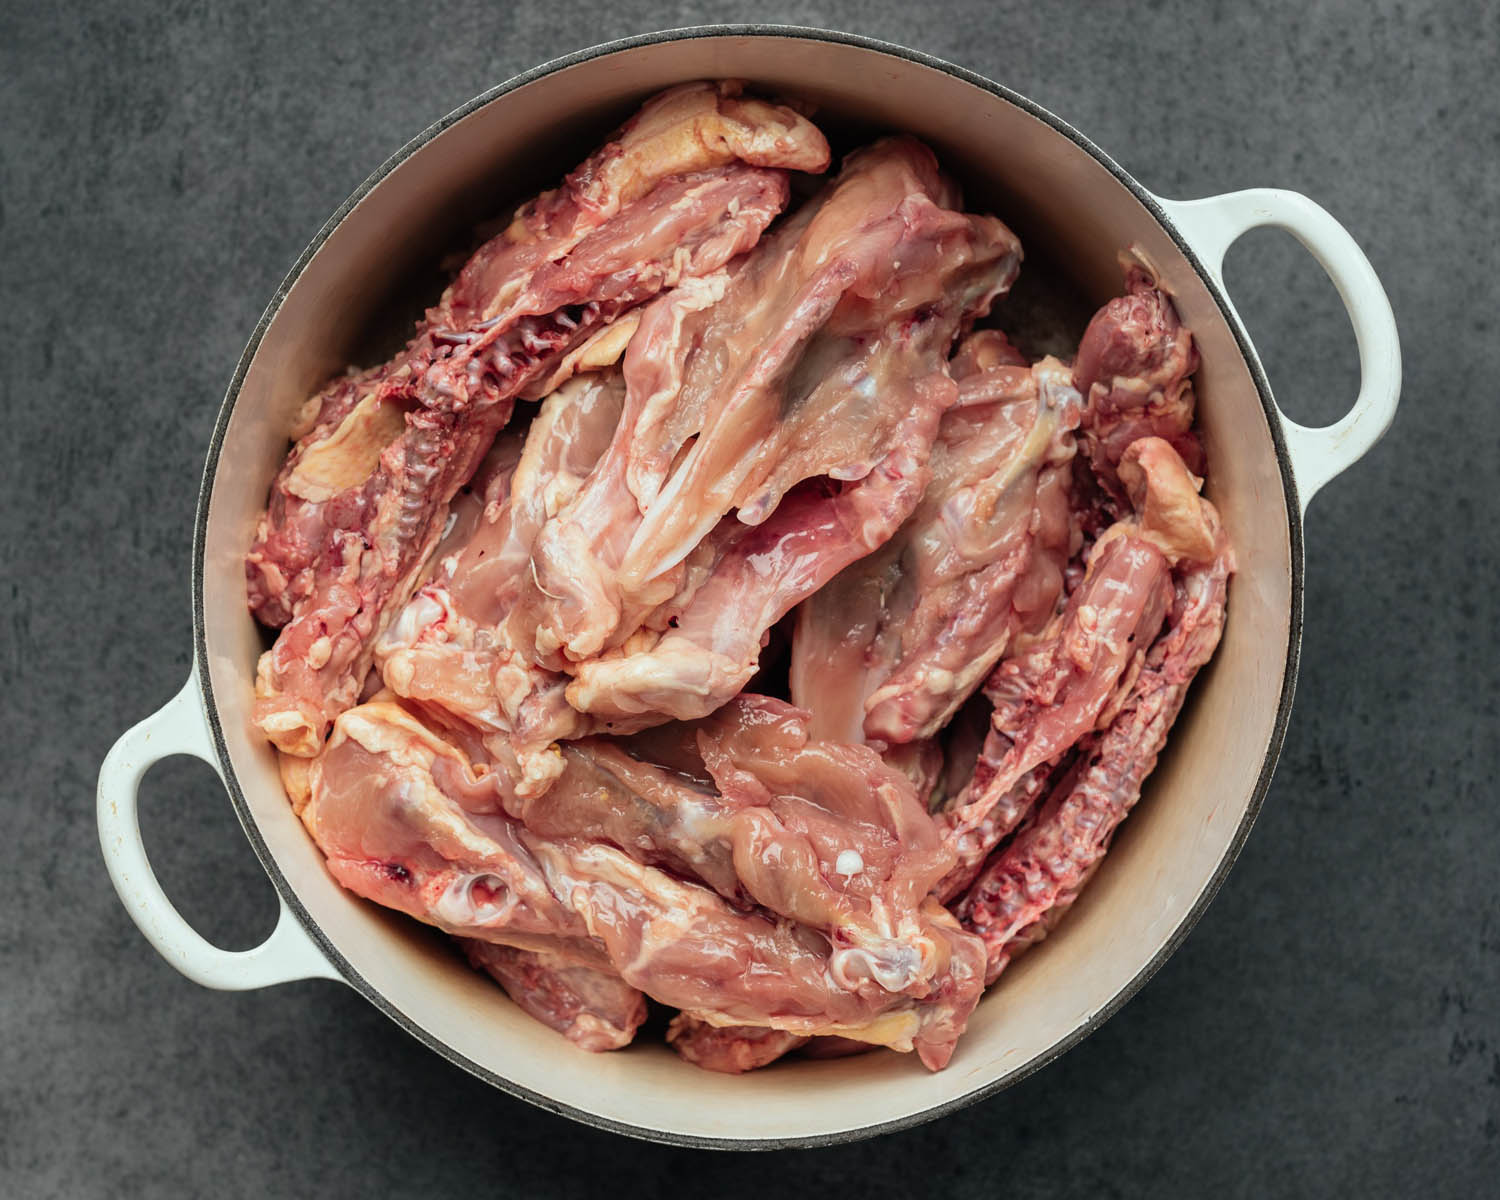
- 4-5 pounds of bones (chicken, beef, or any bones of your choice)
- 2 tablespoons of apple cider vinegar
- Water (enough to cover the bones)
- 1 onion, chopped
- 2 carrots, chopped
- 2 celery stalks, chopped
- 3-4 cloves of garlic, minced
- A handful of fresh herbs such as parsley, thyme, or rosemary
- Salt and pepper to taste
Step-by-Step Instructions
Now, let’s dive into the process of making bone broth:
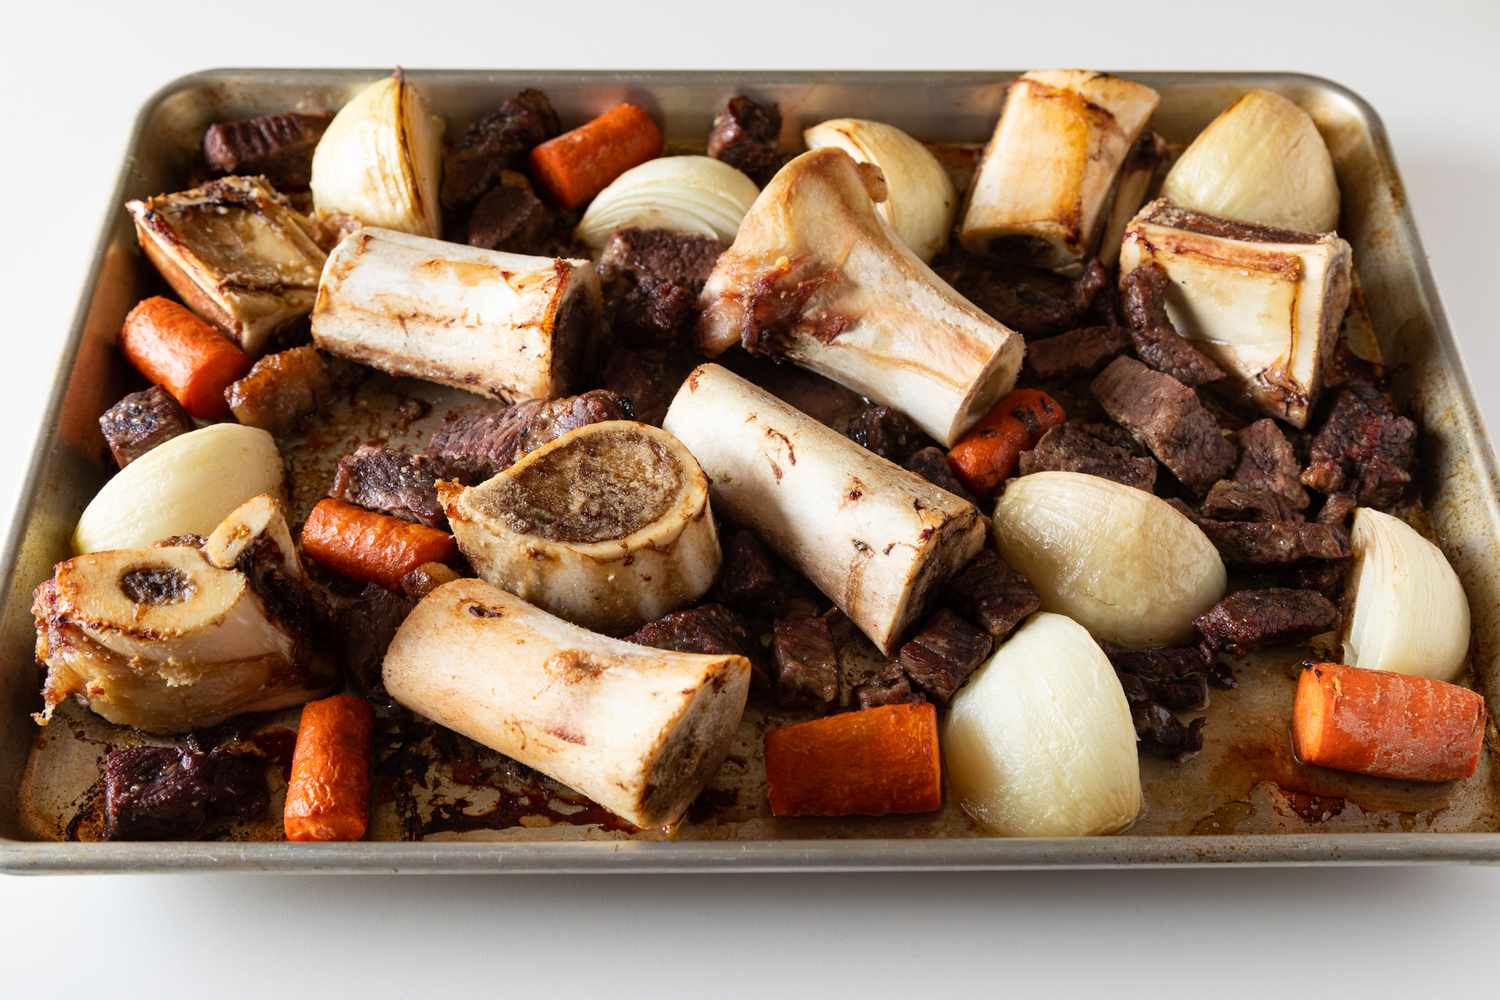
- Preheat your oven to 400 degrees Fahrenheit. Place the bones on a baking sheet and roast for about 30 minutes. Roasting the bones adds a depth of flavor to the broth.
- Transfer the roasted bones to a large stockpot or slow cooker. Add the apple cider vinegar and enough water to cover the bones.
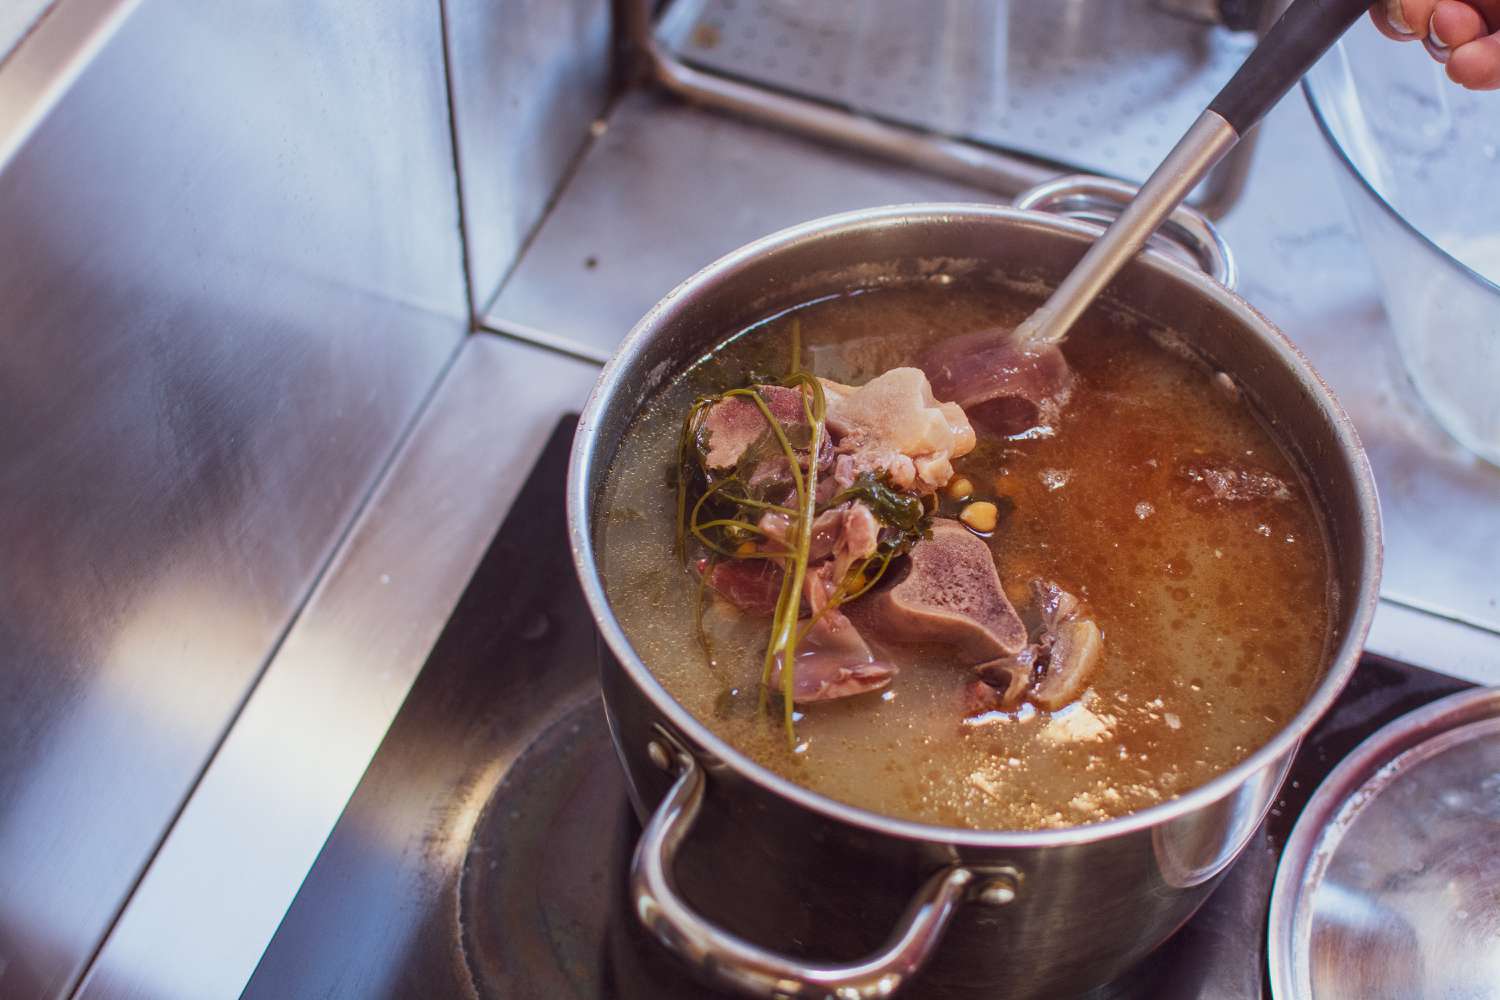
- Bring the mixture to a gentle boil, then reduce the heat to low and let it simmer for 24-48 hours. The longer it simmers, the richer and more flavorful your broth will be.
- Skim off any impurities that rise to the surface during the simmering process.
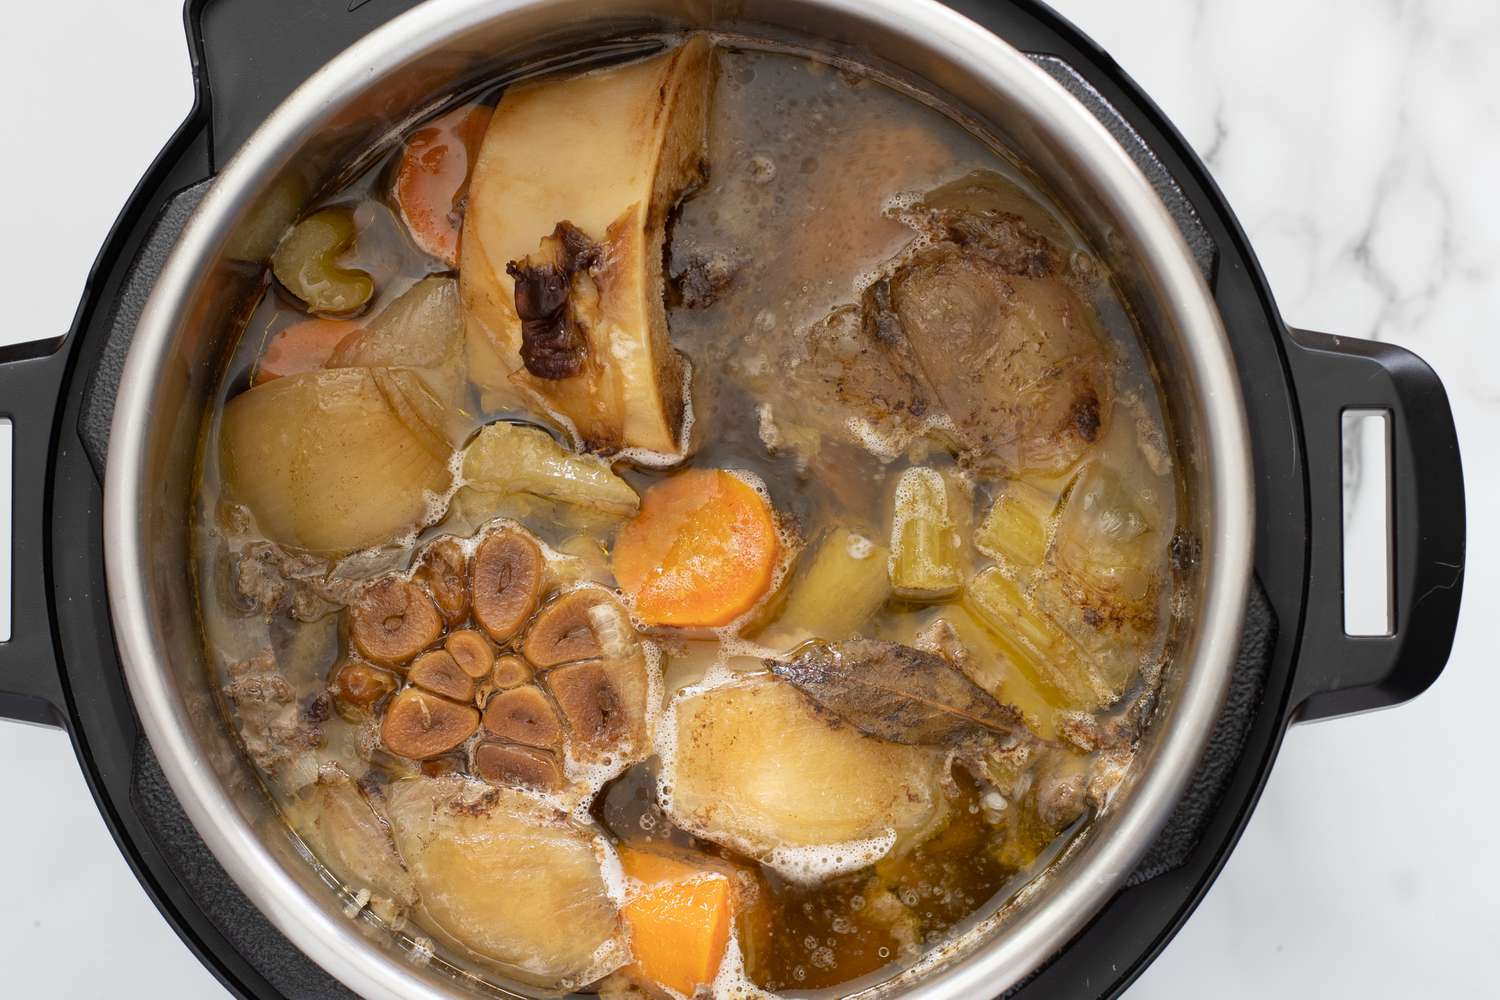
- Add the chopped onion, carrots, celery, garlic, and herbs to the pot. Let it simmer for an additional 2-4 hours.
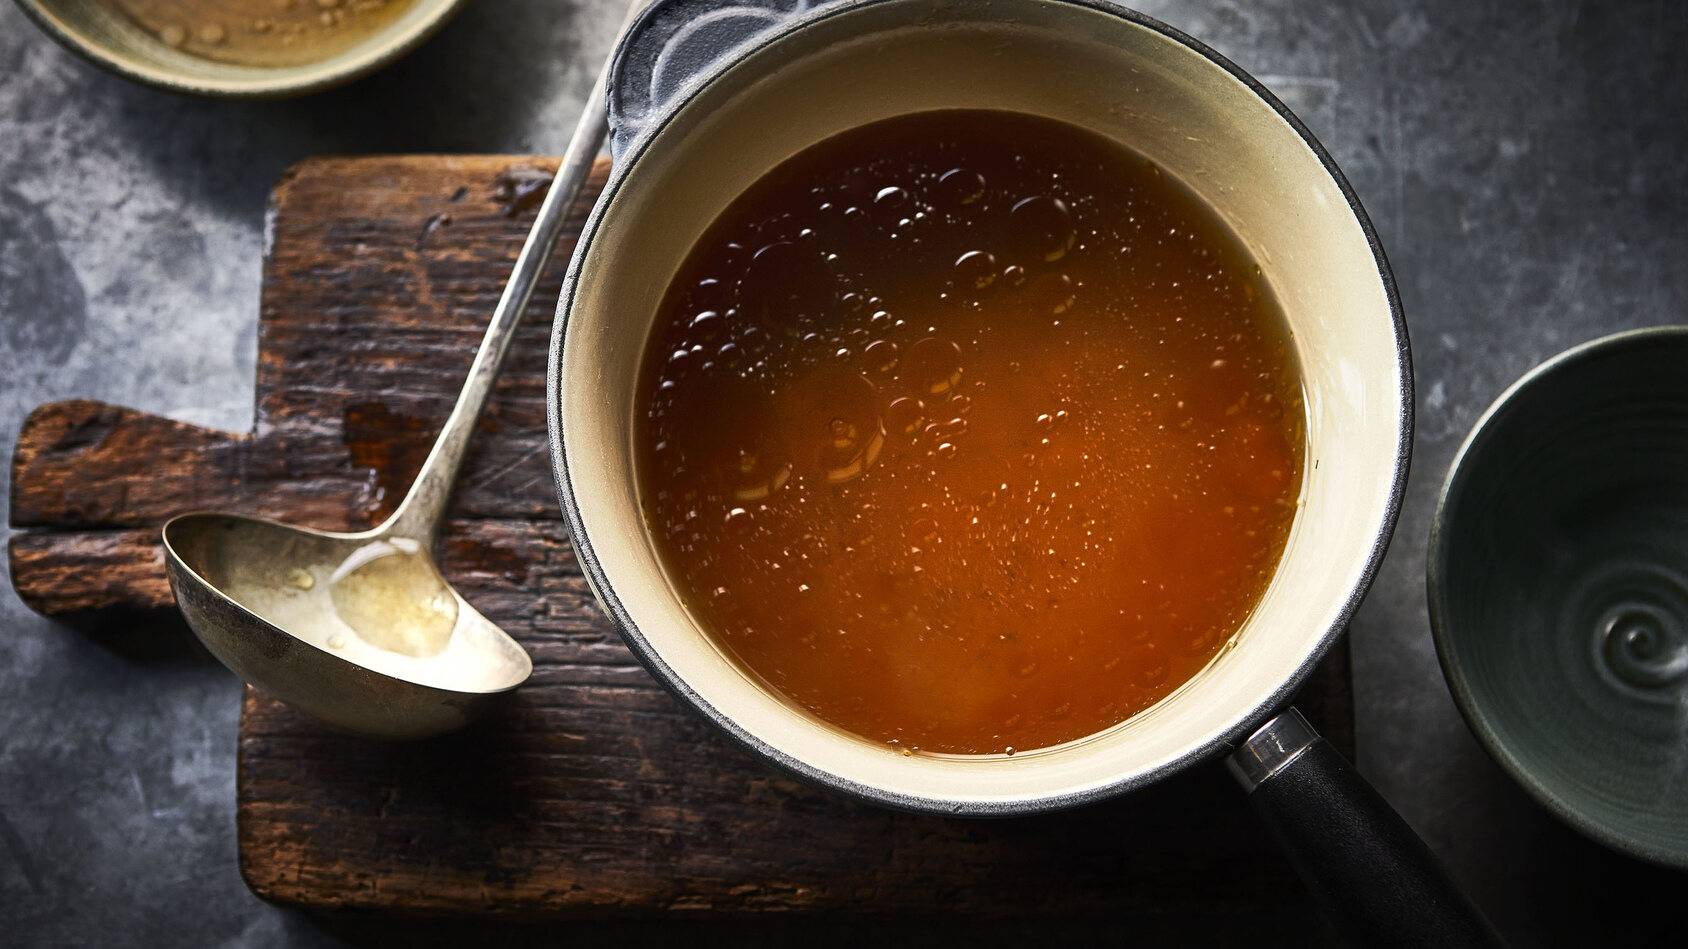
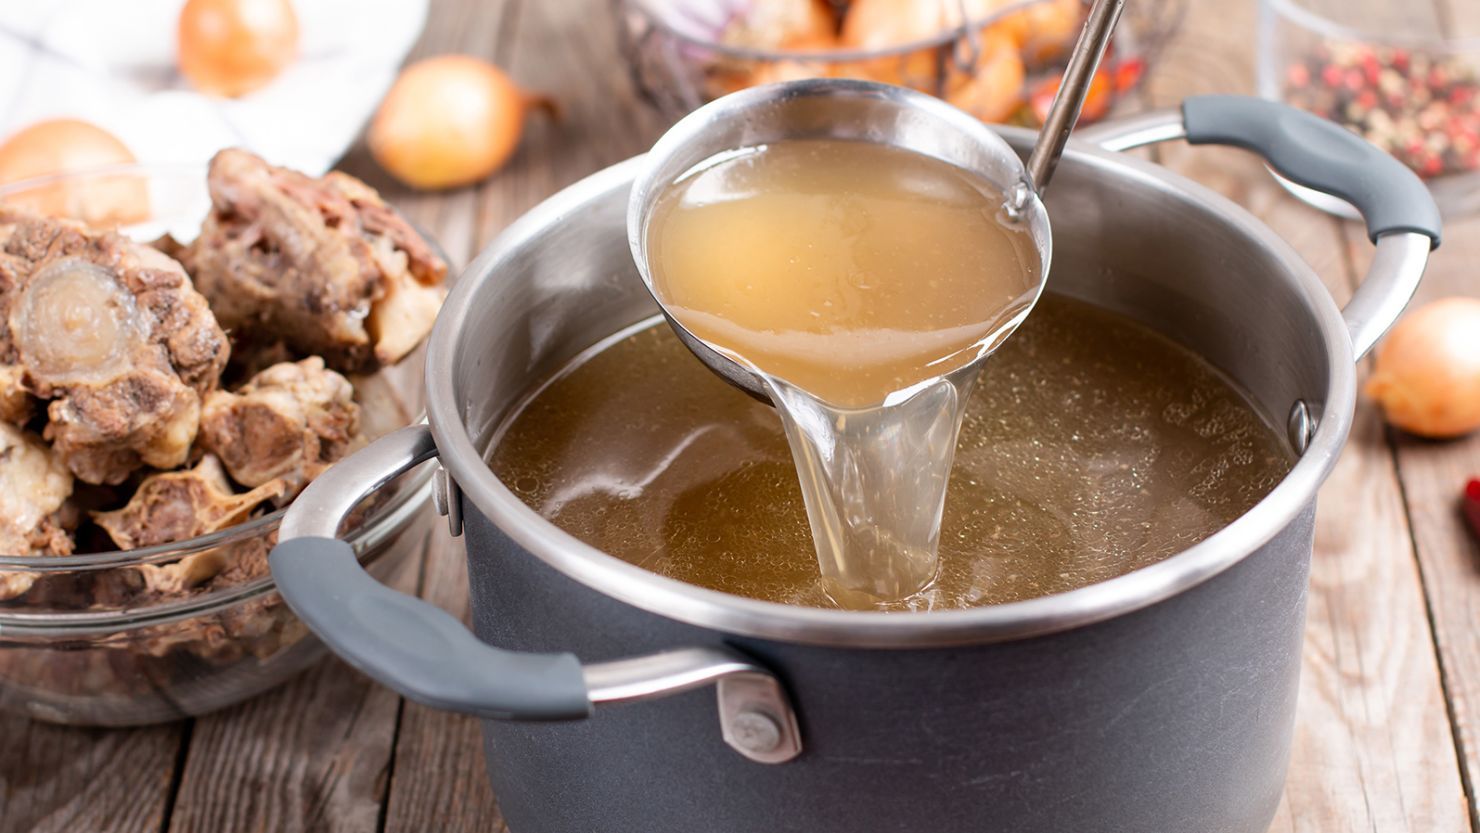
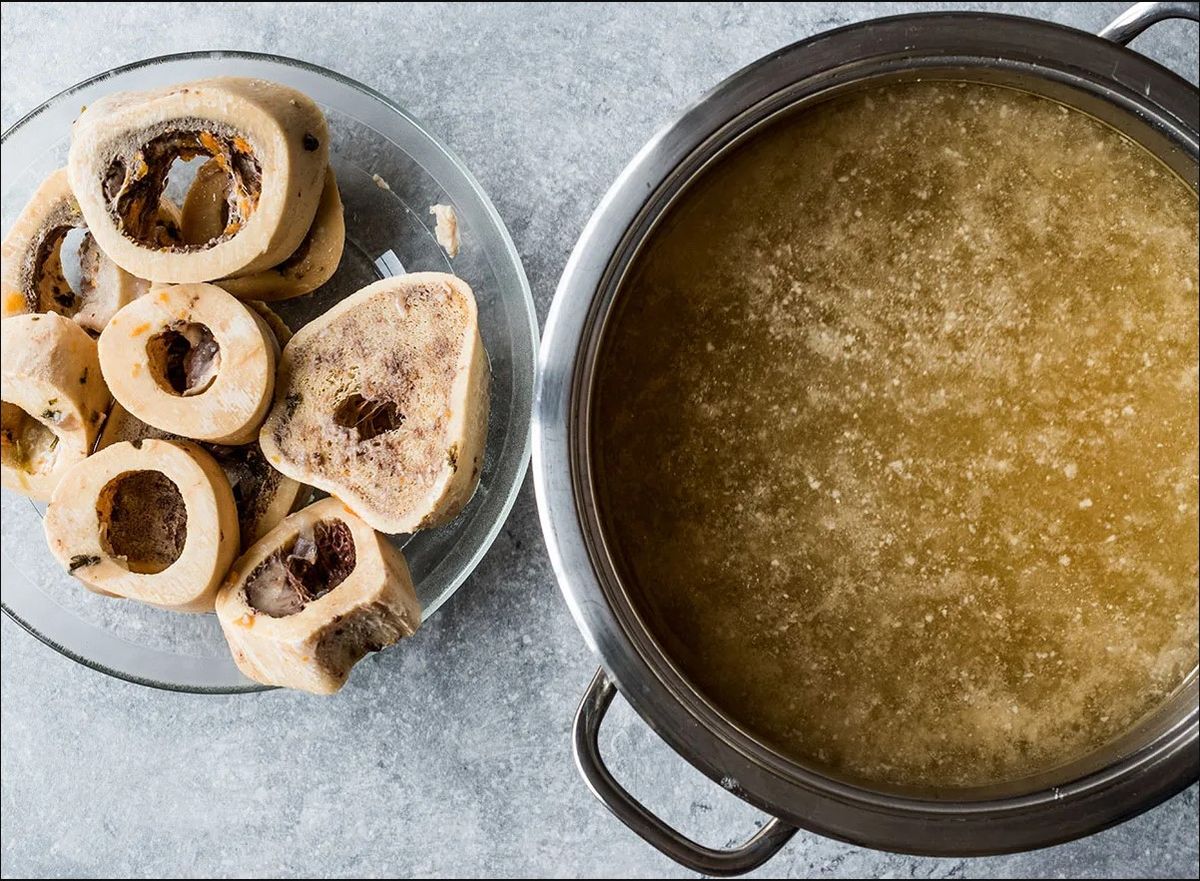
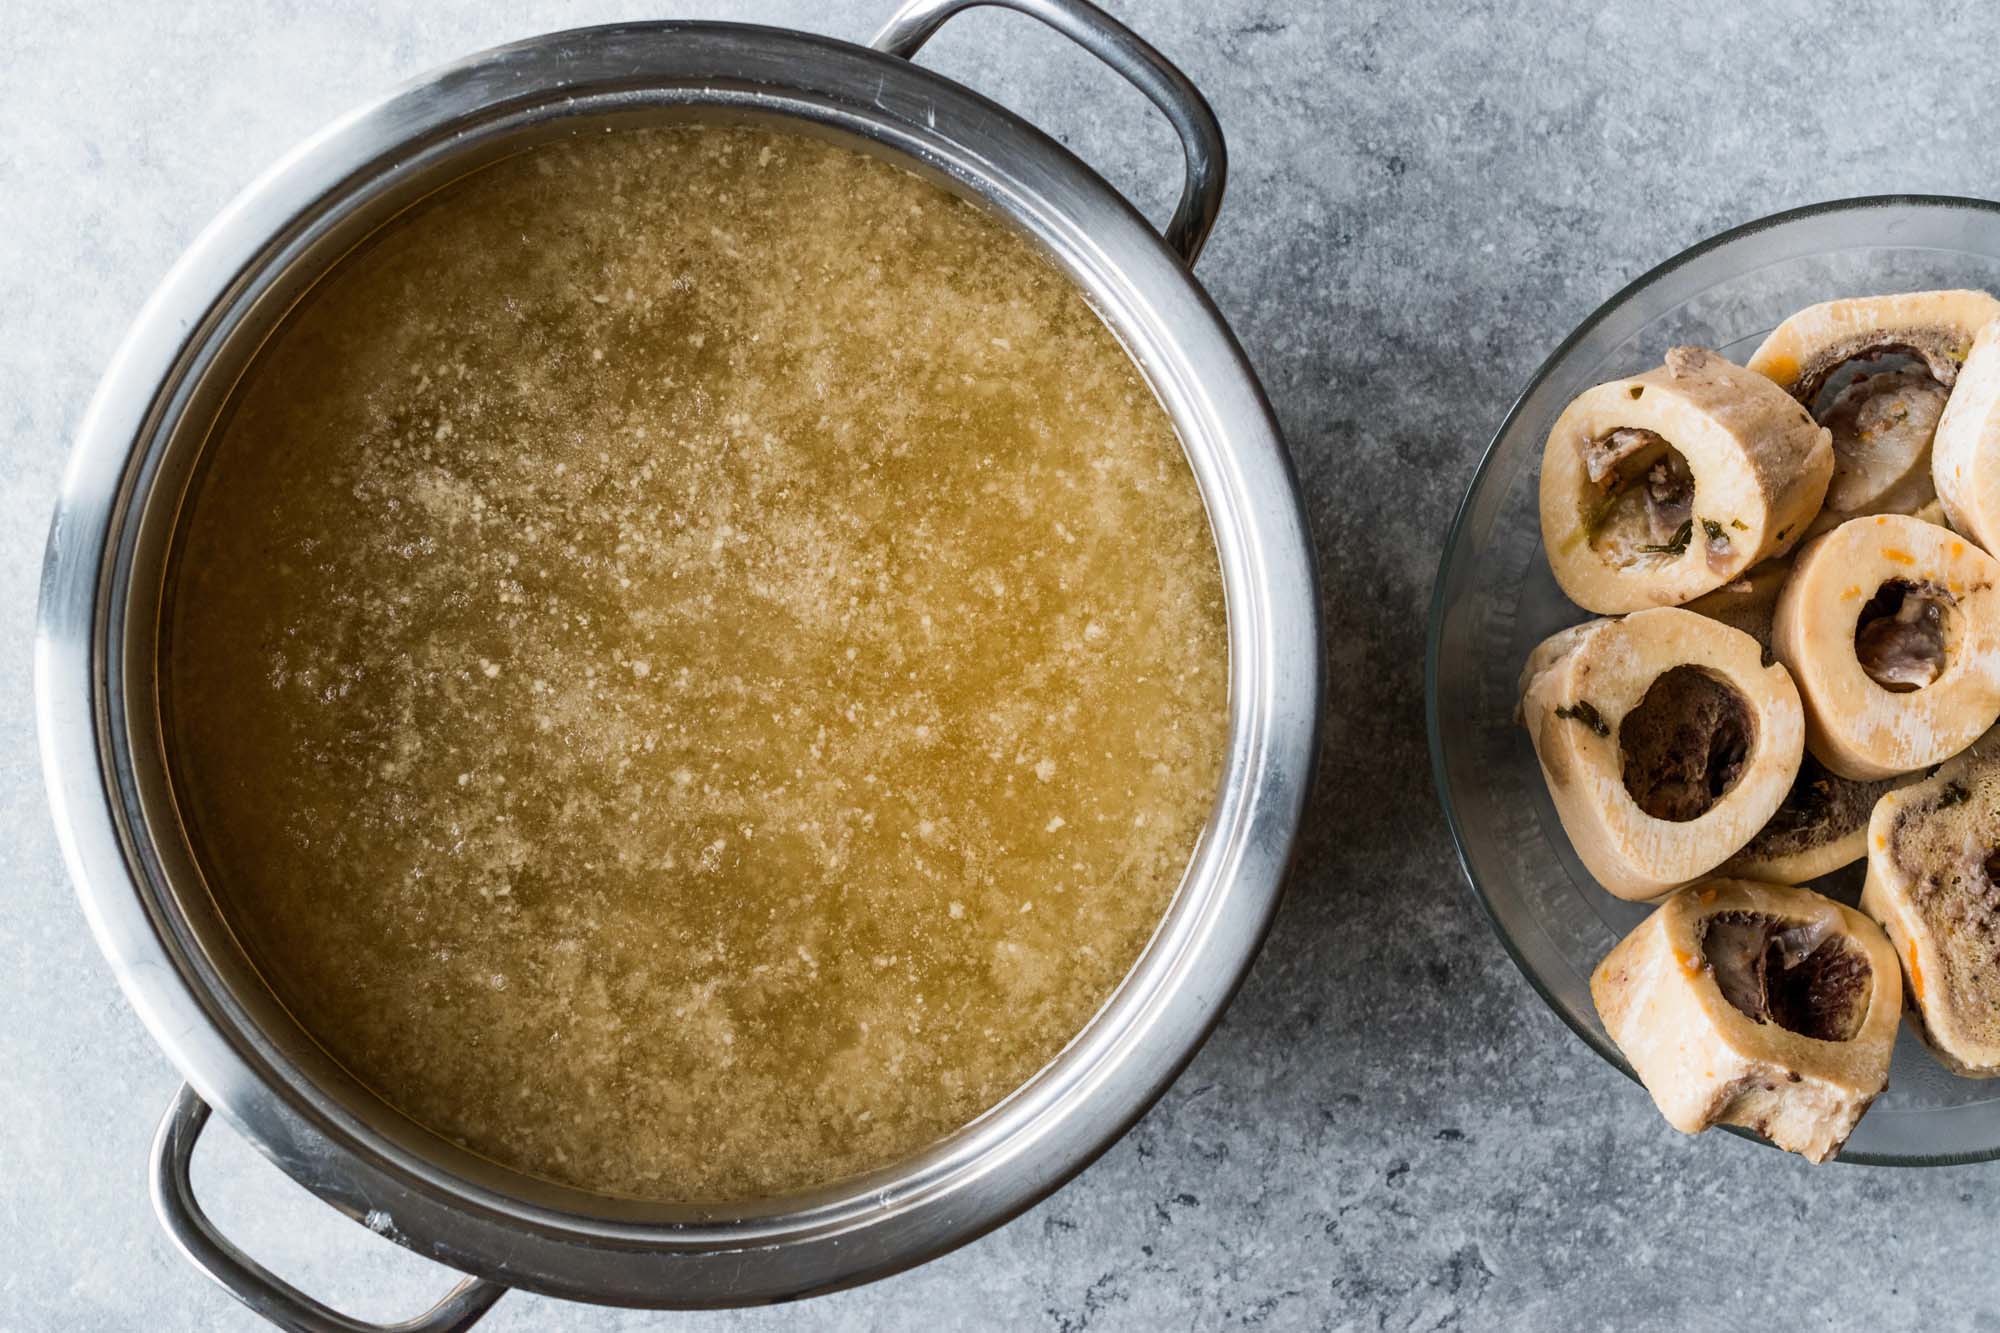
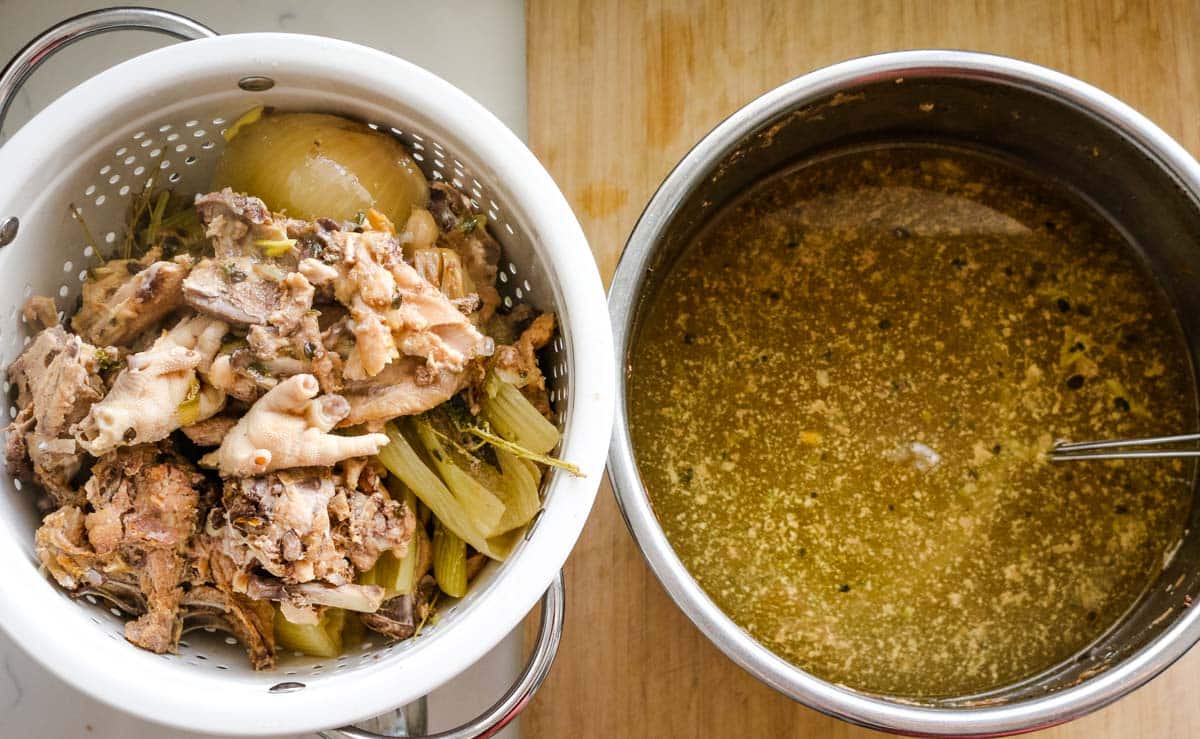
- Remove the pot from heat and let it cool for a bit. Strain the broth through a fine mesh strainer or cheesecloth to remove any solids.
- Add salt and pepper to taste, and your homemade bone broth is ready to be enjoyed!
Storage and Usage
Once your bone broth is ready, you can store it in airtight containers in the refrigerator for up to 5 days or freeze it for longer shelf life. Use it as a base for soups, stews, sauces, or simply sip it warm for a comforting and nourishing broth.
In Conclusion
Congratulations! You are now equipped with the knowledge to make your own delicious and nutritious bone broth. The process may take some time, but the end result is definitely worth it. So, gather your ingredients, follow the step-by-step instructions, and embark on your bone broth-making journey. Your body will thank you for it!
Remember, bone broth is not just a trend; it’s a timeless culinary tradition that has been passed down through generations. So, embrace the art of making bone broth and savor both its benefits and its rich flavors. Happy simmering!
Was this page helpful?
Related Articles