How to Make a Paper Piping Bag
Greetings, all you food enthusiasts out there! Today, we are going to dive into the wonderful world of baking and explore a useful skill for any aspiring baker – making a paper piping bag. Whether you’re a seasoned pro or just starting your culinary journey, knowing how to make your own piping bag can come in handy for adding that perfect finishing touch to your delicious creations. So, let’s get started!
Materials Needed:
- Newspaper or parchment paper
- Scissors
- Roll of sticky tape
- Pencil or pen
Step-by-Step Instructions:
Follow these simple steps to create your own paper piping bag:
- Start by cutting a square piece of newspaper or parchment paper. The size of the square will depend on how big you want your piping bag to be. A 12×12 inch square usually works well.
- Fold the square diagonally to form a triangle, ensuring that all edges align perfectly. Press down firmly to create a crease, and then unfold the triangle back into a square.
- With the square paper in front of you, take one corner and fold it towards the center, aligning it with the opposite corner. Repeat this step with the other corner, creating a smaller triangle shape.
- Take one of the long edges of the folded triangle and fold it towards the center, forming a narrower triangle.
- Secure the folded edges of the triangle together by placing a small piece of sticky tape along the seam. This will hold the shape of your piping bag.
- Take the unsealed end of the triangle (not the pointed tip) and roll it towards the seam, allowing it to overlap slightly. Secure the rolled end with another piece of sticky tape.
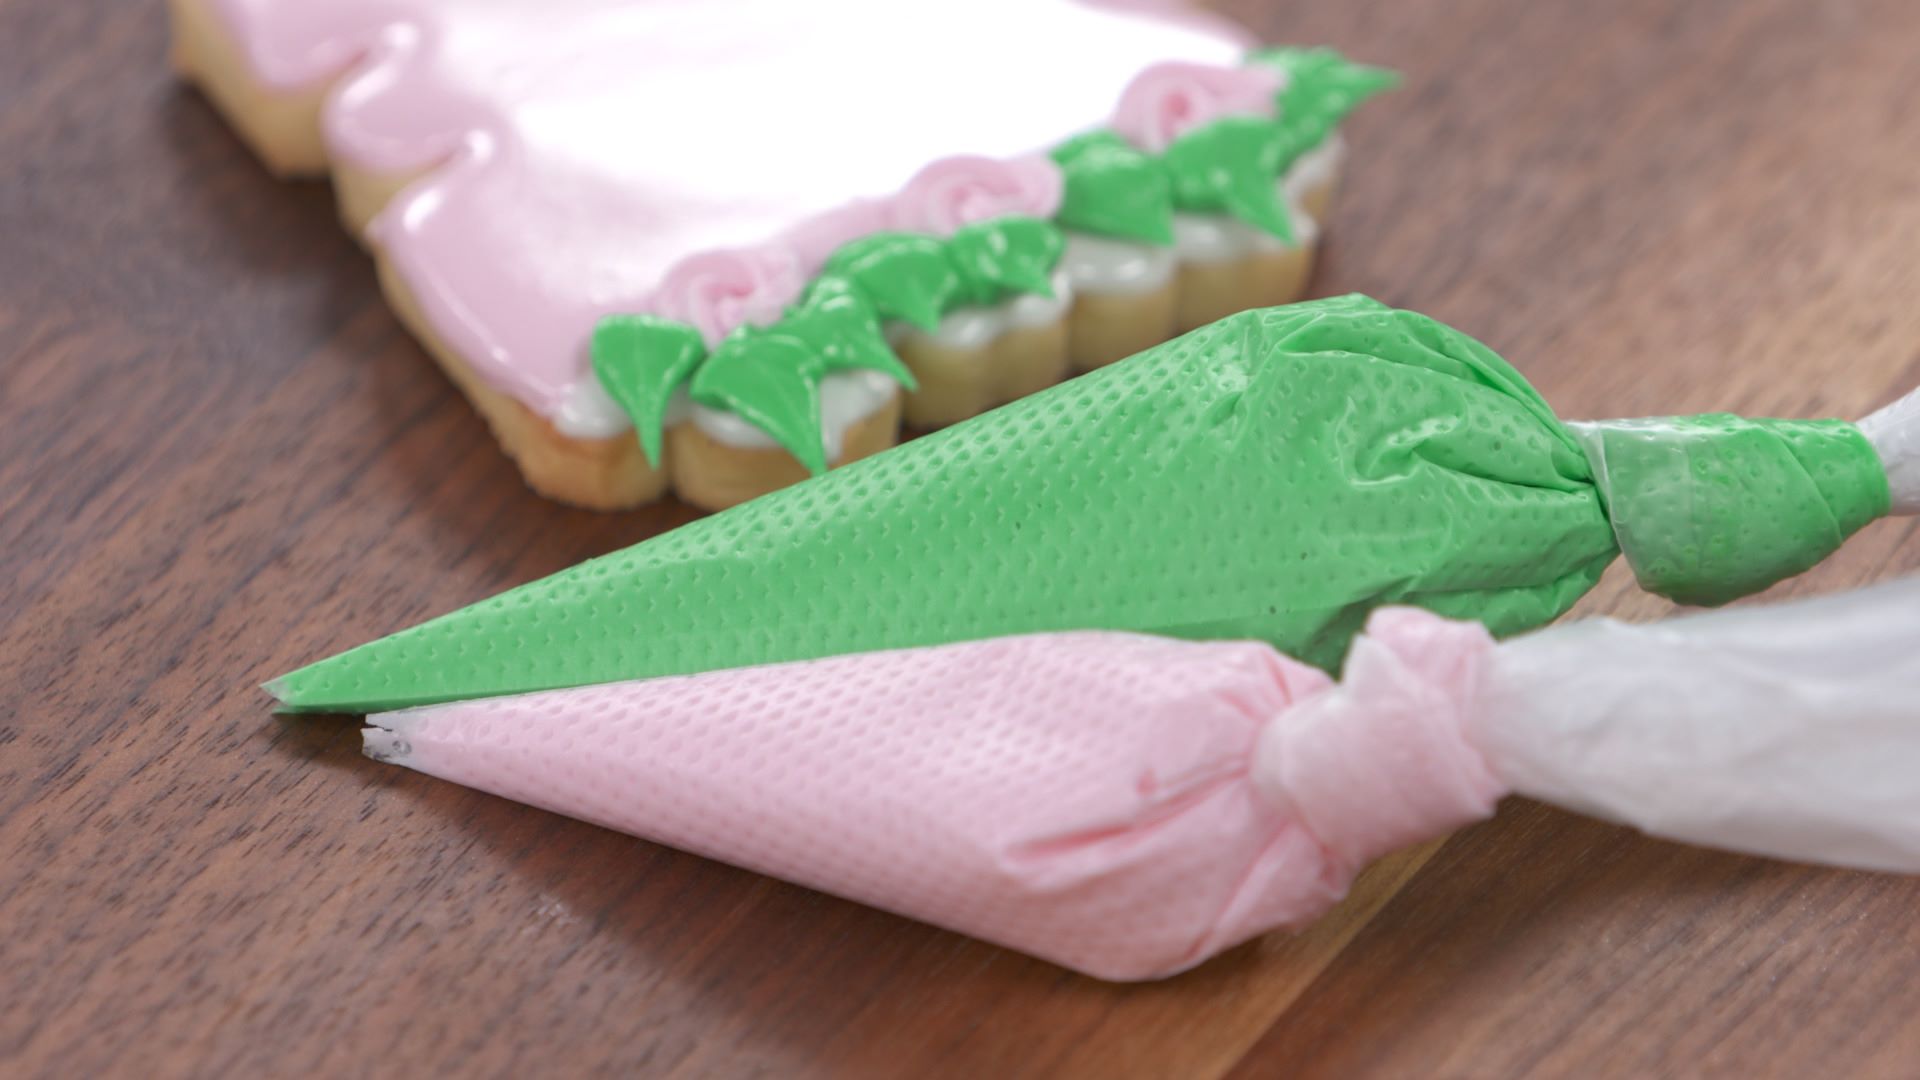
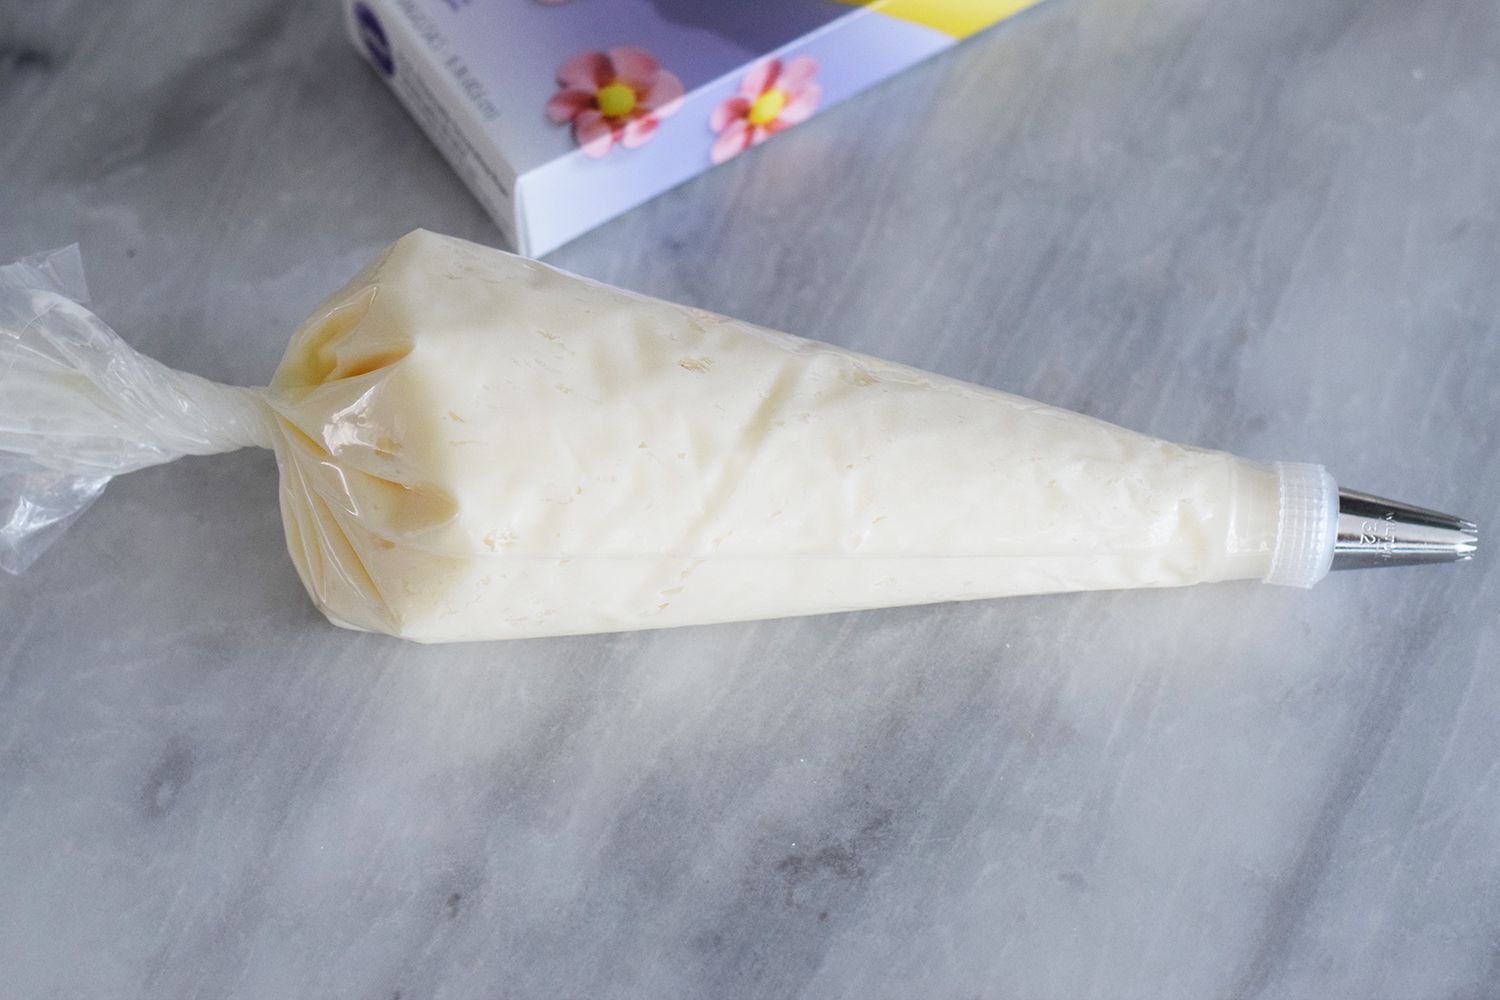
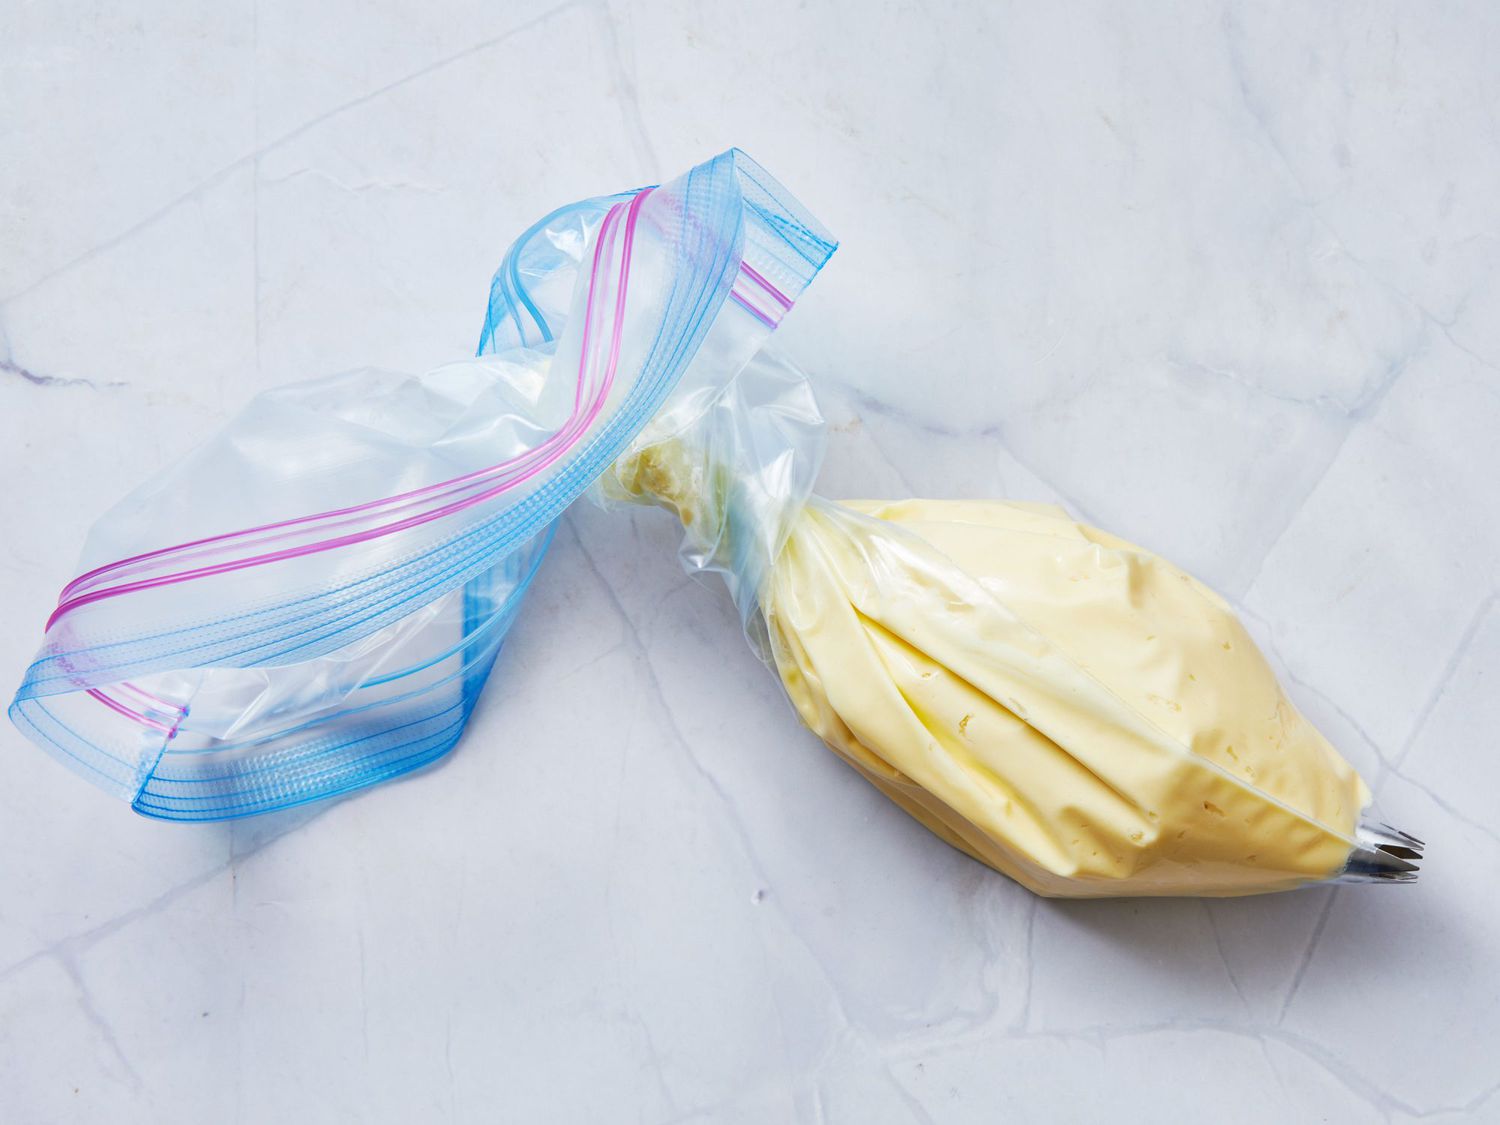
- Now it’s time to fill your newly made piping bag with your desired filling. Gather the open end of the bag, making sure to twist it slightly to prevent any leakage.
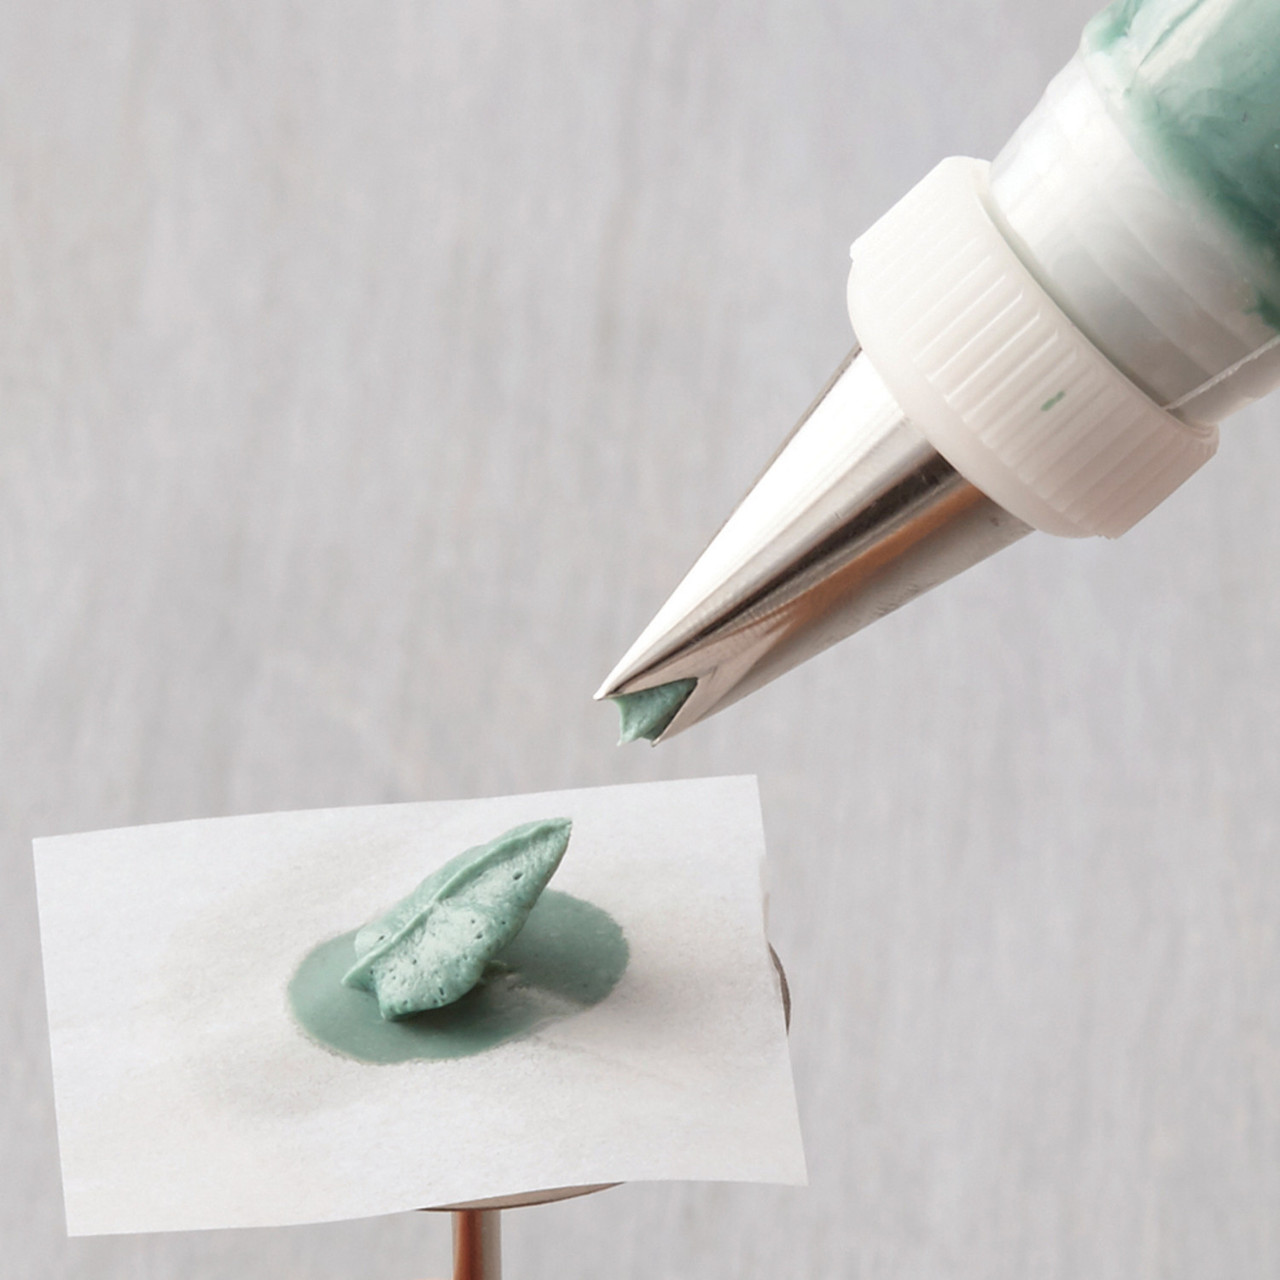
- Using a pair of scissors, carefully snip off the pointed tip of the paper piping bag to create a small opening. The size of the opening will depend on the thickness of the filling you’re using.
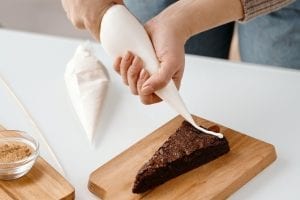
- And voila! You now have your very own homemade paper piping bag ready to add those beautiful finishing touches to your delectable desserts.
Keep in mind that practicing with a paper piping bag may take a little time to master. So, don’t be discouraged if your first attempts aren’t perfect. Remember, practice makes perfect and soon you’ll be piping like a pro!
Benefits of Making Your Own Paper Piping Bag
Now that you know how to make your own paper piping bag, let’s explore the benefits:
- Cost-effective: Making a paper piping bag at home saves you money compared to buying disposable ones from the store.
- Eco-friendly: By using a paper piping bag, you are reducing plastic waste and making a more sustainable choice for the environment.
- Customizable: You have full control over the size of your piping bag, allowing you to create various designs and patterns according to your baking needs.
- Convenience: Making a piping bag on the spot means you’ll never run out or have to make a last-minute trip to the store when inspiration strikes.
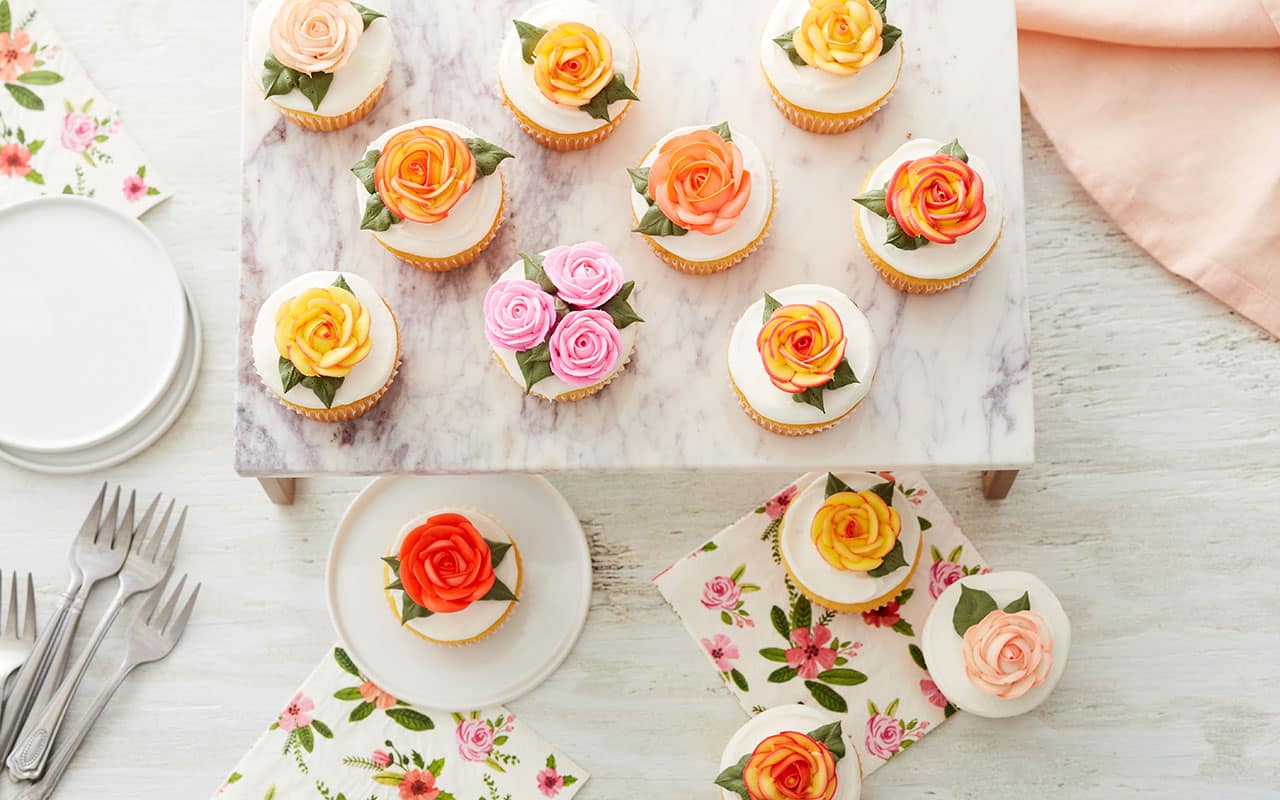
So, why wait? Gather your materials and get ready to unleash your creativity in the kitchen! Making your own paper piping bag is not only a practical skill to have but also adds a personal touch to your culinary creations. Impress your friends and family with beautifully piped cupcakes, cookies, and more. Happy baking!
Was this page helpful?
Related Articles