How To Cut A Piping Bag Into A Star Tip
When it comes to decorating cakes, cookies, and other baked goods, using a piping bag with a star tip can create beautiful designs that will impress your friends and family. However, if you’re new to baking or haven’t used a piping bag before, figuring out how to cut the bag into a star tip can be a bit daunting. But fear not! We’re here to guide you step by step so you can master this skill and take your baking game to the next level.
What You’ll Need:
- A piping bag
- A pair of kitchen scissors
Steps to Cut a Piping Bag into a Star Tip:
- Start by assembling your piping bag. If you’re using a disposable bag, simply snip off the tip, creating a small opening. If you’re using a reusable bag, insert your desired star tip into the bag, making sure it fits snugly.
- Hold the piping bag with one hand, gripping it just above the star tip, to prevent any cream or icing from seeping out the top.
- With your other hand, use a pair of kitchen scissors to make a diagonal cut on one side of the bag, just above the star tip. The cut should be about 1/2 inch to 1 inch in length, depending on the size of the star tip you’re using.
- Now, make another diagonal cut on the opposite side of the bag, mirroring the first cut. Make sure the two cuts meet at a point just above the star tip.
- Once you’ve made the cuts, you’ll see that a triangular-shaped piece of the bag’s material is formed. Gently push this triangular piece into the bag, so it doesn’t interfere with the flow of icing or cream.
- Finally, twist the top of the piping bag to create some tension and keep the icing or cream from seeping out. You’re now ready to use your piping bag with the newly cut star tip!
Tips and Tricks:
- Remember to practice your piping technique on a practice surface before moving on to your actual cake or cookies. This will help you get a feel for how the icing or cream flows from the star tip.
- If you find that your icing is too thick to pipe smoothly, try adding a little milk or water to thin it out. On the other hand, if your icing is too thin and doesn’t hold its shape, add more powdered sugar to thicken it up.
- Experiment with different sizes and shapes of star tips to create various designs. A smaller star tip will produce more intricate details, while a larger one will give you bold, eye-catching designs.
- Remember to clean your piping bag and star tip thoroughly after each use to avoid any cross-contamination of flavors or colors.
- Don’t worry if your first attempts aren’t perfect. Piping takes practice, so keep trying and have fun with it!
By following these steps and tips, you’ll be well on your way to cutting a piping bag into a star tip like a pro. As with any new skill, practice makes perfect. So, grab your piping bag, unleash your creativity, and enjoy the art of cake decorating!
Want to learn more about how to cut a piping bag into a star tip? Join the discussion in the Baking and Desserts forum and share your experiences and tips with fellow baking enthusiasts!
FAQ:
What tools do I need to cut a piping bag into a star tip?
To cut a piping bag into a star tip, you will need the following tools:
– Piping bag: Make sure you have a clean and empty piping bag.
– Scissors: Sharp scissors will make it easier to cut through the bag.
– Marker or pen: This is optional but can be helpful for marking the template on your piping bag.
– Piping bag: Make sure you have a clean and empty piping bag.
– Scissors: Sharp scissors will make it easier to cut through the bag.
– Marker or pen: This is optional but can be helpful for marking the template on your piping bag.
What is the best size for a star tip?
The best size for a star tip depends on your personal preference and the desired outcome. Generally, a medium-sized star tip, such as Wilton 1M or Ateco 825, is recommended for most decorative purposes. However, you can experiment with different sizes to achieve various effects.
How do I cut a piping bag into a star tip?
Follow these steps to cut a piping bag into a star tip:
1. Prepare your piping bag by trimming the tip to create a small opening.
2. Decide on the pattern you want for your star tip, such as a five-pointed or six-pointed star.
3. Using a marker or pen, lightly trace the star template onto the piping bag, ensuring the points align with the tip opening.
4. Carefully cut along the marked lines, keeping the cuts as straight and clean as possible.
5. Gently push the cut star tip through the opening to create the desired shape.
Can I cut a piping bag into a star tip without a template?
Yes, you can cut a piping bag into a star tip even without a template. Instead of using a template, you can freehand the star shape directly on the piping bag using a marker or pen. This allows you to customize the size and shape of the star tip according to your preference.
Are there any alternatives to cutting a piping bag into a star tip?
Yes, if you don’t want to cut a piping bag into a star tip, you can also use pre-made star tips that are readily available in baking supply stores. These tips attach to the end of the piping bag, eliminating the need for cutting. Additionally, you can consider using a different piping tip design, such as a round tip or a French tip, to achieve different decorative effects.
Can I reuse a piping bag after cutting it into a star tip?
Yes, you can reuse a piping bag after cutting it into a star tip. However, keep in mind that the cut edges may become slightly worn or frayed over time, which can affect the precision of your piping. It is always a good idea to have spare piping bags on hand for different designs and to ensure optimal results.
Want to learn more about how to cut a piping bag into a star tip? Join the discussion in the Baking and Desserts forum and share your experiences and tips with fellow baking enthusiasts!
FAQ:
What is a piping bag and why would I want to cut it into a star tip?
A piping bag is a tool used in pastry and cake decorating to pipe icing, frosting, or other toppings onto cakes, cookies, and desserts. Cutting a piping bag into a star tip allows for the creation of decorative swirls, rosettes, or star-shaped designs when decorating baked goods.
What materials do I need to cut a piping bag into a star tip?
To cut a piping bag into a star tip, you will need the following materials: a disposable or reusable piping bag, a pair of scissors or a sharp knife, and a star-shaped piping tip.
How do I cut a piping bag into a star tip?
To cut a piping bag into a star tip, follow these steps:
1. Insert the star-shaped piping tip into the bottom of the piping bag.
2. Push the piping tip through the plastic, making sure it fits securely.
3. Use a pair of scissors or a sharp knife to cut off the tip of the piping bag, leaving enough space for the star tip to extend beyond the cut.
4. Gently push the piping tip through the cut opening to ensure it is properly aligned and securely attached.
Can I use any type of piping bag to create a star tip?
Yes, you can use either disposable or reusable piping bags to create a star tip. However, make sure that the piping bag is compatible with the star-shaped piping tip you are using to achieve the desired results.
Are there any alternative methods to cutting a piping bag into a star tip?
Yes, if you don’t have a star-shaped piping tip or wish to achieve a different effect, you can try using a different shaped tip or nozzle. There are various types available, such as round tips, leaf tips, or even novelty-shaped tips. Each will create a different design when piping.
What are some tips for using a piping bag with a star tip effectively?
Here are some tips to ensure effective use of a piping bag with a star tip:
– Make sure the piping bag is filled with your desired icing or frosting and sealed tightly before starting.
– Apply consistent pressure from the top of the piping bag while squeezing the icing out through the star tip to create even and well-defined shapes.
– Practice your technique on a separate surface to get a feel for the pressure and speed needed before piping onto your final dessert.
– Keep the top of the piping bag closed with your hand or a clip to prevent the icing from coming out until you are ready to pipe.
Are there any safety precautions I should take when cutting a piping bag into a star tip?
When cutting a piping bag into a star tip, it is essential to exercise caution to avoid any accidents or injuries. Ensure that your hands and fingers are away from the path of the knife or scissors while cutting. Always use a sharp tool to make clean and precise cuts, and discard any damaged or worn-out piping bags or tips to prevent any mishaps.
Was this page helpful?
Read Next: How To Cut Biscotti Without Breaking
Related Articles
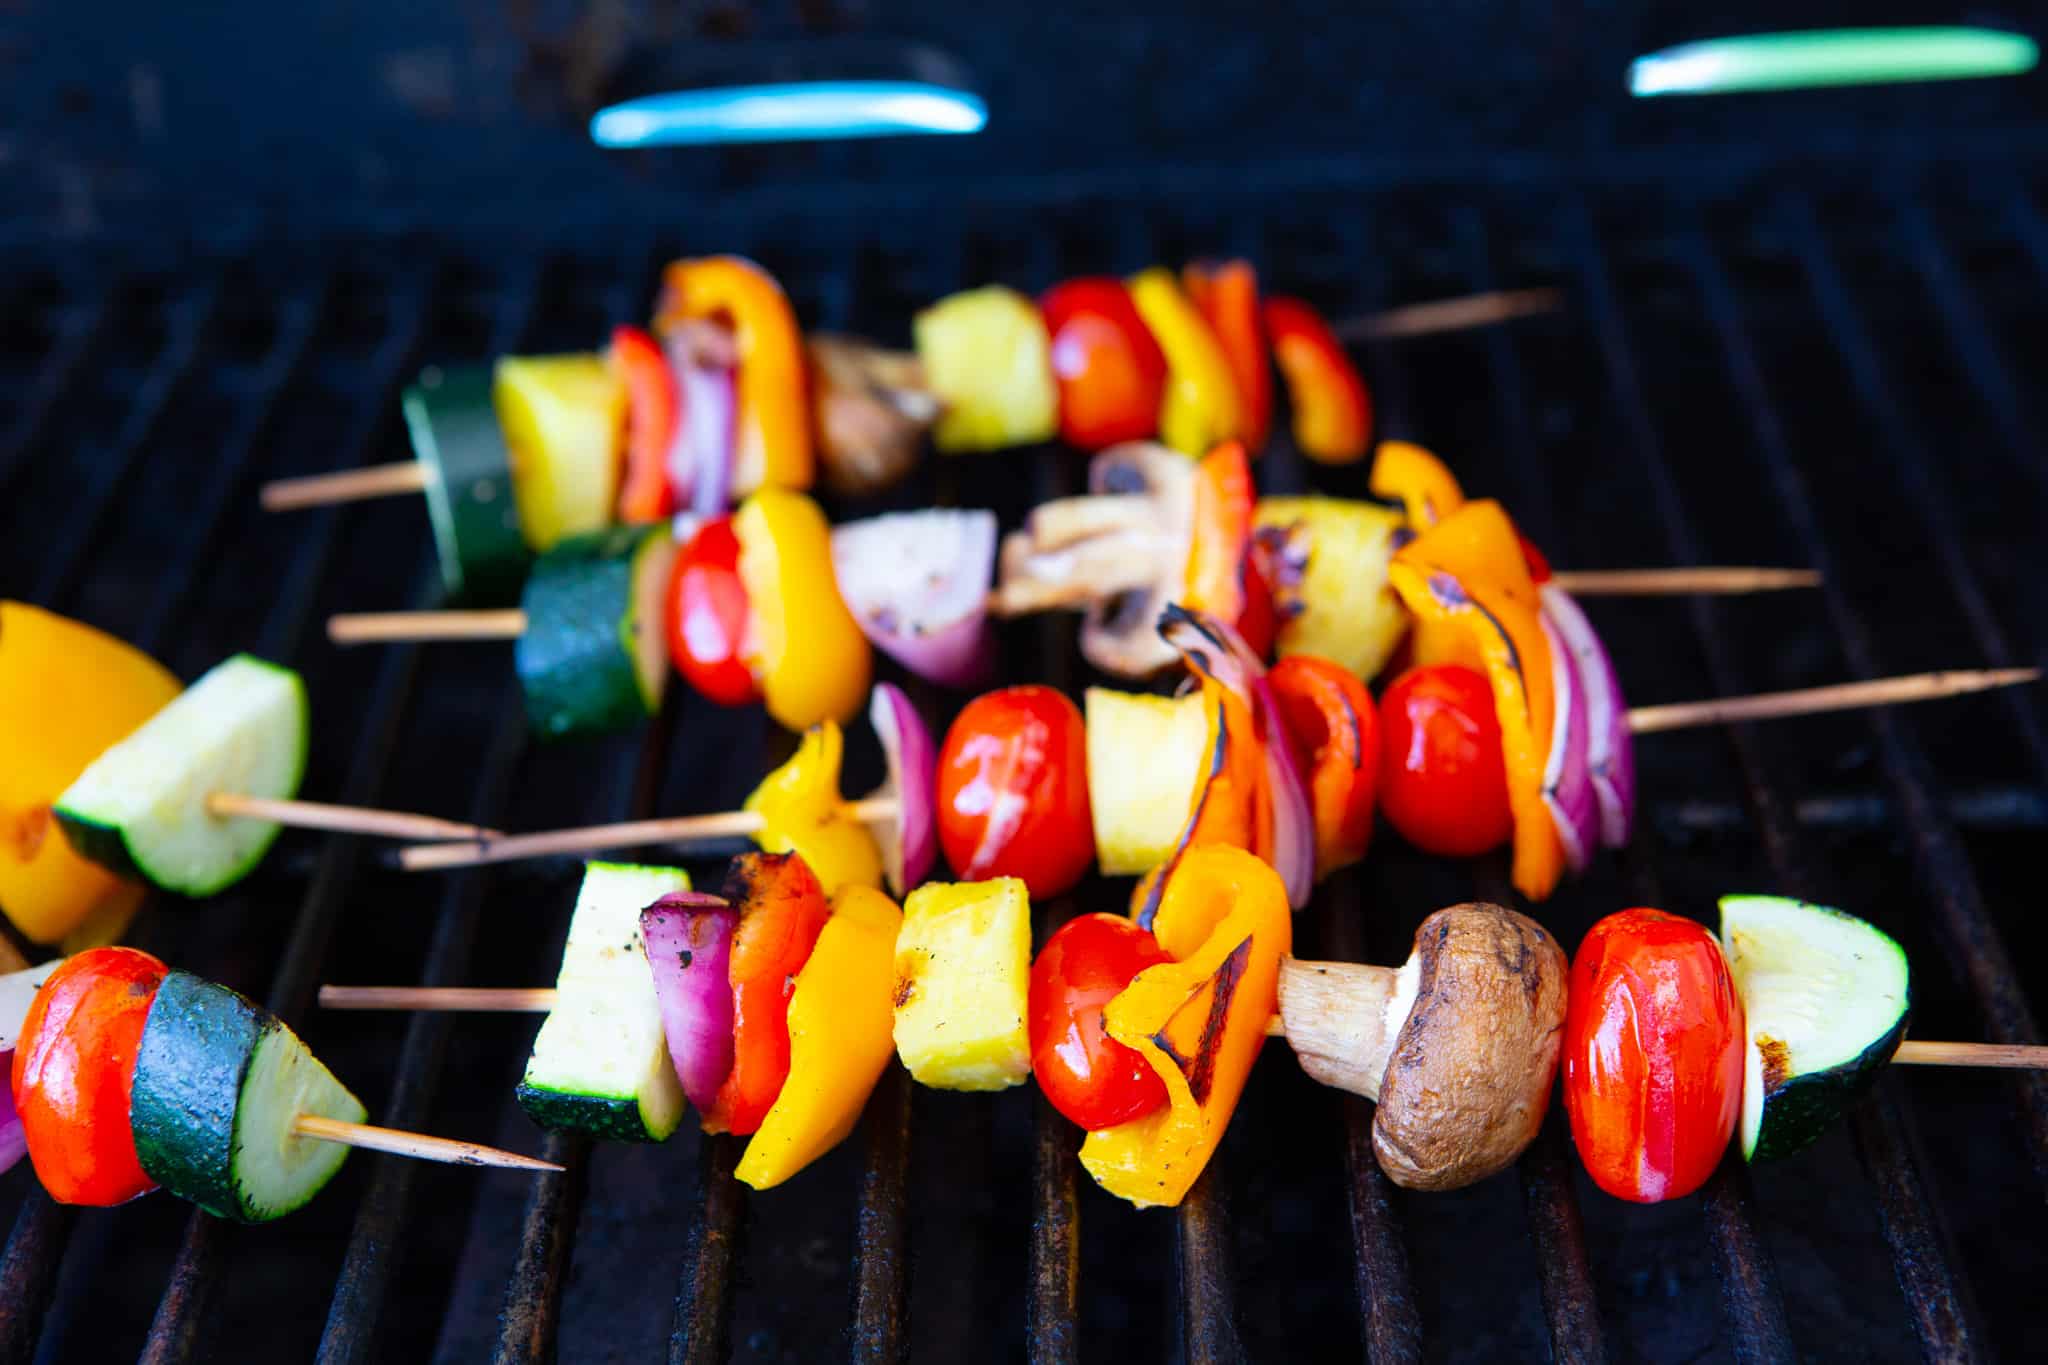
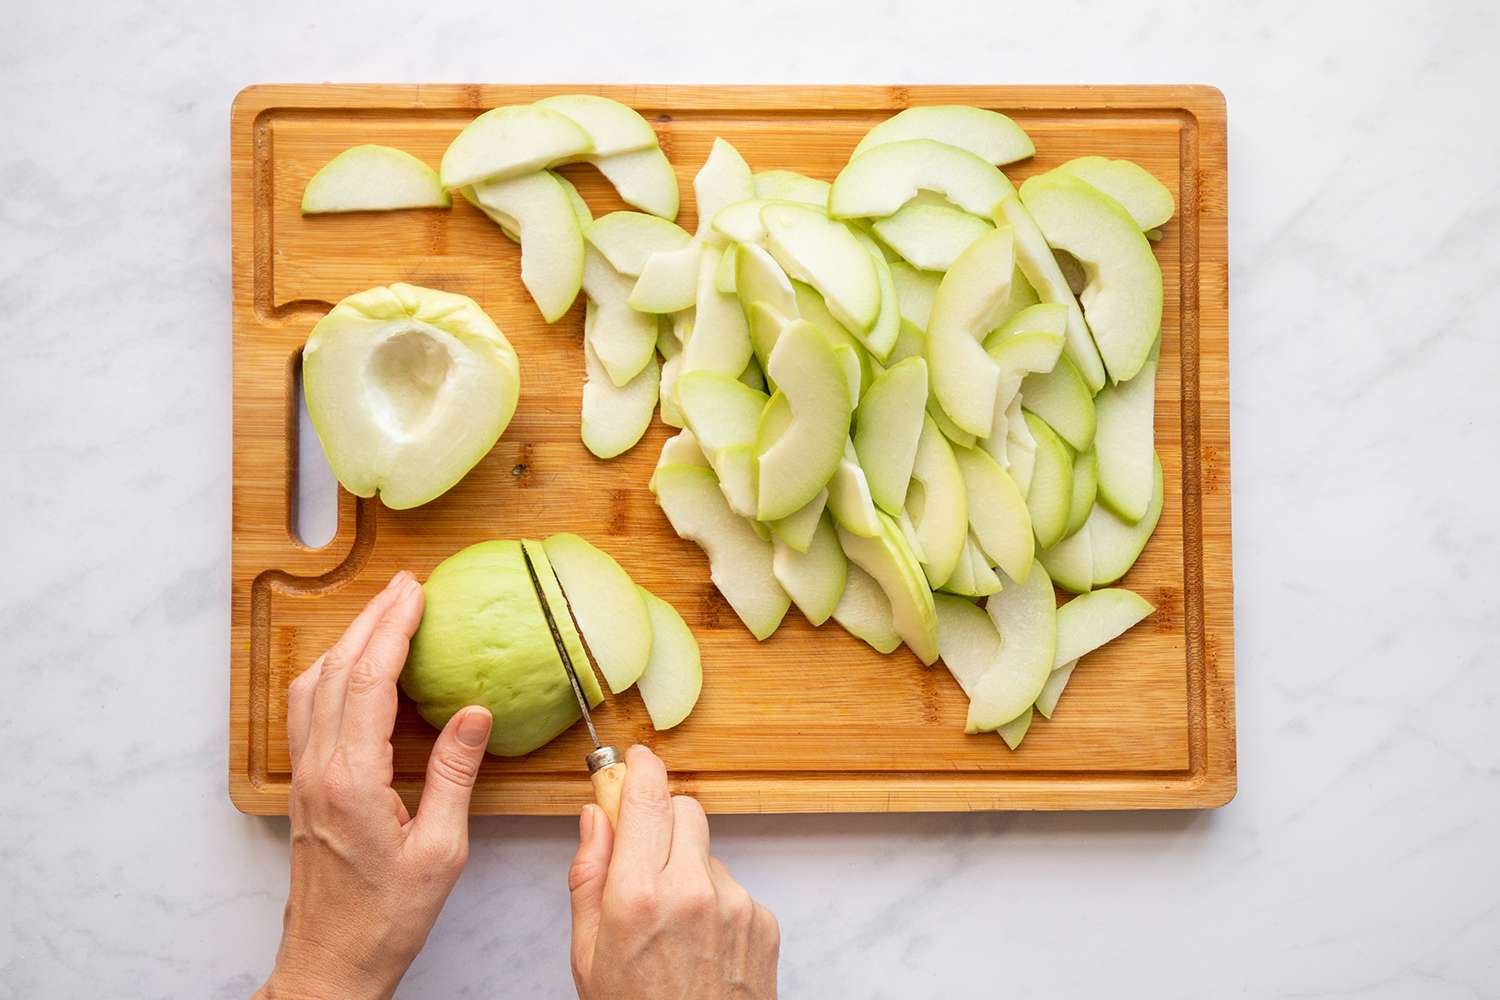
How To Cut Peppers And Onions For Kabobs

How To Cut Raw Flank Steak Against The Grain
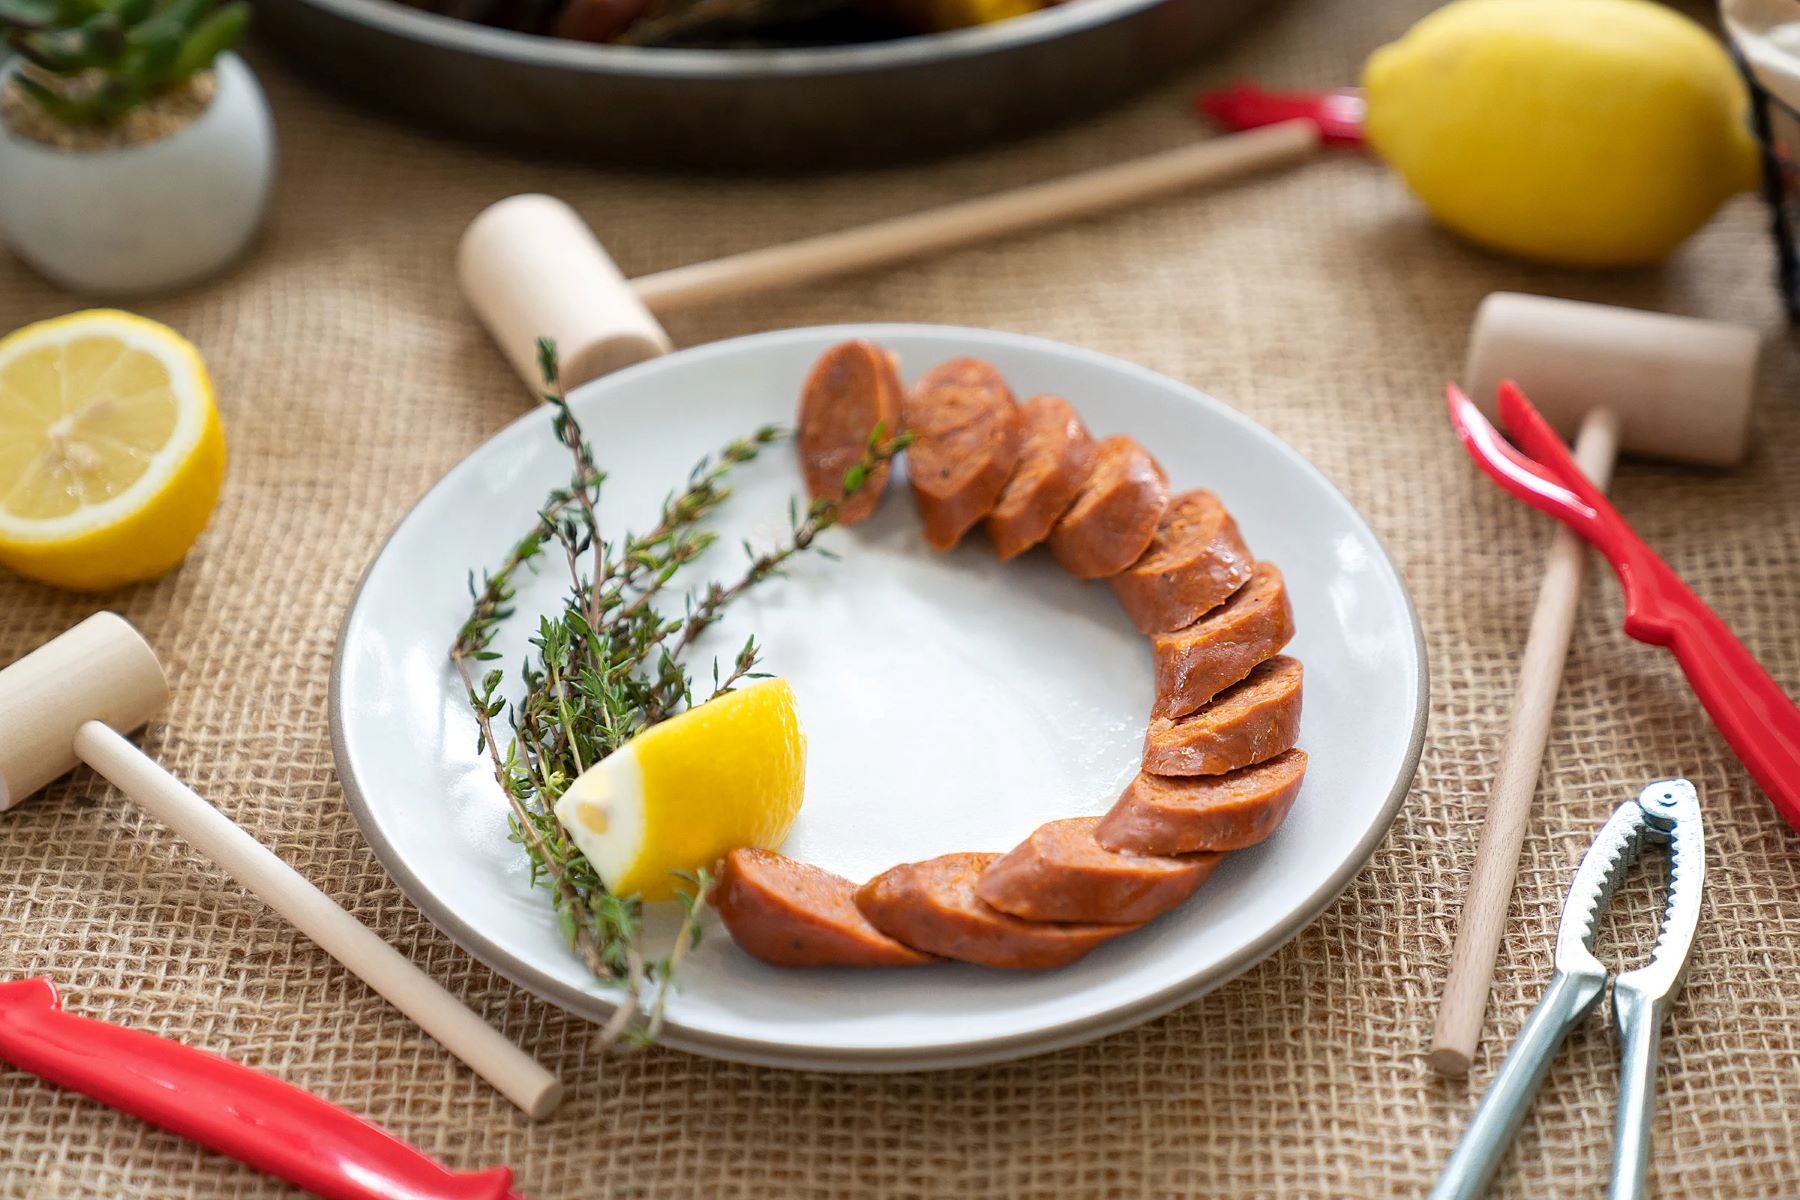
How To Cut Sausage Diagonally
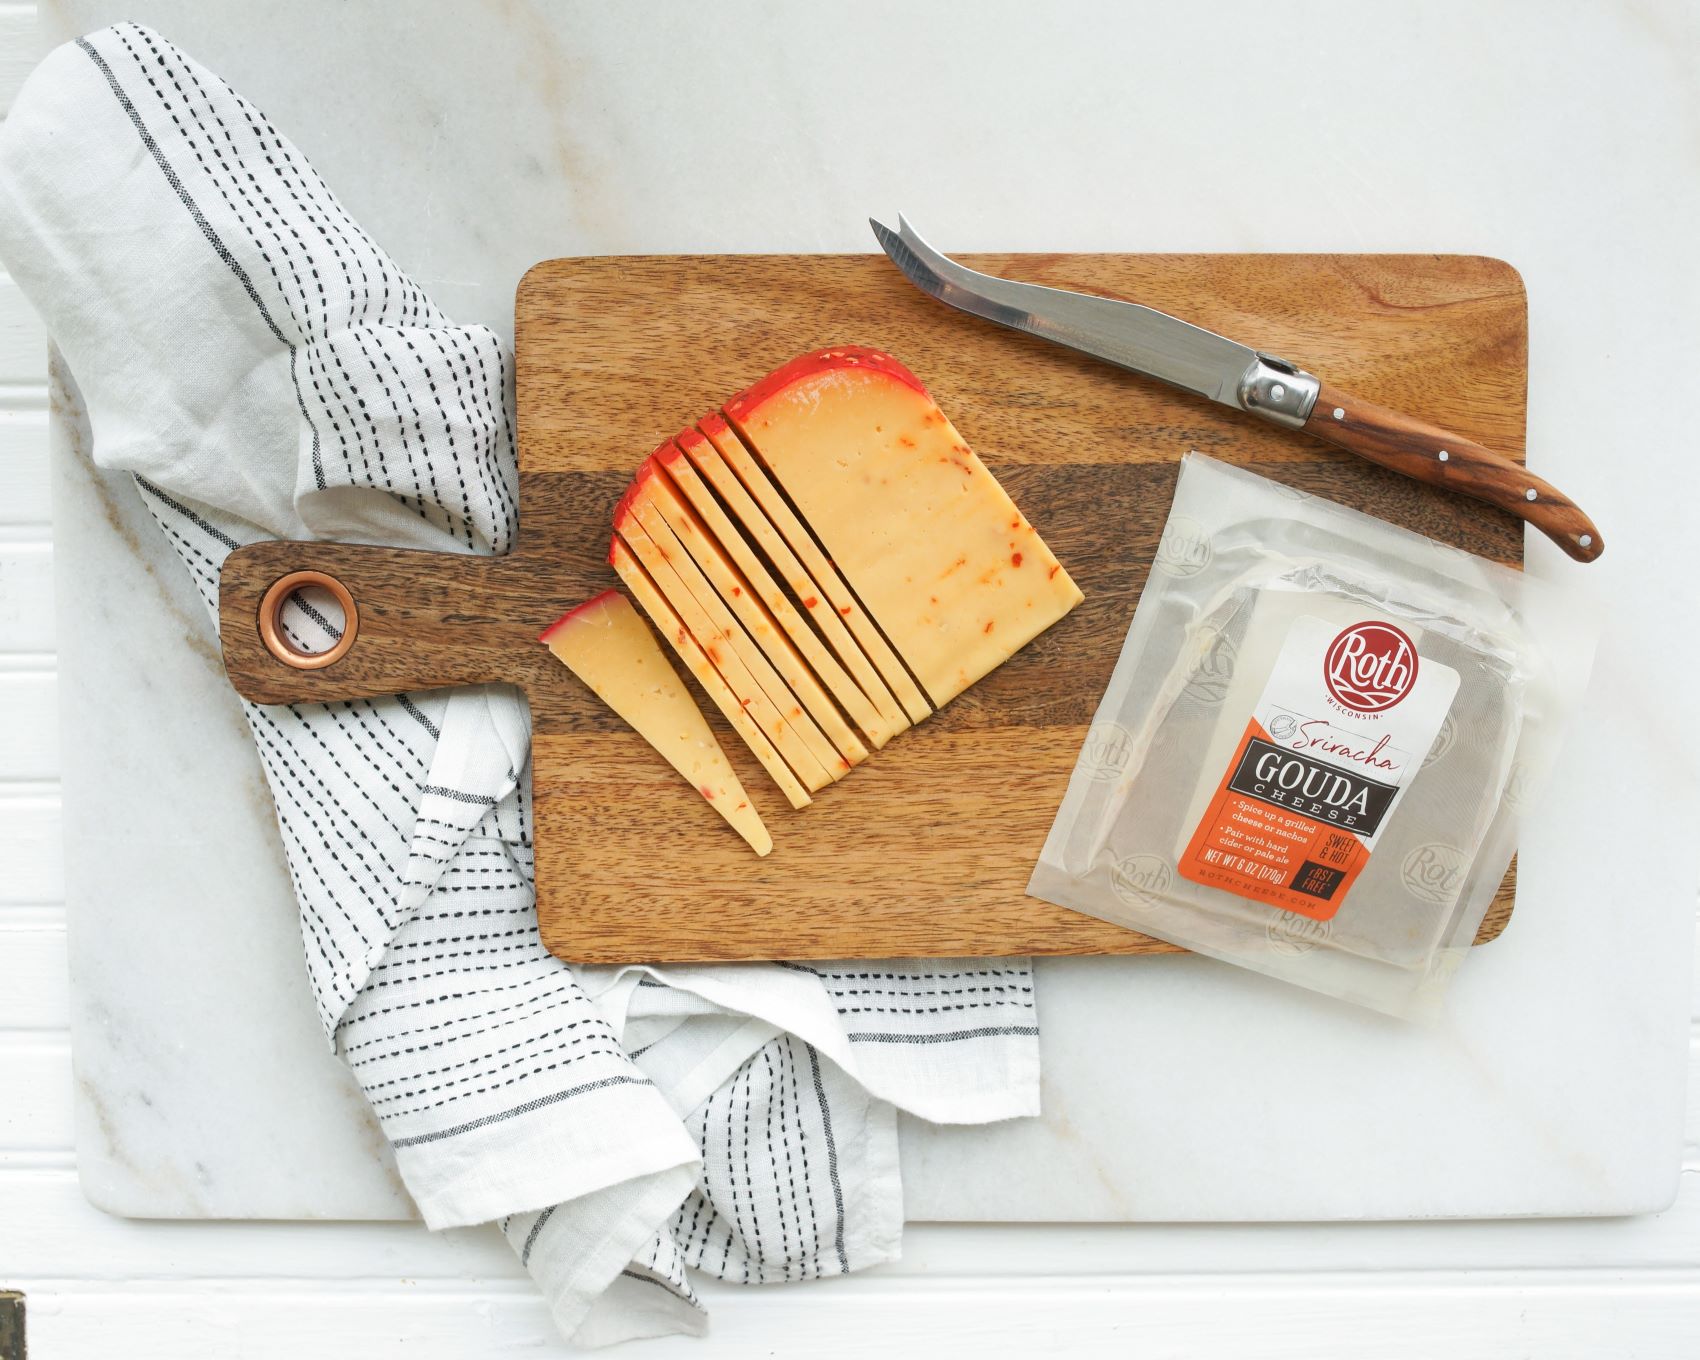
How To Cut Smoked Gouda For Charcuterie Board
How To Cut Cinnamon Flavor
How To Cut A Whole Lobster
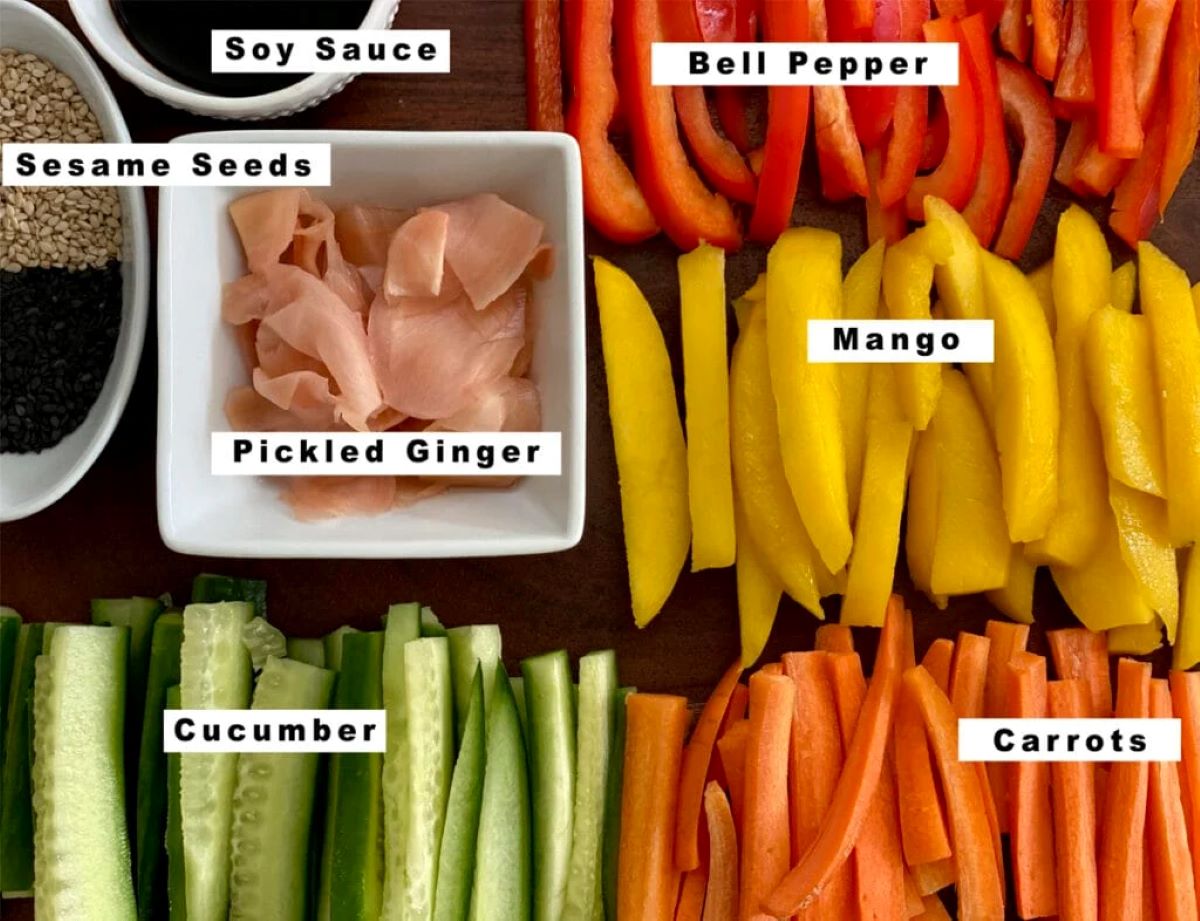
How To Cut Vegetables For Sushi
How To Cut London Broil For Stew
How To Cut Pothos Leaves
How To Cut Pastrami
How To Cut Celery Fancy