How To Make A Drip Cake: A Deliciously Fun and Creative Dessert
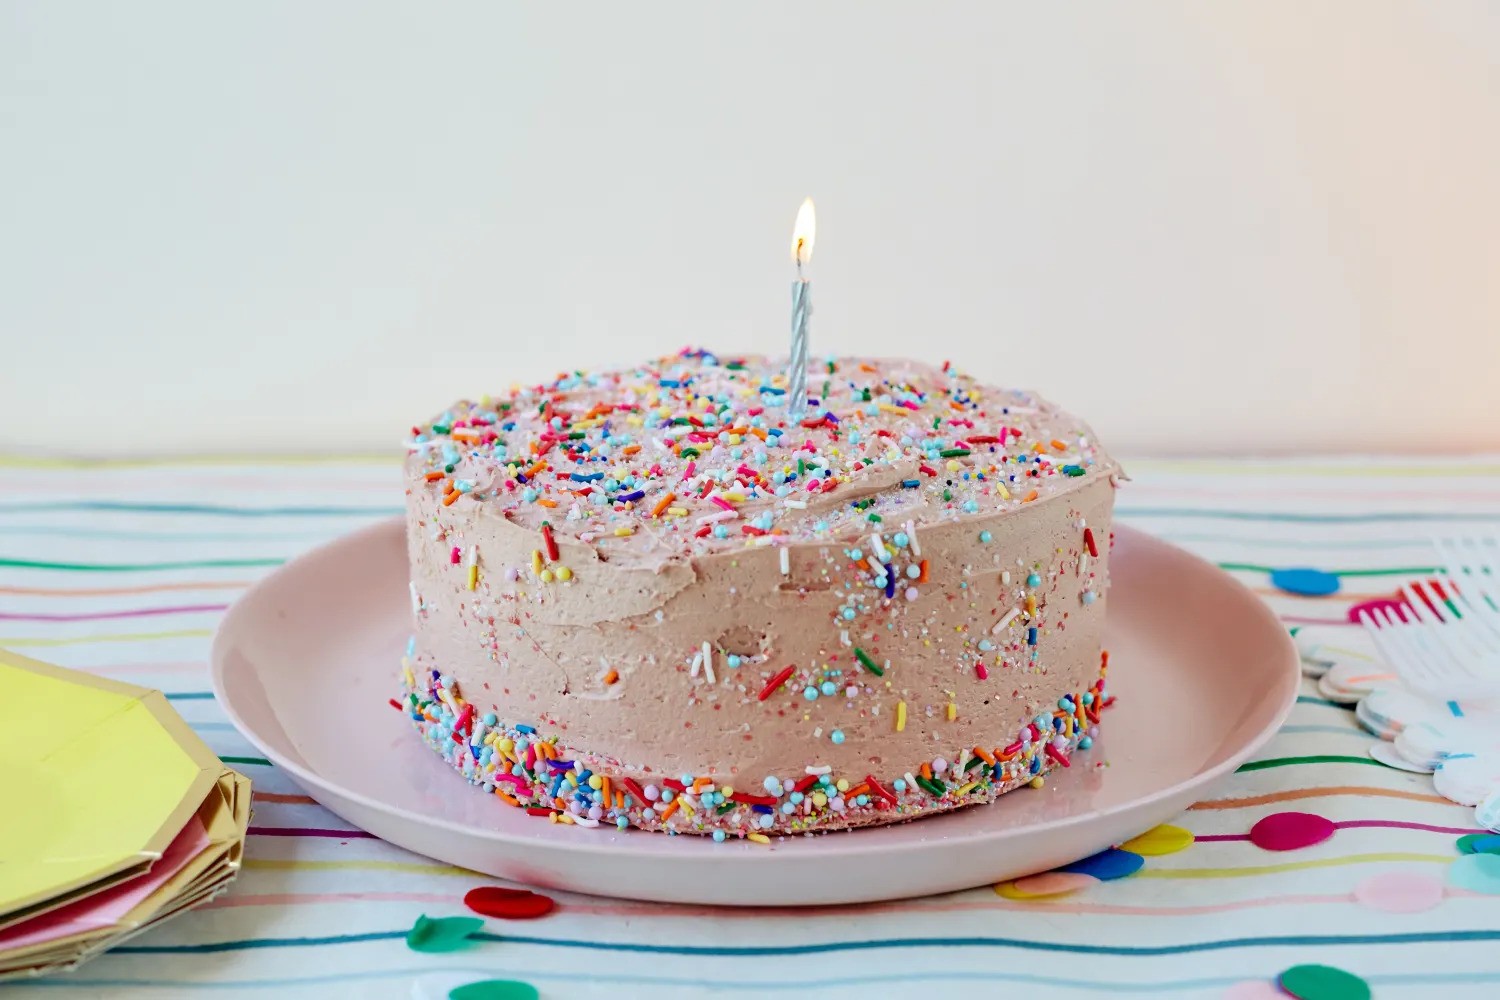
Are you looking to impress your friends and family with a stunning and mouthwatering dessert? Look no further than a drip cake! This trendy and visually captivating cake will not only satisfy your sweet tooth but also showcase your baking skills. In this article, we’ll guide you through the process of creating a beautiful and delicious drip cake that will be the highlight of any celebration.
Ingredients You Will Need:
- 1 prepared cake of your choice
- Buttercream frosting (flavor of your choice)
- Cake decorations (sprinkles, edible flowers, candies, etc.)
- Colorful candy melts or melted chocolate
- Heavy cream
- A squeeze bottle or piping bag
Step-by-step Instructions:
- Start by baking and cooling your cake according to the recipe instructions. You can use any flavor or shape you prefer, but a layered cake works best for creating the stunning drip effect.
- Once the cake has cooled, level the tops of the layers if necessary. This will ensure a stable base for your decorations.
- Prepare your buttercream frosting. You can choose any flavor that complements your cake. If you want a vibrant drip effect, consider using colored frosting.
- Using a spatula, apply a thin layer of frosting on the top and sides of the cake. This acts as a crumb coat to trap any loose crumbs.
- Place the cake in the refrigerator for about 15 minutes to allow the crumb coat to set.
- Once the crumb coat has set, apply a thicker layer of frosting evenly on the cake.
- Now, it’s time to create the drip effect! In a microwave-safe bowl, melt the candy melts or chocolate with a dash of heavy cream until smooth and runny.
- Transfer the melted candy or chocolate into a squeeze bottle or piping bag. Start by gently squeezing the bottle or bag at the edge of the cake, allowing the drips to naturally flow down the sides.
- Continue creating drips around the edge of the cake, working your way towards the center.
- Once you’re satisfied with the drip effect, carefully fill the top of the cake with the remaining melted candy or chocolate, allowing it to flow and cover any imperfections.
- Now comes the fun part – decorating your drip cake! Sprinkle your favorite edible decorations on top, such as sprinkles, edible flowers, or candies. Get creative and let your imagination run wild!
- Place the cake back in the refrigerator to allow the drips to set and the decorations to adhere.
- Finally, take your masterpiece out of the refrigerator, slice, and enjoy the layers of cake, buttercream frosting, and delicious drip!
Now that you know how to make a drip cake, it’s time to get baking and impress your friends and family with this visually stunning and delectable dessert. Remember, the key to a successful drip cake is practice and creativity. So, have fun and experiment with different flavors, colors, and decorations to create a truly unique masterpiece!
Happy baking!
Was this page helpful?
Read Next: Five Ways With Chocolate Pastry
Related Articles