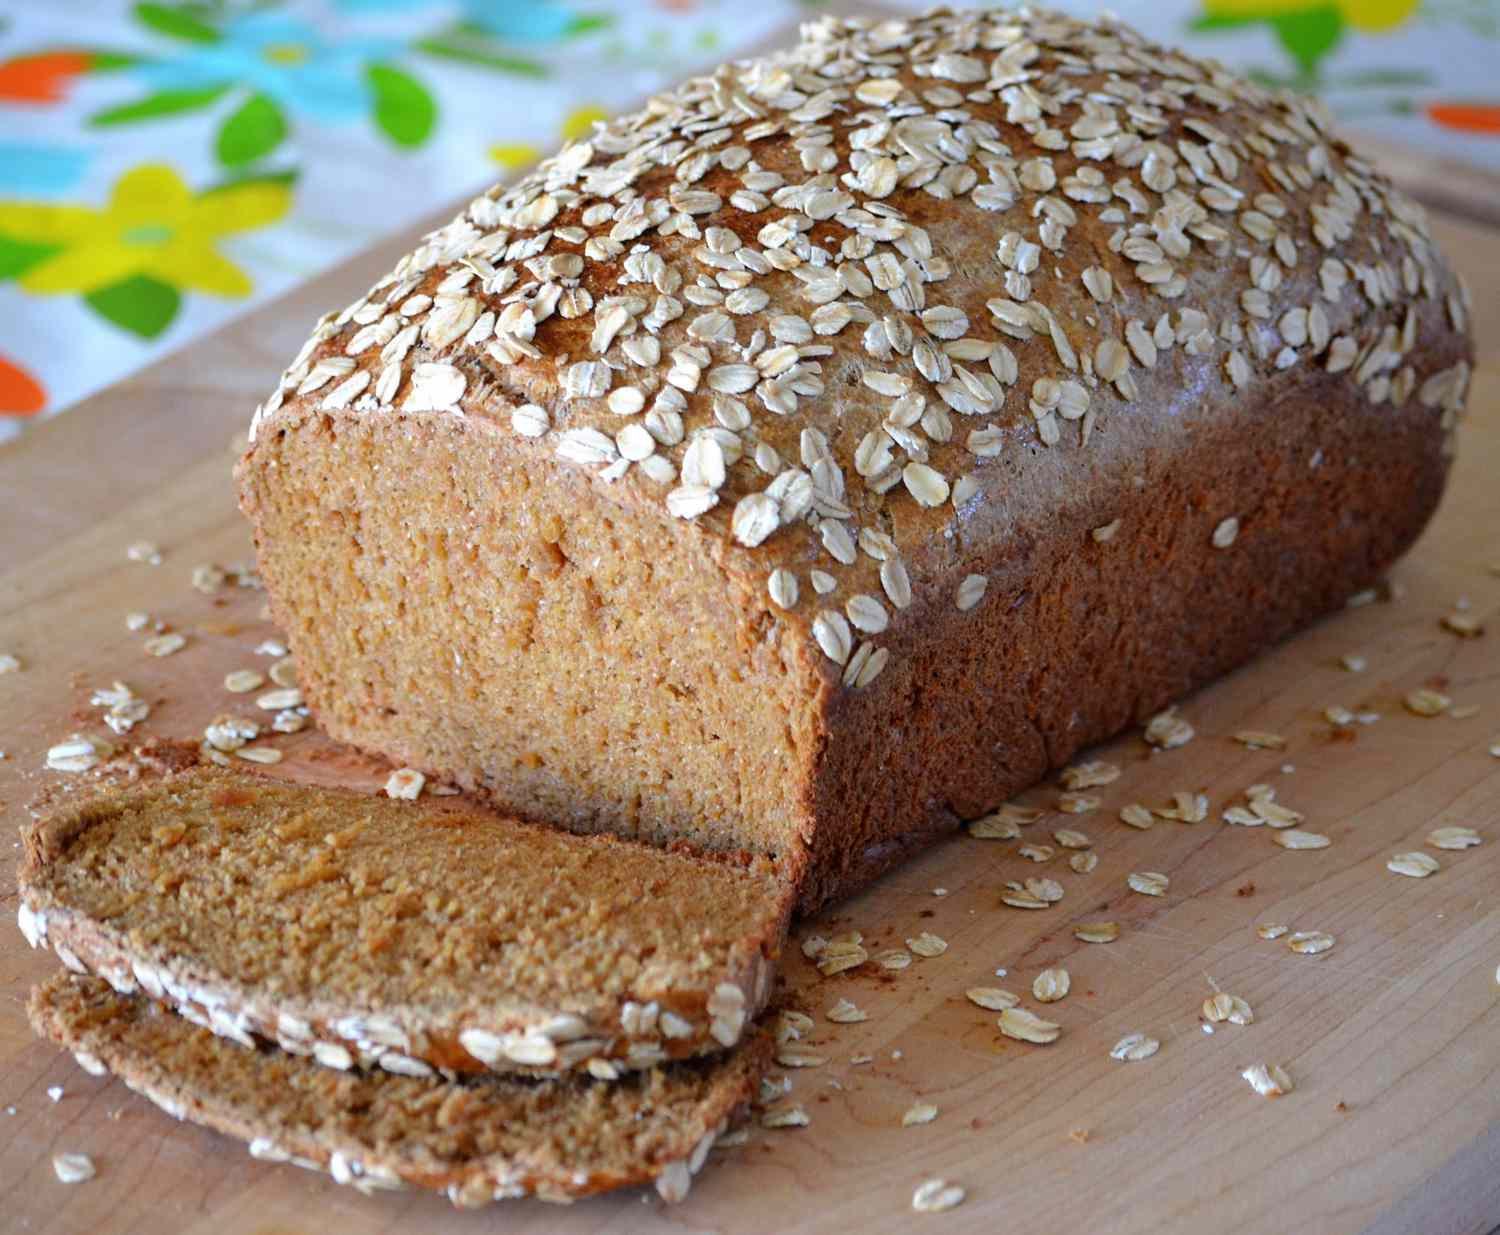
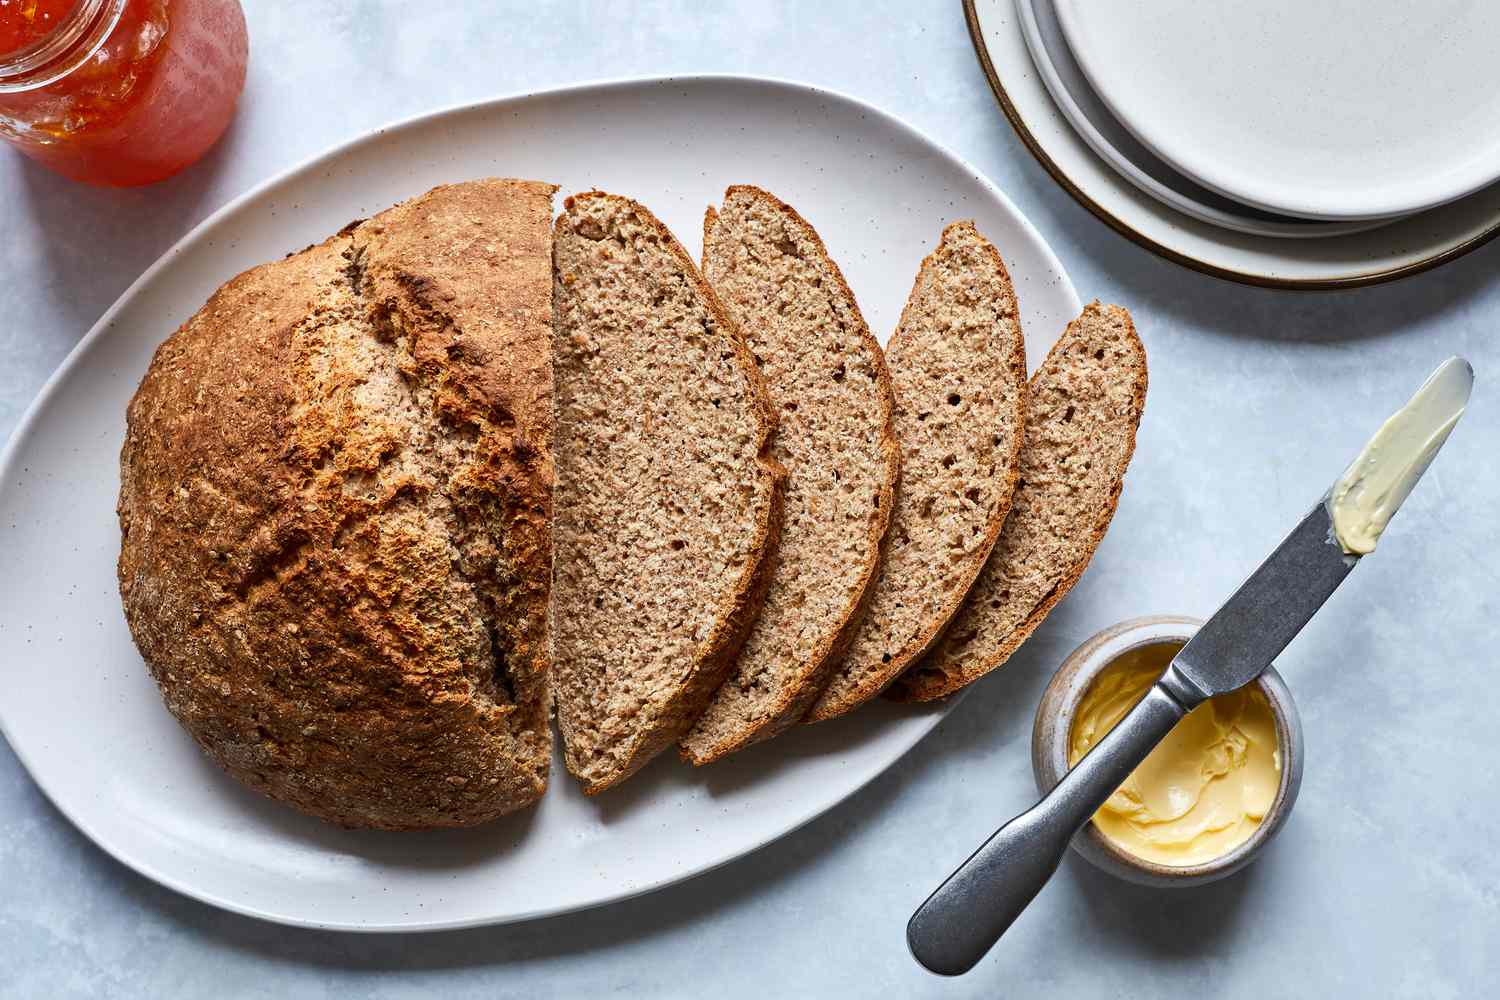
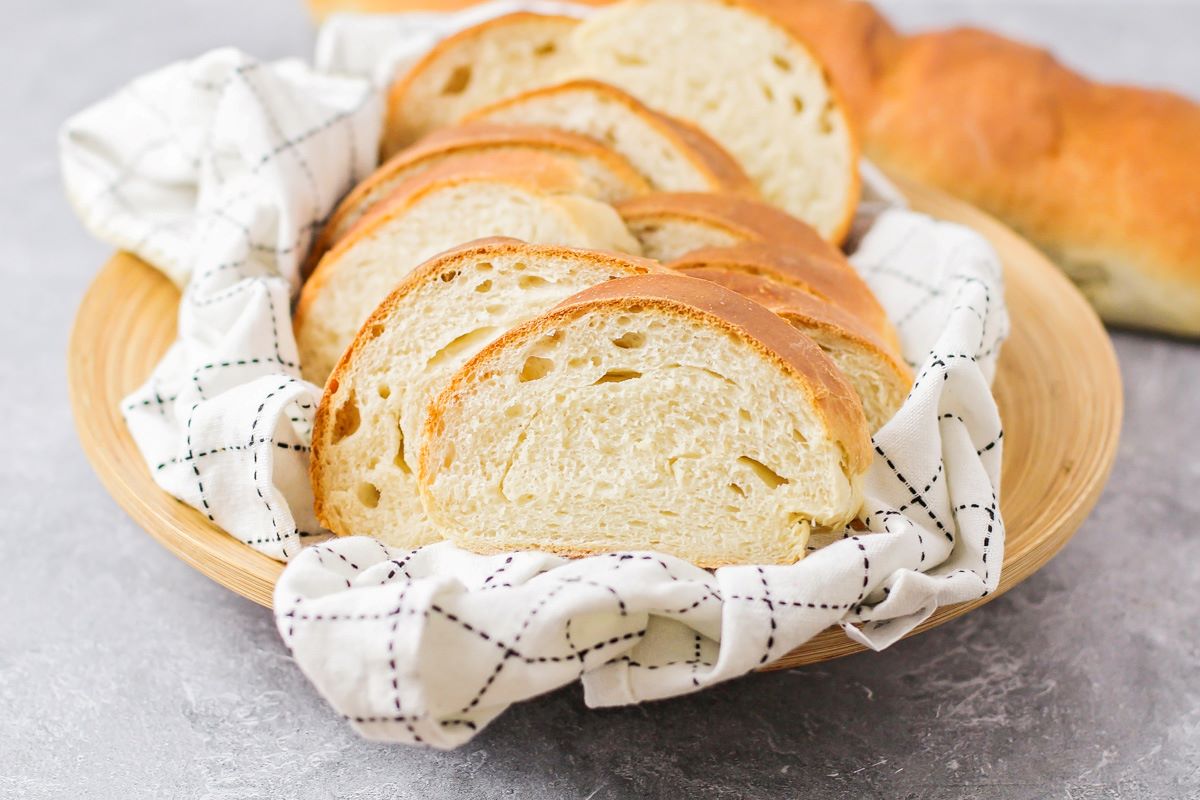
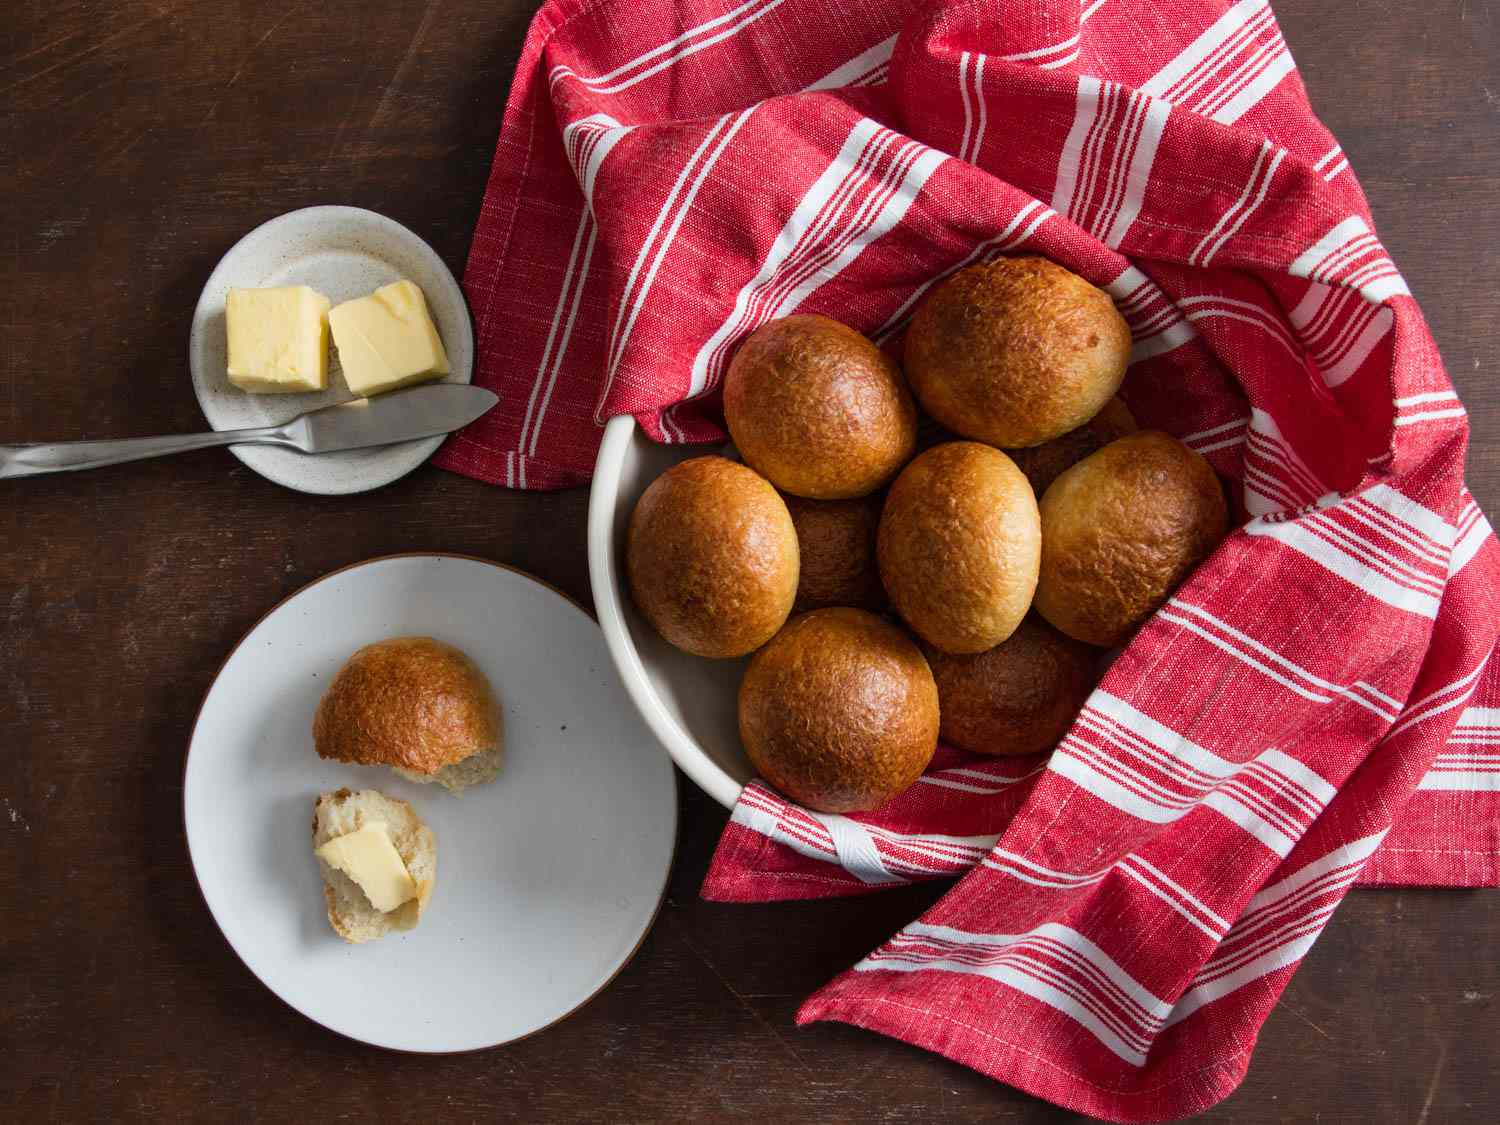
Mastering the Art of Kneading Risen Bread
There’s something truly special about the aroma of freshly baked bread wafting through the kitchen. Whether you’re a seasoned baker or just starting out, the process of kneading risen bread is an essential skill to master. Not only does proper kneading contribute to the texture and structure of the bread, but it also plays a crucial role in developing the gluten, which is essential for achieving that perfect, airy crumb.
Understanding the Basics
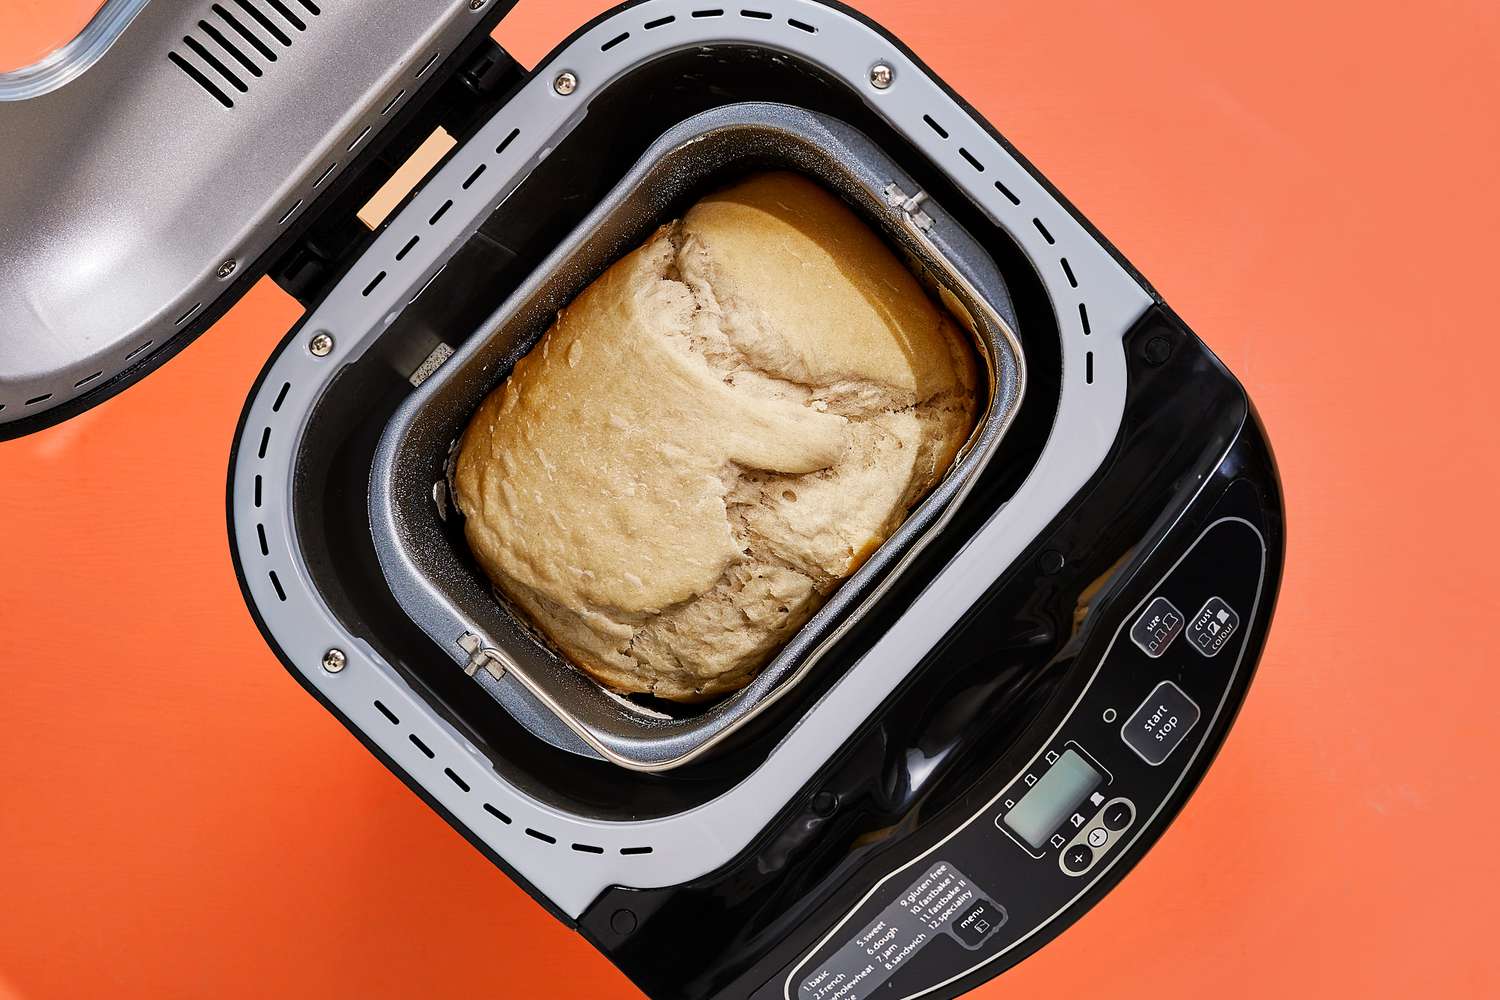
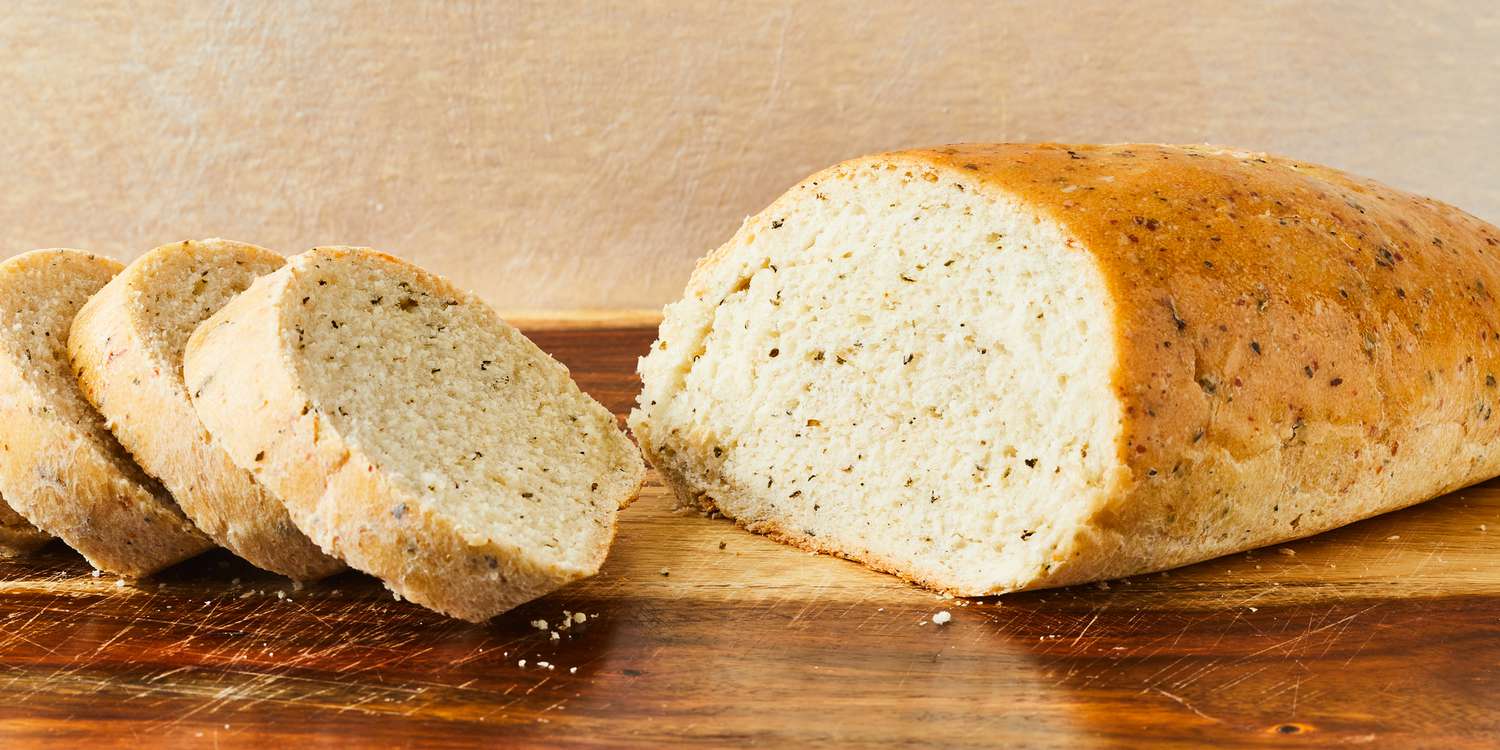
Before diving into the kneading process, it’s important to understand the science behind it. When dough is left to rise, the yeast produces carbon dioxide gas, causing the dough to expand and become airy. However, this process also leads to the formation of gluten, a network of interconnected proteins that gives the bread its structure. Kneading the risen dough helps align the gluten strands, resulting in a more uniform and elastic texture.
Step-by-Step Kneading Guide
Now, let’s walk through the essential steps for kneading risen bread:
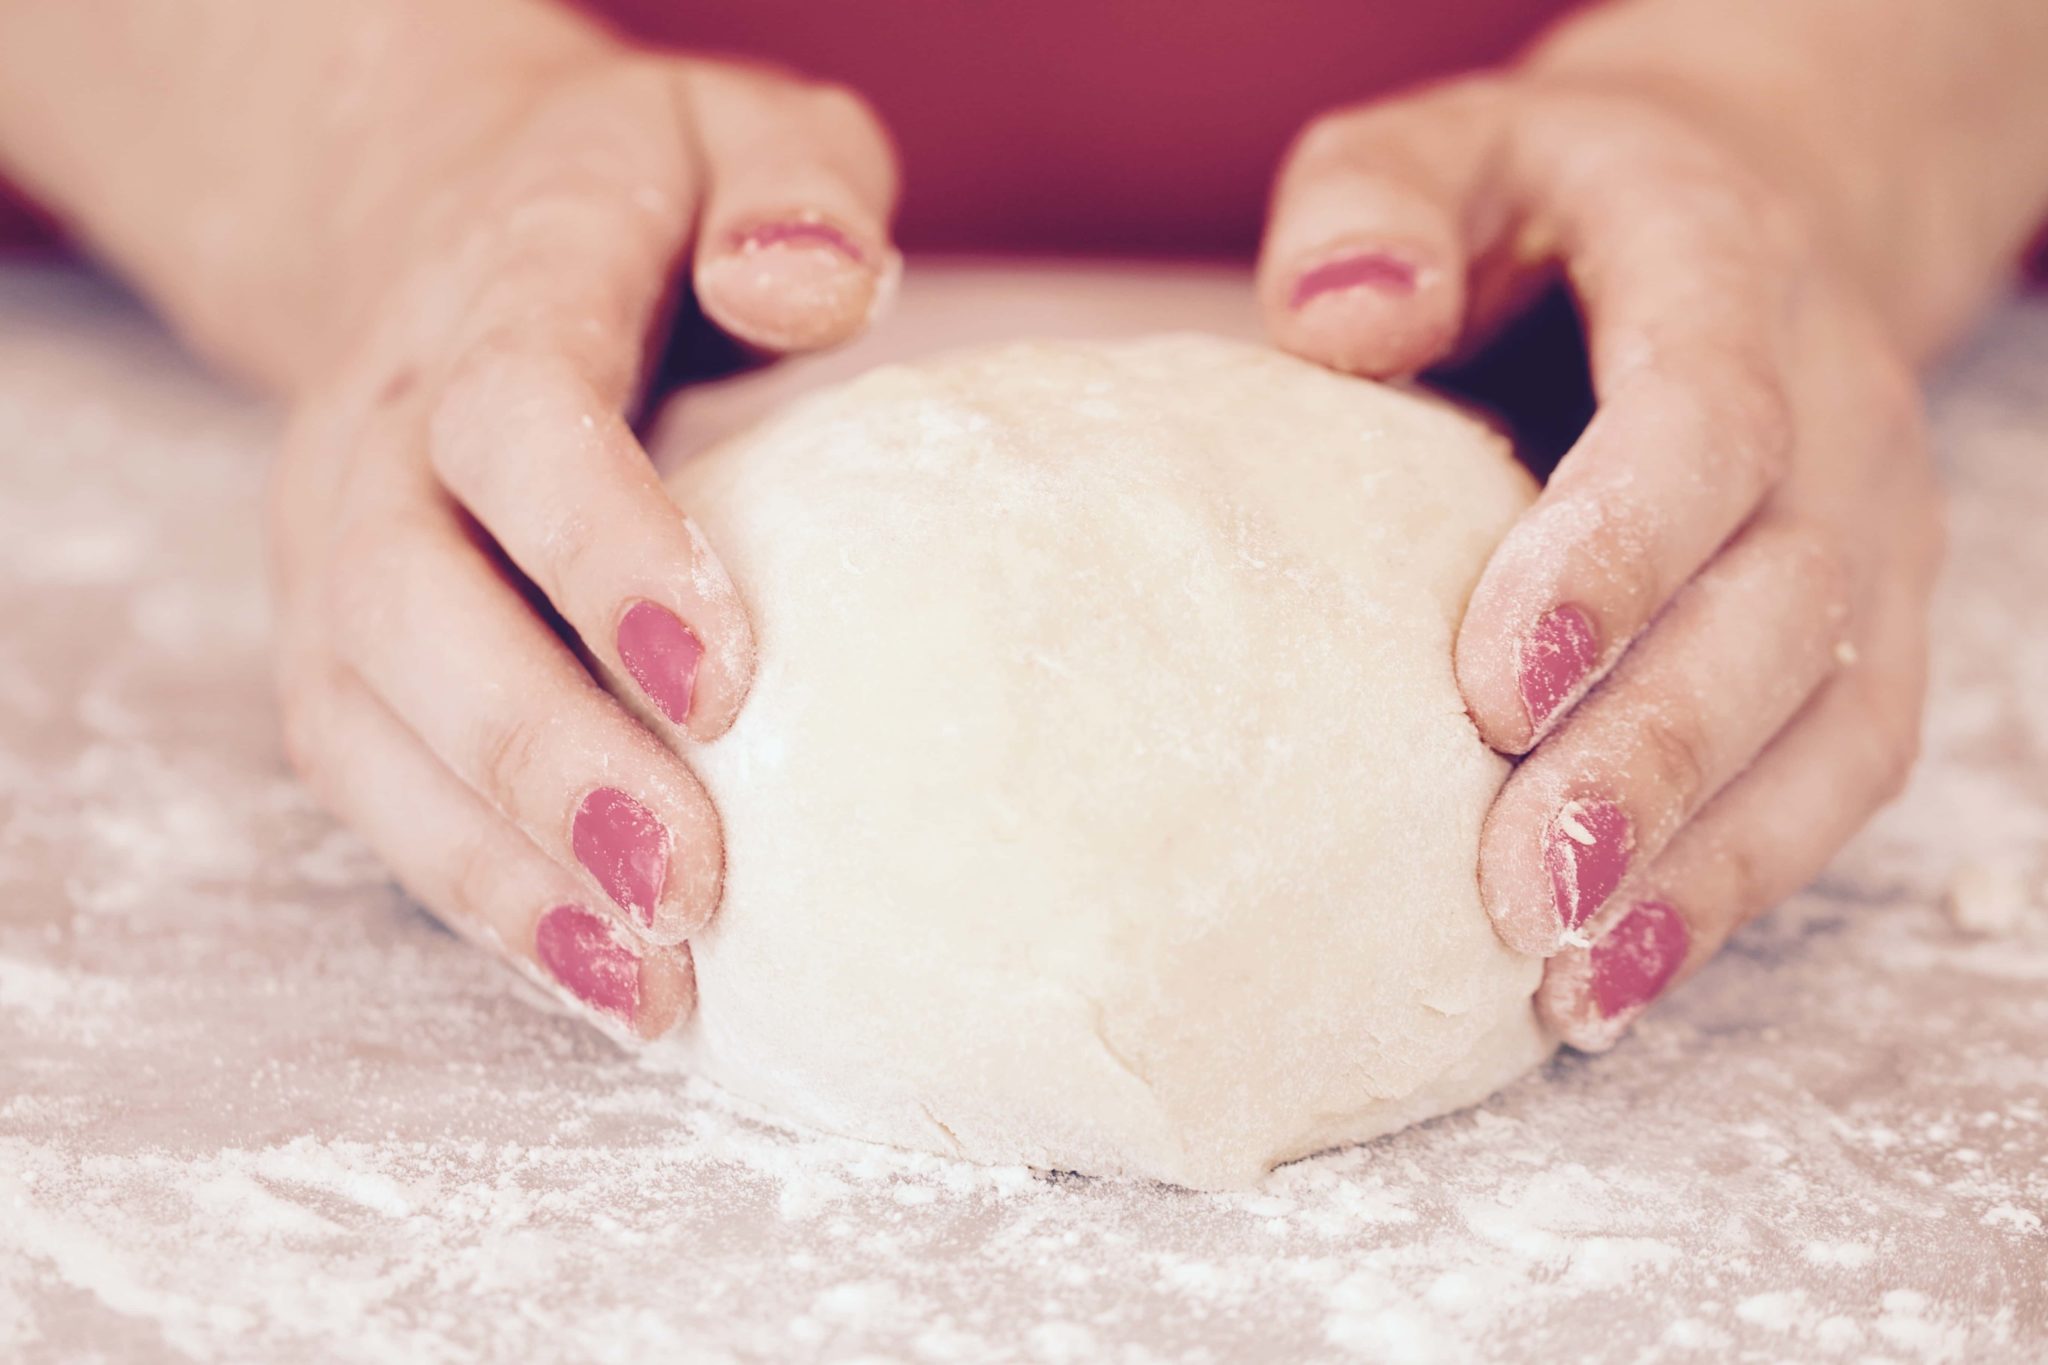
- Prepare Your Work Surface: Start by lightly flouring your work surface to prevent the dough from sticking. A smooth, clean countertop or a large wooden board works well for this purpose.
- Remove the Dough: Carefully transfer the risen dough onto the floured surface. Use a dough scraper or a spatula to loosen the dough from the container or bowl.
- Gently Deflate the Dough: Using your fingertips, gently press down on the dough to release any large air bubbles. Be careful not to overwork the dough at this stage.
- Begin Kneading: With the heel of your hand, firmly press the dough away from you. Fold the far edge of the dough back over itself, then give it a quarter turn. Repeat this process, applying gentle but firm pressure as you work the dough.
- Check the Texture: As you knead, pay attention to the texture of the dough. It should gradually become smoother and more elastic. Avoid adding too much flour during this process, as it can result in a dry and dense loaf.
- Test for Gluten Development: To check if the gluten has developed sufficiently, perform the windowpane test. Gently stretch a small piece of dough between your fingers. If it forms a thin, translucent membrane without tearing, the gluten has been adequately developed.
- Rest the Dough: Once the dough has been kneaded to the desired consistency, shape it into a smooth ball and place it back into the bowl. Cover it with a clean kitchen towel and allow it to rest for a few minutes before shaping and baking.
Key Tips for Successful Kneading
As you embark on your bread-making journey, keep these essential tips in mind:
- Be Patient: Kneading is a process that requires time and patience. Avoid rushing through it, as proper kneading is essential for achieving the desired texture and structure.
- Adjust as Needed: Pay attention to the consistency of the dough. If it feels too sticky, lightly dust your hands with flour. On the other hand, if it’s too dry, you can lightly moisten your hands with water as you knead.
- Practice Makes Perfect: Don’t be discouraged if your first attempts at kneading don’t yield perfect results. Like any skill, kneading takes practice, so keep at it and you’ll gradually develop a feel for the process.
- Enjoy the Process: Kneading bread can be a therapeutic and rewarding experience. Embrace the tactile nature of working with dough and savor the anticipation of the delicious bread that awaits.
Conclusion
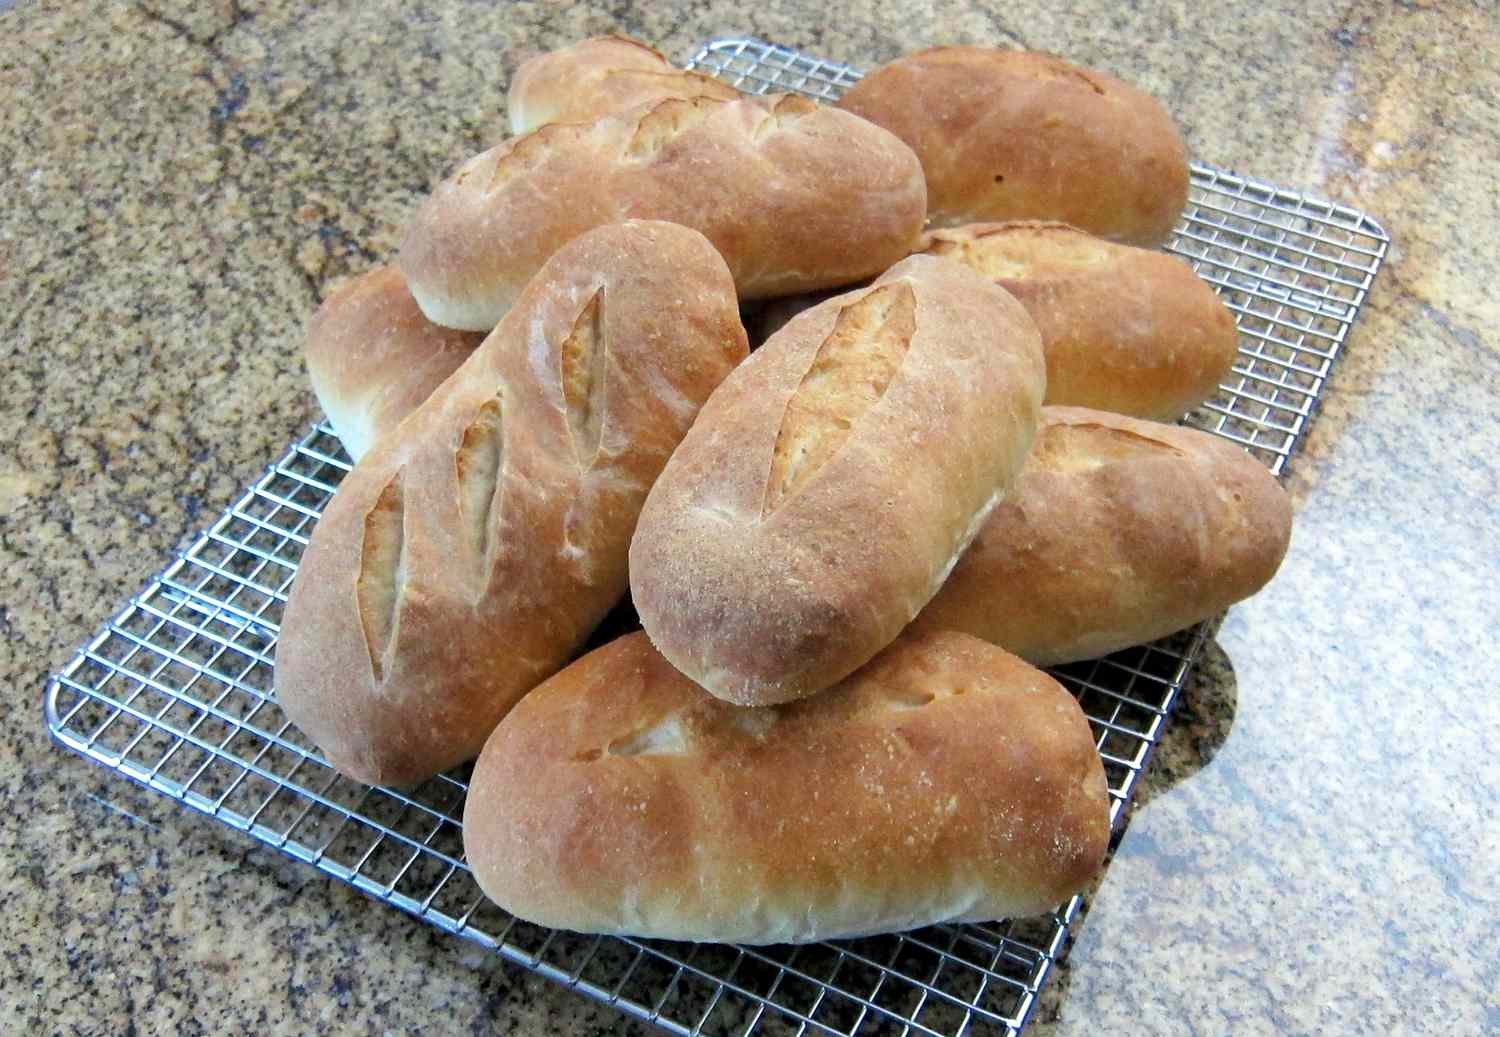
Mastering the art of kneading risen bread is a journey that combines science, technique, and a touch of intuition. With practice and a willingness to learn, you’ll soon find yourself confidently shaping and kneading dough to create beautiful loaves of bread that will delight your senses and those of your loved ones.
So, roll up your sleeves, dust your hands with flour, and let the rhythmic motion of kneading take you on a culinary adventure that’s both satisfying and delicious.
Was this page helpful?
Related Articles