Grinding Meat: A Complete Guide
Welcome to our comprehensive guide on how to grind meat at home! If you’re a food enthusiast who loves to experiment with different flavors and textures, grinding your own meat can take your culinary skills to the next level. Not only does it allow you to have full control over the quality and freshness of the meat, but it also opens up a world of possibilities for creating custom blends for burgers, sausages, meatballs, and more.
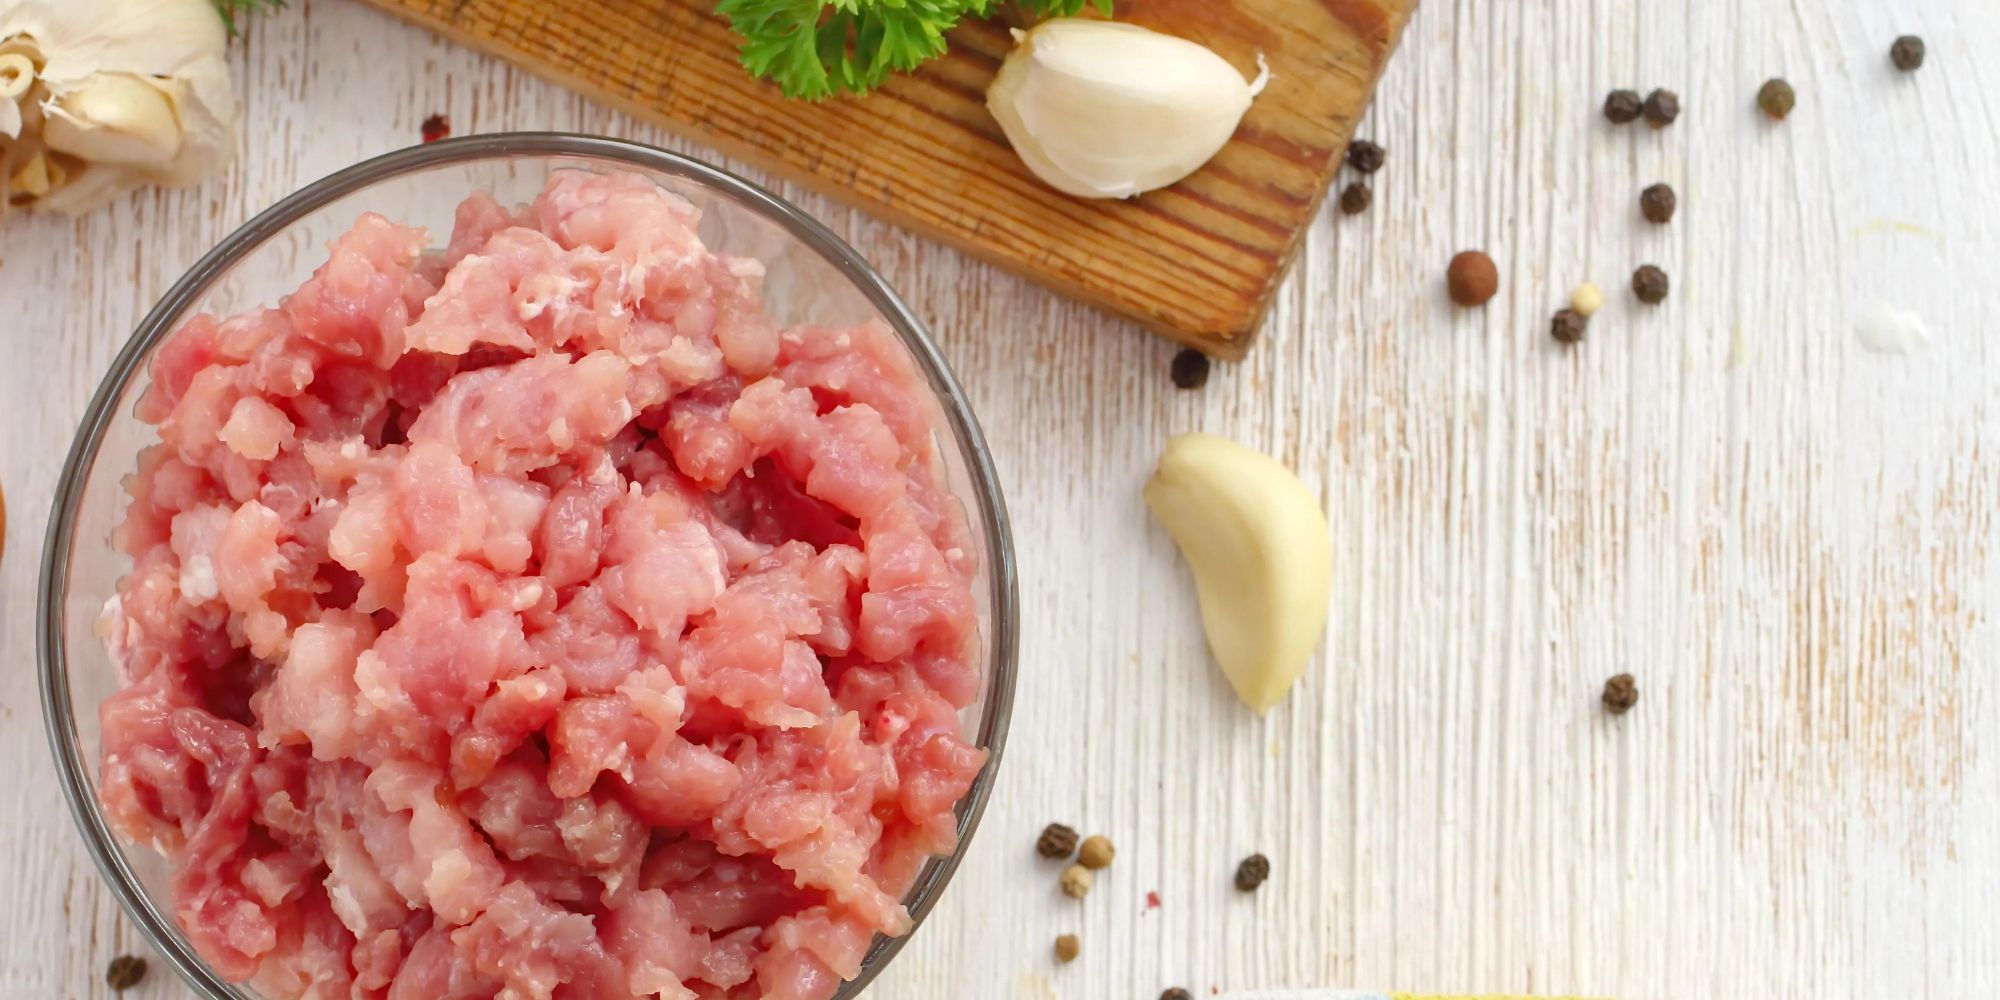
Choosing the Right Meat
When it comes to grinding meat, the first step is selecting the right type of meat. Fresh, high-quality cuts of beef, pork, lamb, or poultry are ideal for grinding. Look for cuts that have a good balance of lean meat and fat, as this will contribute to the flavor and juiciness of the final product. Some popular choices for grinding include chuck, sirloin, and brisket for beef, as well as pork shoulder and chicken thighs.
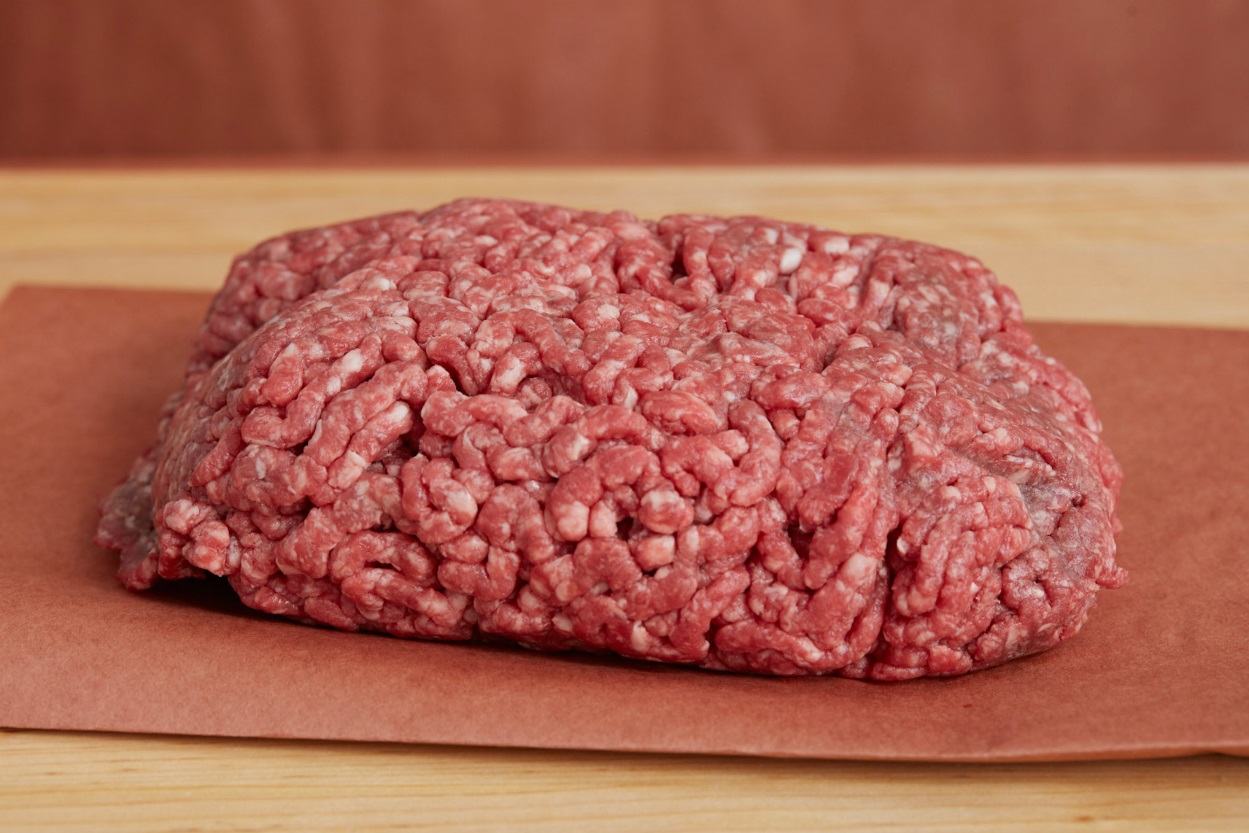
Prepping the Meat
Before you start grinding, it’s important to properly prepare the meat. Begin by cutting it into small, uniform pieces that will easily fit into the grinder. Additionally, it’s crucial to keep the meat cold throughout the process to prevent it from becoming too soft or mushy. Consider placing the meat in the freezer for about 30 minutes before grinding to achieve the ideal texture.
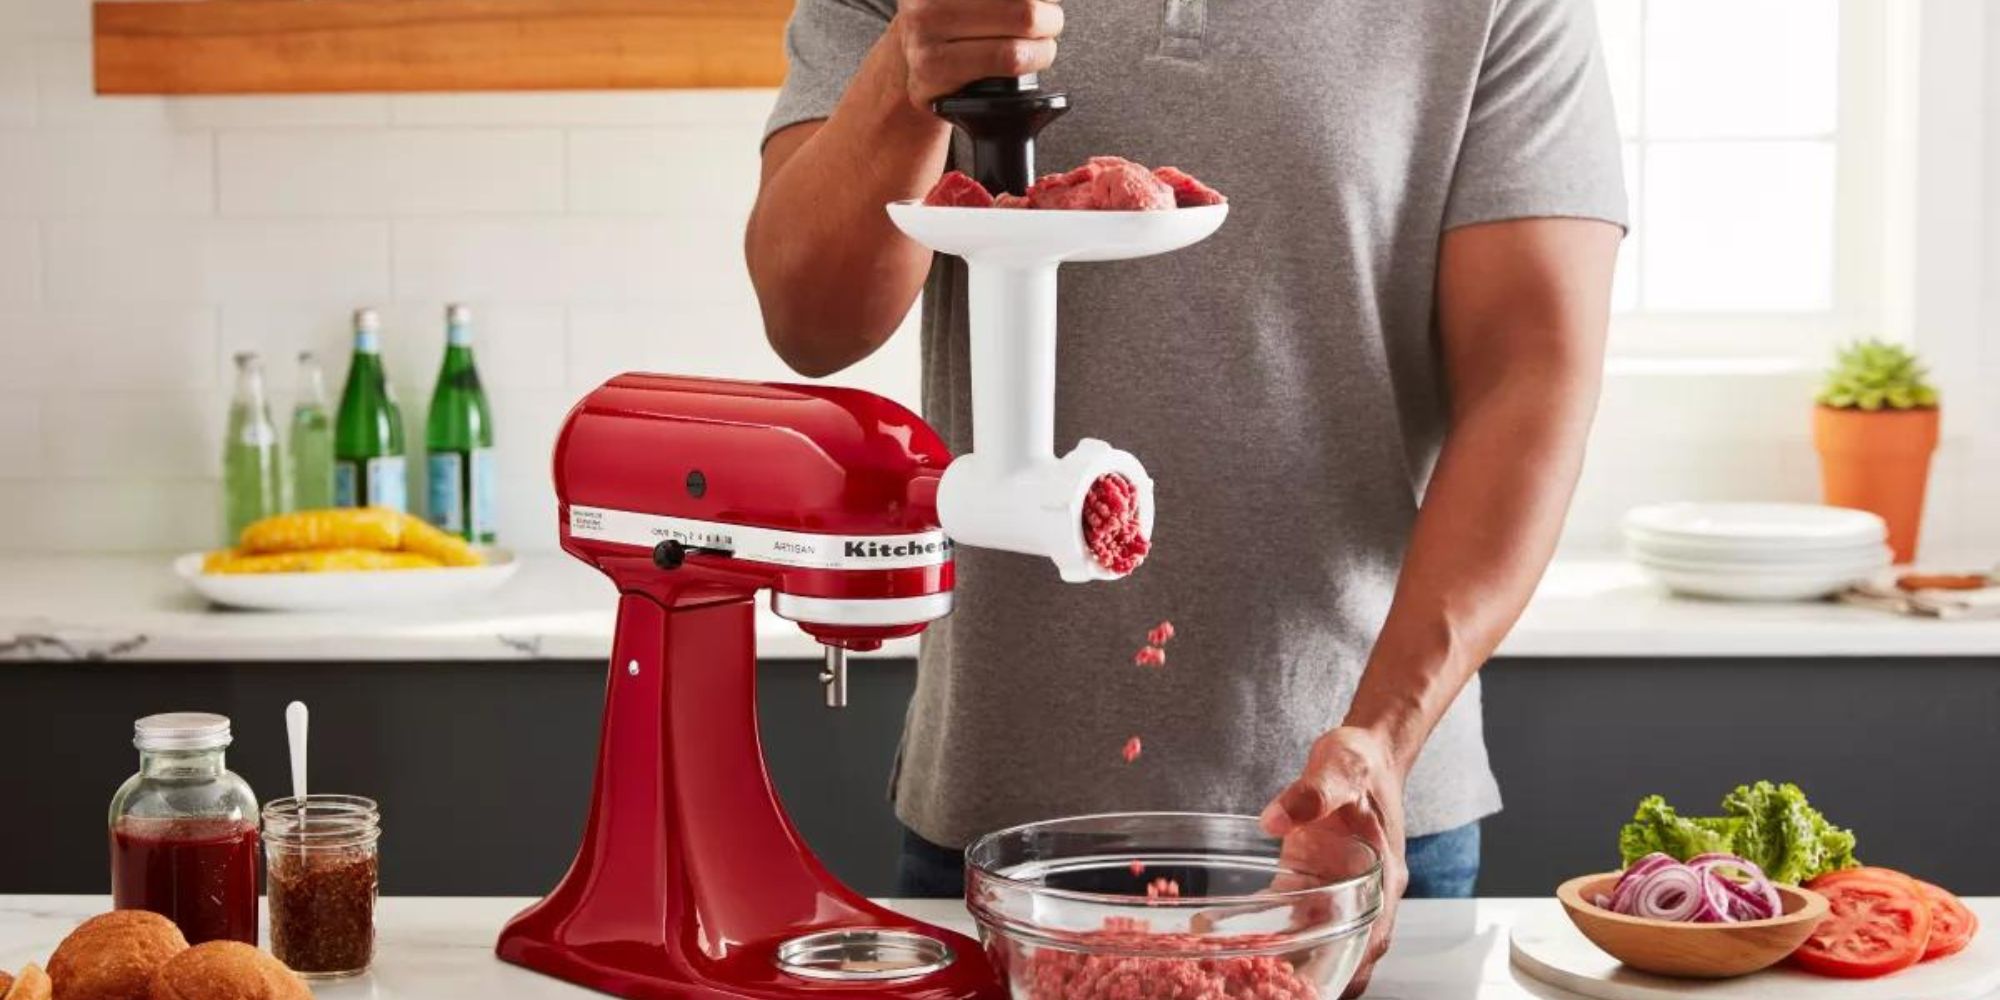
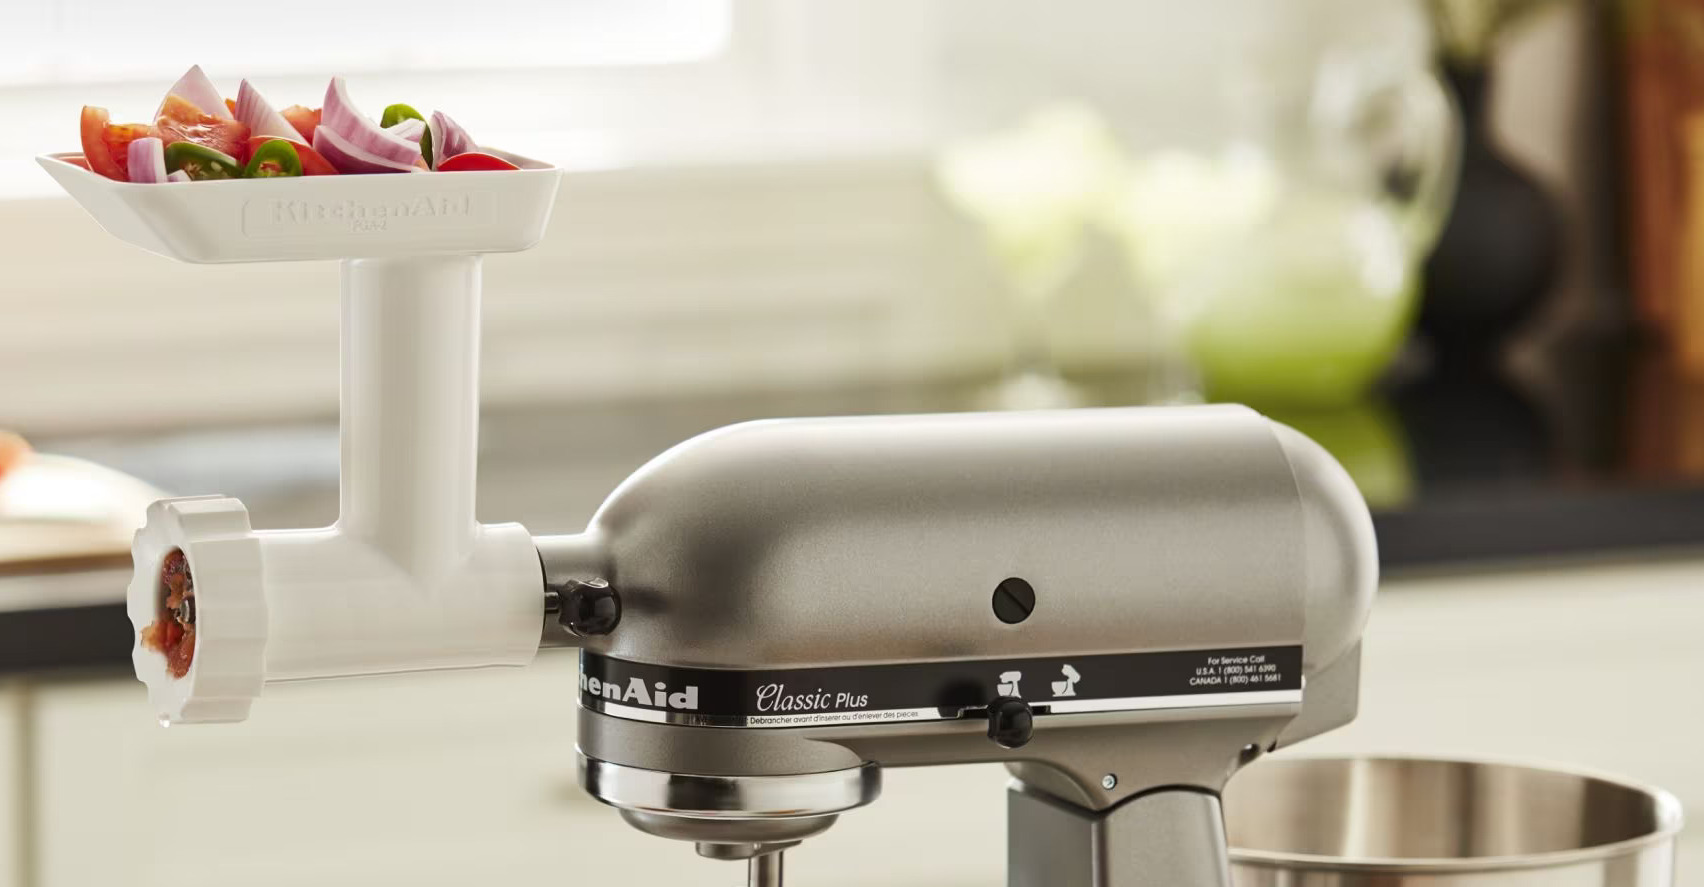
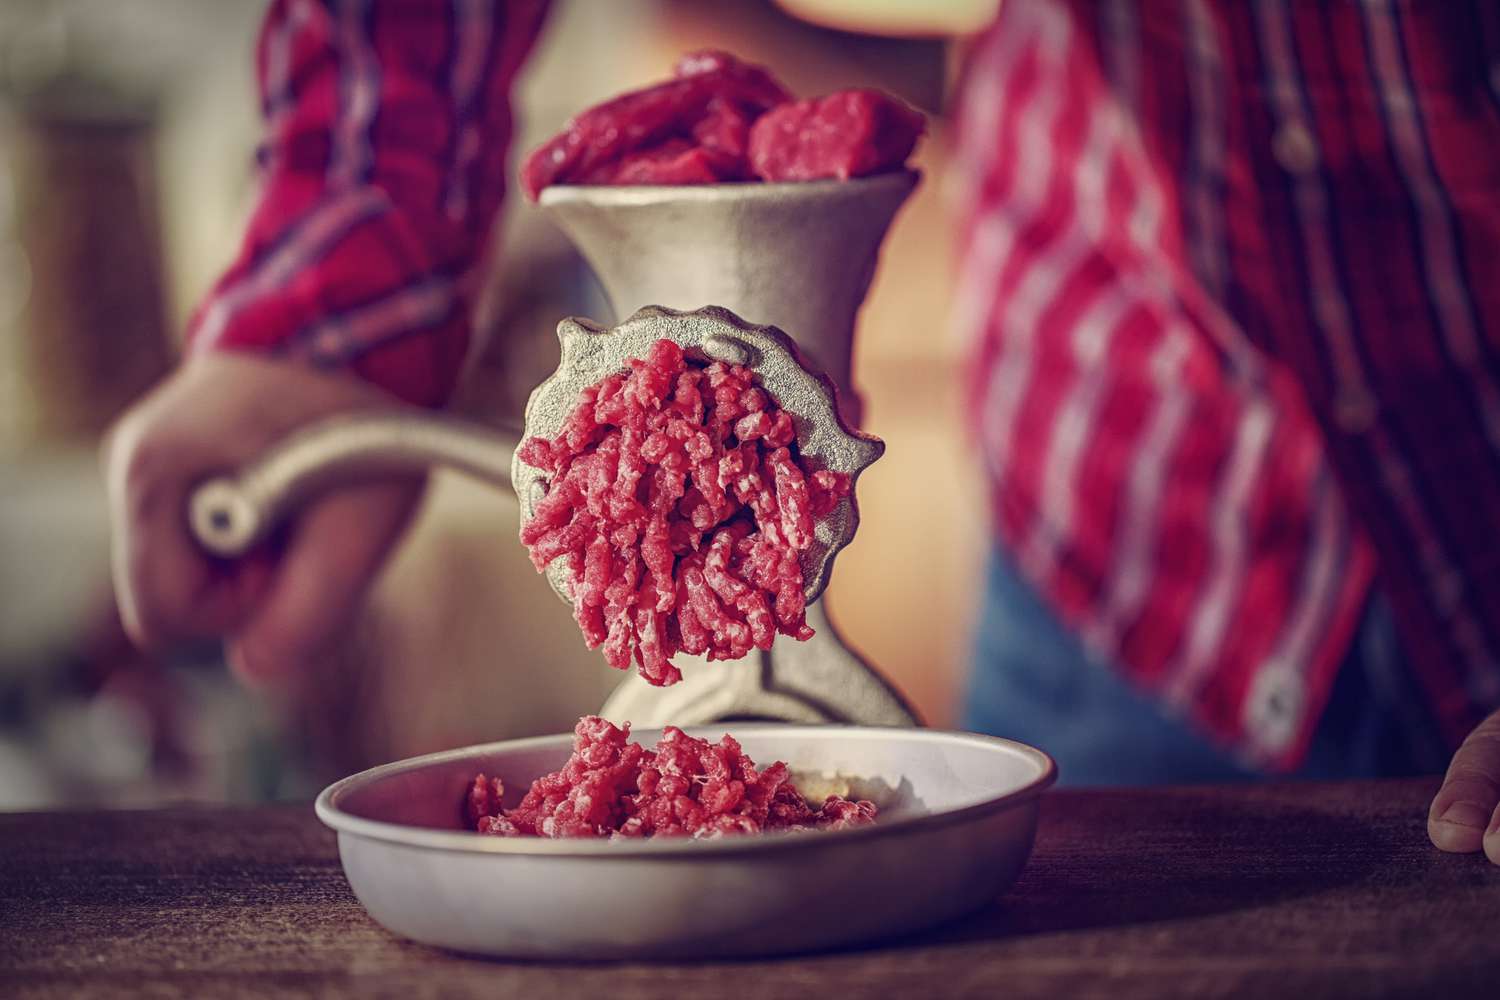
Using the Right Equipment
Investing in a high-quality meat grinder is essential for achieving the best results. There are two main types of meat grinders: manual and electric. Electric grinders are convenient and efficient, making them a popular choice for most home cooks. On the other hand, manual grinders offer more control over the grinding process and are a great option for those who prefer a hands-on approach.
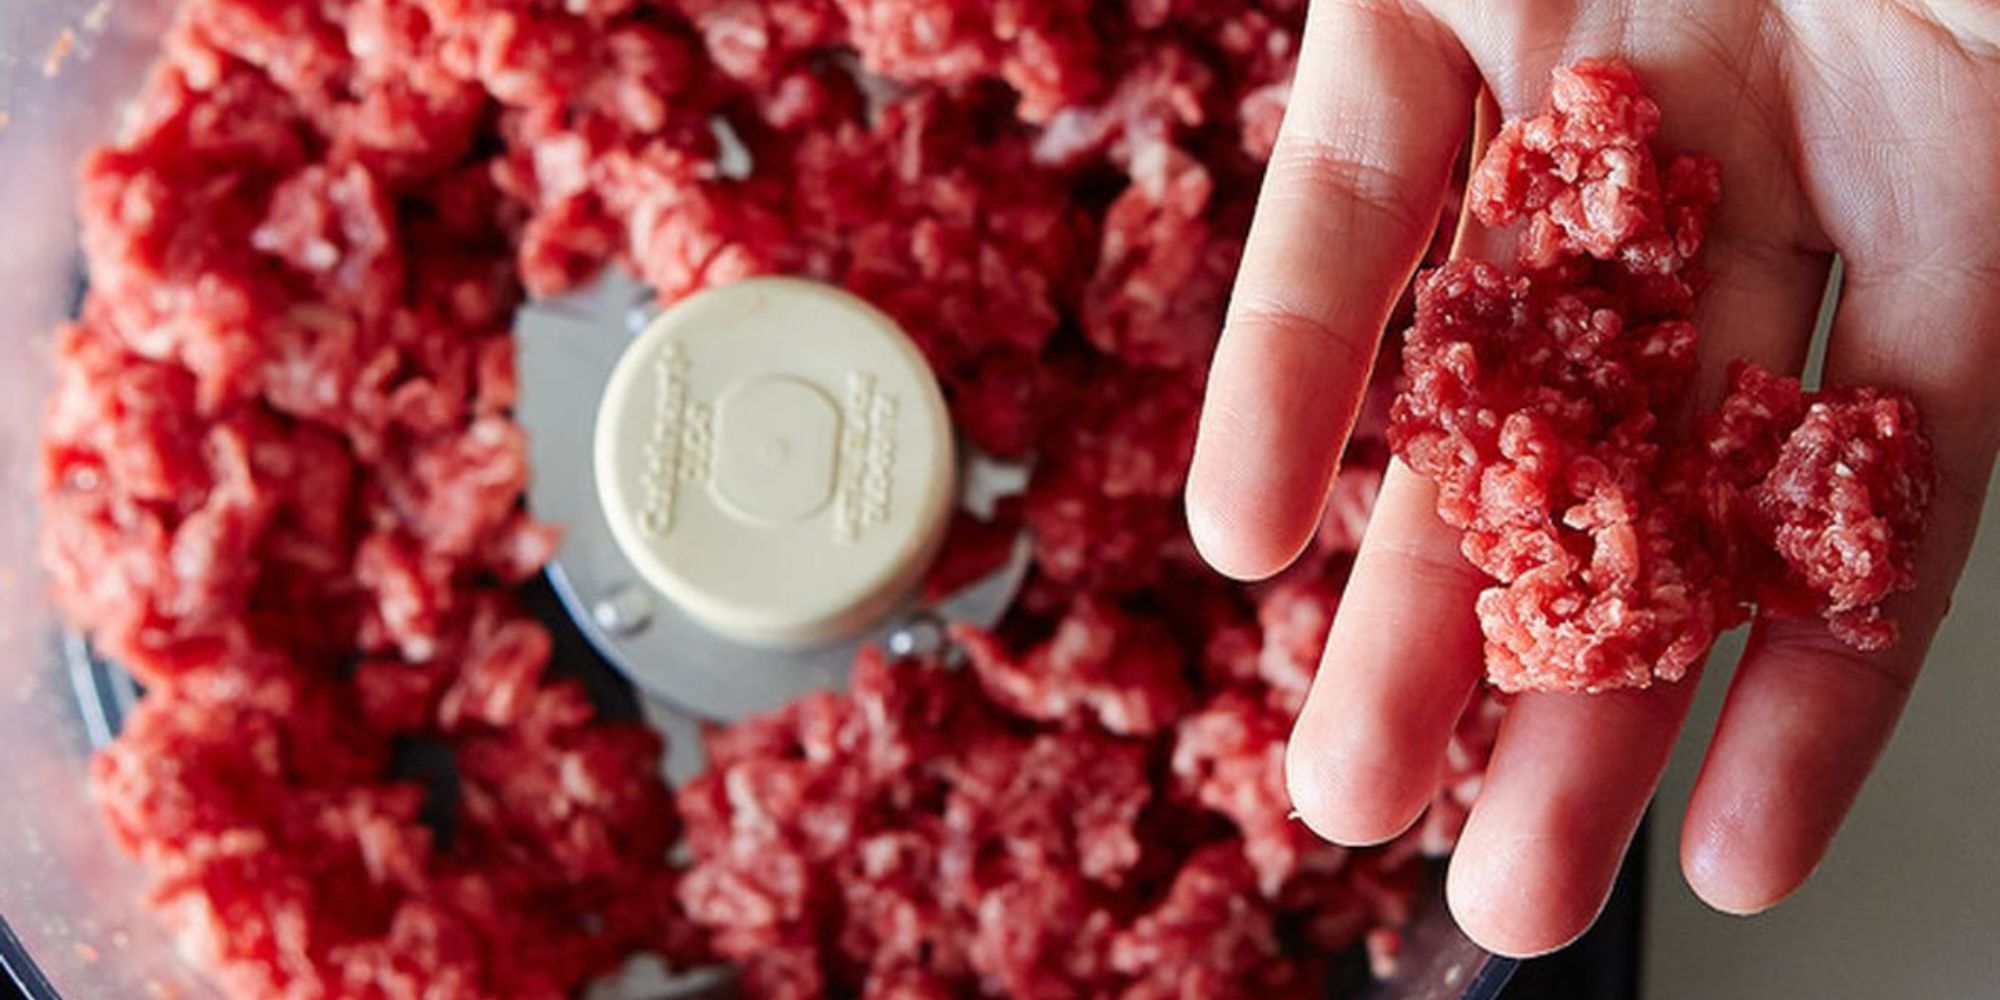
The Grinding Process
Once you have your meat and grinder ready, it’s time to start the grinding process. Here’s a step-by-step guide to help you through the process:
- Assemble the meat grinder according to the manufacturer’s instructions.
- Feed the chilled meat pieces into the grinder, using the plunger to push it through.
- Choose the appropriate grinding plate based on the desired coarseness of the meat. For example, a larger grinding plate can be used for a coarser grind, while a smaller plate will result in a finer texture.
- Turn on the grinder and begin feeding the meat through, using a steady and consistent pace.
- Collect the freshly ground meat in a clean bowl or container, ready to be used in your favorite recipes.
Cleaning and Maintenance
After you’ve finished grinding the meat, it’s important to thoroughly clean the grinder to prevent any cross-contamination and ensure its longevity. Disassemble the grinder and wash the parts with hot, soapy water, then rinse and dry them thoroughly. Some grinders are also dishwasher-safe, but always refer to the manufacturer’s instructions for the best cleaning practices.
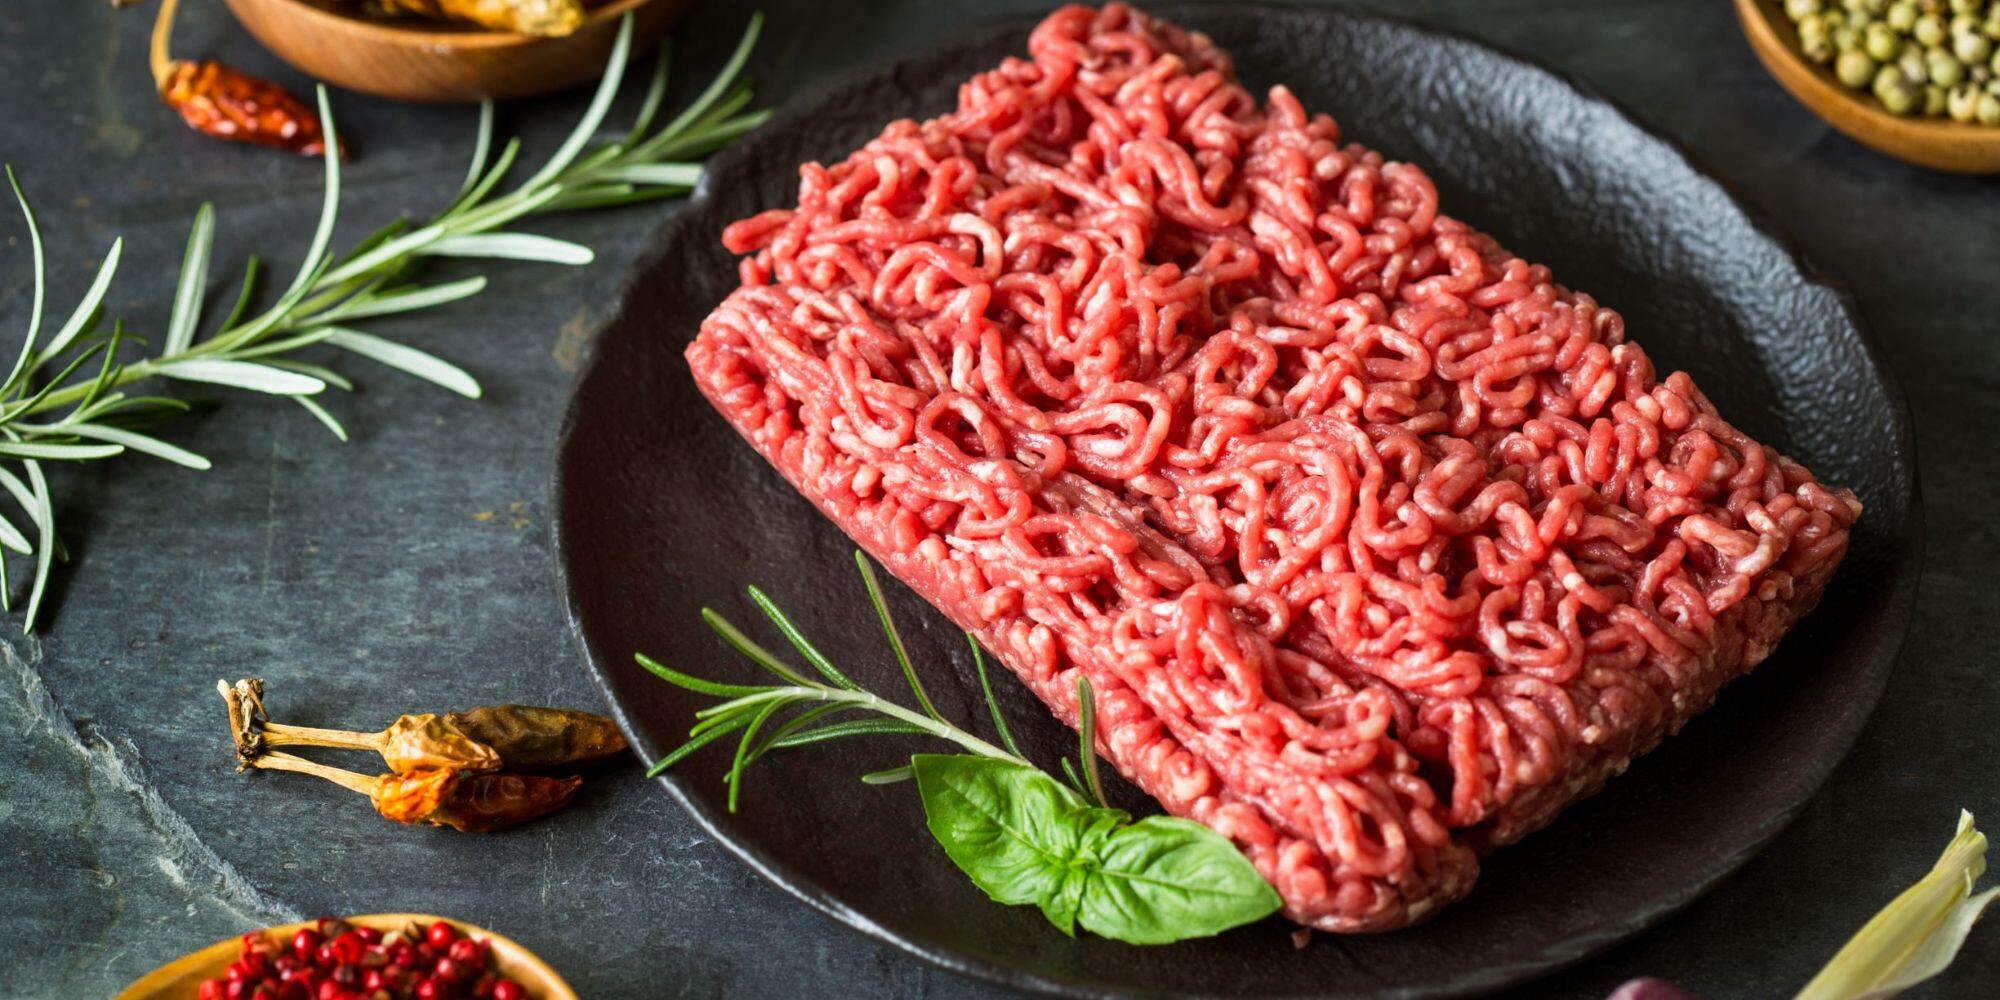
Storing Ground Meat
Once you’ve ground your meat, it’s essential to store it properly to maintain its freshness and flavor. Refrigerate the ground meat in an airtight container for up to two days, or freeze it for longer storage. When freezing, consider dividing the meat into portion-sized packages for easy use in future recipes.
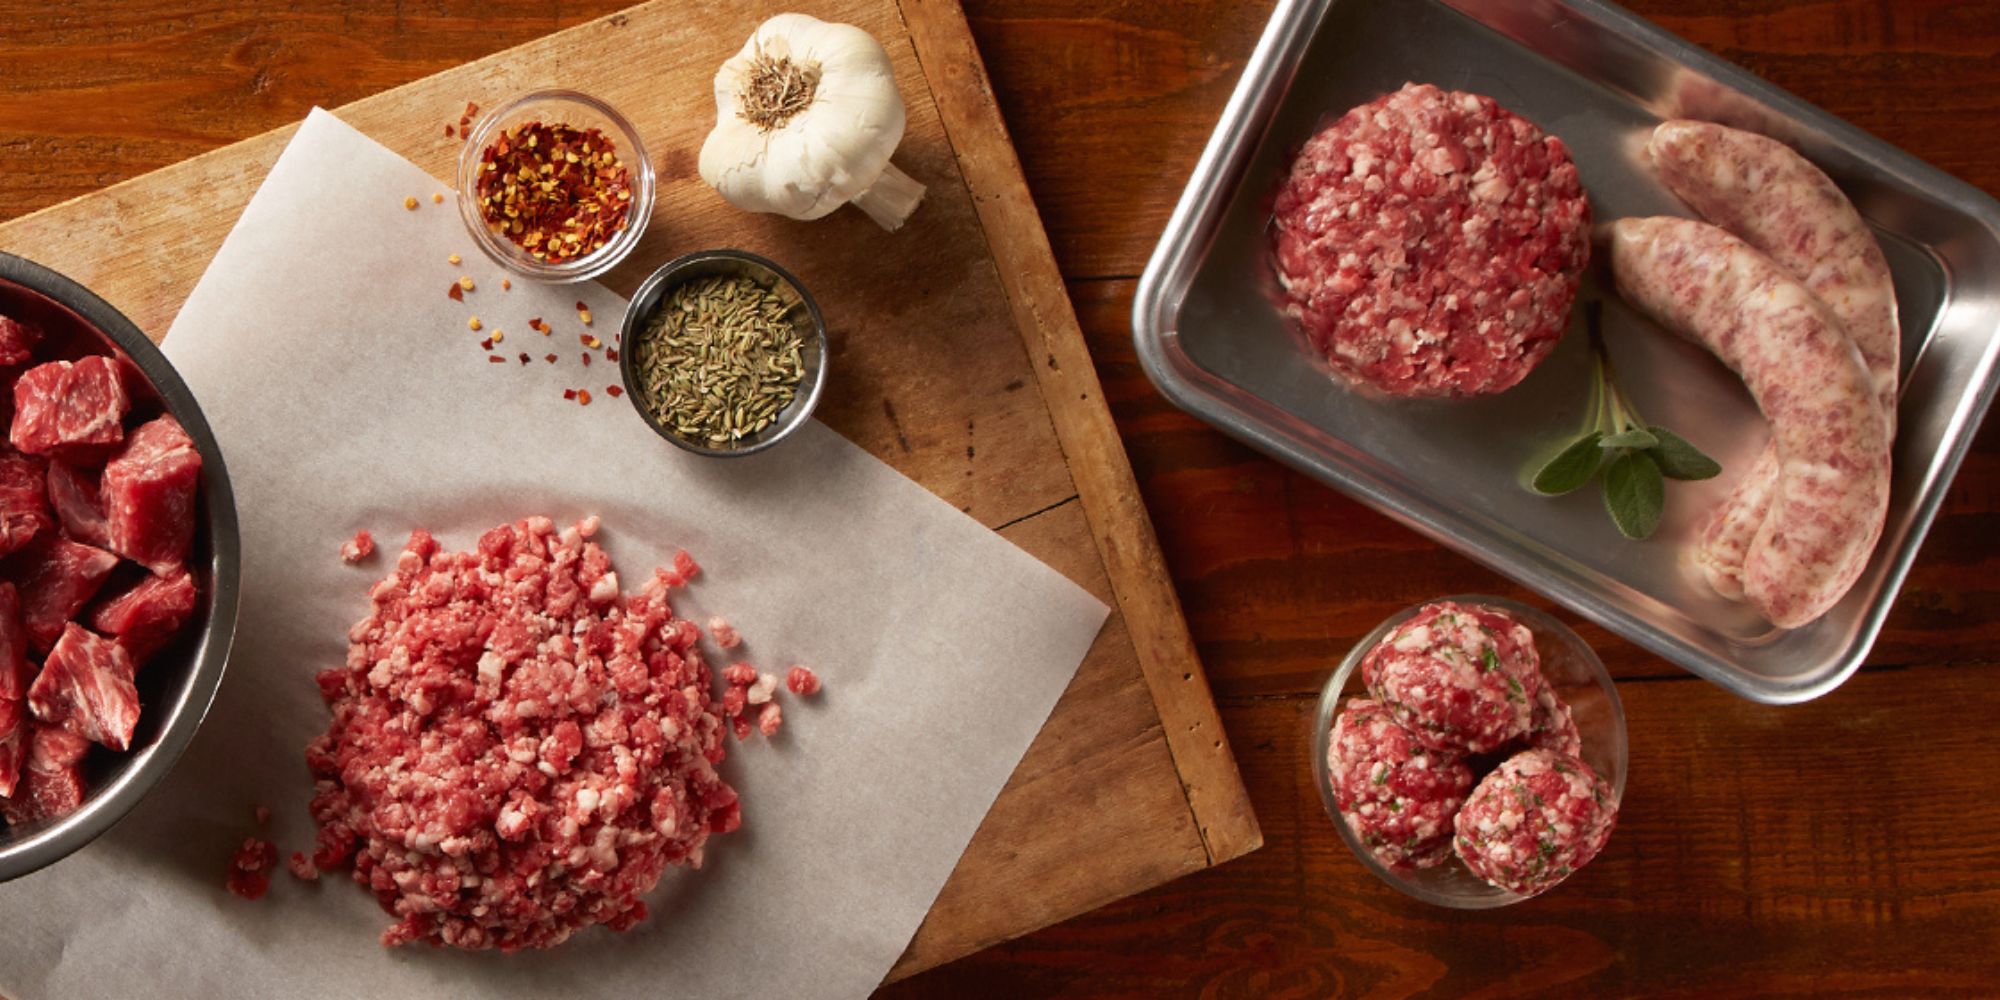
Experimenting with Flavors
One of the most exciting aspects of grinding meat at home is the ability to experiment with different flavors and seasonings. Whether you’re creating a custom blend for burgers, meatballs, or sausages, don’t be afraid to get creative with your ingredients. From classic combinations like garlic and herbs to more adventurous flavors like chipotle and cumin, the possibilities are endless!
Now that you have a complete guide on how to grind meat at home, it’s time to roll up your sleeves and get started. With the right meat, equipment, and techniques, you’ll be well on your way to creating delicious, custom-ground meat for all your favorite dishes. Happy grinding!
Was this page helpful?
Related Articles