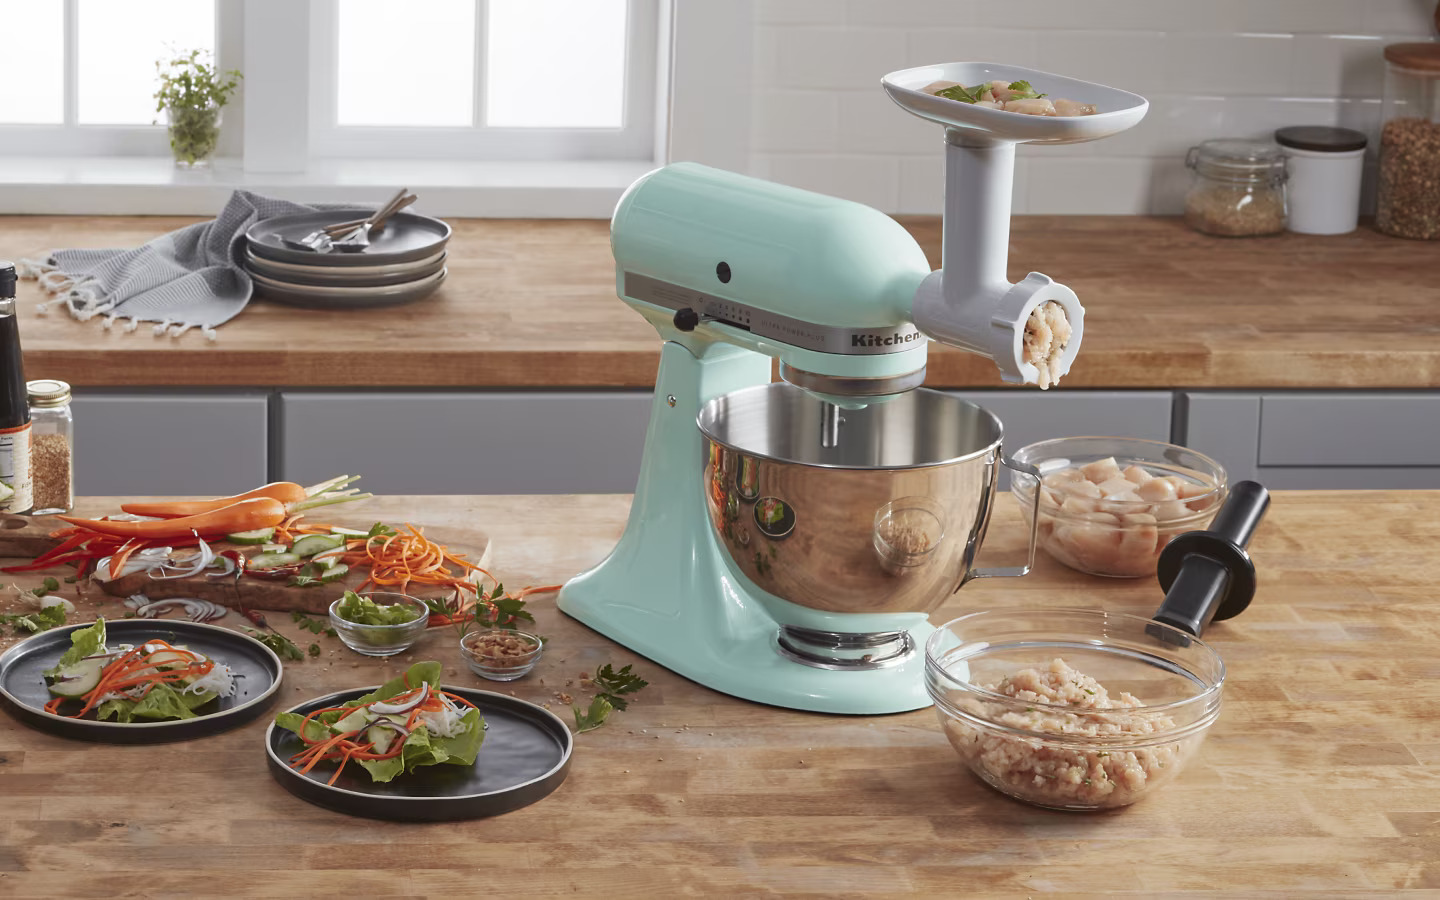
Grinding Meat at Home with a KitchenAid Grinder
Grinding your own meat at home can be a rewarding and cost-effective way to create delicious dishes. With a KitchenAid grinder attachment, you can easily grind meat to your desired consistency and freshness. Whether you’re making burgers, meatballs, or sausages, having control over the quality and flavor of your meat can elevate your cooking to the next level.
Why Grind Your Own Meat?
There are several benefits to grinding your own meat at home. Here are a few reasons why you might want to consider investing in a KitchenAid grinder:
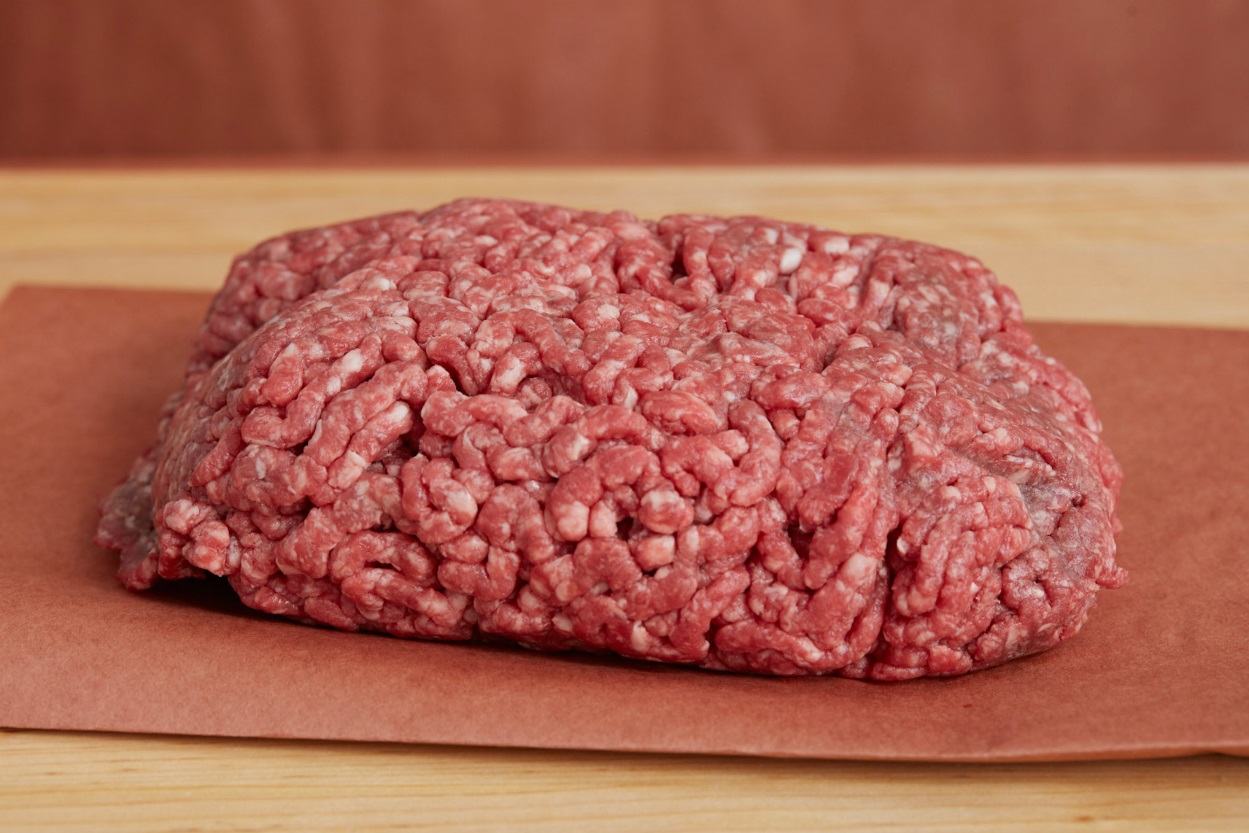
- Freshness: When you grind meat at home, you have full control over the freshness of the meat. You can choose high-quality cuts and grind them right before cooking, ensuring the best flavor and texture.
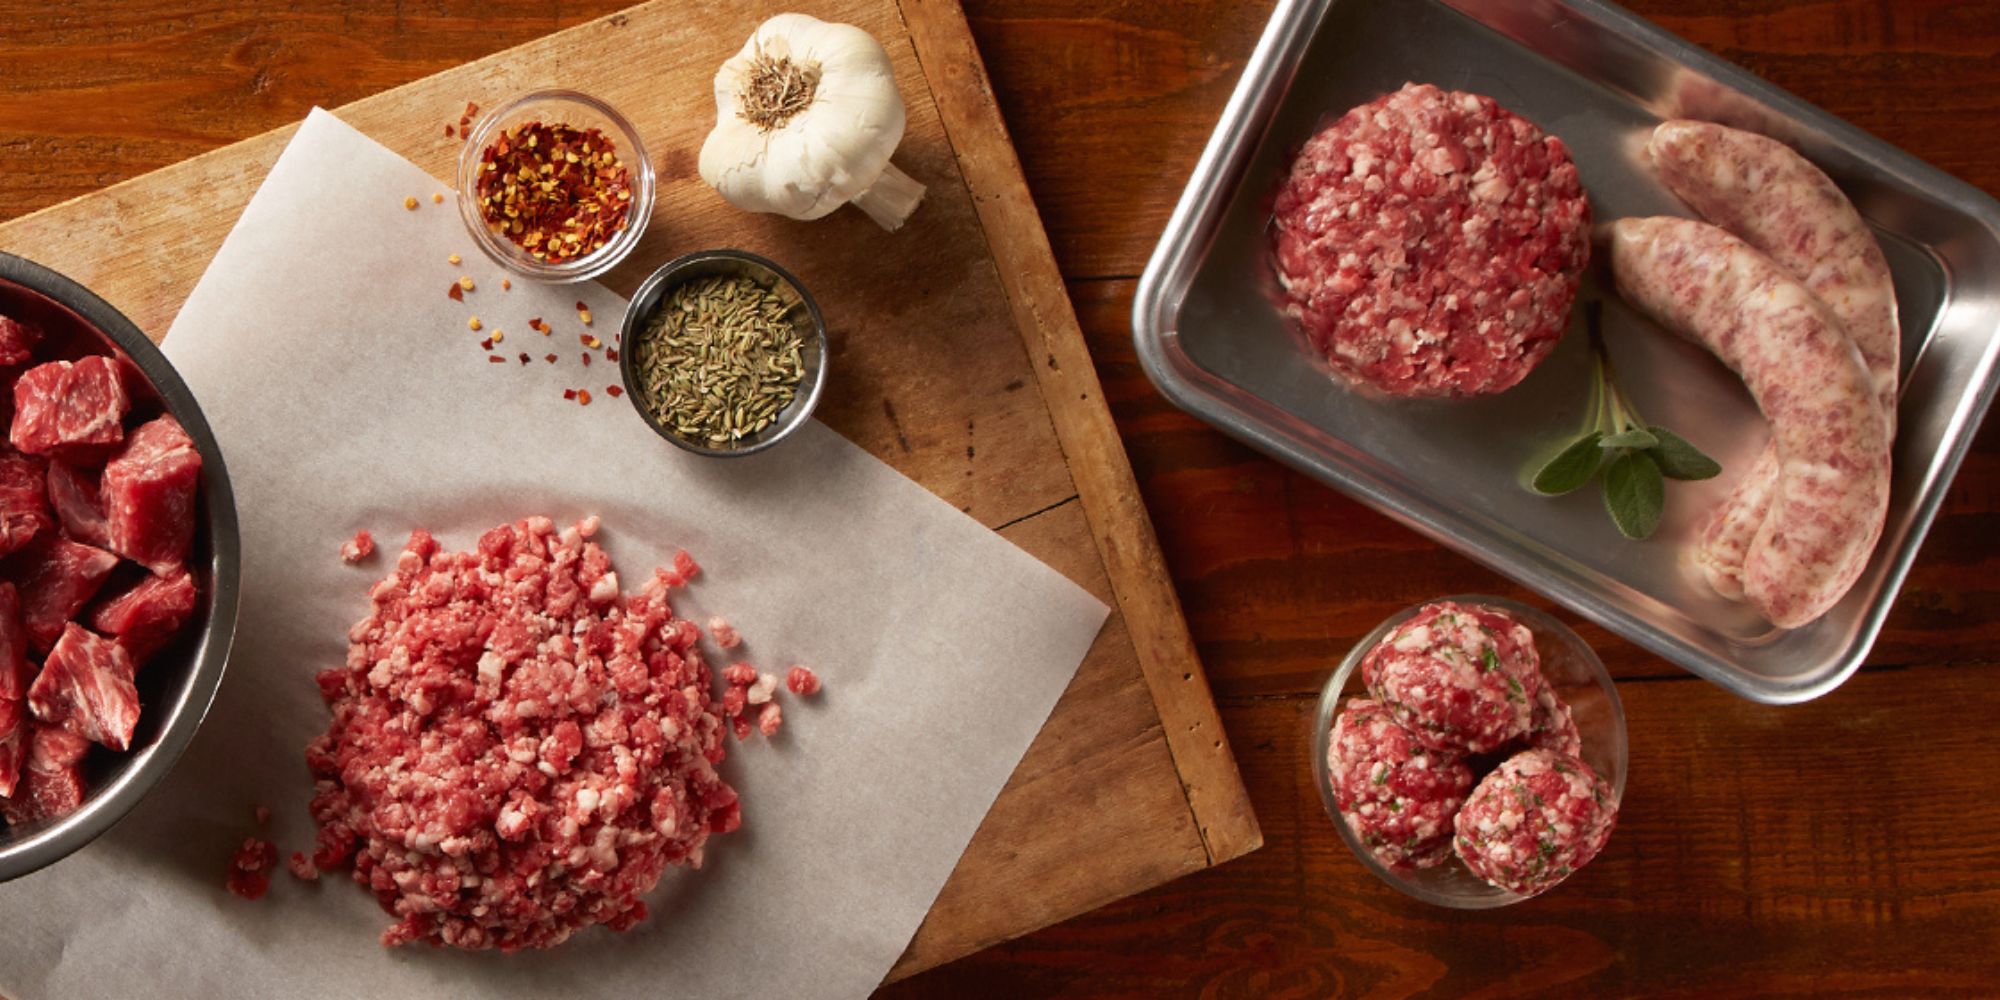
- Customization: Grinding your own meat allows you to customize the fat content and texture to suit your specific recipe. You can mix different cuts of meat to achieve the perfect blend for your burgers or sausages.
- Health and Safety: By grinding your own meat, you can ensure that it is handled and prepared in a clean and safe environment, minimizing the risk of contamination.
Choosing the Right Cuts
Before you start grinding meat with your KitchenAid grinder, it’s important to select the right cuts of meat. Look for fresh, high-quality cuts with the right balance of lean meat and fat. Some popular choices for grinding include:
- Chuck: This cut is flavorful and contains a good balance of meat and fat, making it ideal for burgers and meatloaf.
- Sirloin: Lean and tender, sirloin is a great choice for lean ground meat, such as for meatballs or tacos.
- Pork Shoulder: Pork shoulder is rich and flavorful, perfect for making homemade sausages or meat sauces.
Preparing the Meat
Once you’ve selected your cuts of meat, it’s time to prepare them for grinding. Start by cutting the meat into small cubes, about 1-inch in size. This will make the grinding process smoother and more efficient. It’s also a good idea to chill the meat in the freezer for about 15-30 minutes before grinding. This will help the meat firm up, making it easier to grind and reducing the risk of overheating.
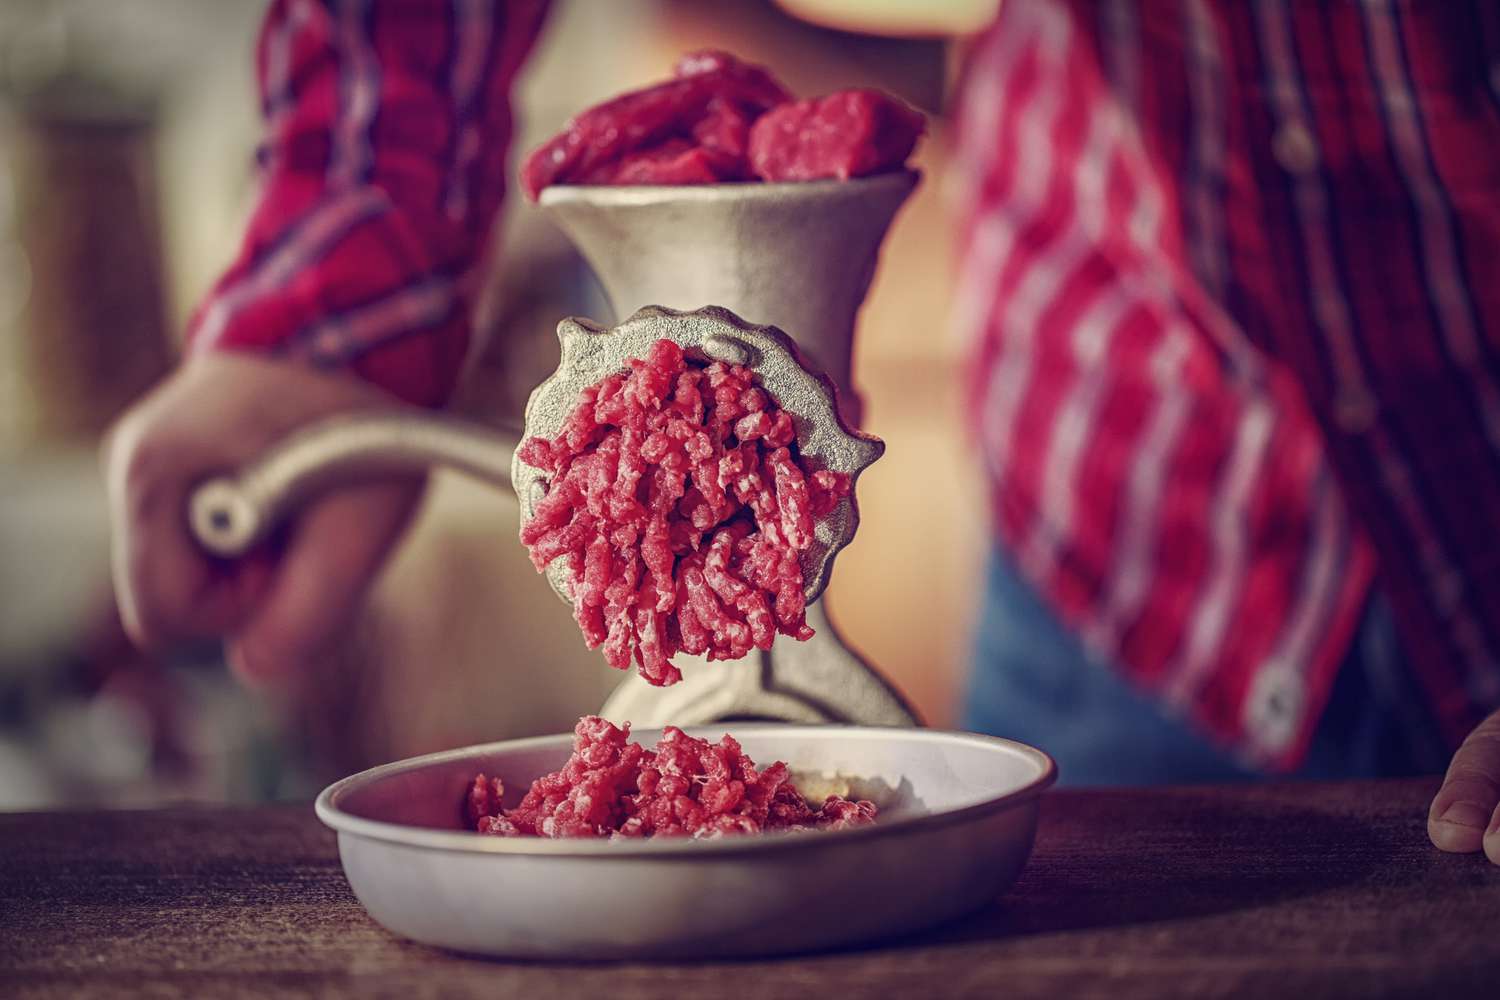
Grinding Process
Now that your meat is prepared, it’s time to start grinding with your KitchenAid grinder attachment. Here’s a simple step-by-step guide to the grinding process:
- Assemble the Grinder: Attach the grinder to your KitchenAid stand mixer according to the manufacturer’s instructions.
- Prepare the Grinder: Before adding the meat, make sure the grinder and all its parts are clean and well-lubricated. This will ensure smooth and efficient grinding.
- Start Grinding: Turn on the stand mixer and feed the meat cubes into the grinder, using the plunger to push the meat down. Use a medium speed setting for best results.
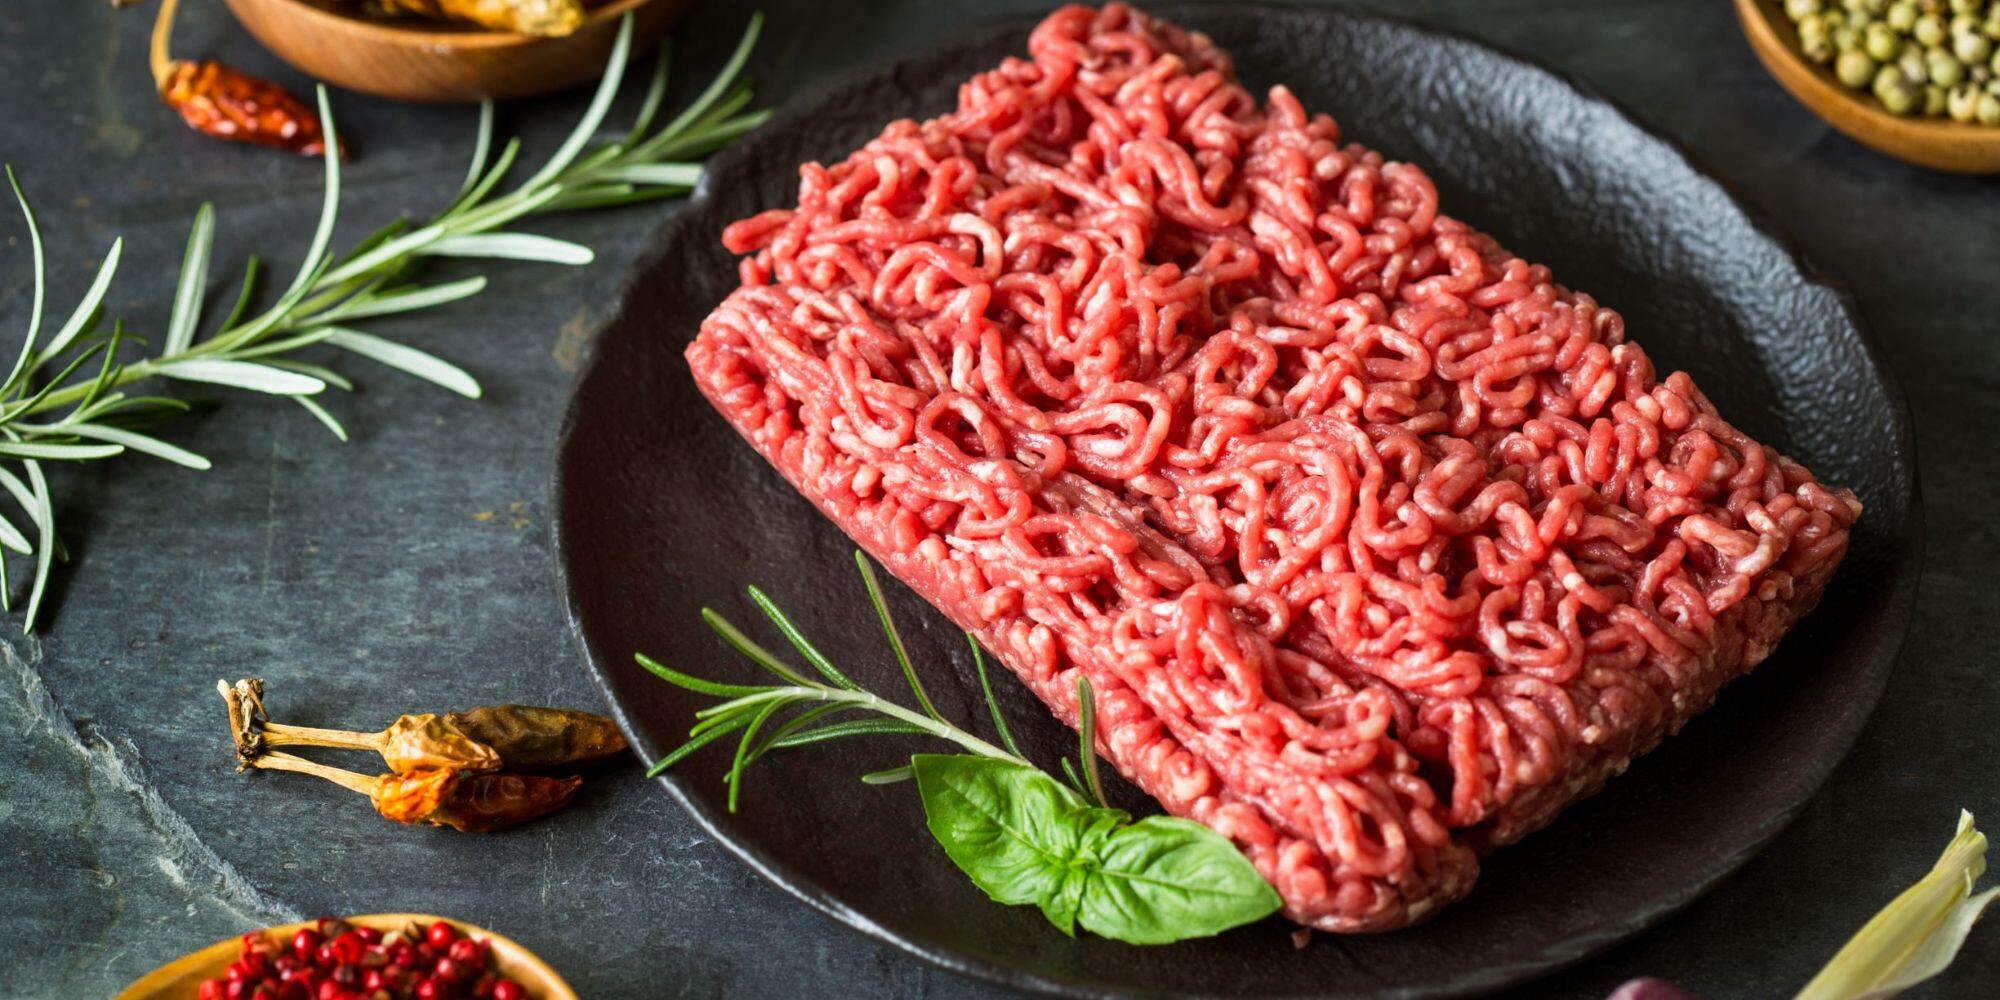
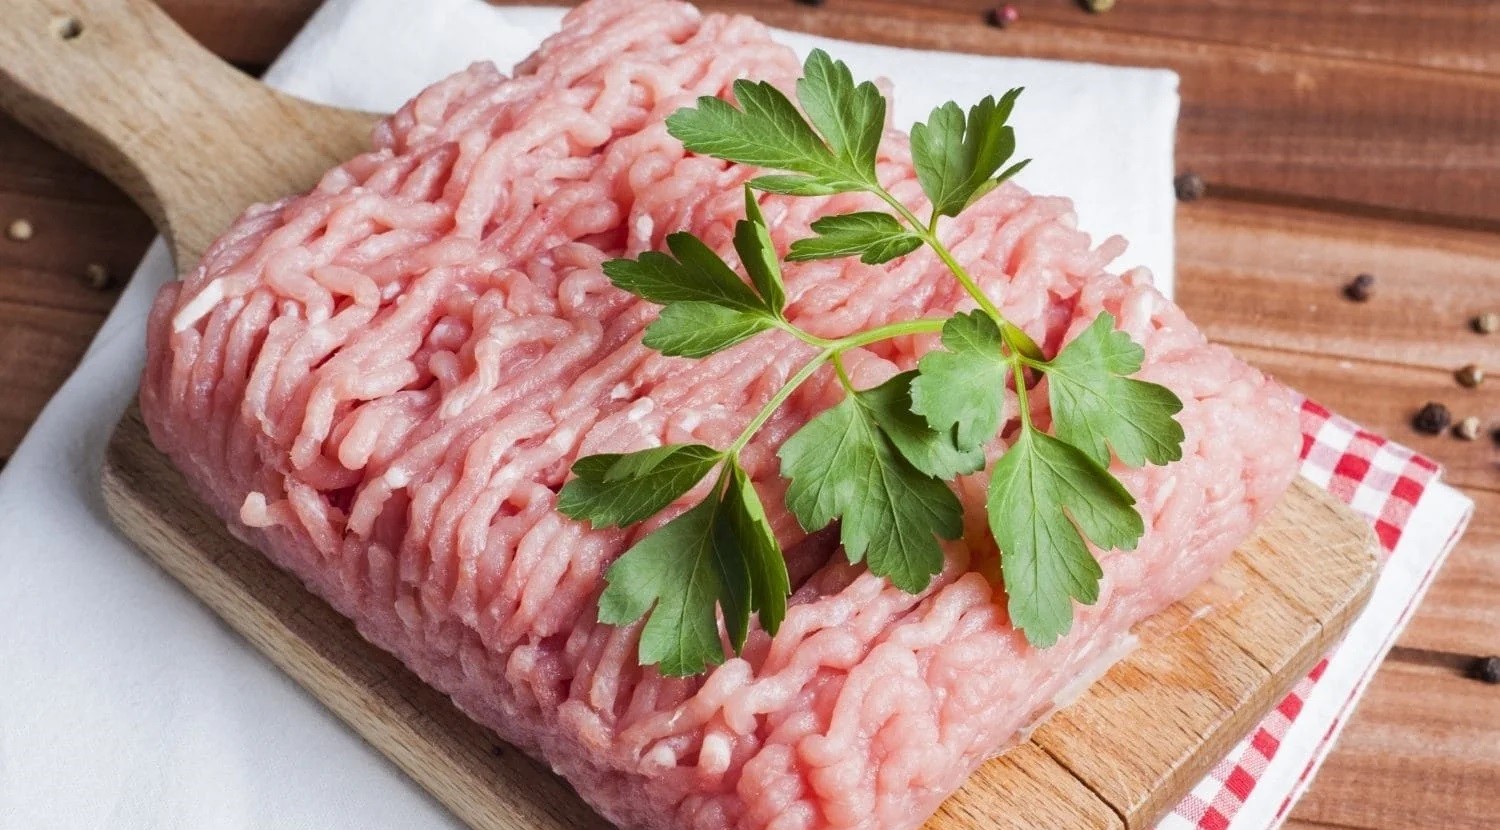
- Collect the Ground Meat: As the meat is ground, it will be expelled from the grinder. Use a bowl or plate to collect the freshly ground meat.
Cleaning and Maintenance
After you’ve finished grinding the meat, it’s important to clean and maintain your KitchenAid grinder attachment. Disassemble the grinder and wash all the parts with warm, soapy water. Dry thoroughly and store in a clean, dry place. Regular cleaning and maintenance will ensure the longevity and performance of your grinder.
Final Thoughts
Grinding meat at home with a KitchenAid grinder can be a fun and rewarding experience. Not only does it give you full control over the quality and freshness of your meat, but it also allows you to customize the texture and flavor to suit your specific recipes. With the right cuts of meat and proper preparation, you can create delicious dishes that will impress your family and friends. So, why not give it a try and elevate your cooking game with freshly ground meat from the comfort of your own kitchen?
Was this page helpful?
ahmedmmk
WinZip Pro 25.0 Crack is a manageable and convenient tool that allows compiling different files. You can decrease the size of the file. This software is used to save the files in short storage then send them to others via email, Facebook, or another internet. This software helps you to share data and backup your data in short storage. Other software needs activation or a license key to activate the account. Same as this for software, it needs WinZip Activation Code for account activation. This software decompresses some other formats like BZ2, LHZ, RAR, and others.
Related Articles