Mastering the Art of Candy Glazing
Glazing candy is a delightful way to add a glossy and flavorful finish to your sweet treats. Whether you’re making homemade lollipops, candied fruits, or chocolate-covered nuts, a well-executed glaze can take your confections to the next level. To help you master the art of candy glazing, we’ve put together a simple guide that will have you creating professional-quality glazed candies in no time.
Choosing the Right Glaze
Before you start glazing your candy, it’s important to choose the right type of glaze for the job. There are several options to consider, including:
- Sugar Glaze: Made from a mixture of powdered sugar and liquid, sugar glaze is perfect for coating cookies and donuts.
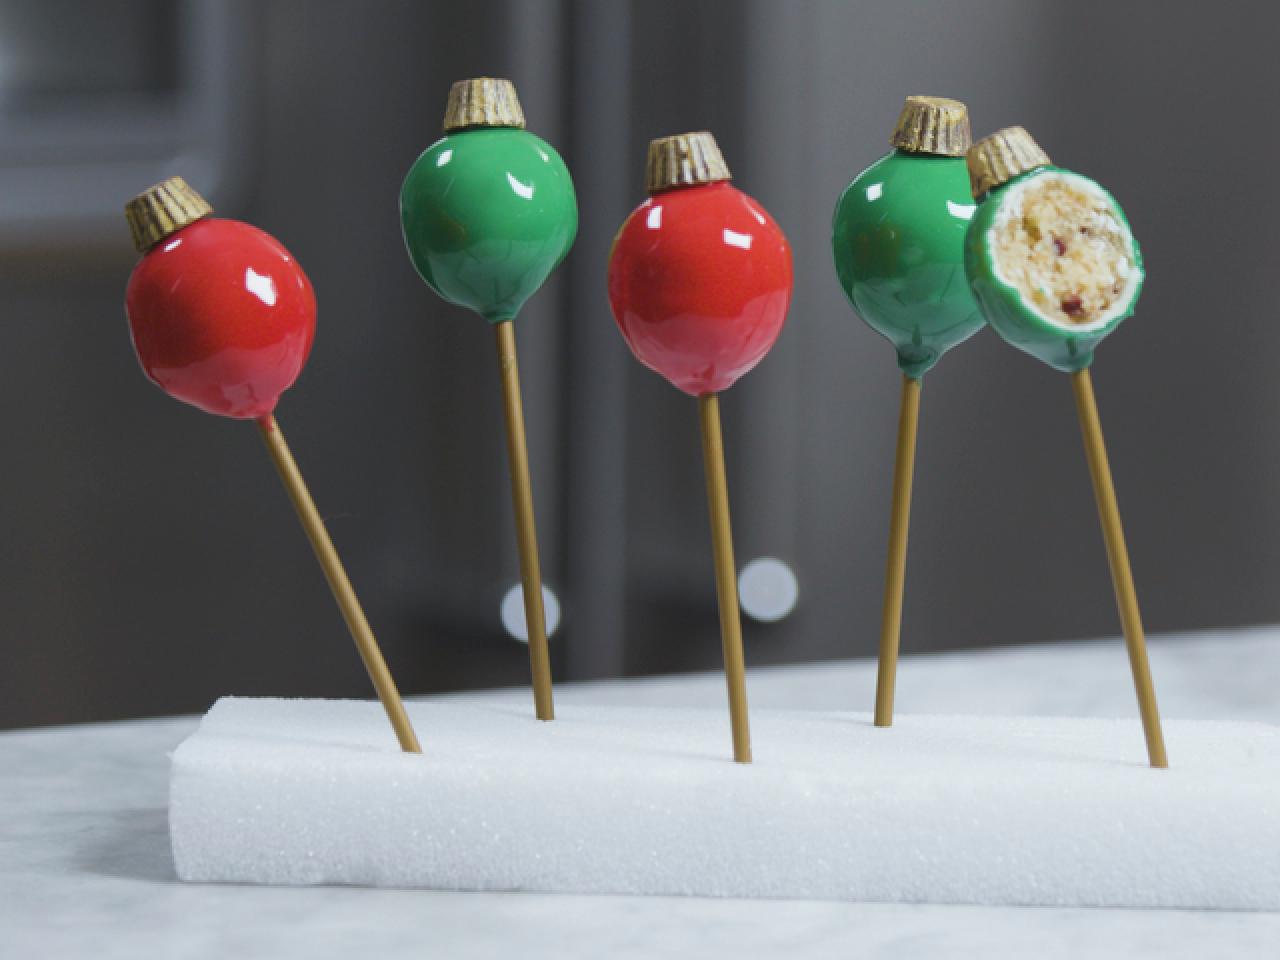
- Chocolate Glaze: Ideal for coating truffles, strawberries, and other confections, chocolate glaze adds a rich and indulgent finish to your candies.
- Fruit Glaze: Made from fruit juice and sugar, fruit glaze is great for adding a fruity flavor and glossy sheen to candied fruits and tarts.
Preparing Your Candy for Glazing
Before you can start glazing your candy, it’s important to prepare the candies properly. Here are the basic steps to prepare your candy for glazing:
- Clean and Dry: Ensure that your candies are clean and free from any dust or debris.
- Set Up a Glazing Station: Prepare a clean, flat surface for glazing your candies. Cover the surface with parchment paper to catch any drips.
- Organize Your Tools: Gather all the tools you’ll need for glazing, including a whisk, pastry brush, and any specific tools required for the type of glaze you’re using.
Applying the Glaze
Now that your candies are prepped and your glaze is ready, it’s time to start glazing! The method for applying the glaze will depend on the type of glaze you’re using, but here are some general tips to keep in mind:
- Work Quickly: Glazes can harden fast, so work quickly to coat your candies before the glaze sets.
- Use Even Strokes: Whether you’re using a pastry brush or dipping your candies, aim for smooth and even coverage.
- Allow for Drying Time: After glazing, allow your candies to dry completely before handling or packaging them.
Experimenting with Flavors and Finishes
Once you’ve mastered the basics of candy glazing, don’t be afraid to get creative! Experiment with different flavors, colors, and finishes to create unique and eye-catching candies. You can add extracts or food coloring to your glaze to customize the flavor and appearance of your candies. Additionally, consider adding sprinkles, edible glitter, or other decorations to give your glazed candies an extra touch of pizzazz.
Conclusion
Glazing candy is a fun and rewarding way to elevate your homemade treats. With the right glaze and a bit of practice, you can create stunning and professional-looking glazed candies that are sure to impress. So, roll up your sleeves, gather your favorite candies, and get ready to glaze your way to confection perfection!
