Perfecting the Art of Glazing a Bundt Cake
So, you’ve just baked a beautiful bundt cake, and now it’s time to take it to the next level with a delicious glaze. Whether you’re a baking enthusiast or a complete novice, mastering the art of glazing a bundt cake is a surefire way to impress your friends and family. Follow these simple steps to achieve a professional-looking glaze that will elevate your bundt cake to new heights.
Choose the Right Glaze
Before you start glazing, it’s important to select the right type of glaze for your bundt cake. The most common options include:
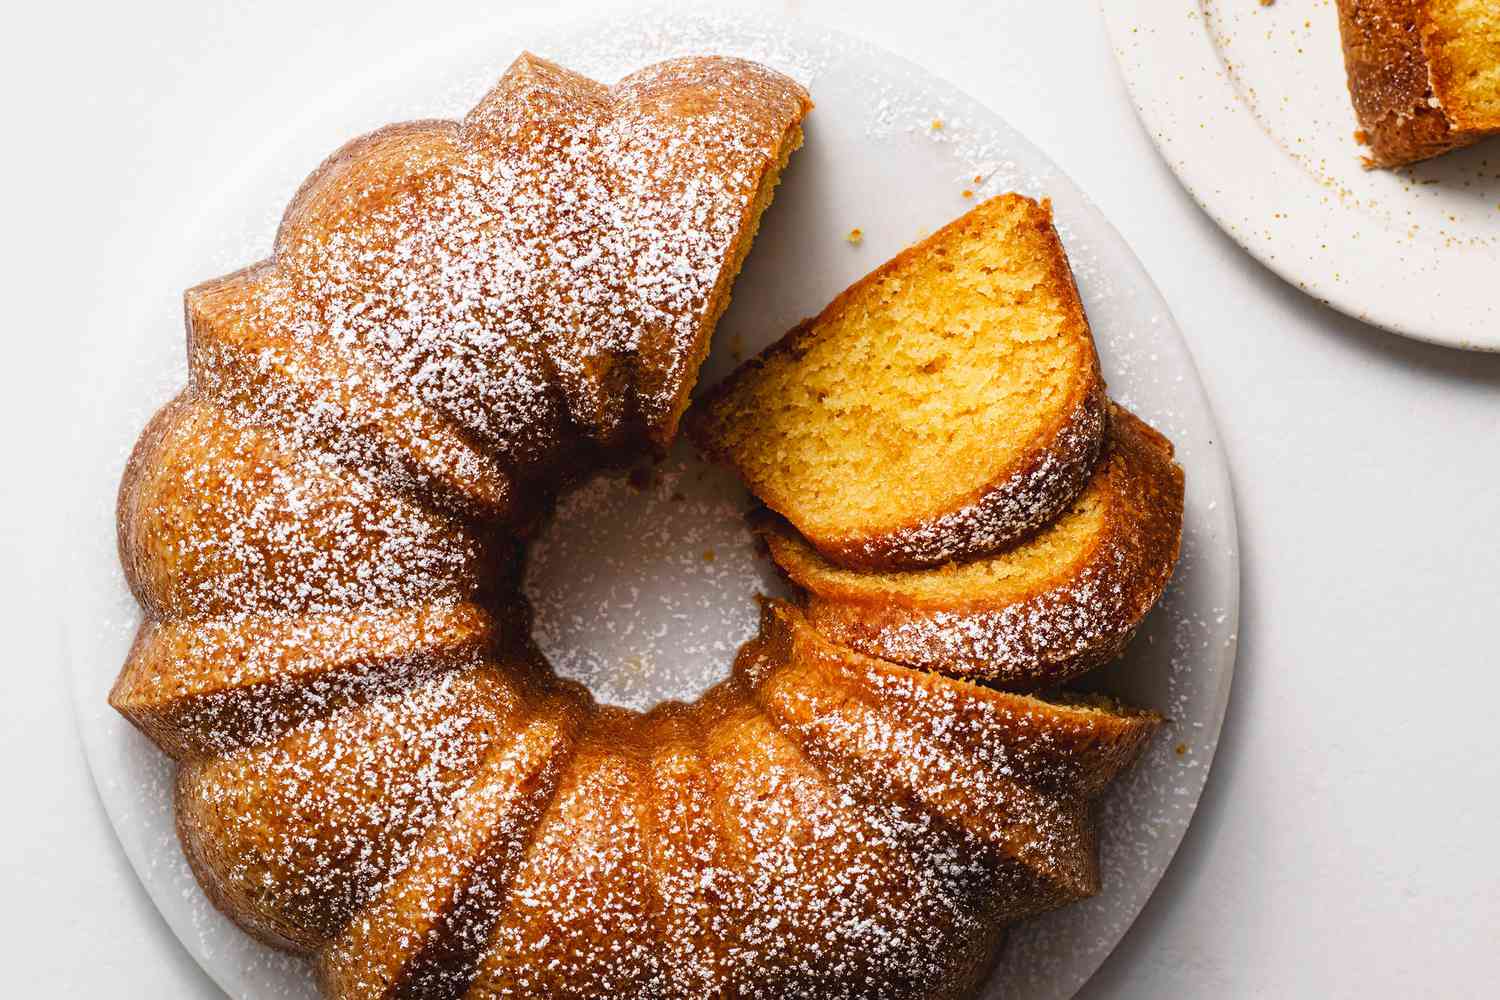
- Vanilla Glaze: A classic choice that complements almost any flavor of bundt cake.
- Chocolate Glaze: Perfect for chocolate or mocha-flavored bundt cakes.
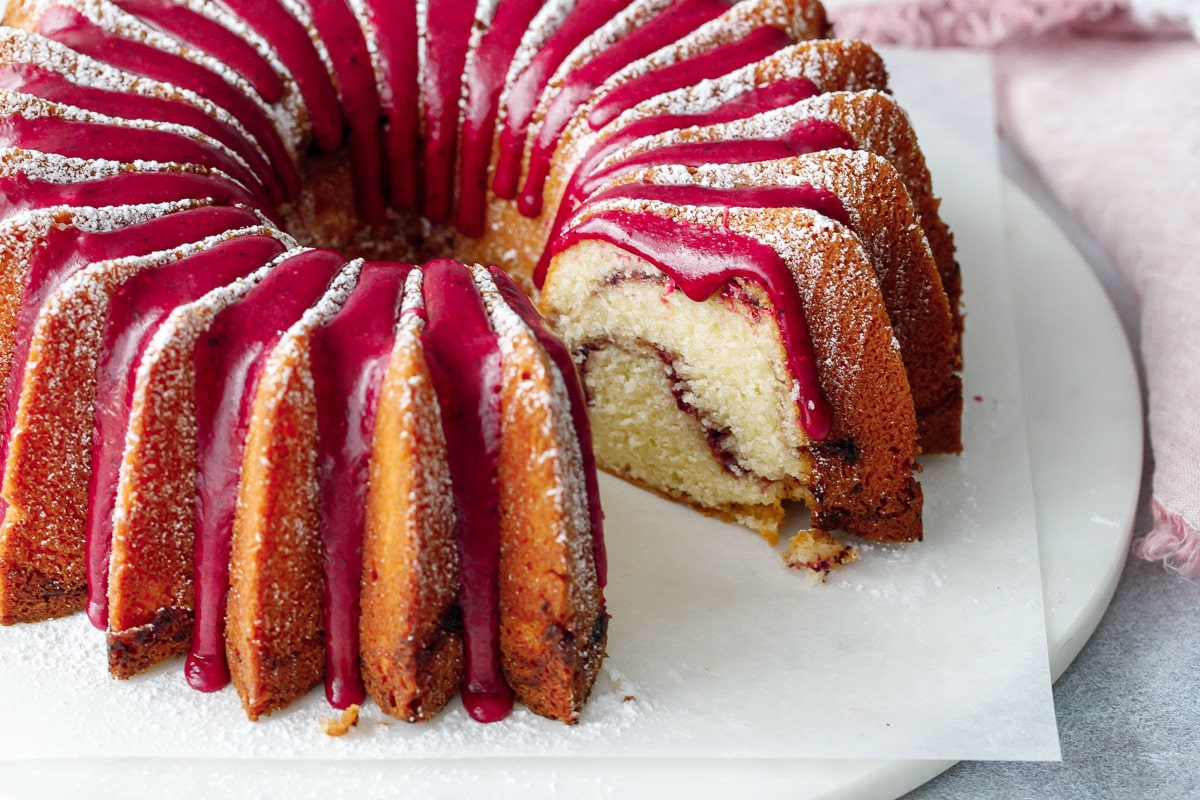
- Citrus Glaze: Adds a refreshing twist to lemon or orange-flavored bundt cakes.
Once you’ve chosen the perfect glaze for your bundt cake, it’s time to prepare it.
Prepare the Glaze
Regardless of the type of glaze you choose, the basic preparation method remains the same. To make a simple glaze, you’ll need:
- Confectioners’ Sugar: Also known as powdered sugar, this will form the base of your glaze.
- Liquid: This can be water, milk, cream, or citrus juice, depending on the flavor profile you’re aiming for.
- Flavoring: Vanilla extract, cocoa powder, or citrus zest can be added to enhance the flavor of the glaze.
Combine the ingredients in a bowl and whisk until smooth. If the glaze is too thick, add more liquid; if it’s too thin, add more confectioners’ sugar. You want the glaze to be thick enough to coat the back of a spoon but still pourable.
Glaze the Cake
Now comes the fun part – glazing your bundt cake! Follow these steps for a flawless finish:
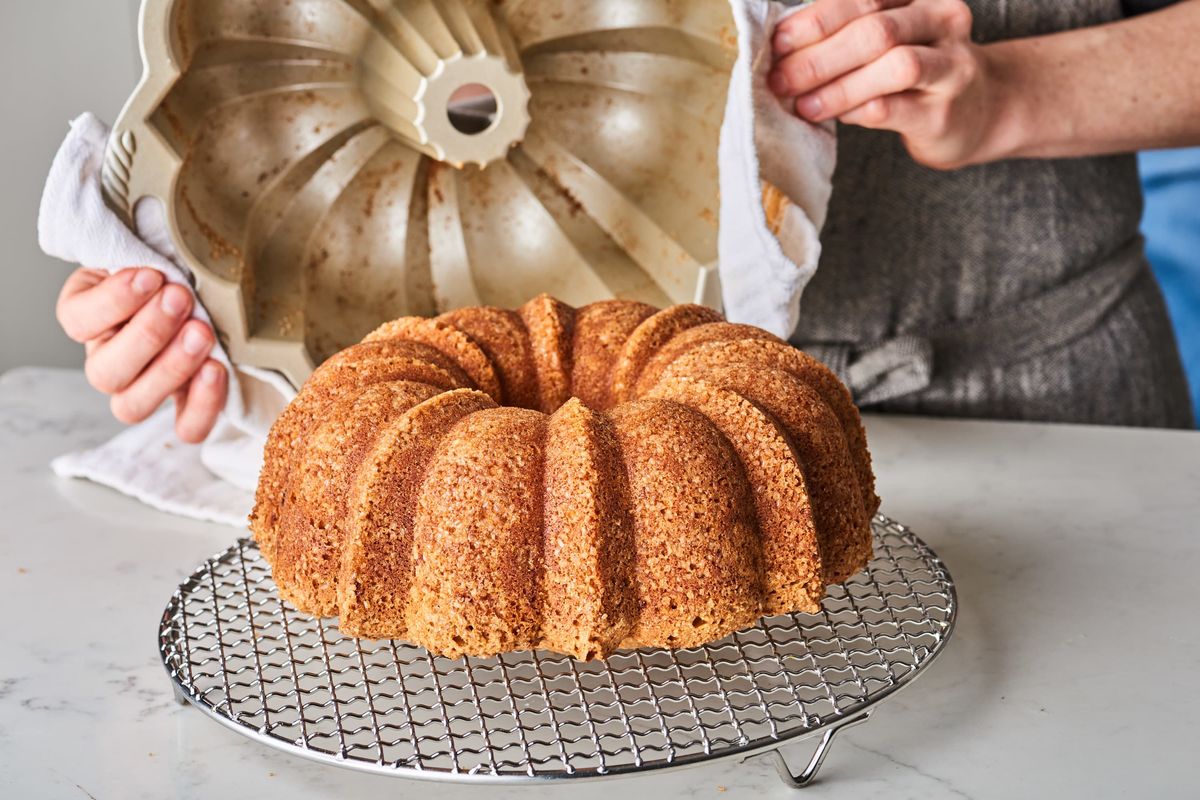
- Cool the Cake: Allow your bundt cake to cool completely before glazing. A warm cake can cause the glaze to become runny and slide right off.
- Place a Tray Underneath: To catch any drips and make for easy cleanup, place the cake on a wire rack set over a baking tray.
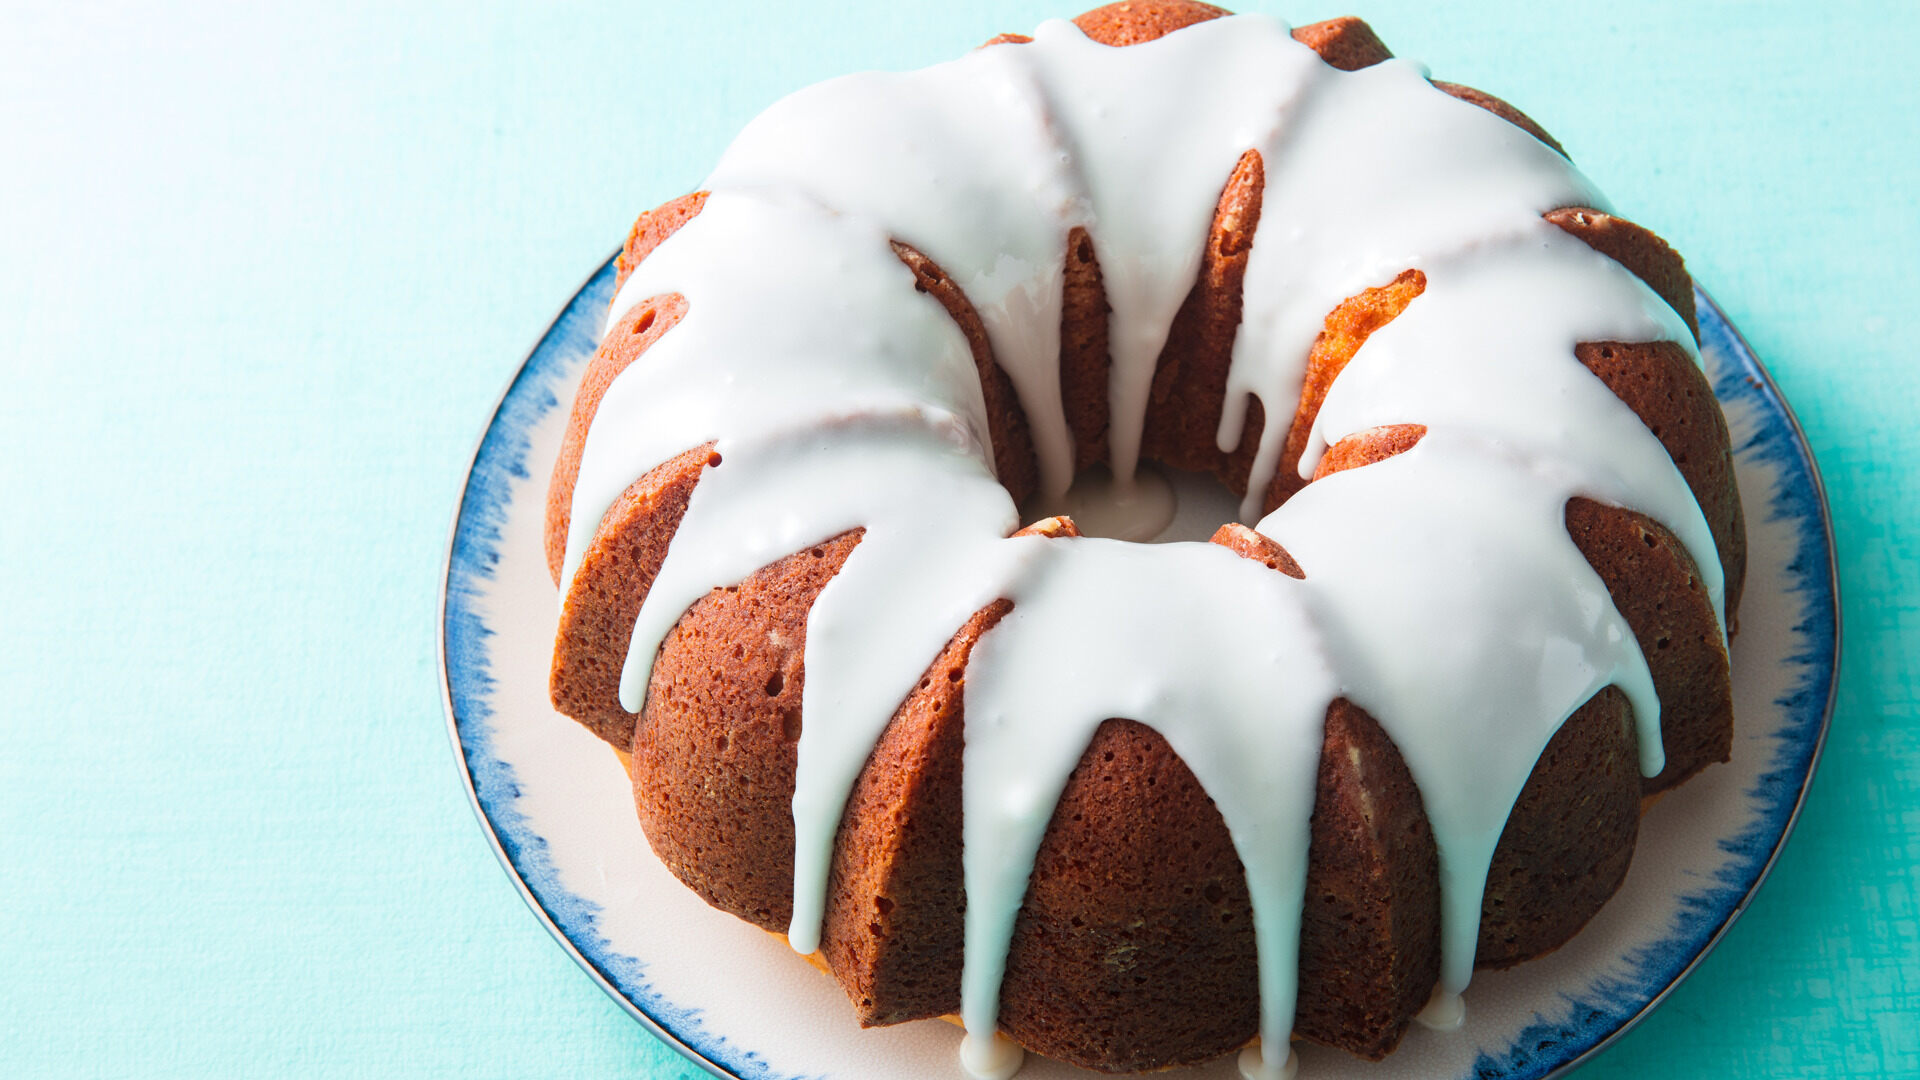
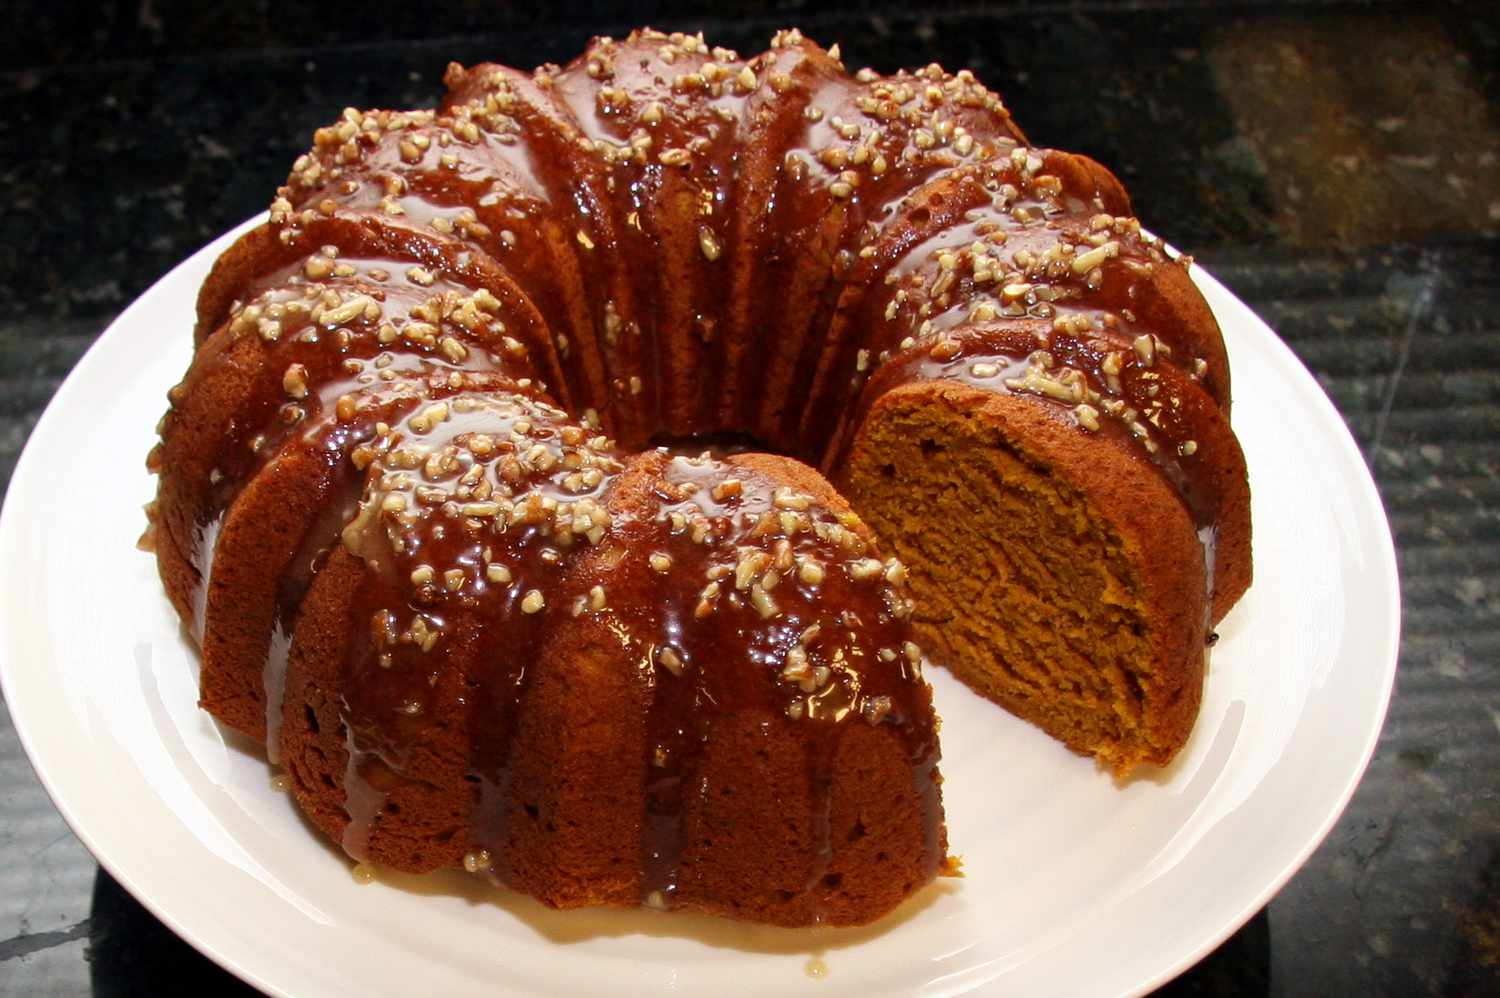
- Pour the Glaze: Slowly pour the glaze over the top of the cake, allowing it to drip down the sides. Use a spatula to spread the glaze and ensure even coverage.
- Let It Set: Allow the glaze to set for at least 15-20 minutes before slicing and serving the cake.
Get Creative
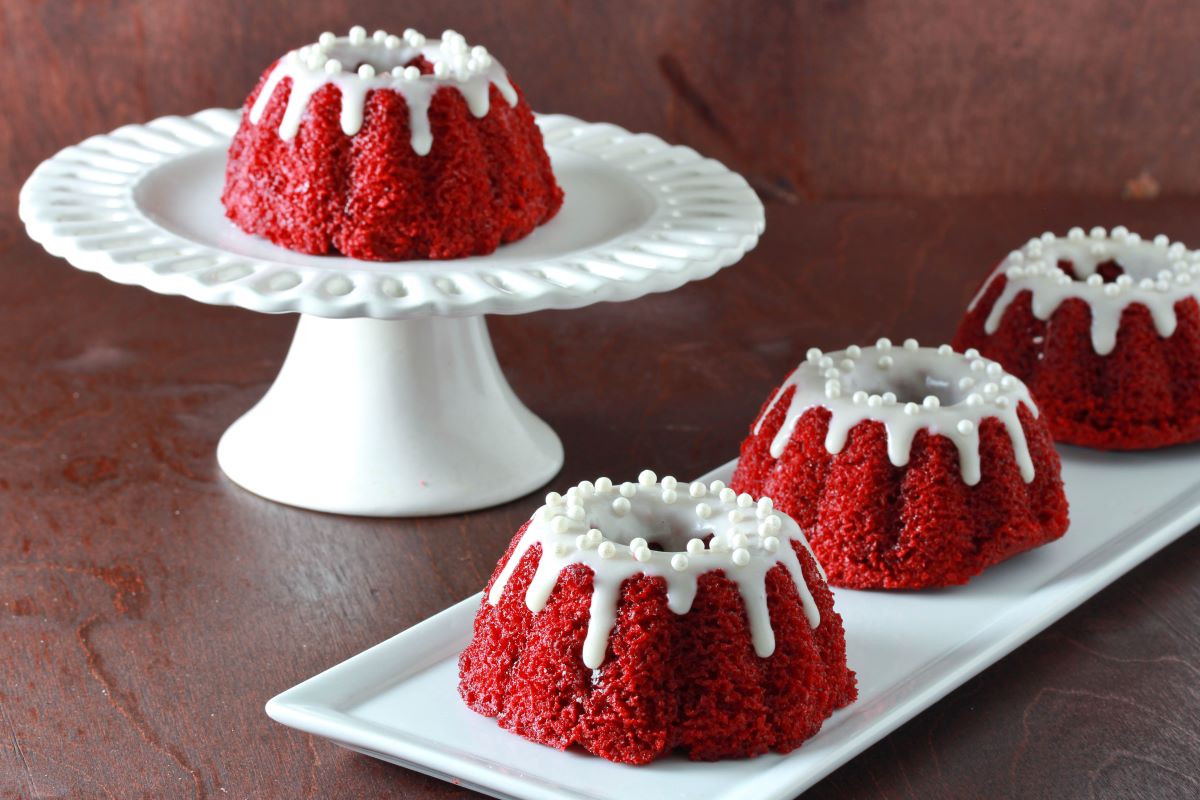
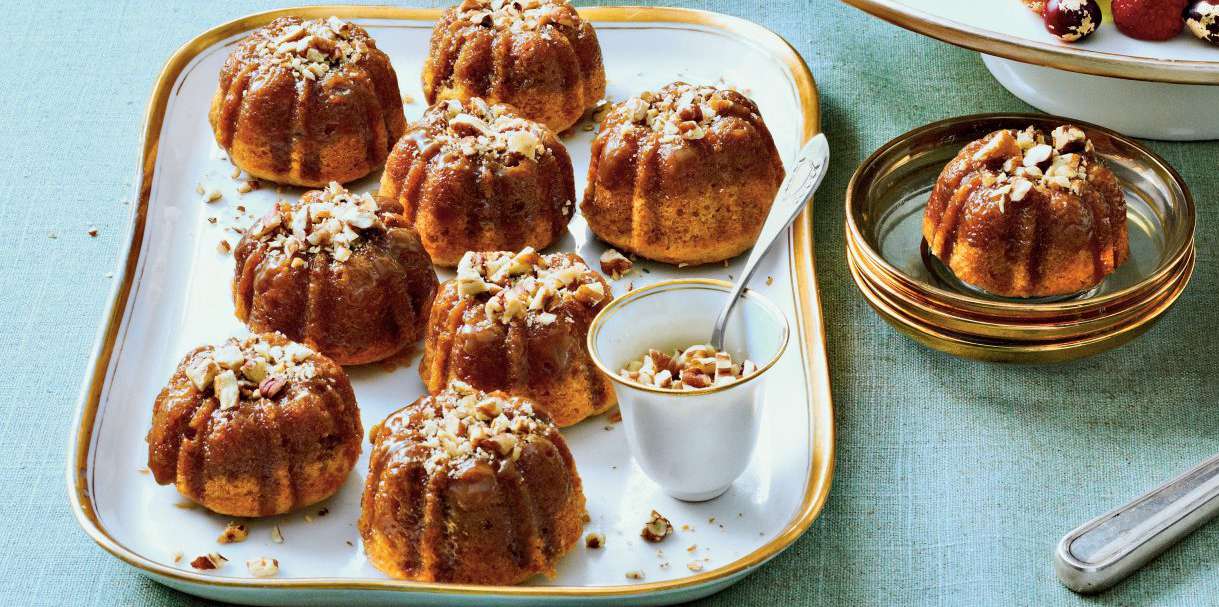
Once you’ve mastered the basic glazing technique, don’t be afraid to get creative with your bundt cake decorations. Sprinkle chopped nuts, colorful sprinkles, or edible flowers on top of the glaze for an extra touch of flair. The possibilities are endless, so let your imagination run wild!
Practice Makes Perfect
Like any culinary skill, mastering the art of glazing a bundt cake takes practice. Don’t be discouraged if your first attempt doesn’t turn out exactly as you’d hoped. With time and experience, you’ll develop the confidence and expertise to glaze bundt cakes like a pro.
So, there you have it – the key steps to achieving a perfectly glazed bundt cake. With the right glaze, proper preparation, and a bit of creativity, you can turn a simple bundt cake into a stunning centerpiece for any occasion. Happy glazing!
Was this page helpful?
Related Articles