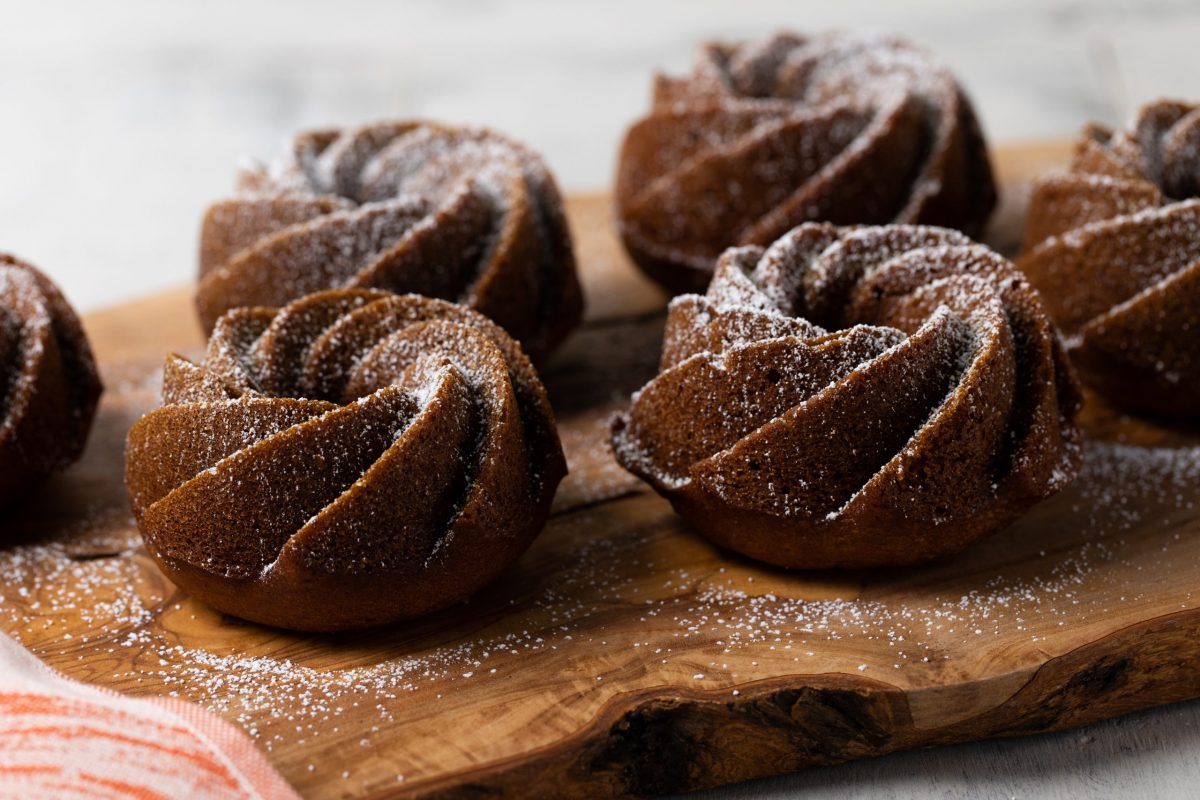
Mastering the Art of Glazing Mini Bundt Cakes
Mini bundt cakes are a delightful treat that can be enjoyed on any occasion. Whether you’re baking for a special event or simply craving a sweet indulgence, mastering the art of glazing these miniature delights can take your baking skills to the next level. With the right techniques and a little practice, you can glaze mini bundt cakes like a professional baker.
Choosing the Perfect Glaze
The first step in glazing mini bundt cakes is choosing the perfect glaze. A good glaze should complement the flavor of the cake while adding a touch of sweetness and visual appeal. There are various types of glazes you can use, including:
- Classic Vanilla Glaze: A simple yet delicious glaze made with powdered sugar, vanilla extract, and milk.
- Chocolate Glaze: Perfect for chocolate lovers, this glaze is made with cocoa powder, powdered sugar, and milk.
- Citrus Glaze: Add a burst of tangy flavor with a glaze made from citrus juice and powdered sugar.
Preparing the Glaze
Once you’ve chosen the type of glaze you want to use, it’s time to prepare it. The key to a perfect glaze is achieving the right consistency. To prepare the glaze, follow these simple steps:
- Combine the Ingredients: In a mixing bowl, combine the powdered sugar and any flavorings or extracts you’re using.
- Add Liquid: Gradually add the liquid (milk, citrus juice, etc.) to the mixture, stirring constantly until you reach the desired consistency. The glaze should be smooth and pourable, but not too runny.
- Adjust as Needed: If the glaze is too thick, add a little more liquid. If it’s too thin, add more powdered sugar until it reaches the right consistency.
Glazing the Mini Bundt Cakes
Now that your glaze is ready, it’s time to glaze the mini bundt cakes. Follow these steps to achieve a professional-looking finish:
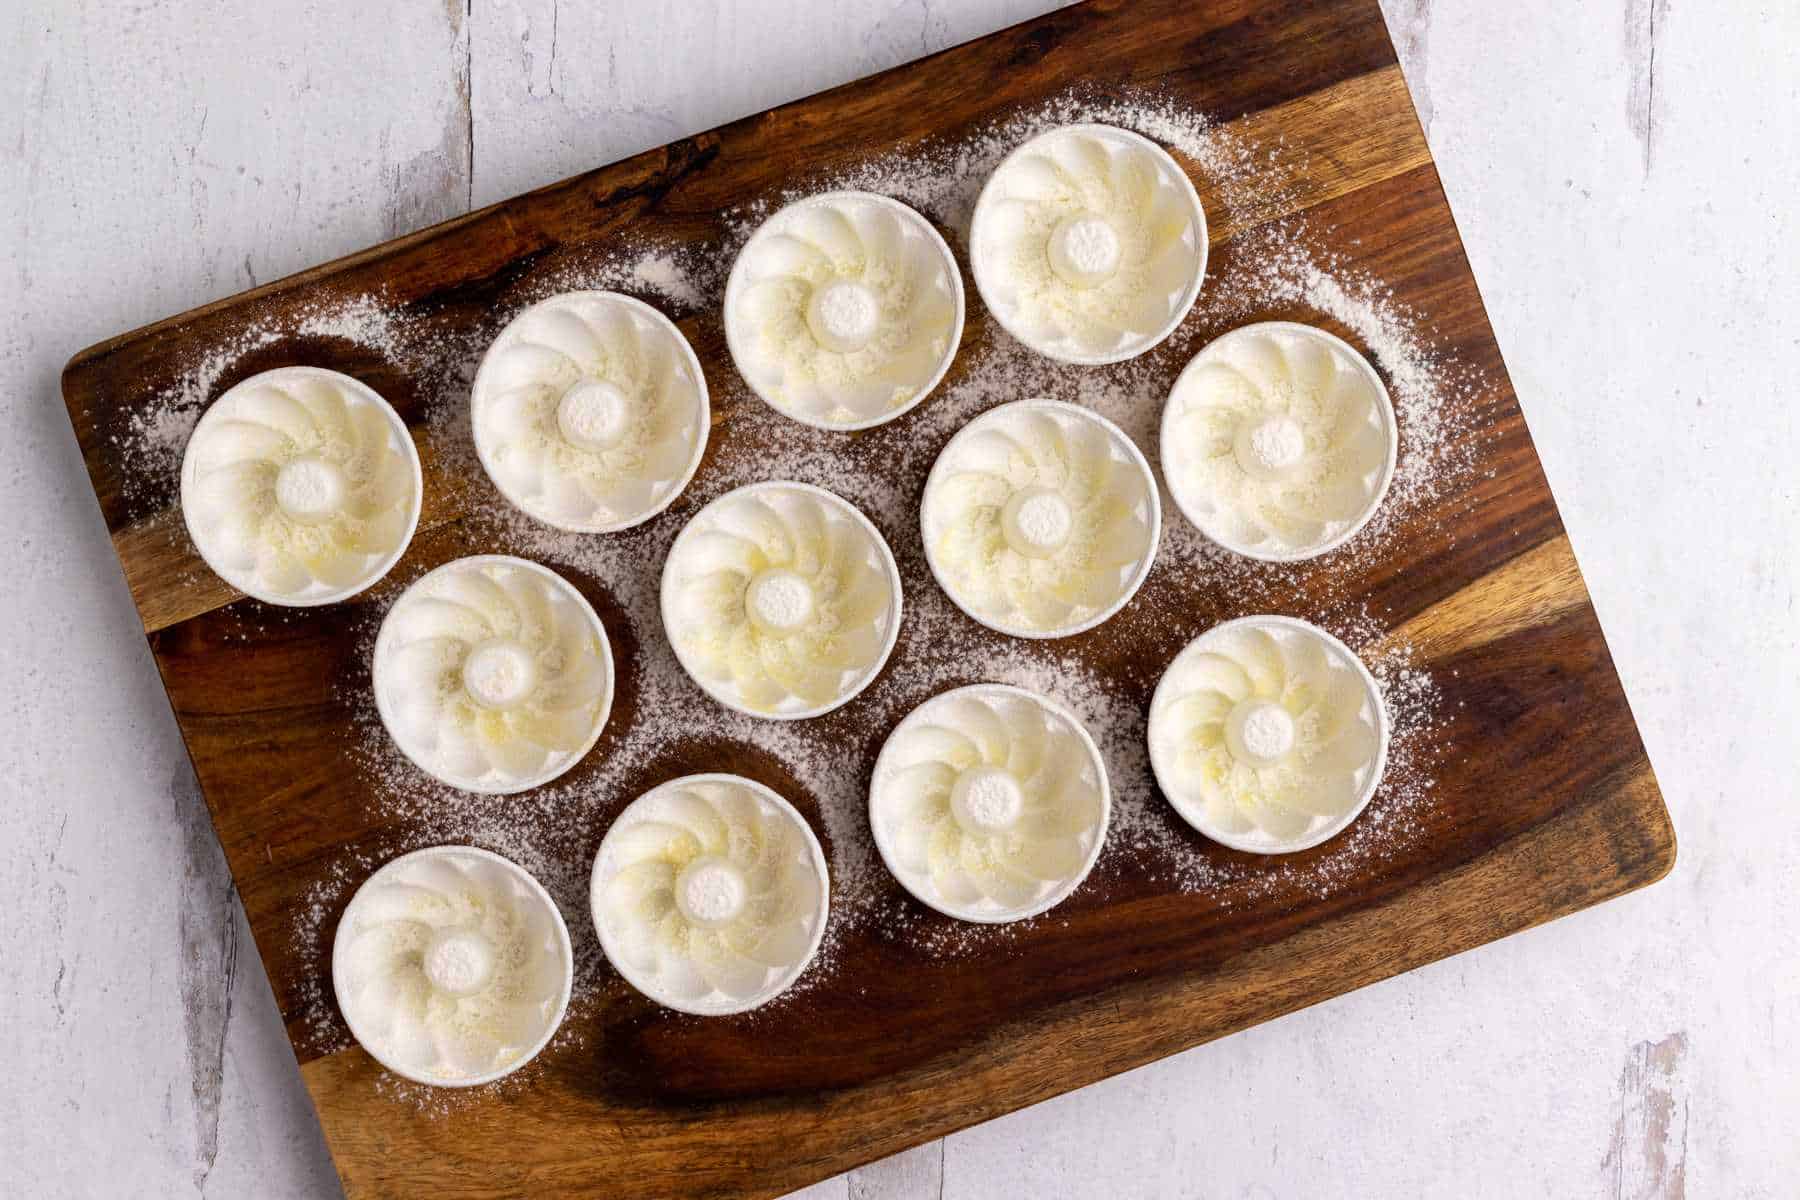
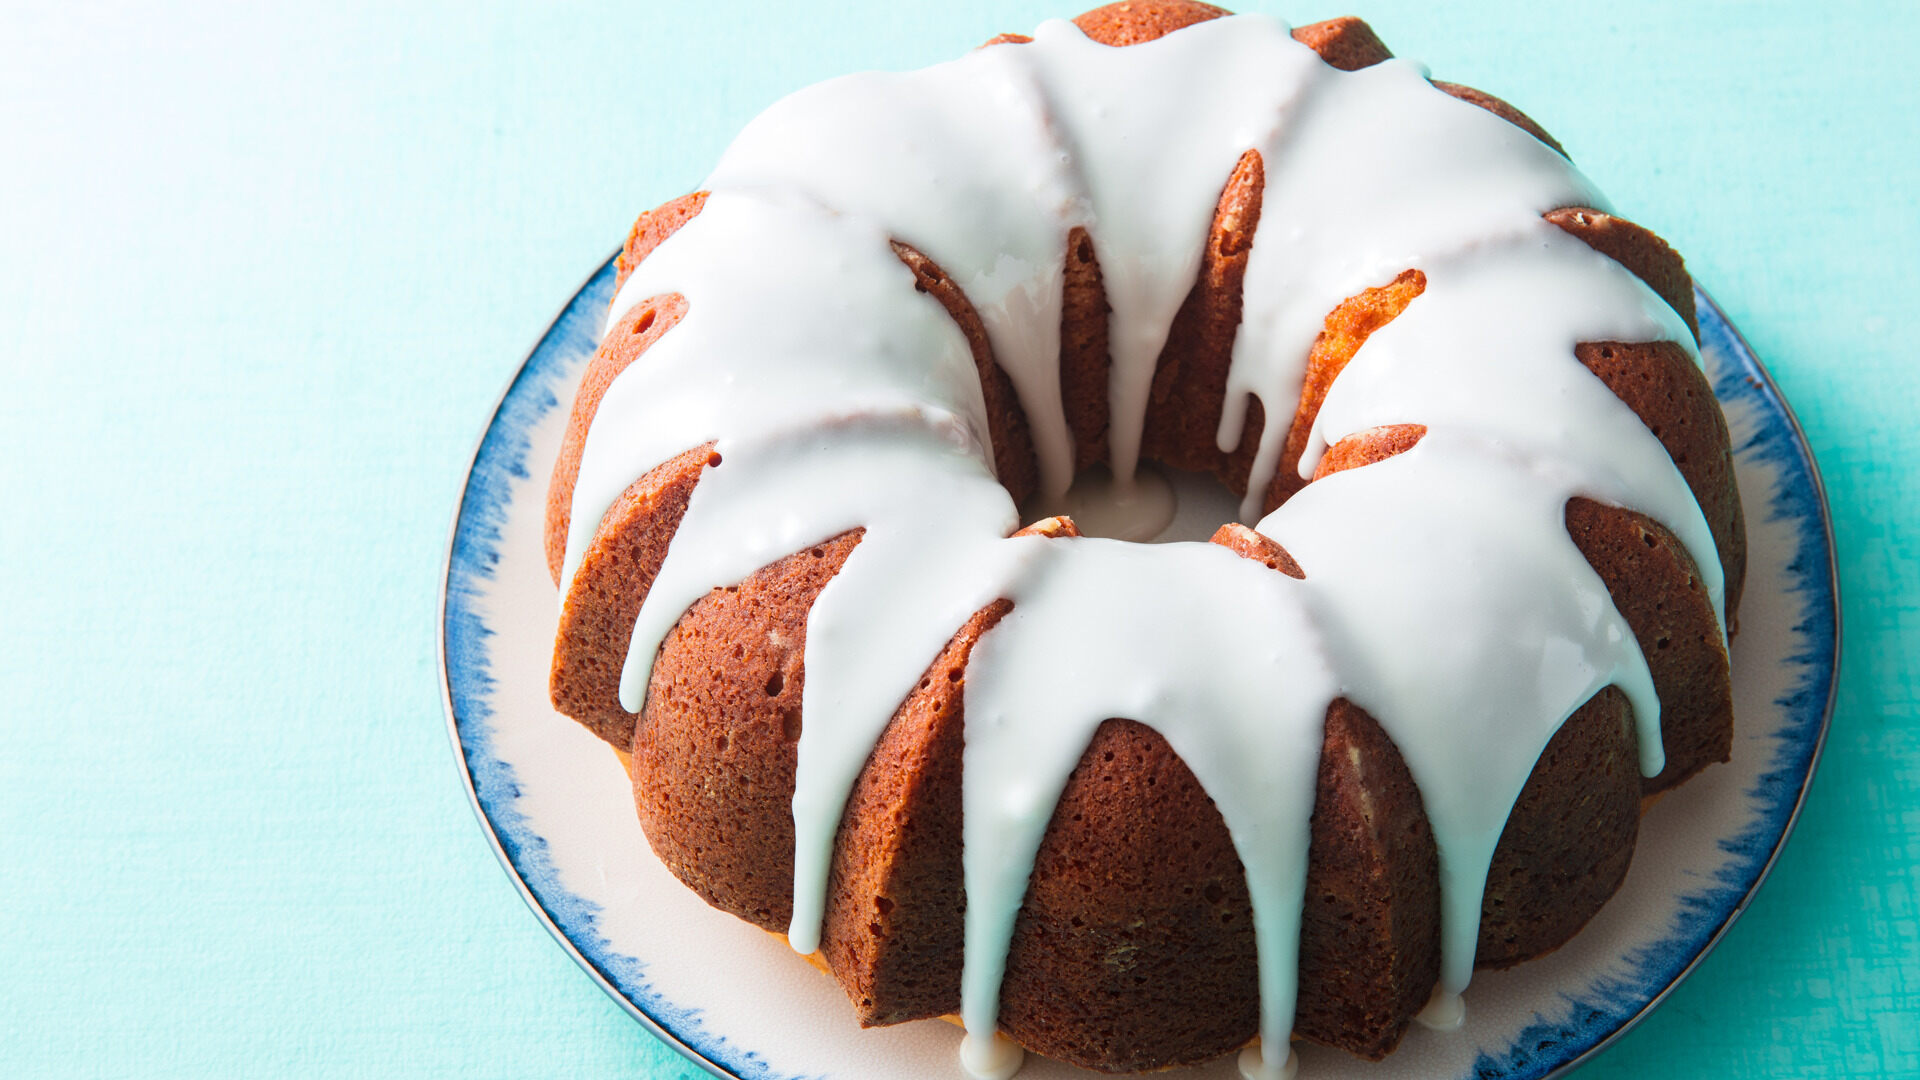
- Cool the Cakes: Ensure that the mini bundt cakes are completely cool before glazing. Warm cakes can cause the glaze to become too runny.
- Place a Rack: Set a cooling rack over a baking sheet to catch any excess glaze and make for easy cleanup.
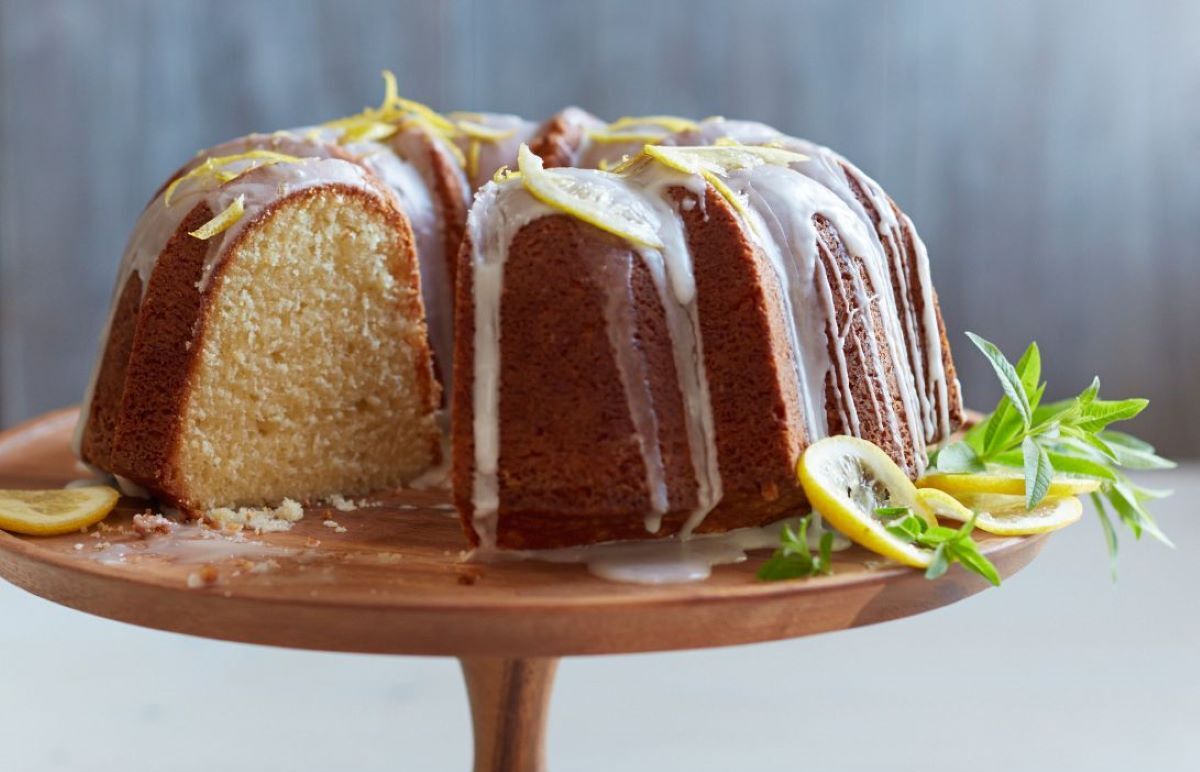
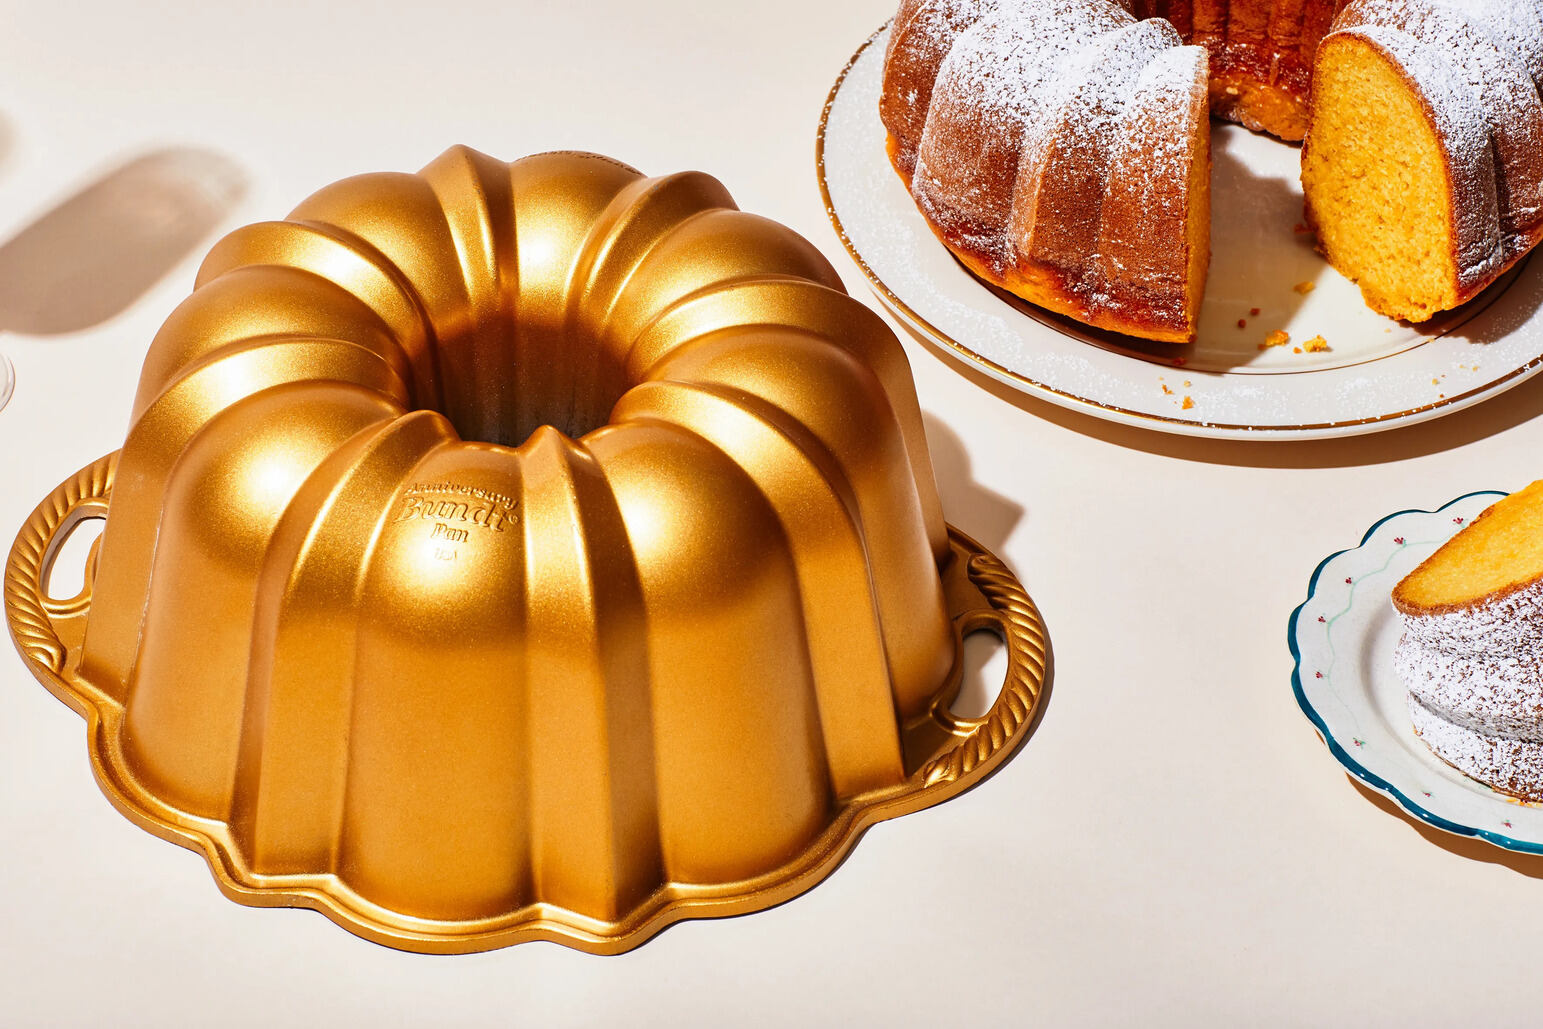
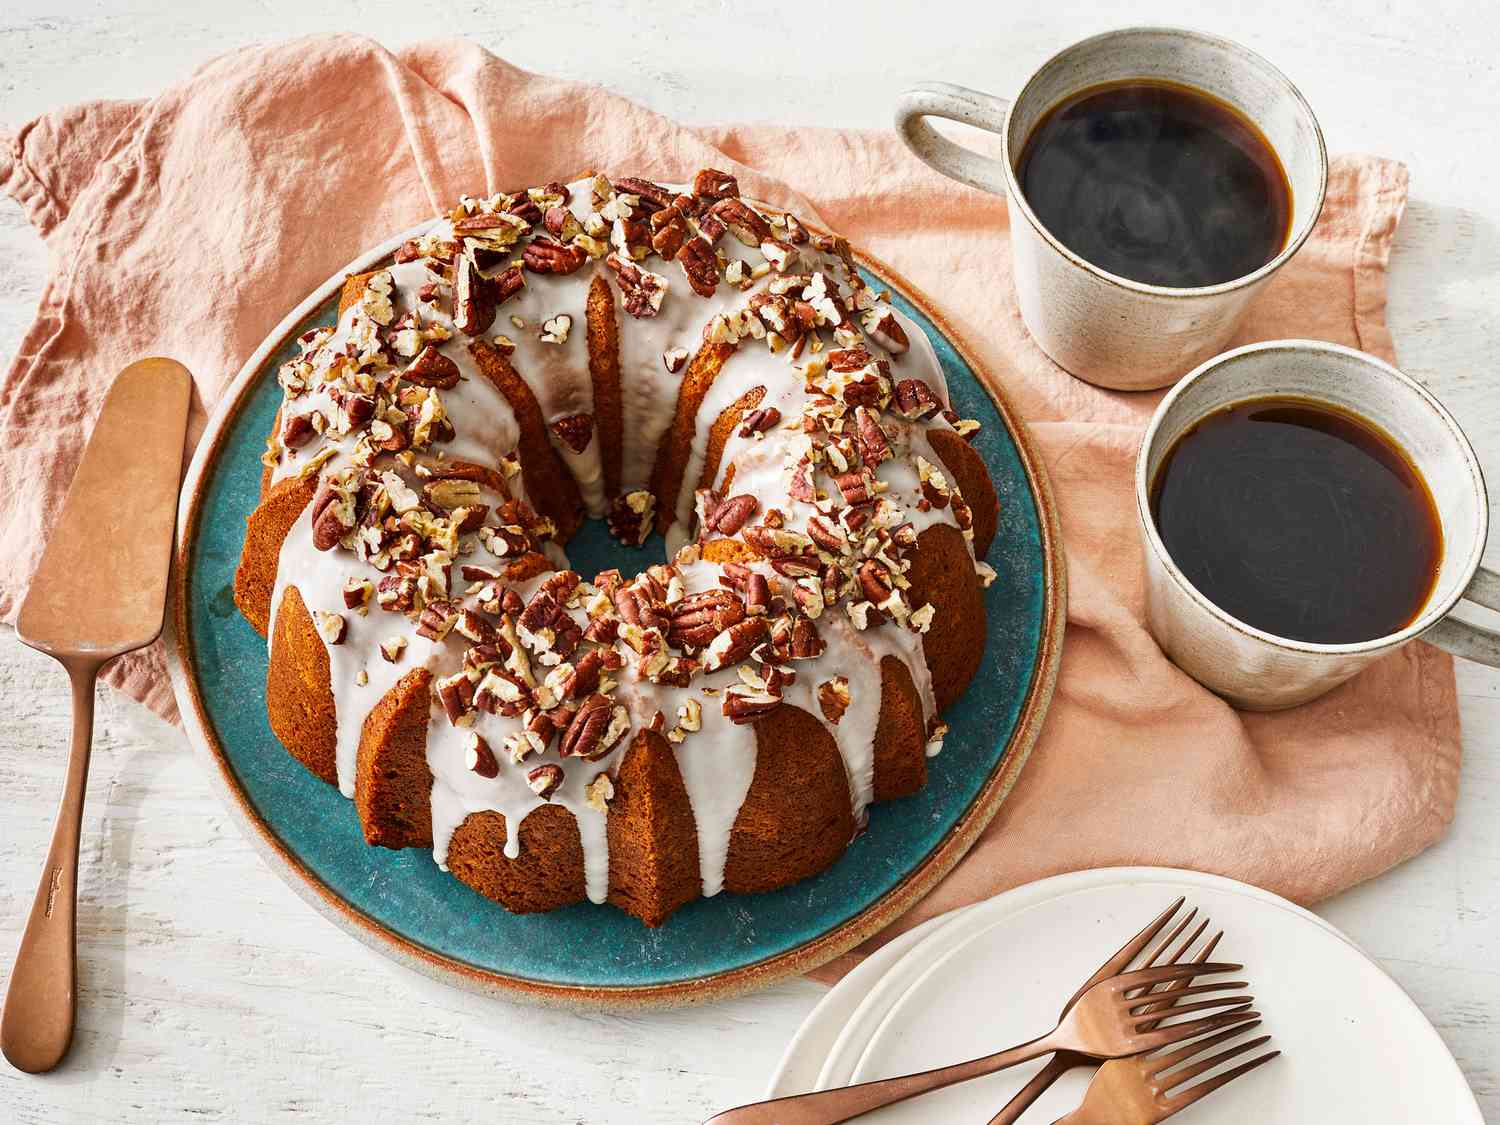
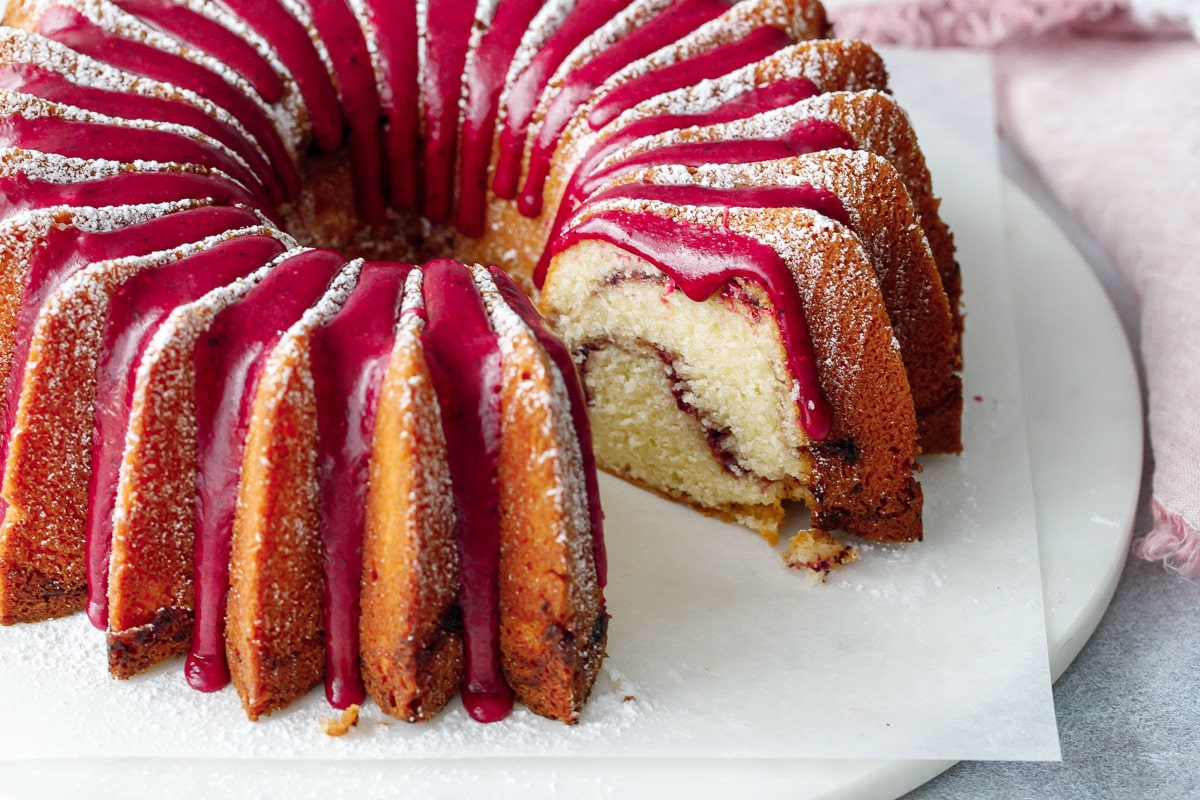
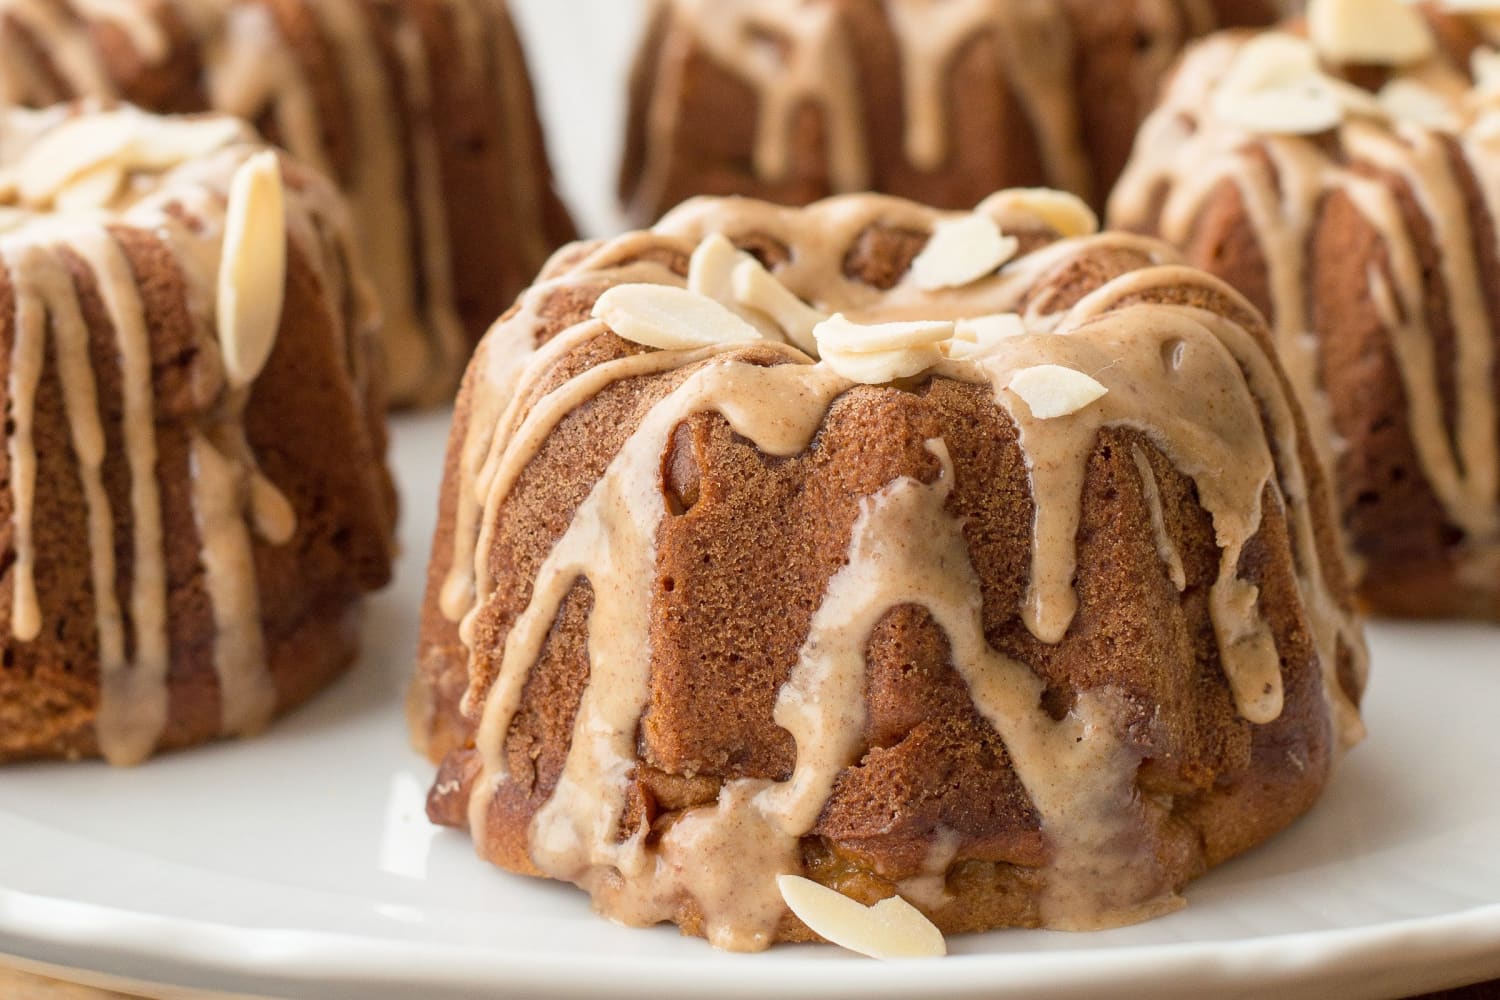
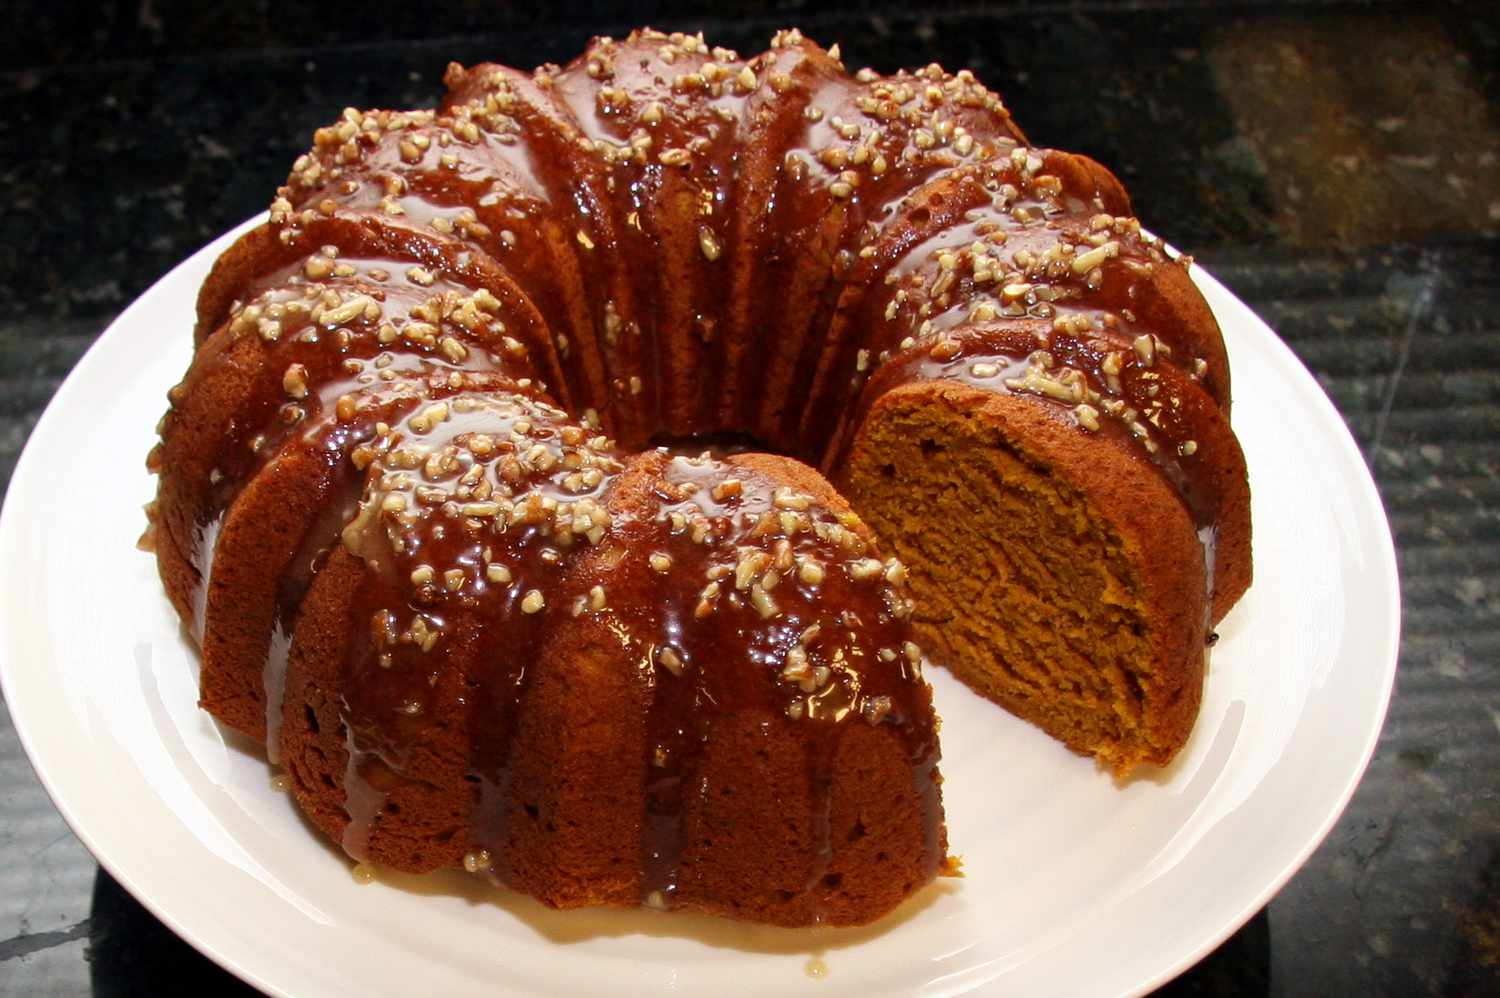
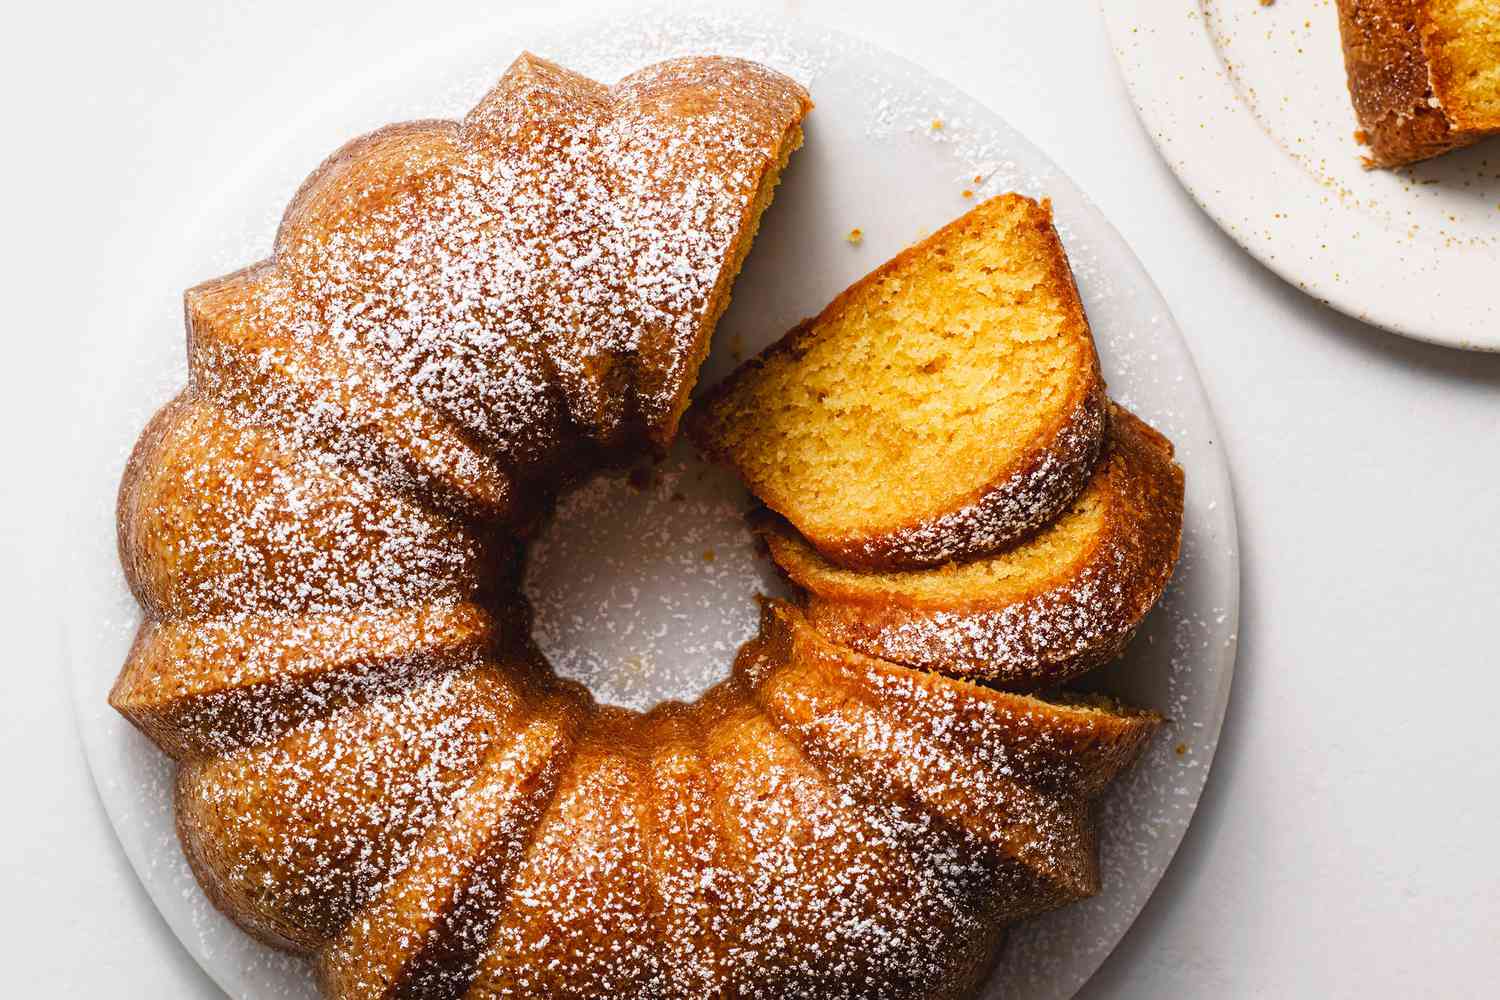
- Pour the Glaze: Using a spoon or ladle, pour the glaze over the top of each mini bundt cake, allowing it to cascade down the sides.
- Let it Set: Allow the glaze to set for a few minutes before serving or storing the cakes.
Adding the Finishing Touches
To take your glazed mini bundt cakes to the next level, consider adding some finishing touches:
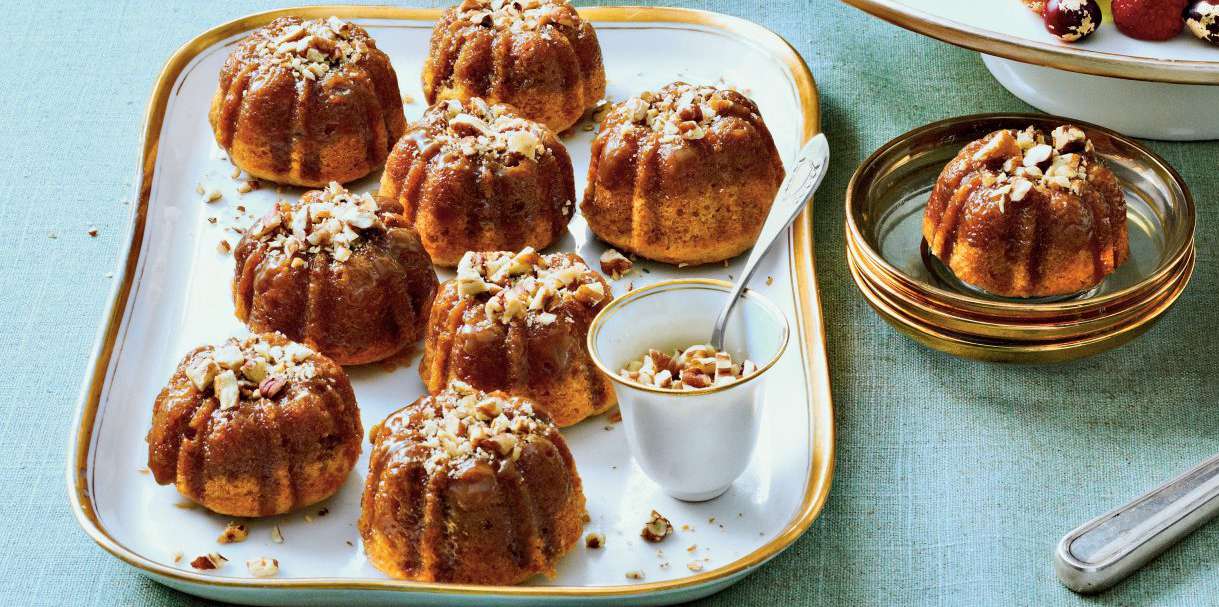
- Decorative Drizzles: Drizzle melted chocolate, caramel, or a contrasting glaze over the top of the set glaze for a decorative touch.
- Top with Sprinkles: Add a pop of color and texture by sprinkling the glazed cakes with colorful sprinkles or chopped nuts.
- Edible Flowers or Citrus Zest: For an elegant touch, garnish the glazed cakes with edible flowers or a sprinkle of citrus zest.
With these tips and techniques, you can glaze mini bundt cakes like a professional baker. Whether you’re baking for a special occasion or simply treating yourself, the art of glazing mini bundt cakes is a skill worth mastering.
Was this page helpful?
Related Articles