Learning How to Fillet a White Perch
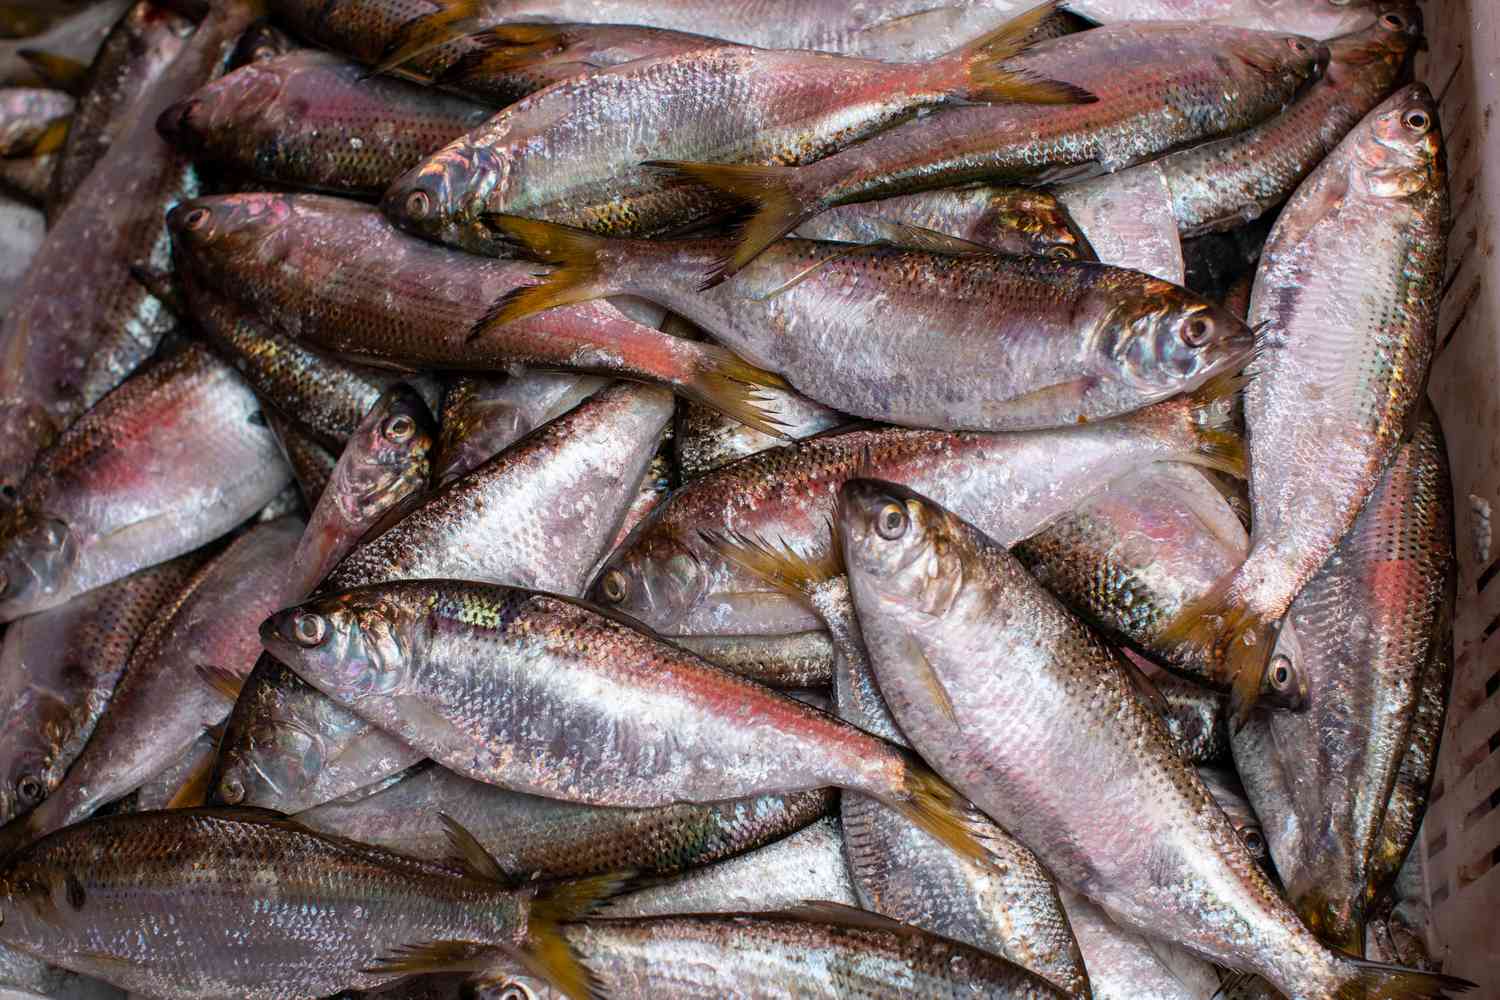
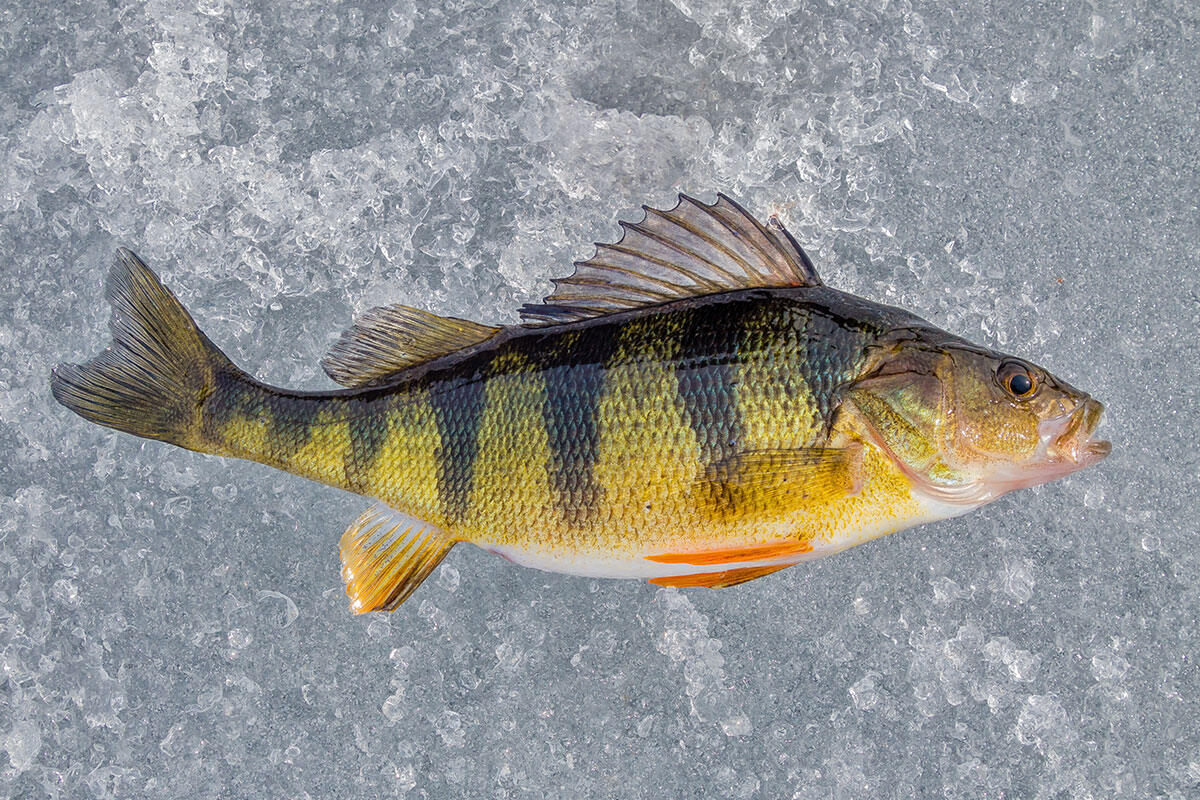
Are you ready to learn how to fillet a white perch? This popular freshwater fish is a favorite among anglers and makes for a delicious meal when prepared properly. Whether you’ve just caught a white perch on your latest fishing trip or picked one up at the local market, knowing how to fillet it is a valuable skill. In this guide, we’ll take you through the steps to fillet a white perch like a pro.
What You’ll Need
Before getting started, gather the following items:
- Sharp fillet knife
- Cutting board
- Bowl of water
- Paper towels
Step 1: Prepare the Work Area
Find a clean and well-lit area to work in. Lay out your cutting board and ensure it’s stable and secure. Having a clear workspace will make the process much easier and safer.
Step 2: Clean the Fish
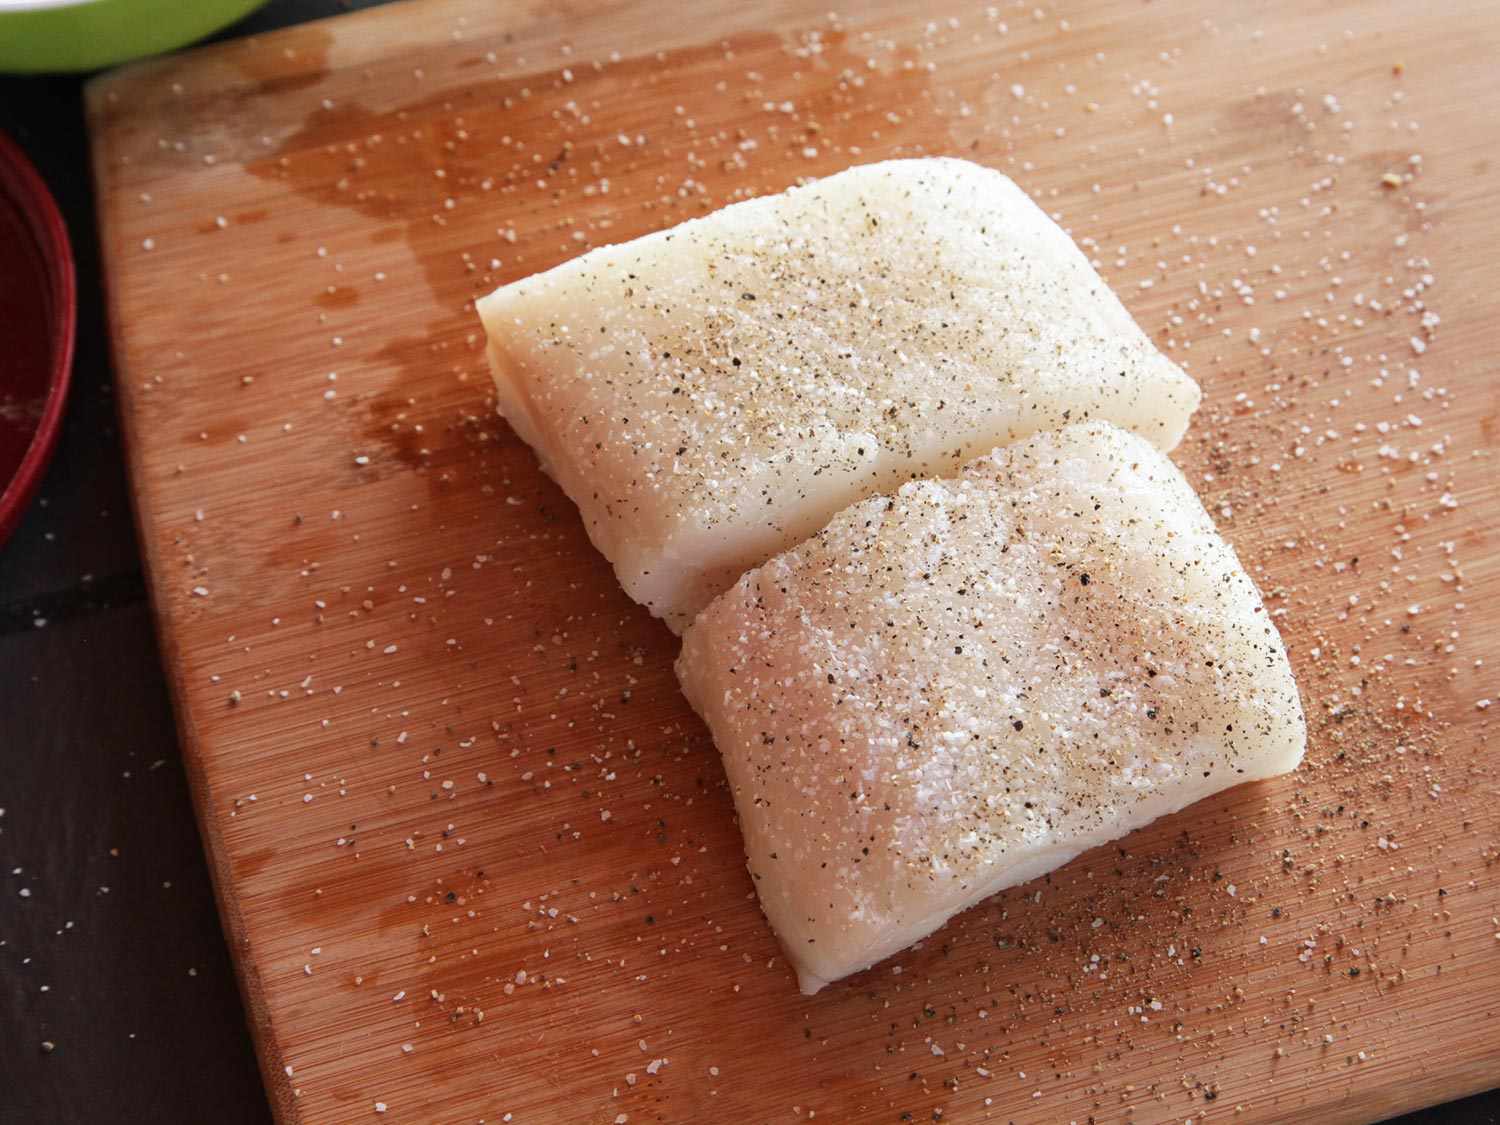
Rinse the white perch under cold water and pat it dry with paper towels. Make sure to remove any scales, slime, or debris from the skin.
Step 3: Make the Initial Cut
Lay the white perch on its side and make a deep incision behind the gills and pectoral fin, cutting down to the backbone. Be sure to use a sharp fillet knife for this step.
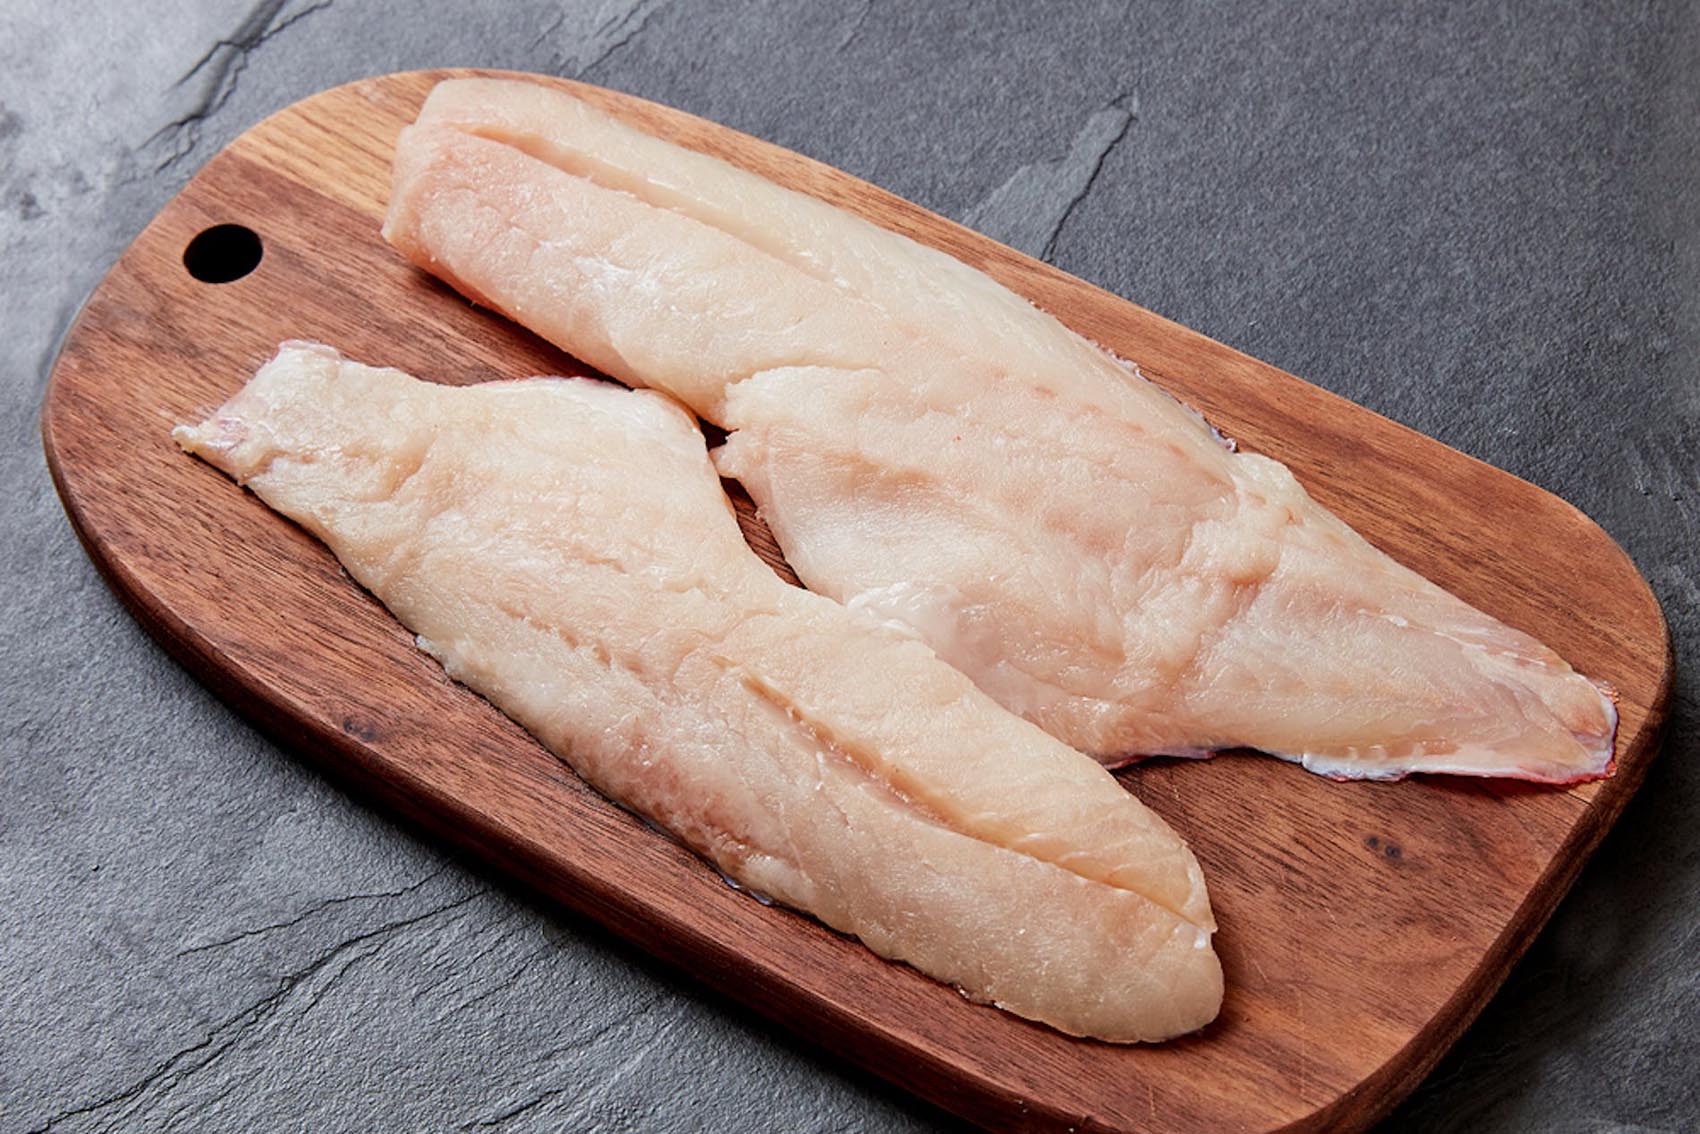
Step 4: Remove the Fillet
Starting at the head, run the knife along the backbone, using smooth and steady strokes to separate the fillet from the bones. Work your way down the length of the fish, following the natural contours.
Step 5: Repeat on the Other Side
Turn the fish over and repeat the process to remove the second fillet. Take your time and be mindful of the bones as you work.
Step 6: Check for Bones
Once both fillets are removed, carefully run your fingers along the flesh to detect any remaining bones. Use tweezers or pliers to remove any stray bones that may be present.
Step 7: Rinse and Dry the Fillets
Give the fillets a final rinse under cold water to remove any lingering scales or debris. Pat them dry with paper towels before proceeding to the next step.
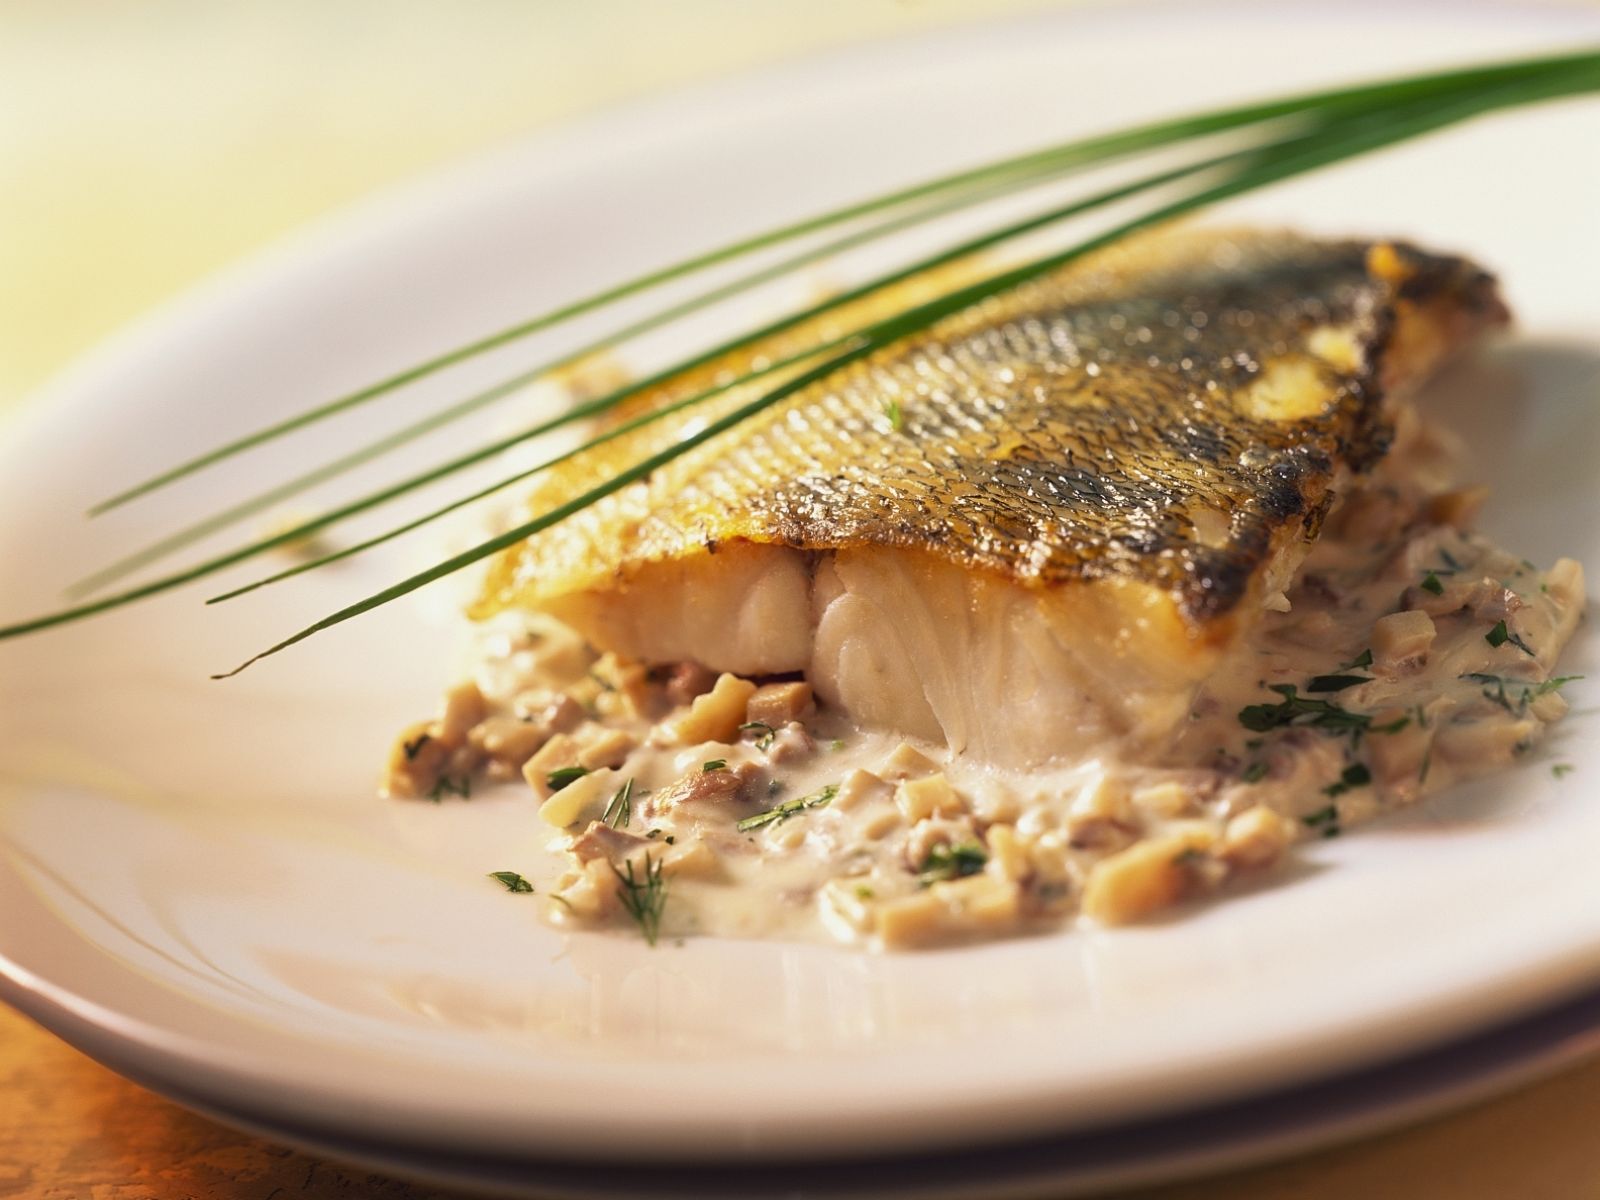
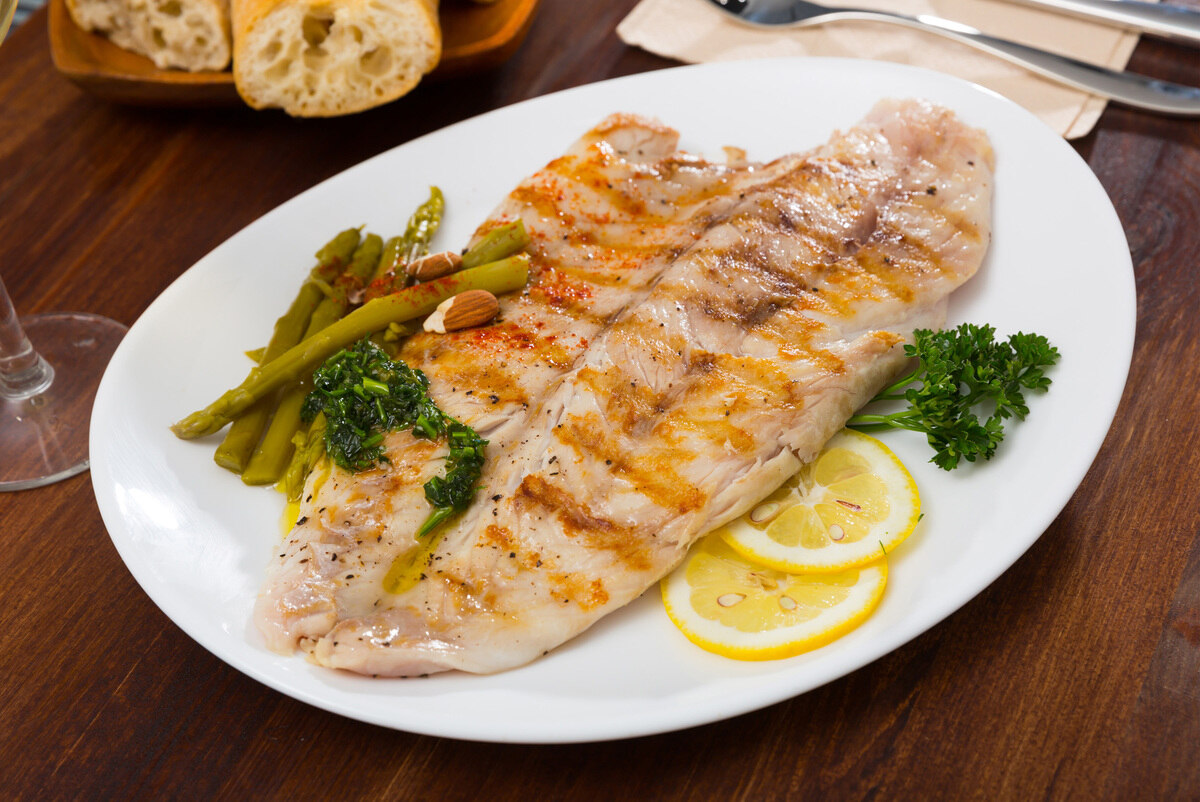
Step 8: Store or Cook the Fillets
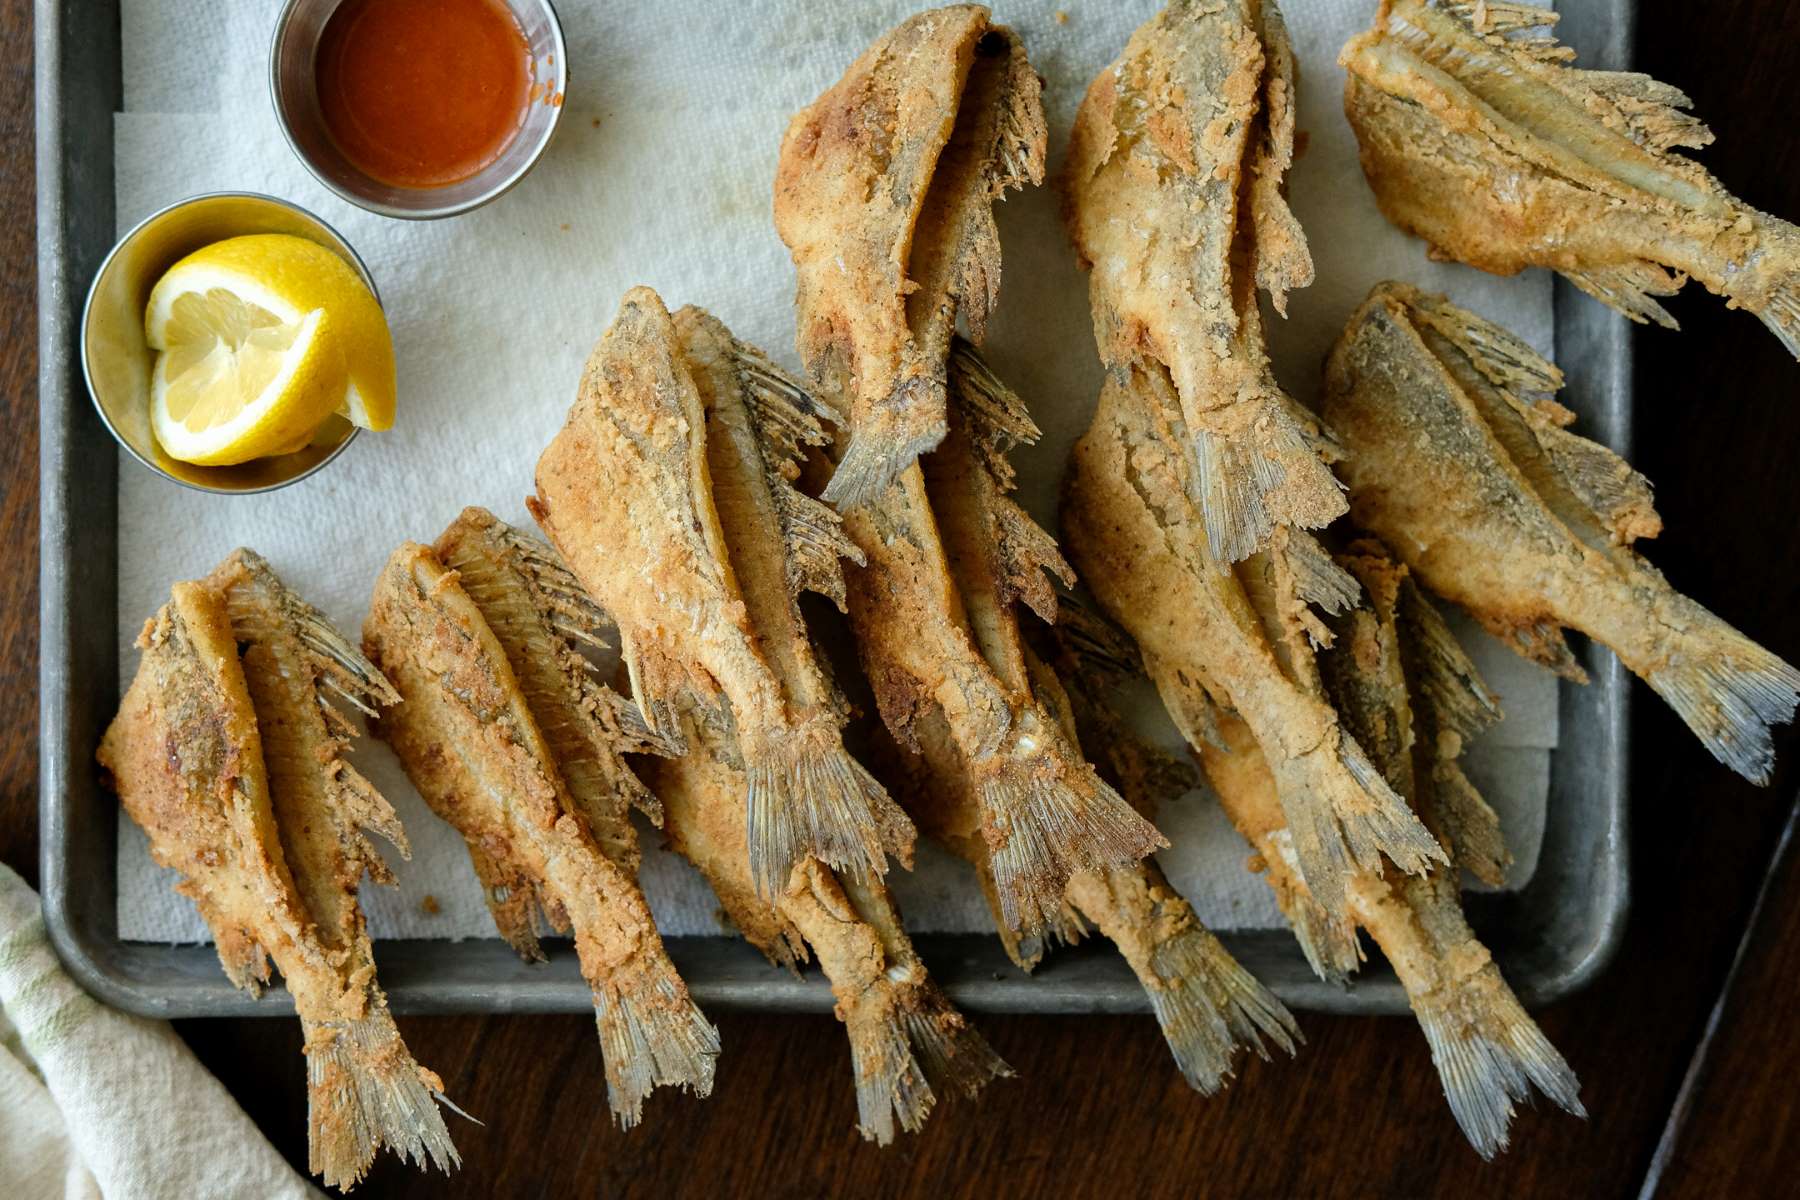
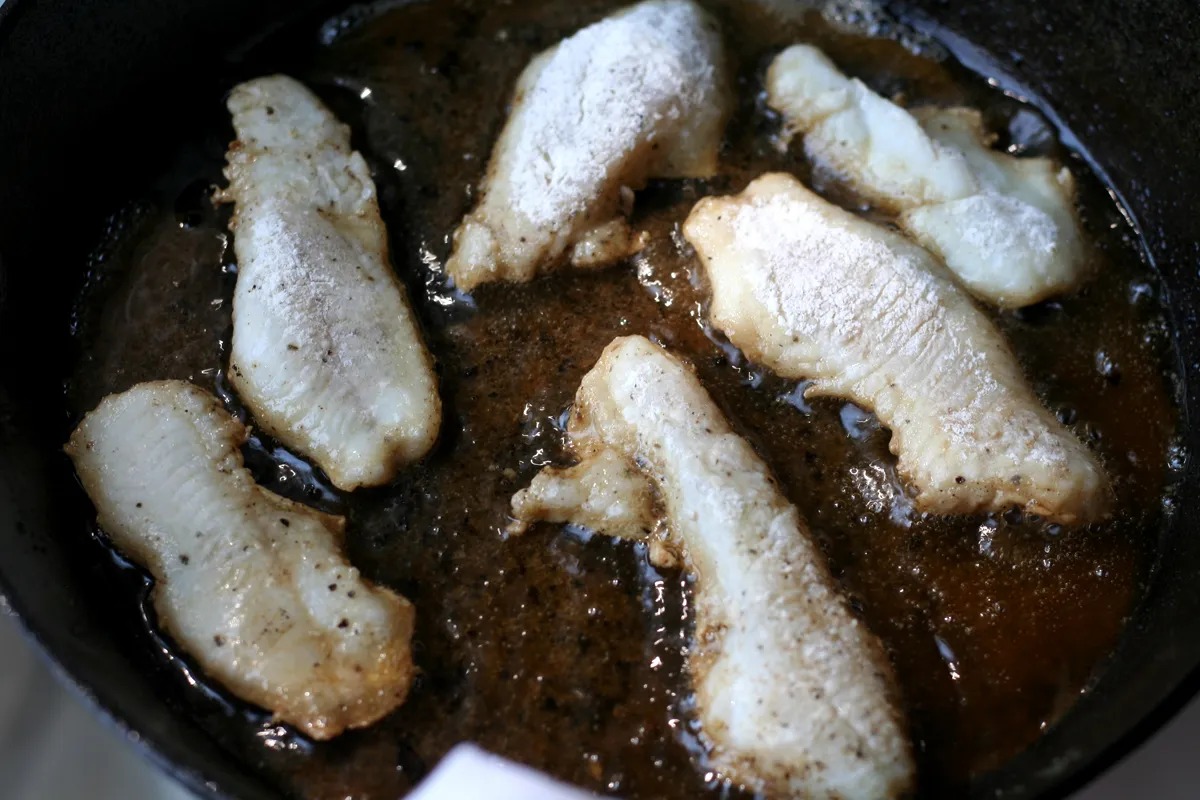
At this point, you can choose to either store the fillets for later use or prepare them for cooking. If storing, place the fillets in an airtight container and keep them refrigerated. When cooking, consider grilling, baking, or pan-searing the fillets for a delicious meal.
Learning how to fillet a white perch takes practice, so don’t be discouraged if it doesn’t come out perfectly the first time. With time and experience, you’ll become more confident in your filleting skills and be able to enjoy fresh white perch whenever you desire.
Was this page helpful?
Related Articles