Step-by-Step Guide on How to Fillet a King Salmon
Filleting a king salmon can be a rewarding experience, especially if you enjoy working with fresh, high-quality seafood. Whether you caught the salmon yourself or purchased it from a local fish market, knowing how to properly fillet the fish is essential for preparing delicious meals at home. In this guide, we will walk you through the process of filleting a king salmon, from start to finish.
What You’ll Need:
- Sharp fillet knife
- Cutting board
- Salmon descaling tool (optional)
- Large bowl or container for discarding scraps
- Patience and a steady hand
Step 1: Prepare Your Workstation
Before you begin, make sure your workstation is clean and organized. Lay out all of your tools and ensure that you have enough space to work comfortably. It’s also a good idea to have a trash bin nearby for easy disposal of scraps.
Step 2: Scale and Gut the Salmon (Optional)
If the salmon has not been scaled and gutted, you will need to do this first. Use a salmon descaling tool to remove the scales, working from the tail towards the head. Next, carefully cut open the belly of the fish and remove the internal organs. Rinse the cavity with cold water and pat the fish dry with paper towels.
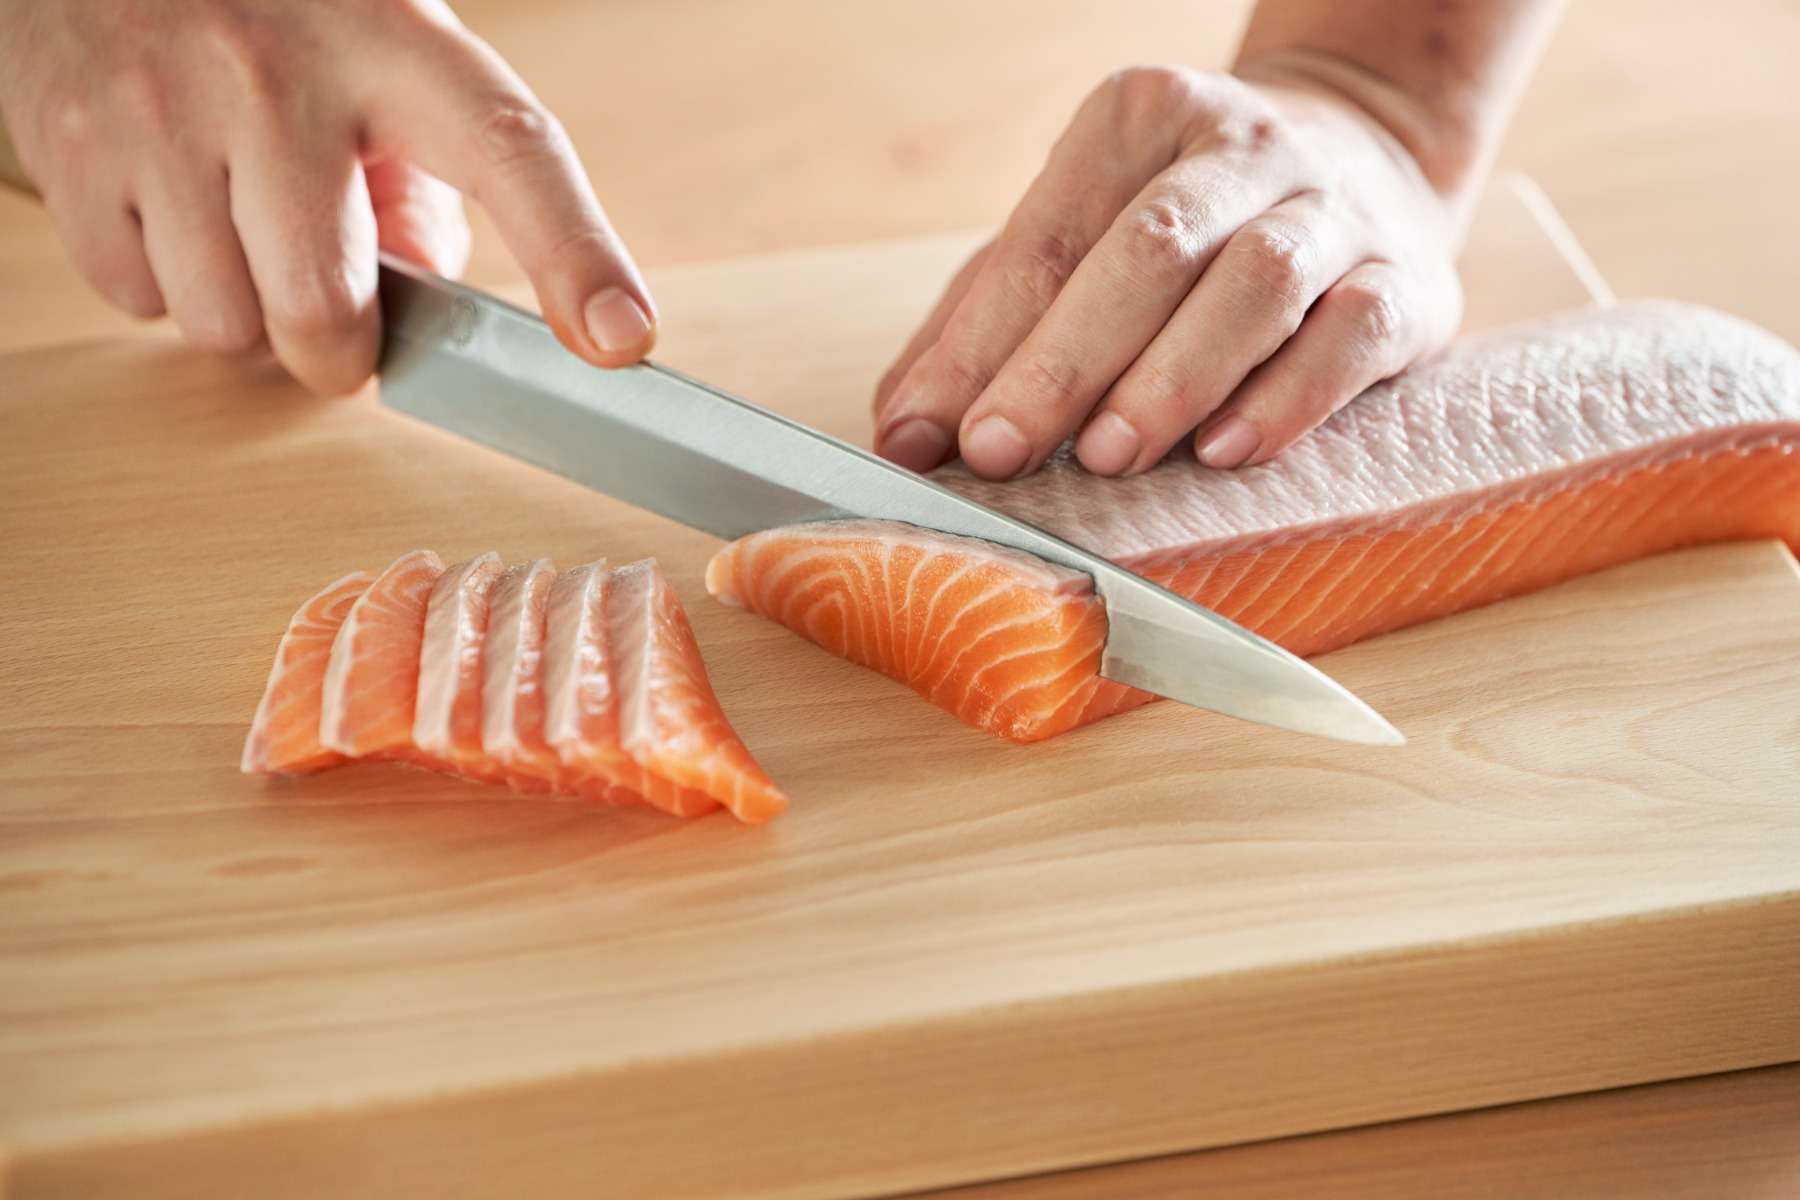
Step 3: Begin the Filleting Process
Lay the salmon on the cutting board with the belly facing up. Using a sharp fillet knife, make a shallow incision behind the gills and pectoral fin, cutting down to the backbone. Turn the knife and run it along the backbone towards the tail, using smooth and steady strokes. As you do this, gently lift the fillet away from the bones to ensure a clean cut.
Step 4: Remove the First Fillet
Once you have cut along the entire length of the fish, carefully lift the first fillet away from the bones. Use the knife to separate the fillet from the ribcage, working slowly to avoid any unnecessary waste. Place the first fillet in a clean container or on a separate, clean cutting board.
Step 5: Repeat the Process for the Second Fillet
Turn the salmon over and repeat the same process to remove the second fillet. Remember to take your time and use smooth, deliberate motions to ensure the best results. Once both fillets have been removed, inspect them for any remaining bones or scales, and remove them as needed.
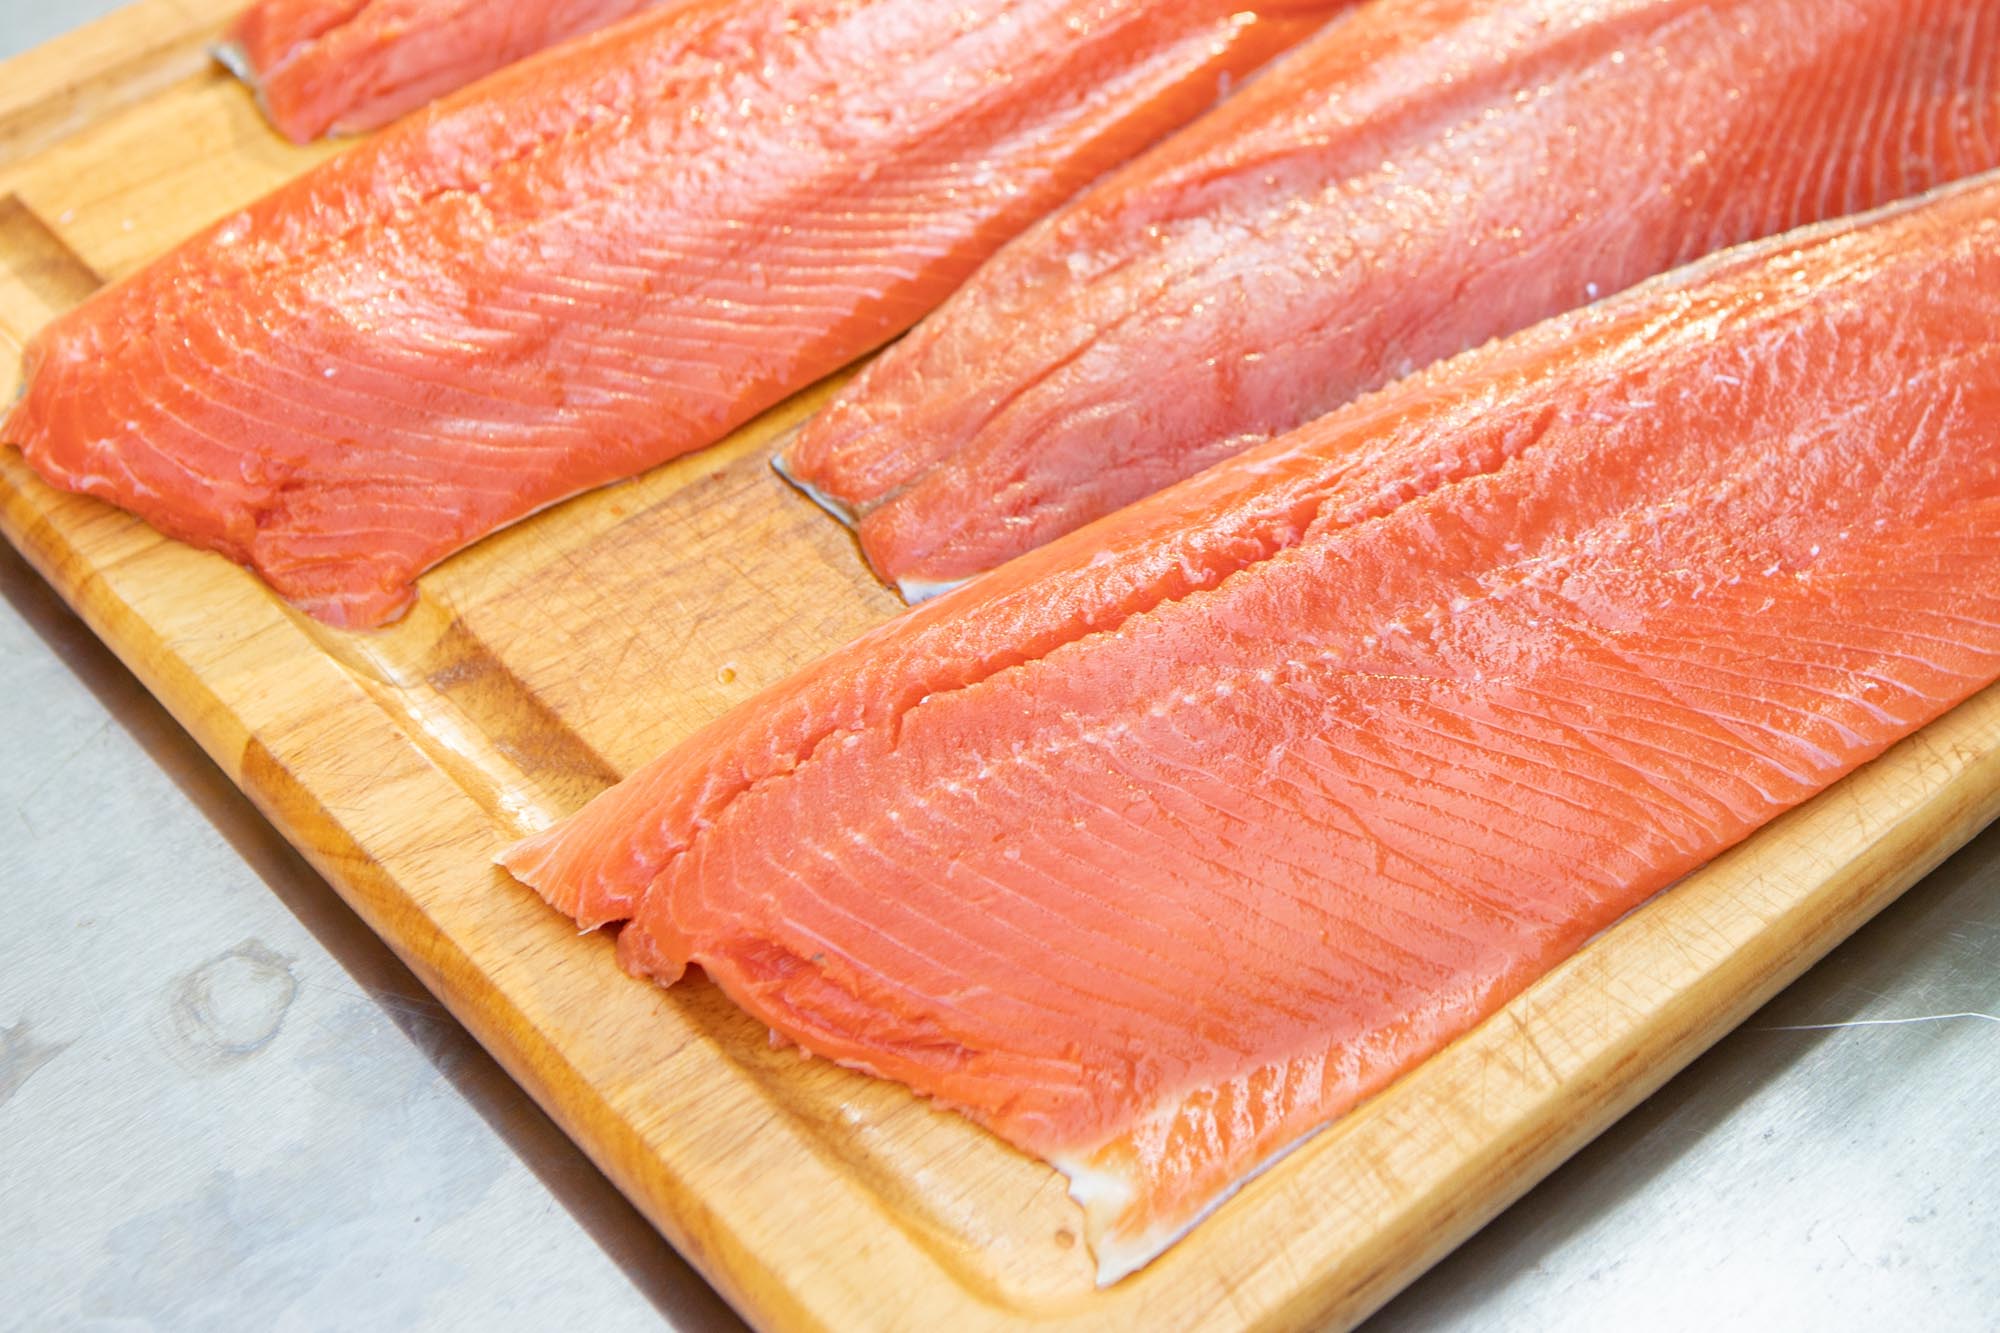
Step 6: Trim and Portion the Fillets
With the fillets removed, you can now trim away any excess fat or uneven edges. If you plan to cook the salmon in portions, use the fillet knife to cut the fish into individual servings. Alternatively, you can leave the fillets whole for larger presentations or specific recipes.
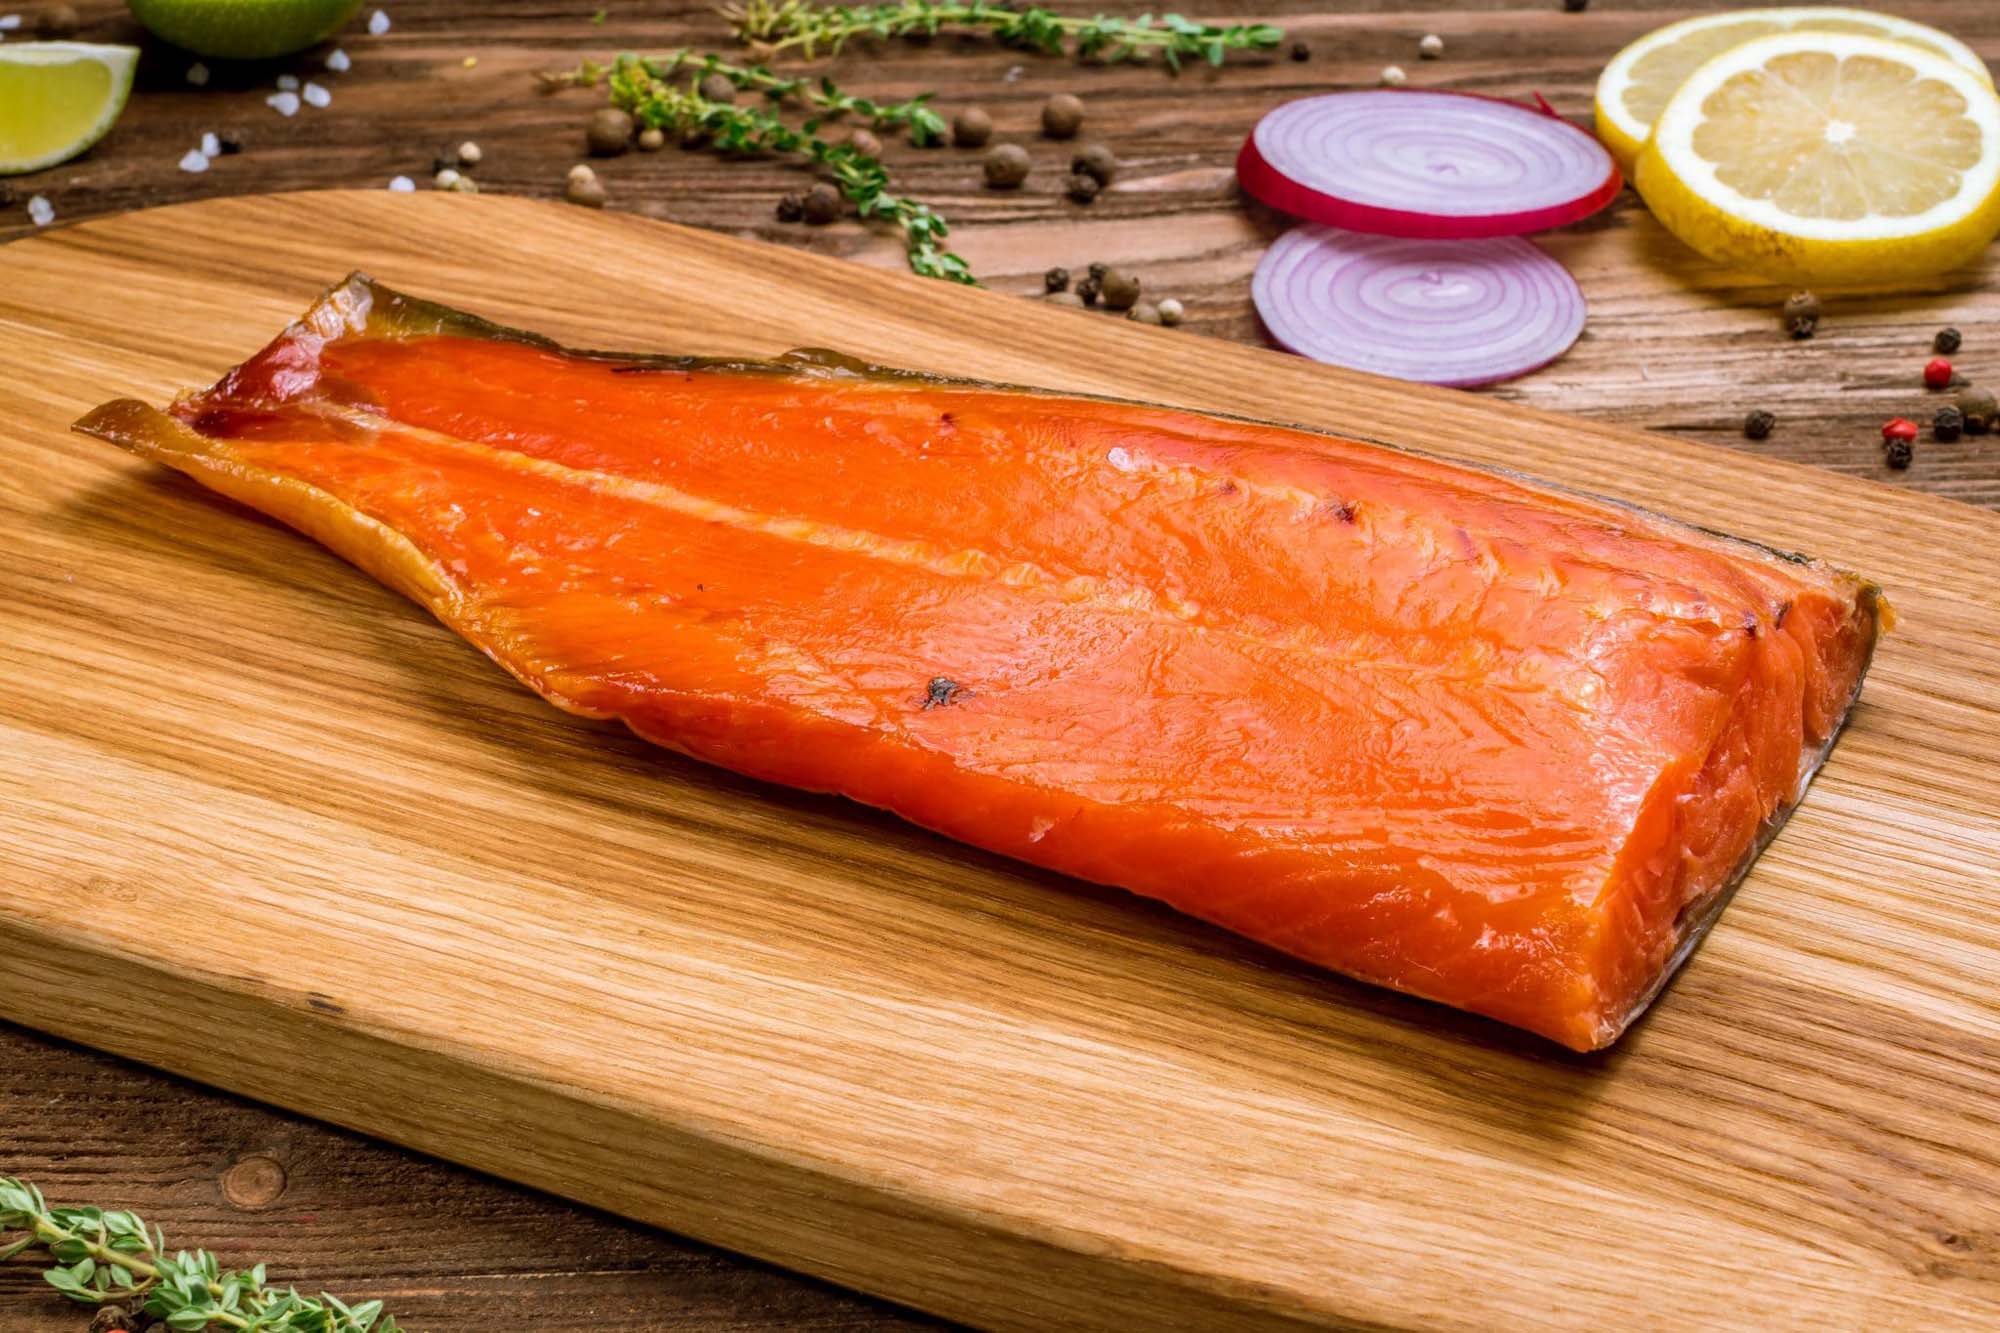
Step 7: Store or Prepare the Fillets
Once the fillets are ready, you can choose to either store them for later use or begin preparing them for a meal. If you are not using the fillets immediately, wrap them tightly in plastic wrap and store them in the refrigerator for up to two days, or in the freezer for longer-term storage.
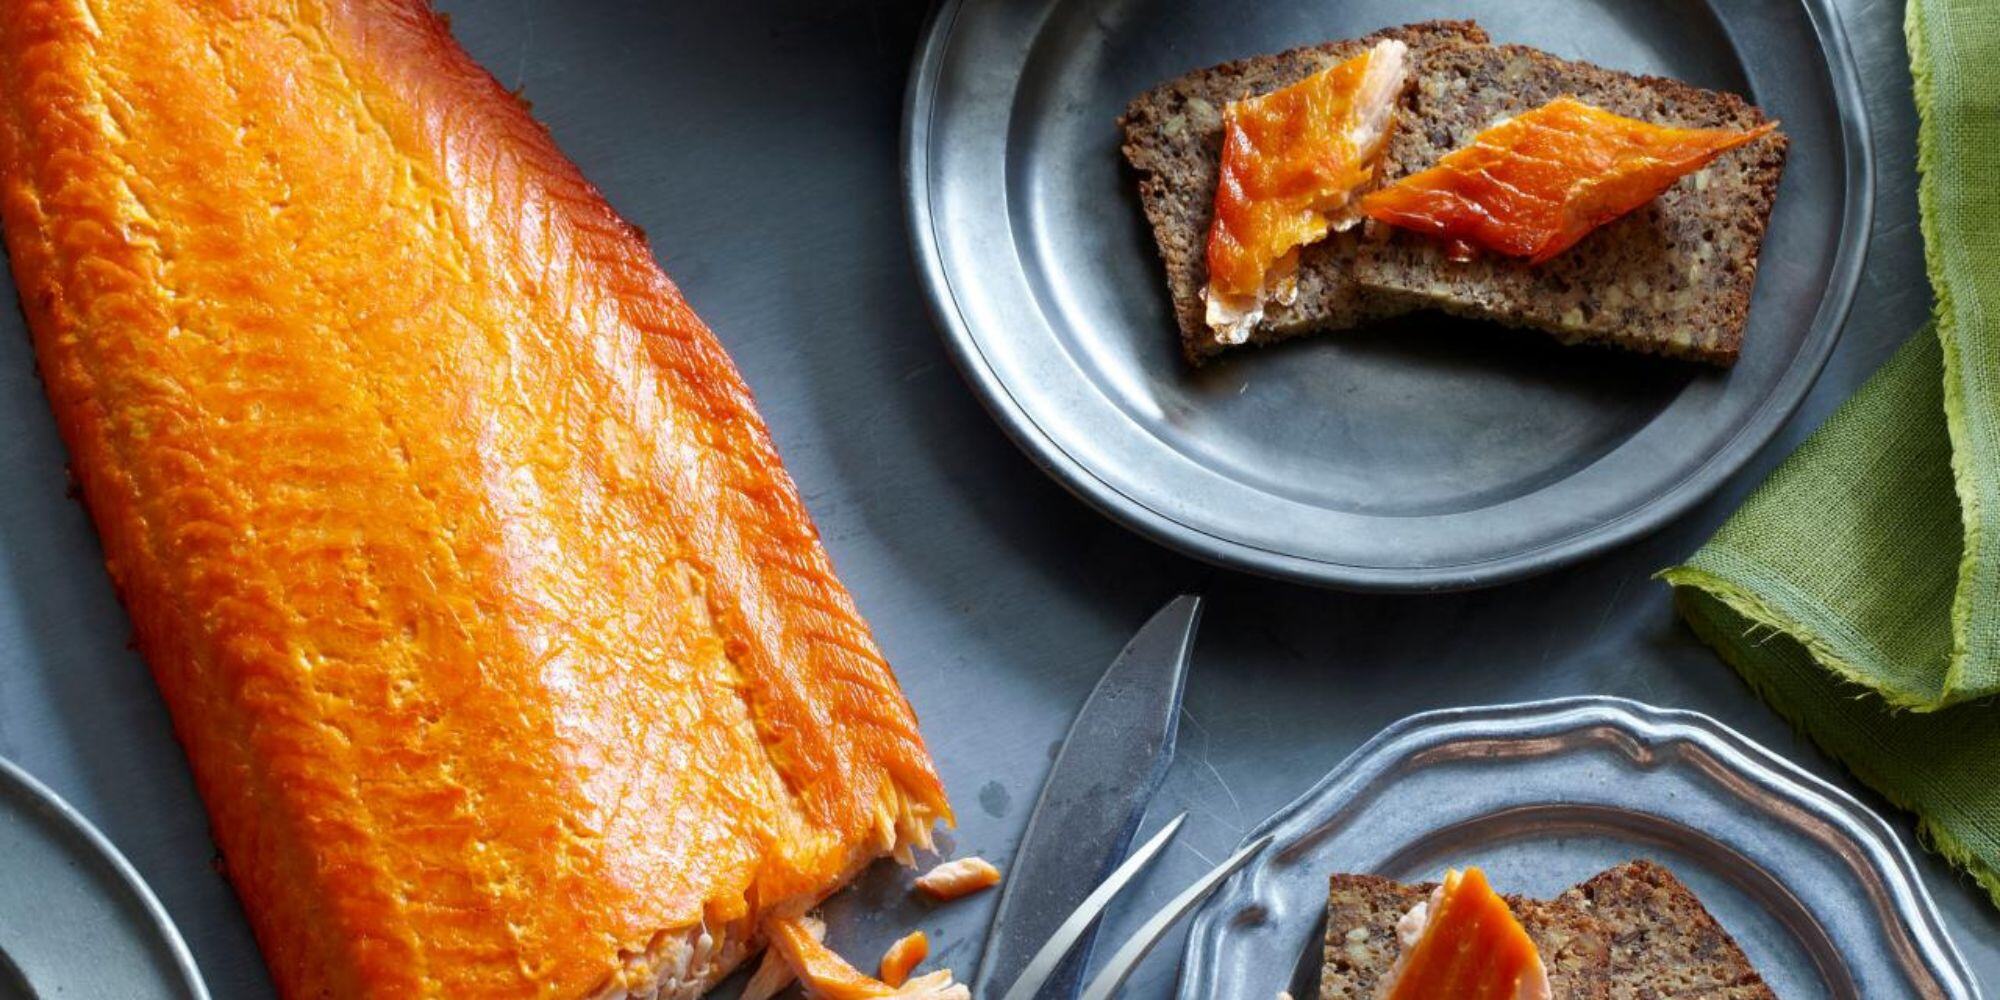
There you have it – a step-by-step guide on how to fillet a king salmon. With a bit of practice and patience, you can master the art of filleting salmon and enjoy the delicious, fresh fillets in your favorite recipes. Happy cooking!
Was this page helpful?
Related Articles