How to Descale and Clean Your Coffee Maker
Nothing beats waking up to the delicious aroma of freshly brewed coffee in the morning. But did you know that over time, mineral deposits and oils from the coffee beans can accumulate in your coffee maker, affecting the taste and performance of your beloved brewer? That’s where descaling and cleaning your coffee maker comes in.
In this article, we will guide you through the steps to effectively descale and clean your coffee maker, ensuring that every cup of coffee you enjoy is as flavorful as possible.
Why Descaling is Important
When you use your coffee maker regularly, mineral deposits from the water you use can build up inside the machine. These deposits, often referred to as “scale,” can affect the temperature and flow of the water, resulting in a weaker or bitter-tasting brew. Descaling helps remove these mineral deposits, ensuring that your coffee maker operates at its best.
Step-by-Step Guide to Descaling and Cleaning
- Read the manufacturer’s instructions: Before starting the descaling process, make sure to read the instructions that came with your coffee maker. Different models may require specific descaling solutions or methods.
- Prepare the descaling solution: There are various descaling solutions available in the market, or you can create a homemade solution using equal parts of water and white vinegar. Mix the solution thoroughly.
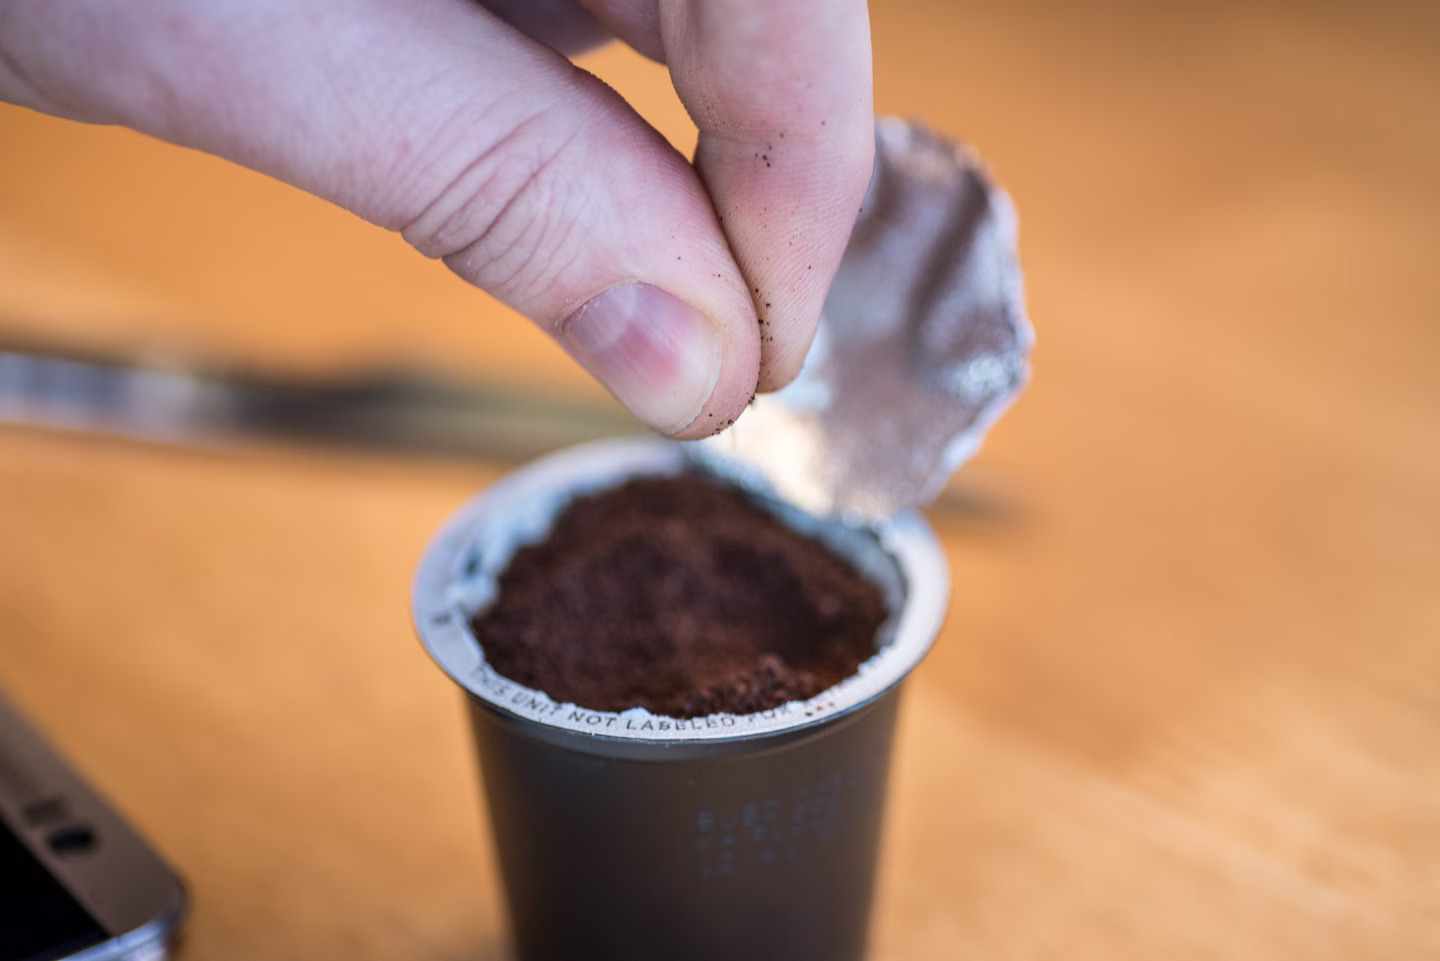
- Empty the coffee maker: Remove any coffee grounds or filters from the machine and discard them. Make sure the carafe is empty as well.
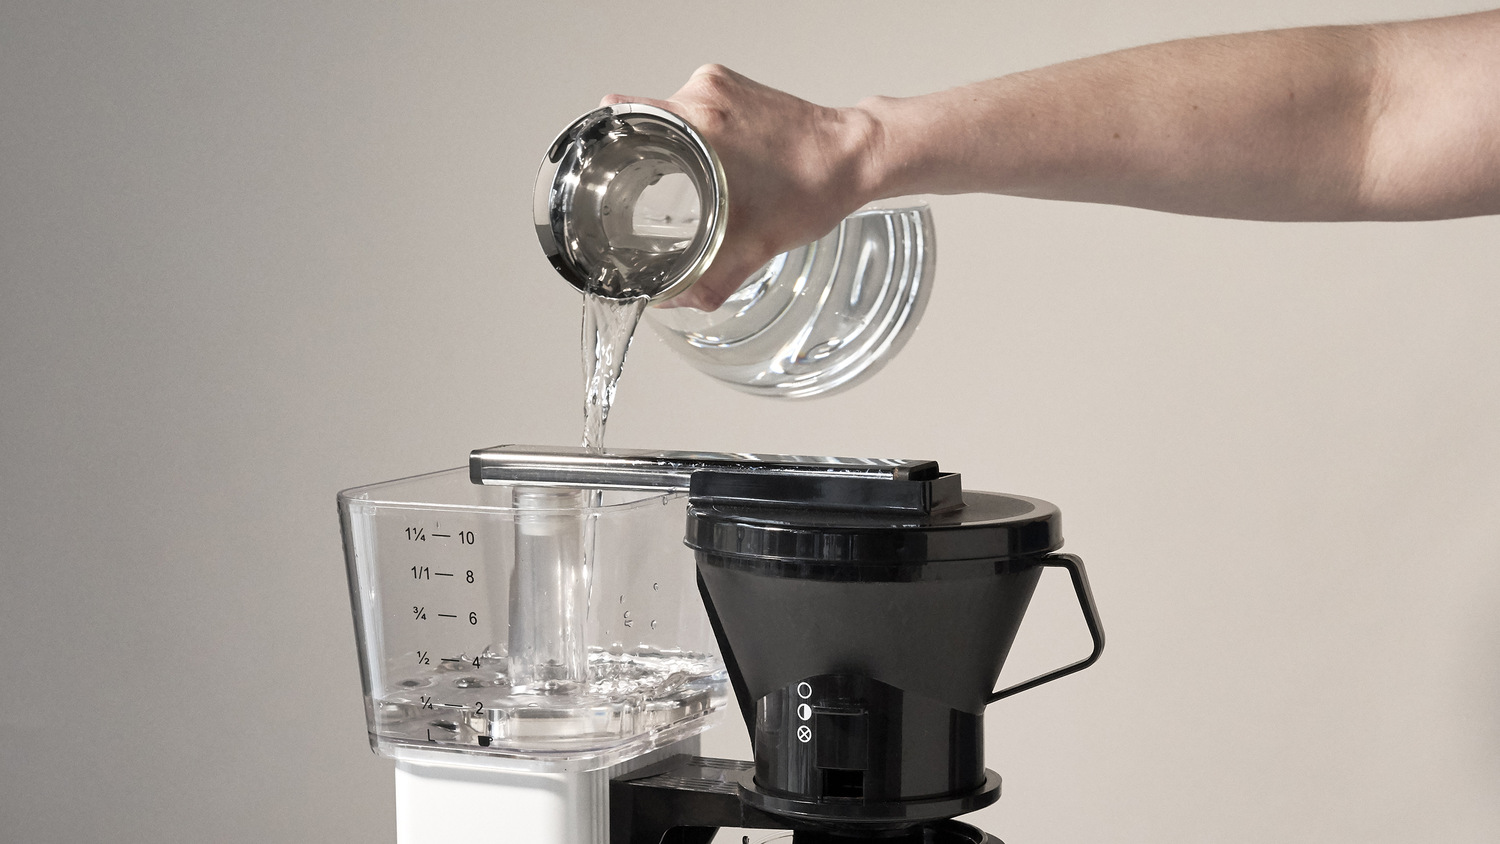
- Run a descaling cycle: Pour the descaling solution into the water reservoir of your coffee maker. Start a brew cycle without adding coffee grounds. Halfway through the cycle, pause the machine and let it sit for about 15 minutes to allow the solution to work its magic.
- Complete the descaling cycle: After the pause, resume the brewing cycle and let the descaling solution run its course. Once the cycle is complete, discard the used solution.
- Rinse the coffee maker: Fill the water reservoir with clean water and run a complete brewing cycle without coffee grounds to rinse away any remaining descaling solution.
- Clean the coffee maker’s exterior: While the coffee maker is rinsing, take the opportunity to wipe down the exterior with a damp cloth. This will remove any dirt or coffee stains, keeping your machine looking pristine.
- Final rinse: Repeat the rinsing process with clean water one more time to ensure no residue of the descaling solution is left behind.
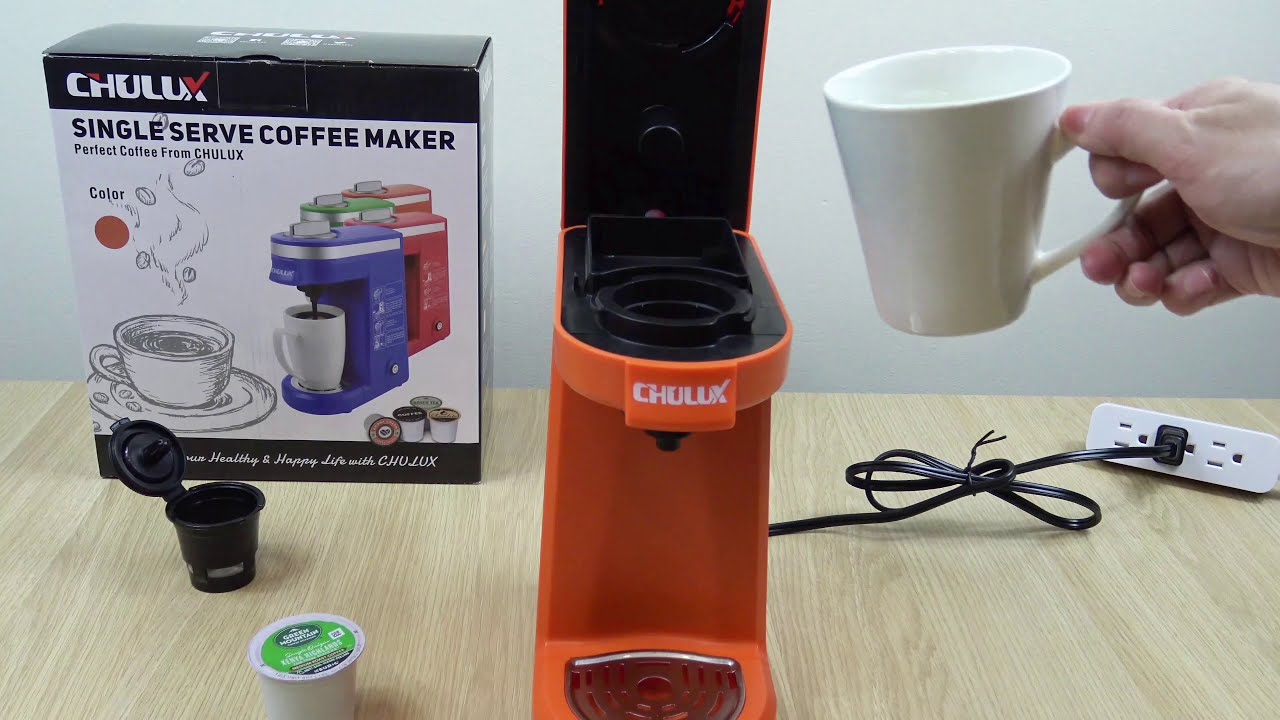
- Reassemble and enjoy: Once the cleaning process is complete, reassemble all the parts of your coffee maker. Fill the water reservoir with fresh water, add your favorite coffee grounds, and brew a delicious cup of coffee.
Regular Maintenance Tips
To keep your coffee maker in top shape, here are a few additional tips:
- Regularly clean the carafe, filter, and filter basket to prevent the build-up of coffee oils and residue.
- Replace the coffee filters regularly to avoid clogs and ensure optimal water flow.
- Use filtered or distilled water to minimize mineral build-up in the machine.
- Check the manufacturer’s recommendations for any specific maintenance or cleaning procedures for your specific coffee maker model.
By following these steps and implementing regular maintenance, you can enjoy a consistently great cup of coffee every day. Descaling and cleaning your coffee maker not only improves the taste of your brew but also prolongs the lifespan of your machine. So, give your coffee maker the care it deserves and enjoy the perfect cup of joe every morning!
Was this page helpful?
Related Articles