Get Your Garden Ready with These Expert Tips on How to Cut Seed Potatoes
Are you ready to start planting your own potatoes? Before you get your hands dirty, it’s essential to know how to cut seed potatoes properly. Cutting seed potatoes not only helps you maximize your harvest but also ensures healthy and vigorous plants. In this article, we will guide you through the step-by-step process to help you get the most out of your potato-growing venture. Let’s get started!
Why Should You Cut Seed Potatoes?
Before we dive into the cutting process, you might be wondering why we need to cut seed potatoes. Well, cutting seed potatoes provides several benefits, including:
- Increased Yield: By cutting seed potatoes into smaller pieces, you can multiply your potato harvest. Each cut piece can grow into a new plant, leading to a higher yield.
- Disease Prevention: Seed potatoes may carry diseases or pests, and cutting them allows you to remove any infected or damaged portions, reducing the risk of spreading diseases to healthy plants.
- Faster Sprouting: Cutting encourages sprouting since each cut piece has several “eyes” or bud points from which new sprouts will emerge. This accelerates the growth process.
- Space Optimization: Cutting seed potatoes allows you to distribute them more efficiently in your garden. Smaller pieces can be planted more closely together, maximizing the use of space.
The Step-by-Step Guide to Cutting Seed Potatoes
Now that you know the benefits let’s dive into the process of cutting seed potatoes:
- Choose the Right Potatoes: Select healthy, certified seed potatoes. Avoid using grocery store potatoes, as they may be treated with chemicals that prevent sprouting.
- Prepare Your Tools: Gather a sharp and clean knife, a cutting board, and a tray or container to hold the cut seed potatoes.
- Inspect and Sanitize: Examine each potato for any signs of disease, soft spots, or pests. If you find any, discard those potatoes to prevent spreading issues to healthy plants. Sanitize your knife and cutting board between each potato to minimize the risk of contamination.
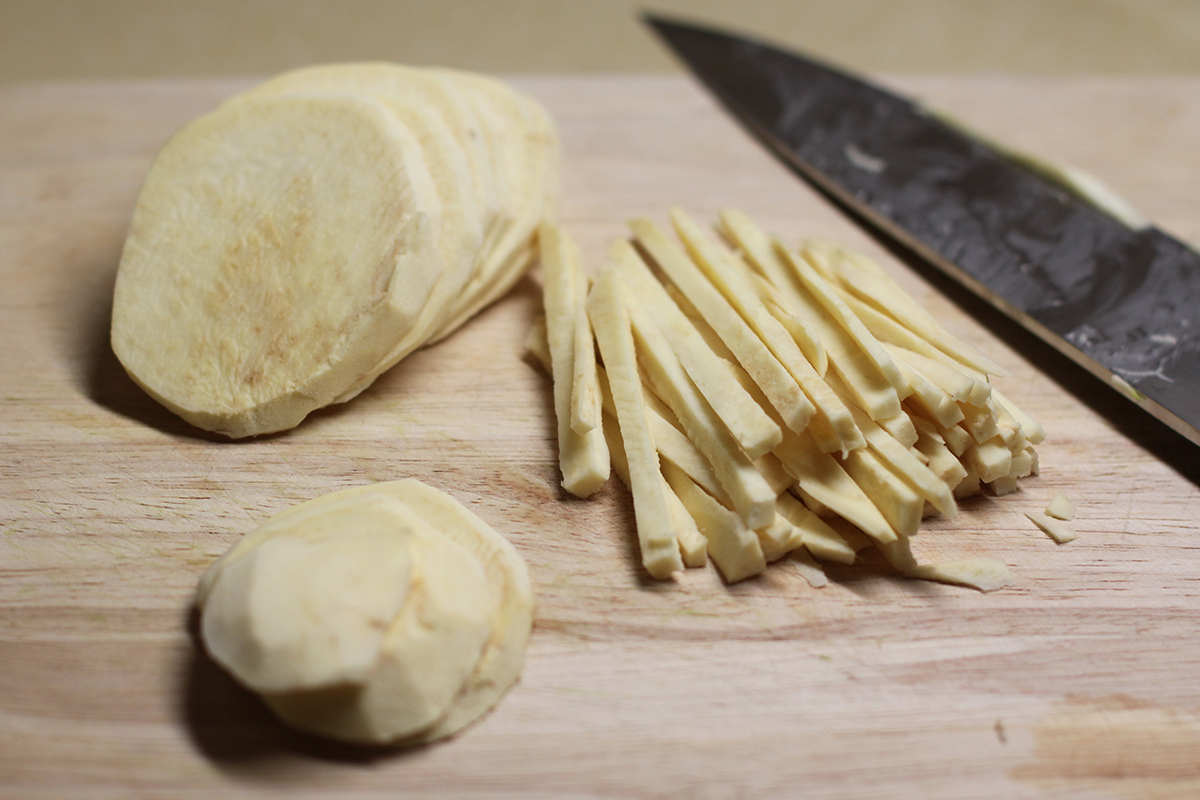
- Cut into Pieces: Carefully cut the seed potatoes into pieces, ensuring that each piece has at least one or two healthy “eyes” or bud points. Aim for pieces that are roughly 2 inches in size. Avoid cutting them too small, as they may not have enough energy reserves to grow.
- Dry the Cut Potatoes: Place the cut seed potatoes in a well-ventilated area for a few days, allowing them to dry and form a protective layer. This will prevent rotting and increase their chances of successful planting.
Planting Your Cut Seed Potatoes
Once your seed potatoes are cut and dried, it’s time to plant them in your garden. Here are a few tips to ensure successful planting:
- Choose a sunny spot in your garden with well-draining soil.
- Plant your cut seed potatoes with the “eyes” facing up, around 4-6 inches deep in the soil.
- Space the planting holes approximately 8-12 inches apart to allow room for growth.
- Water the newly planted seed potatoes thoroughly to help settle the soil and encourage sprouting.
- As the plants grow, regularly add soil or mulch around the stems to protect the developing tubers from sunlight. This prevents the potatoes from turning green or getting damaged.
- Keep the soil consistently moist but avoid overwatering, as it can lead to rotting.
- Harvest your potatoes when the plants have died back and the skins have hardened. Gently dig them up from the soil.
By following these simple steps to cut and plant your seed potatoes, you’ll be well on your way to enjoying a bountiful harvest of delicious homegrown potatoes. Remember, patience and care are key to successful potato growing. So get ready to dig in and enjoy the satisfaction of harvesting your very own spuds!
Was this page helpful?
Read Next: How To Cut Sweet Potato Wedges
Related Articles