Incredible Flavor and Easy Preparation: Cooking Rotisserie Chicken in Your Rotisserie Oven
There’s something magical about rotisserie chicken. The perfect blend of juicy meat, crispy skin, and mouthwatering flavors is hard to resist. And the best part? You can easily make it at home using your trusty rotisserie oven. In this post, we’ll walk you through the steps to achieve that irresistible rotisserie chicken goodness in the comfort of your own kitchen.
What You’ll Need:
- A whole chicken (around 3-4 pounds)
- Your favorite seasonings and herbs
- Olive oil
- Kitchen twine
- A rotisserie oven
Step 1: Preparing the Chicken
The first step in cooking rotisserie chicken is to prepare the bird for the oven. Start by rinsing the chicken under cold water and patting it dry with paper towels. This helps ensure crispy skin once it’s cooked. Next, season the chicken generously with your favorite blend of herbs, spices, and seasonings. Some popular options include garlic powder, paprika, thyme, rosemary, and black pepper. Get creative and experiment with flavors that excite your taste buds!
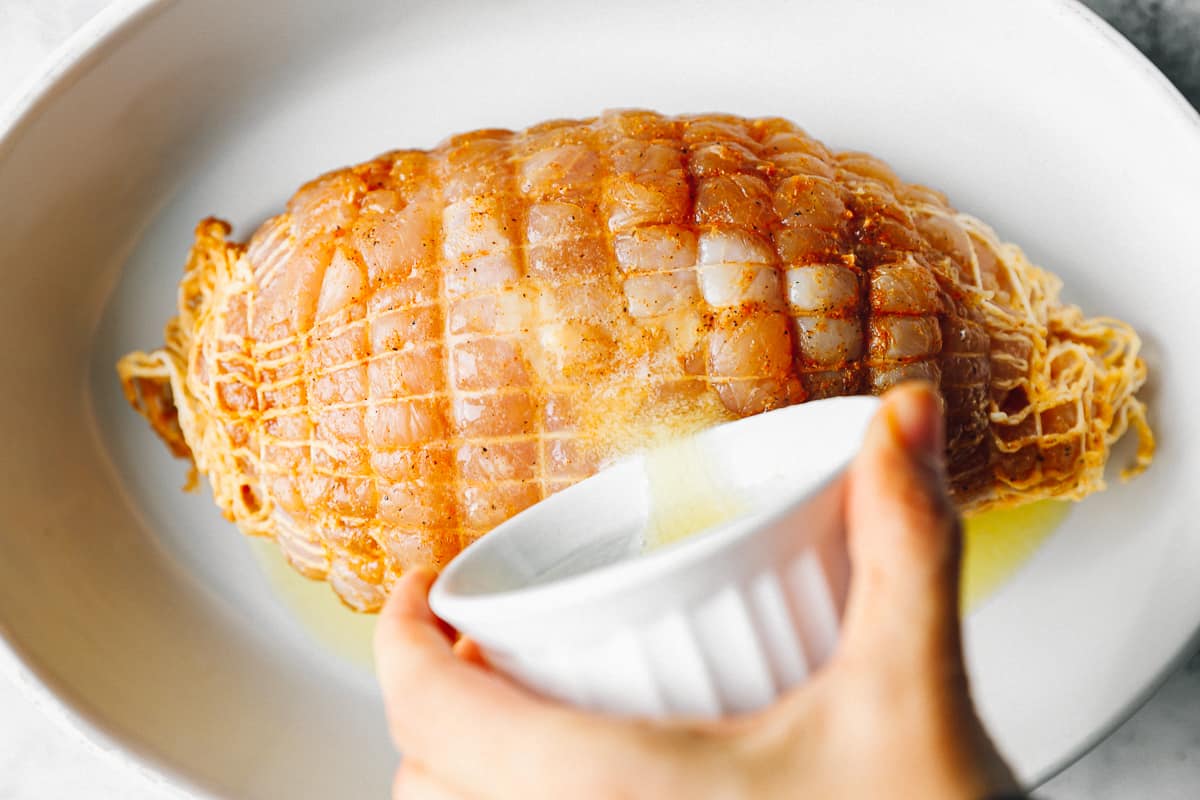
Step 2: Trussing the Chicken
To ensure even cooking and to keep the chicken intact on the rotisserie, trussing is essential. This involves tying the chicken with kitchen twine to hold the wings and legs close to the body. Trussing also helps maintain the chicken’s natural shape, resulting in an appealing presentation once it’s done. Make sure to tuck the wings behind the back and tie the legs securely with the twine.
Step 3: Preparing the Rotisserie Oven
Preheat your rotisserie oven according to the manufacturer’s instructions. Typically, this involves setting the temperature to around 350°F (175°C). While the oven is preheating, lightly brush the grates with olive oil to prevent the chicken from sticking and promote a beautiful golden crust.
Step 4: Cooking Time
Gently place the trussed chicken onto the rotisserie rod, making sure it’s secured in place. Insert the rod into the rotisserie oven and let the magic begin! Keep an eye on the chicken as it rotates, basting it occasionally with pan drippings or marinade if desired. The cooking time will vary depending on the size of the chicken, but as a general guideline, a 3-4 pound chicken will take approximately 1.5-2 hours to cook until the internal temperature reaches 165°F (74°C).
Step 5: Finishing Touches
Once the chicken is cooked to perfection, carefully remove the rotisserie rod from the oven. Let the chicken rest for a few minutes to allow the juices to redistribute, resulting in a moist and tender final product. Carve the chicken into pieces, and it’s ready to be served!
The Versatility of Rotisserie Chicken
Aside from enjoying the mouthwatering rotisserie chicken as is, there are countless ways to incorporate it into a variety of meals. Here are a few ideas to get you started:
- Classic Rotisserie Chicken Dinner: Serve the chicken with your favorite side dishes, such as mashed potatoes, roasted vegetables, or a fresh salad.
- Tacos or Wraps: Shred the chicken and use it as a filling for delicious tacos or wraps. Top with salsa, guacamole, or your preferred toppings.
- Chicken Salad: Chop the chicken into bite-sized pieces and mix it with mayonnaise, celery, and seasonings for a delightful chicken salad. Serve it on a bed of greens or as a sandwich.
- Chicken Soup: Simmer the chicken carcass with vegetables, herbs, and stock to make a comforting homemade chicken soup.
With rotisserie chicken, the possibilities are endless. Let your culinary creativity soar!
Wrapping Up
Cooking rotisserie chicken in a rotisserie oven is a true game-changer. Not only does it infuse incredible flavors into the meat, but it also offers a convenient and fuss-free cooking experience. Whether you’re hosting a family dinner or craving a delicious meal, rotisserie chicken never disappoints. Follow these simple steps, and you’ll be savoring the taste of perfection in no time!
Was this page helpful?
Read Next: How To Cook Short Ribs In Dutch Oven
Related Articles