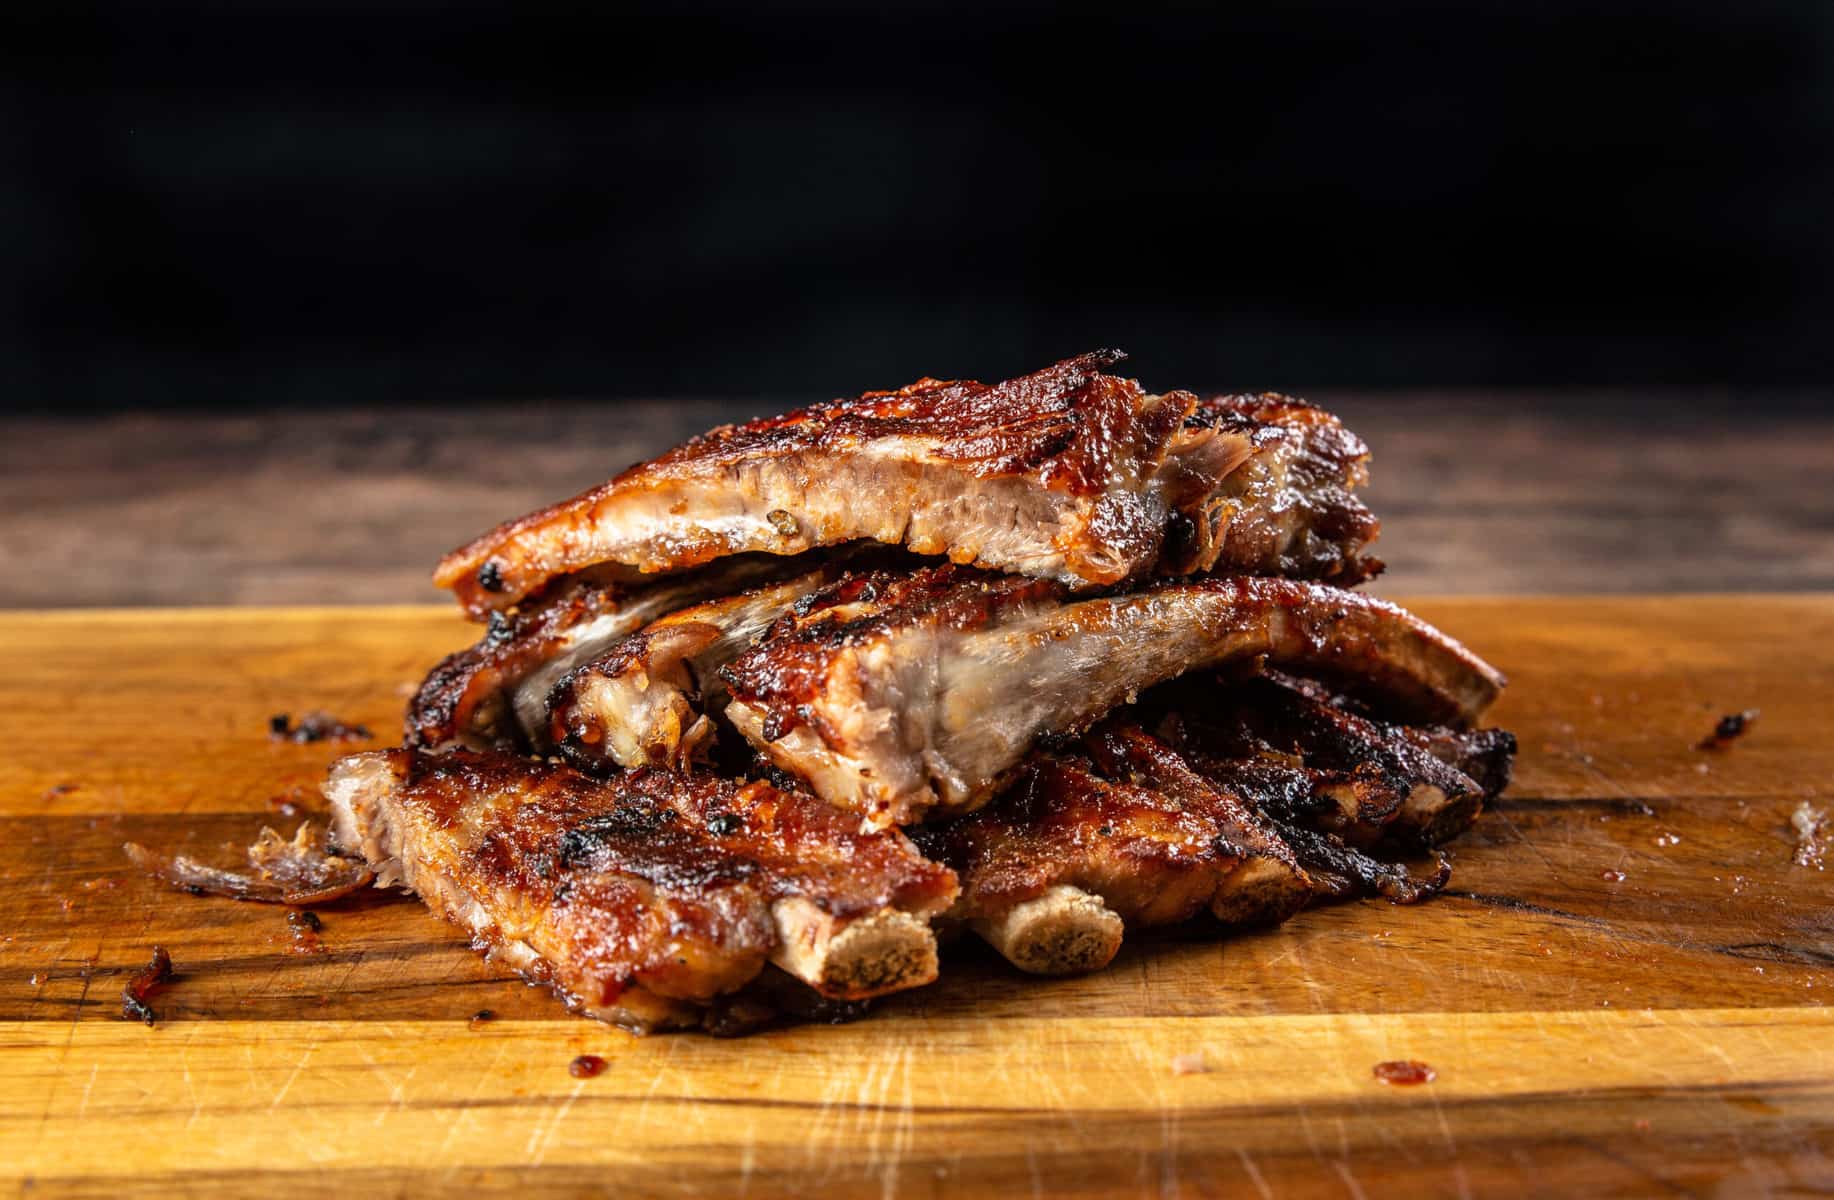
Unlock the Flavors of Crispy Chicken Wings with the Ninja Foodi
Calling all chicken wing lovers! If you’re craving flavorful, crispy chicken wings that are perfectly cooked every time, the Ninja Foodi is your secret weapon in the kitchen. This versatile kitchen gadget combines the power of a pressure cooker and an air fryer, allowing you to create deliciously tender and crispy wings without the hassle of deep frying. Whether you’re hosting a game night or simply treating yourself to a satisfying meal, let’s dive into the step-by-step process of cooking mouthwatering chicken wings using the Ninja Foodi.
Ingredients You’ll Need
- 2 pounds of chicken wings
- 1 tablespoon of olive oil
- 2 teaspoons of your favorite spice rub
- 1/2 teaspoon of salt
- Optional: your preferred sauce for tossing the wings
Step 1: Prep the Chicken Wings
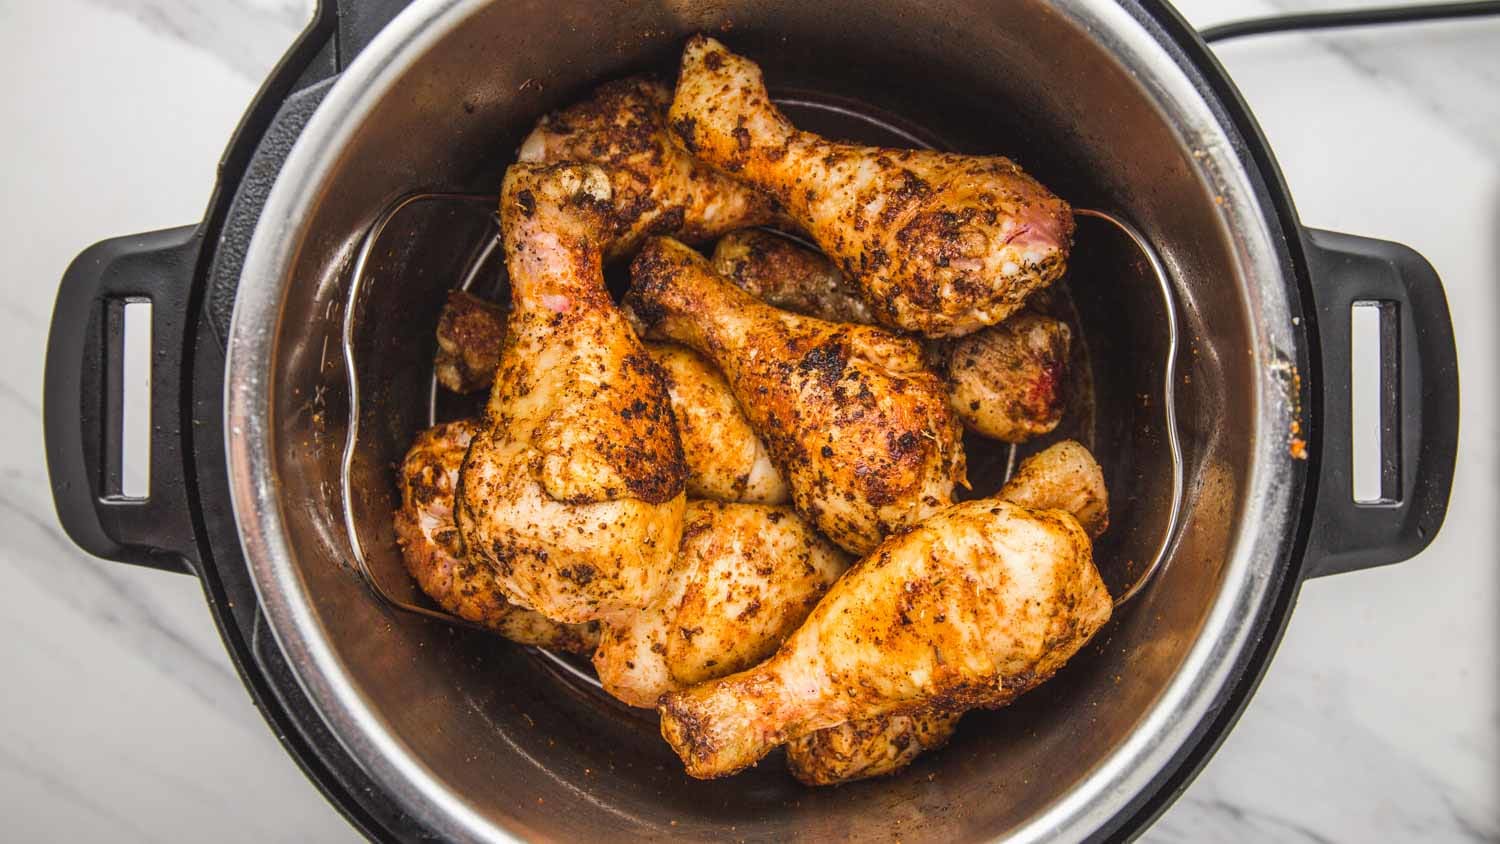
Before cooking your chicken wings, it’s important to properly prepare them. Start by patting the wings dry with a paper towel to remove any excess moisture. This will help ensure a crispier end result. Next, toss the wings in a bowl with olive oil, your favorite spice rub, and salt. Feel free to get creative with the spices, such as using a combination of paprika, garlic powder, onion powder, and cayenne pepper for a flavorful kick.
Step 2: Set Up the Ninja Foodi
The Ninja Foodi offers two cooking methods – pressure cooking and air frying. To achieve the perfect texture for your chicken wings, we’ll be using both functions. Start by placing the pressure cooker lid on the Ninja Foodi and set the vent to the sealing position. This will allow the wings to cook under pressure and lock in their natural juices. Next, attach the crisping lid and preheat the air frying function at 400°F (200°C) for a few minutes.
Step 3: Pressure Cook to Tenderize
Once the Ninja Foodi is preheated, it’s time to pressure cook the chicken wings. Place the wings on the rack in a single layer, making sure not to overcrowd them. Close the pressure cooker lid and select the pressure cook function. Set the timer for 5 minutes. After the pressure cooking is complete, carefully release the pressure by turning the vent to the venting position. Be cautious as the steam releases.
Step 4: Crisp to Perfection
With the wings now tender, it’s time to achieve that irresistible crispiness. Remove the pressure cooking lid and replace it with the crisping lid. Adjust the temperature to 400°F (200°C) and air fry the wings for approximately 10-15 minutes, or until they reach your desired level of crispiness. Remember to flip the wings halfway through cooking to ensure even browning.
Step 5: Optional Toss in Sauce
If you’re a fan of saucy wings, this step is for you. Whether you prefer classic buffalo sauce, tangy barbecue, or a sweet and spicy glaze, now is the time to toss your wings in your desired sauce. Once coated, return the sauce-coated wings to the Ninja Foodi for an additional 2-3 minutes of crisping.
Step 6: Serve and Enjoy
As soon as your chicken wings are perfectly crispy and coated in sauce (if desired), they are ready to be served. Arrange them on a platter and get ready to delight your taste buds with each flavorful bite. Serve them alongside your favorite dipping sauces, celery sticks, and carrot sticks for a complete and satisfying meal.
Unlock the Potential of the Ninja Foodi
The Ninja Foodi is a game-changer when it comes to cooking chicken wings. With its combination of pressure cooking and air frying capabilities, you can easily achieve tantalizingly tender, yet crispy wings in a fraction of the time. So, gather your ingredients, fire up your Ninja Foodi, and get ready to impress your friends and family with restaurant-quality wings, right in the comfort of your own home. Happy cooking!
Was this page helpful?
Read Next: How To Cook Frozen Beef Short Ribs In Oven
Related Articles