How To Cook A Roast In A Pressure Cooker
If you’re looking for a quick and delicious way to cook a roast, look no further than your pressure cooker! This versatile kitchen tool can help you achieve tender and flavorful results in a fraction of the time compared to traditional cooking methods. In this blog post, we will guide you through the simple steps to cook a mouthwatering roast in a pressure cooker.
Step 1: Selecting the Right Cut
Choosing the right cut of meat is crucial for a successful roast. Opt for well-marbled cuts like chuck roast, brisket, or bottom round, as they can withstand the pressure cooking process and develop rich flavors. Make sure the roast fits comfortably in your pressure cooker without overcrowding.
Step 2: Preparing the Roast
Before you start cooking, take a few minutes to season and prepare your roast. Rub it with a combination of your favorite herbs and spices like rosemary, thyme, garlic powder, and salt. Let the flavors infuse into the meat by allowing it to sit at room temperature for about 30 minutes.
Step 3: Searing for Flavor
To enhance the taste and texture of your roast, it’s best to sear it before pressure cooking. Heat a small amount of oil in your pressure cooker over medium-high heat. Carefully place the roast in the cooker and sear it on all sides until it develops a caramelized crust. Searing will lock in the juices and create a flavorful foundation for your roast.
Step 4: Pressure Cooking
Now it’s time to bring out the magic of your pressure cooker! Add your choice of liquid, such as beef broth, red wine, or even vegetable broth, to the pressure cooker. The liquid will help create steam and maintain moisture throughout the cooking process.
- Option 1: For a faster and more intense cooking experience, set your pressure cooker to high pressure and cook for a specific time per pound. Consult your pressure cooker’s manual for the recommended cooking times.
- Option 2: If you prefer a slow-cooked texture, set your pressure cooker to low pressure and increase the cooking time accordingly.
Remember that cooking times may vary depending on the size and thickness of your roast, so it’s always a good idea to check for doneness with a meat thermometer.
Step 5: Releasing the Pressure
Once the cooking time is complete, it’s important to release the pressure safely. You can do this through two methods:
- Natural Pressure Release (NPR): Allow the pressure to release gradually on its own. This method is ideal for larger cuts of meat as it helps to retain their tenderness.
- Quick Pressure Release (QPR): If you’re short on time, you can manually release the pressure by carefully turning the pressure release valve. Be cautious as hot steam will be released, so always follow your pressure cooker’s instructions.
Step 6: Rest and Serve
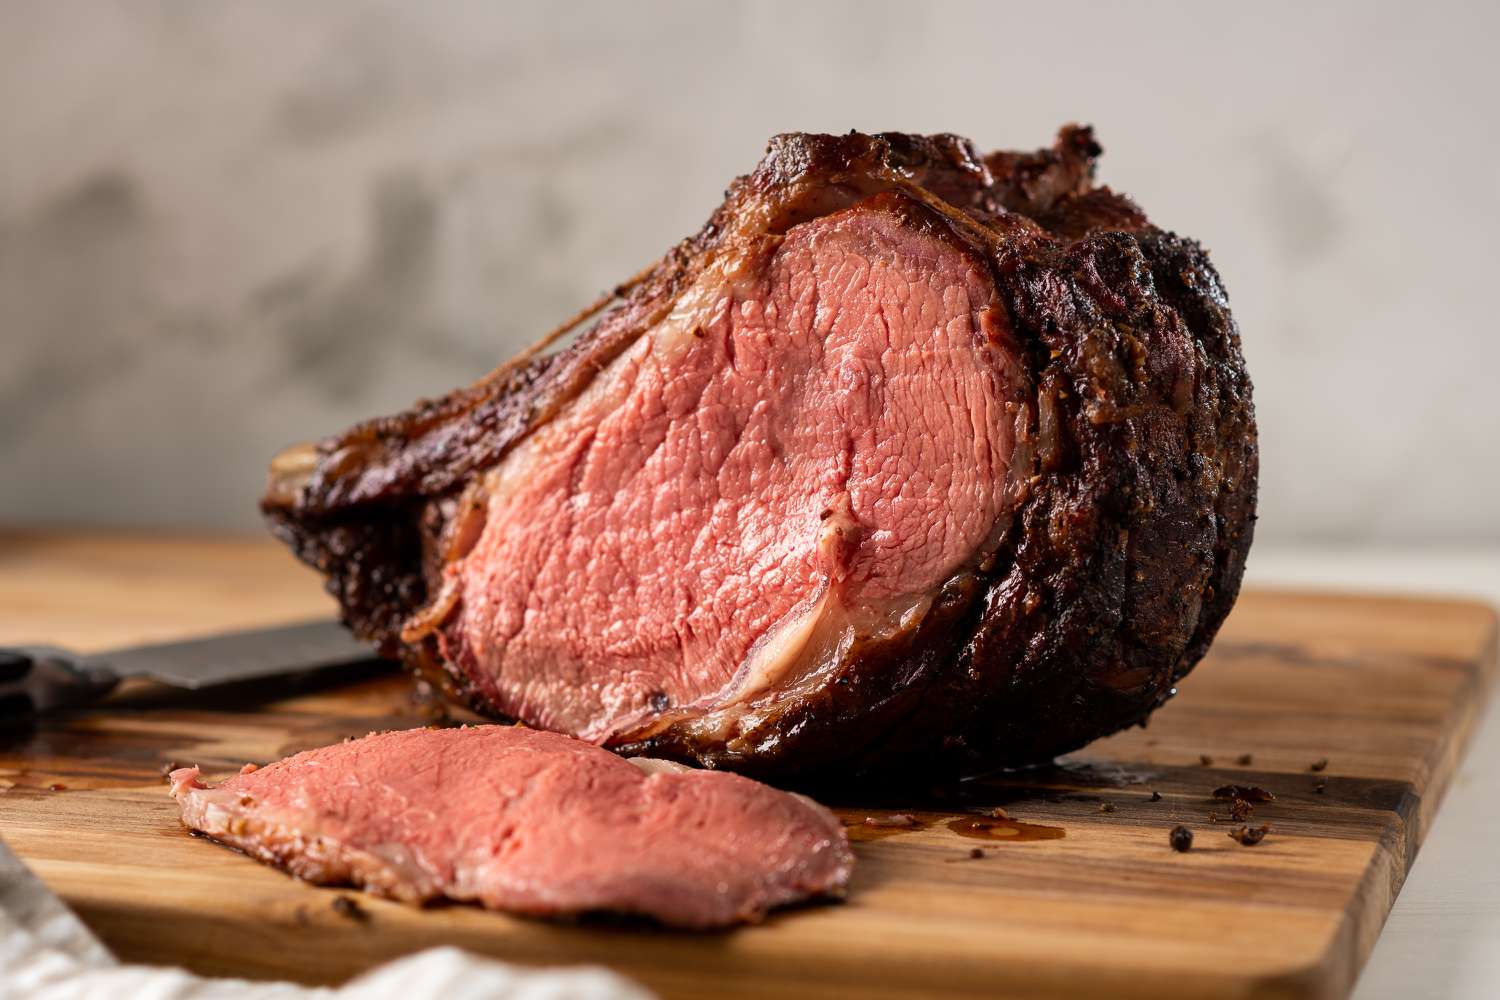
Once the pressure has been released, remove the roast from the pressure cooker and let it rest for a few minutes before carving. This resting period allows the juices to redistribute throughout the meat, resulting in a more succulent and tender roast.
Slice the roast against the grain and serve it with your favorite side dishes, such as mashed potatoes, roasted vegetables, or a fresh green salad. The melt-in-your-mouth texture and robust flavors of a pressure-cooked roast are sure to impress your family and guests!
Conclusion
Cooking a roast in a pressure cooker is a game-changer for busy home cooks who crave a delicious, tender, and time-efficient meal. By following these simple steps, you’ll be able to achieve restaurant-quality results right in your own kitchen. So, dust off your pressure cooker and get ready to enjoy all the savory goodness of a perfectly cooked roast!
Was this page helpful?
Read Next: How To Cook A Pot Roast In A Slow Cooker
Related Articles