How To Boil Eggs To Color
Easter is just around the corner, and what better way to celebrate than by boiling eggs to color! Whether you’re a seasoned pro or a novice in the kitchen, learning the art of boiling eggs to color can elevate your Easter festivities to a whole new level. In this guide, we’ll walk you through the step-by-step process of boiling eggs for coloring, so you can create beautifully vibrant and eye-catching eggs that are sure to impress.
What You’ll Need:
- Fresh eggs
- Pot or saucepan
- Water
- Food coloring or egg dye
- Vinegar (optional)
- Slotted spoon or tongs
- Paper towels
Step 1: Preparation
Start by gathering all the necessary ingredients and equipment. Make sure your eggs are fresh and at room temperature for best results. Place your pot or saucepan on the stove and fill it with enough water to cover the eggs completely.
Step 2: Boiling the Eggs
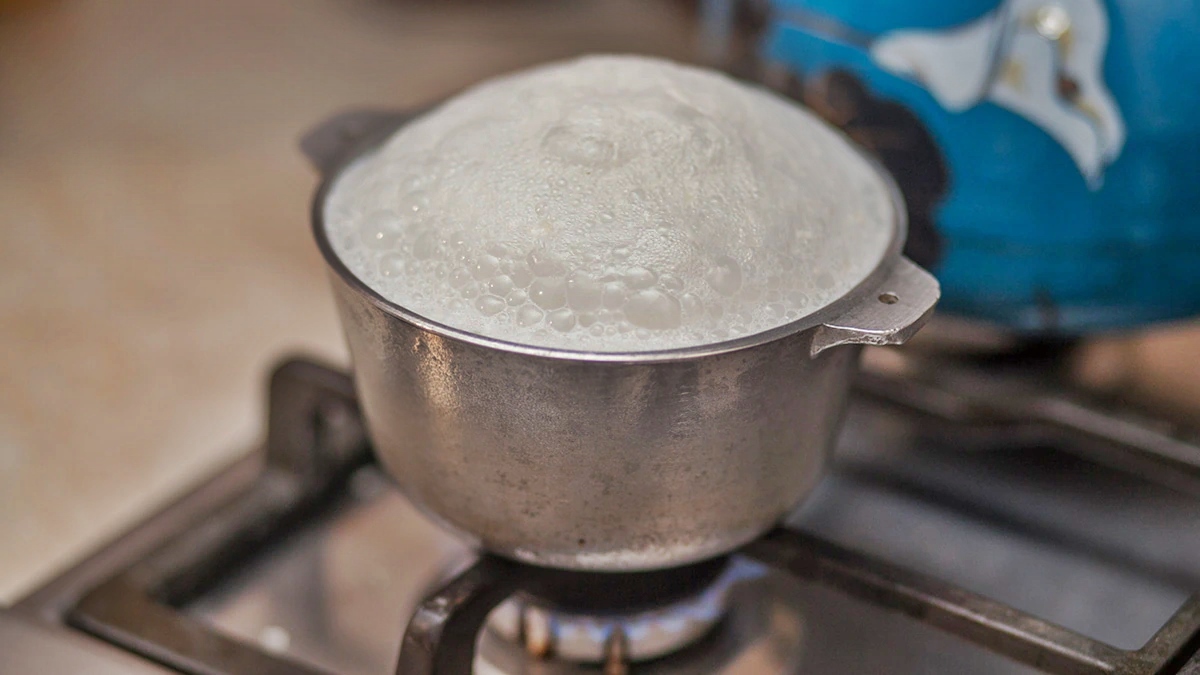
Carefully place the eggs into the pot of cold water, ensuring that they are fully submerged. Add a pinch of salt to help prevent the eggs from cracking during the boiling process. Turn the heat to medium-high and bring the water to a gentle boil.
Once the water starts boiling, set a timer for the desired egg consistency:
- Soft-Boiled: 4-6 minutes
- Medium-Boiled: 7-9 minutes
- Hard-Boiled: 10-12 minutes
Step 3: Cooling and Preparing for Coloring
When the timer goes off, carefully remove the eggs from the boiling water using a slotted spoon or tongs. Transfer the eggs to a bowl filled with ice water to cool rapidly. Let them sit for a few minutes until they are completely cooled.
Step 4: Coloring the Eggs
Prepare your food coloring or egg dye according to the package instructions. Add a few drops of vinegar to the dye if you want more vibrant colors. Gently place the cooled eggs into the dye and let them soak for 5-10 minutes or until you achieve the desired color intensity. You can also experiment with creating unique patterns by using stickers, rubber bands, or wax crayons.
Step 5: Drying and Displaying
Once the eggs have reached the desired color, carefully remove them from the dye using a slotted spoon or tongs. Place them on a paper towel to dry fully. Allow the eggs to air dry completely before handling or displaying them.
Now that you know how to boil eggs to color, let your imagination run wild and get creative with your Easter egg designs. Whether you opt for traditional pastel hues or bold, vibrant shades, coloring eggs is a fun and festive activity for the whole family. So gather your loved ones, follow these steps, and enjoy the joyous celebration of Easter!
Was this page helpful?
Read Next: How To Boil Eggs To Dye For Easter
