Trussing a Duck for Roasting
Roasting a duck can be a delicious and impressive dish to serve to your family and friends. However, to ensure that the duck cooks evenly and retains its shape, it’s important to truss it properly before placing it in the oven. Trussing a duck involves tying it with kitchen twine to hold the wings and legs close to the body. Here’s a step-by-step guide on how to truss a duck for roasting:
Step 1: Gather Your Supplies
Before you begin, make sure you have all the necessary supplies on hand. You will need a whole duck, kitchen twine, and a pair of kitchen scissors.
Step 2: Prepare the Duck
Start by rinsing the duck under cold water and patting it dry with paper towels. Place the duck on a clean cutting board and tuck the wings behind the duck’s back. This will help stabilize the duck for trussing.
Step 3: Cut the Twine
Measure a piece of kitchen twine that is long enough to truss the duck. Using the kitchen scissors, cut the twine and have it ready for trussing.
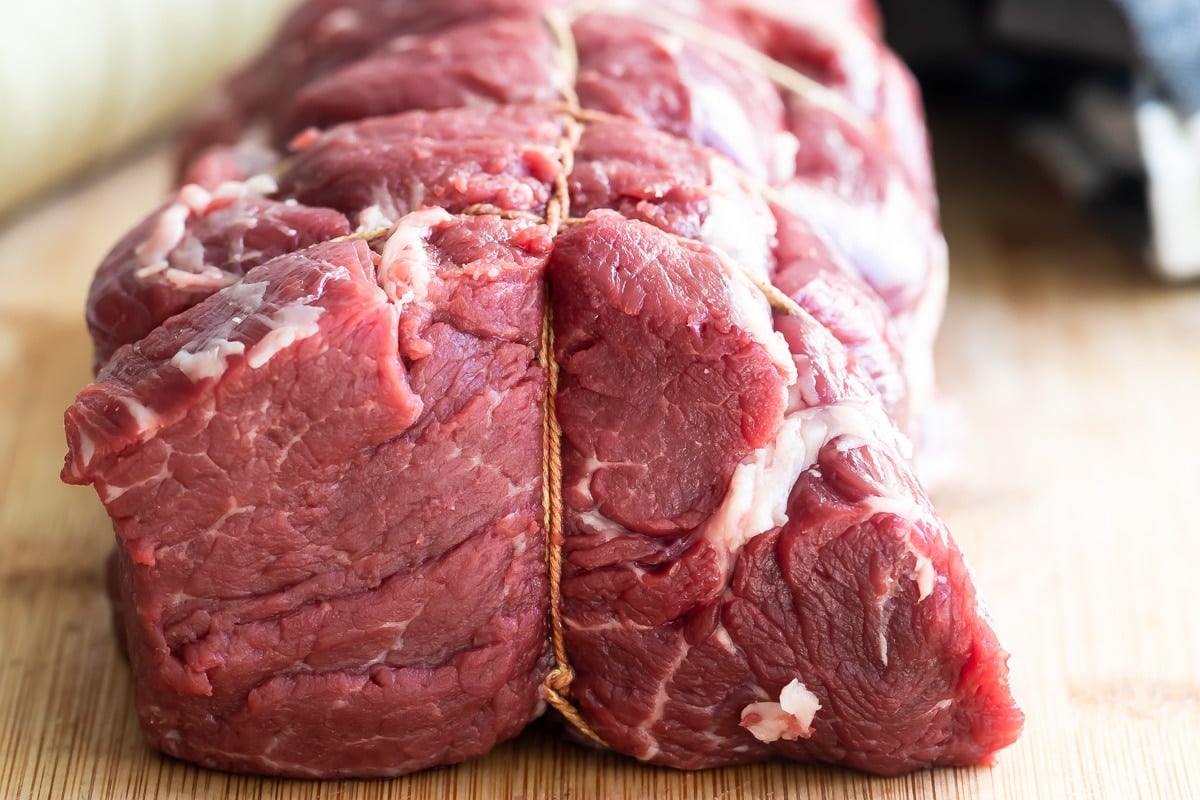
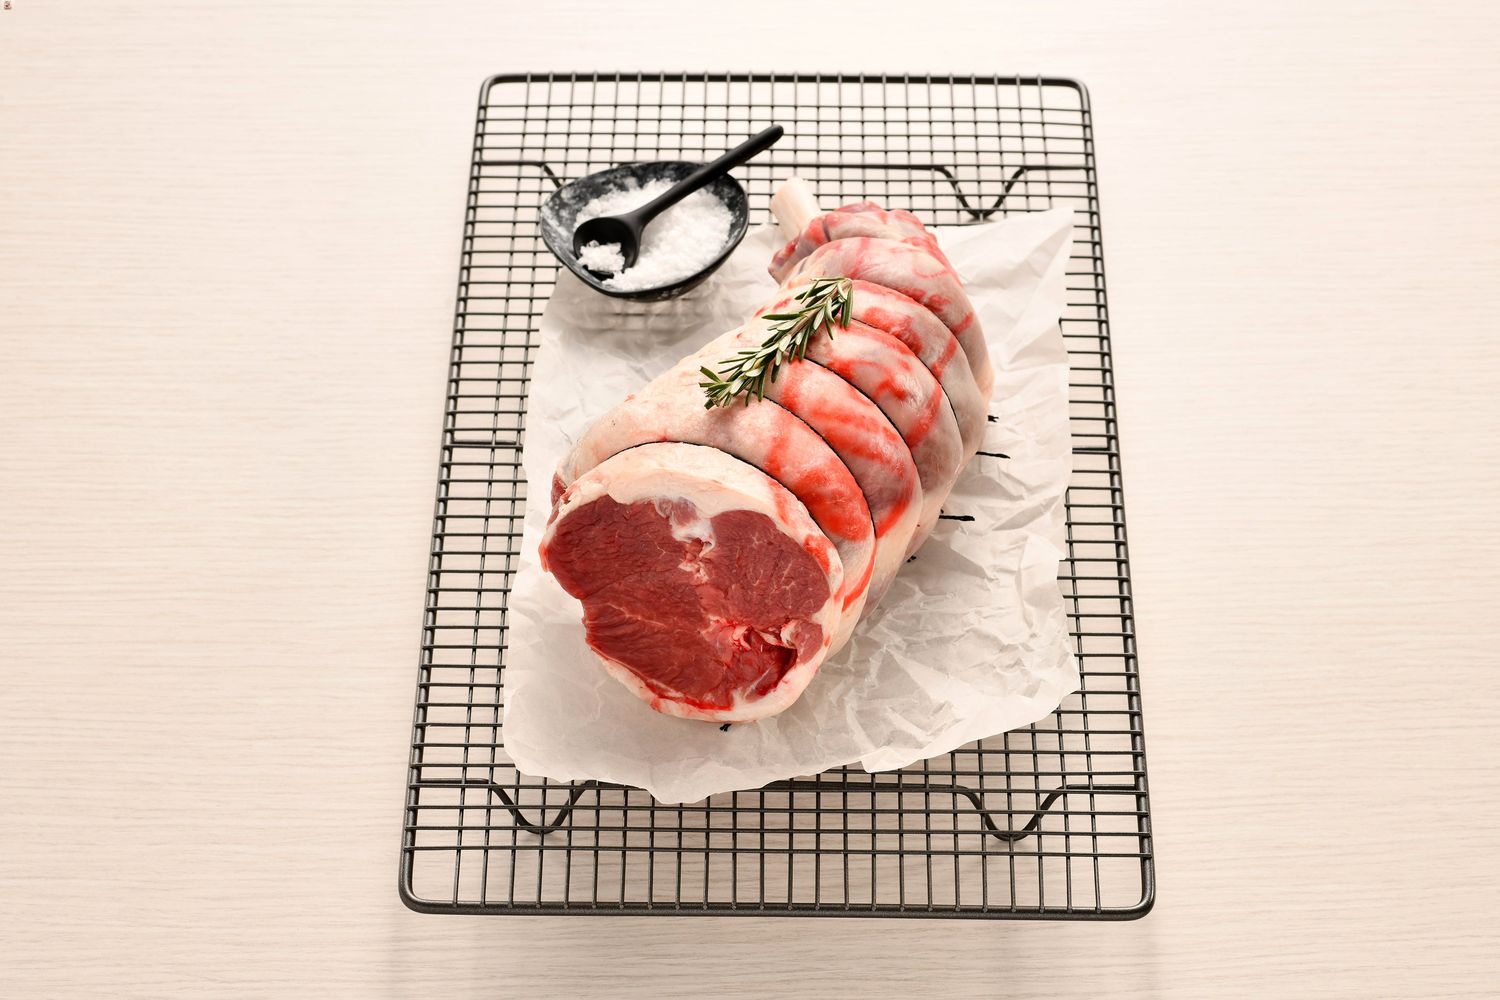
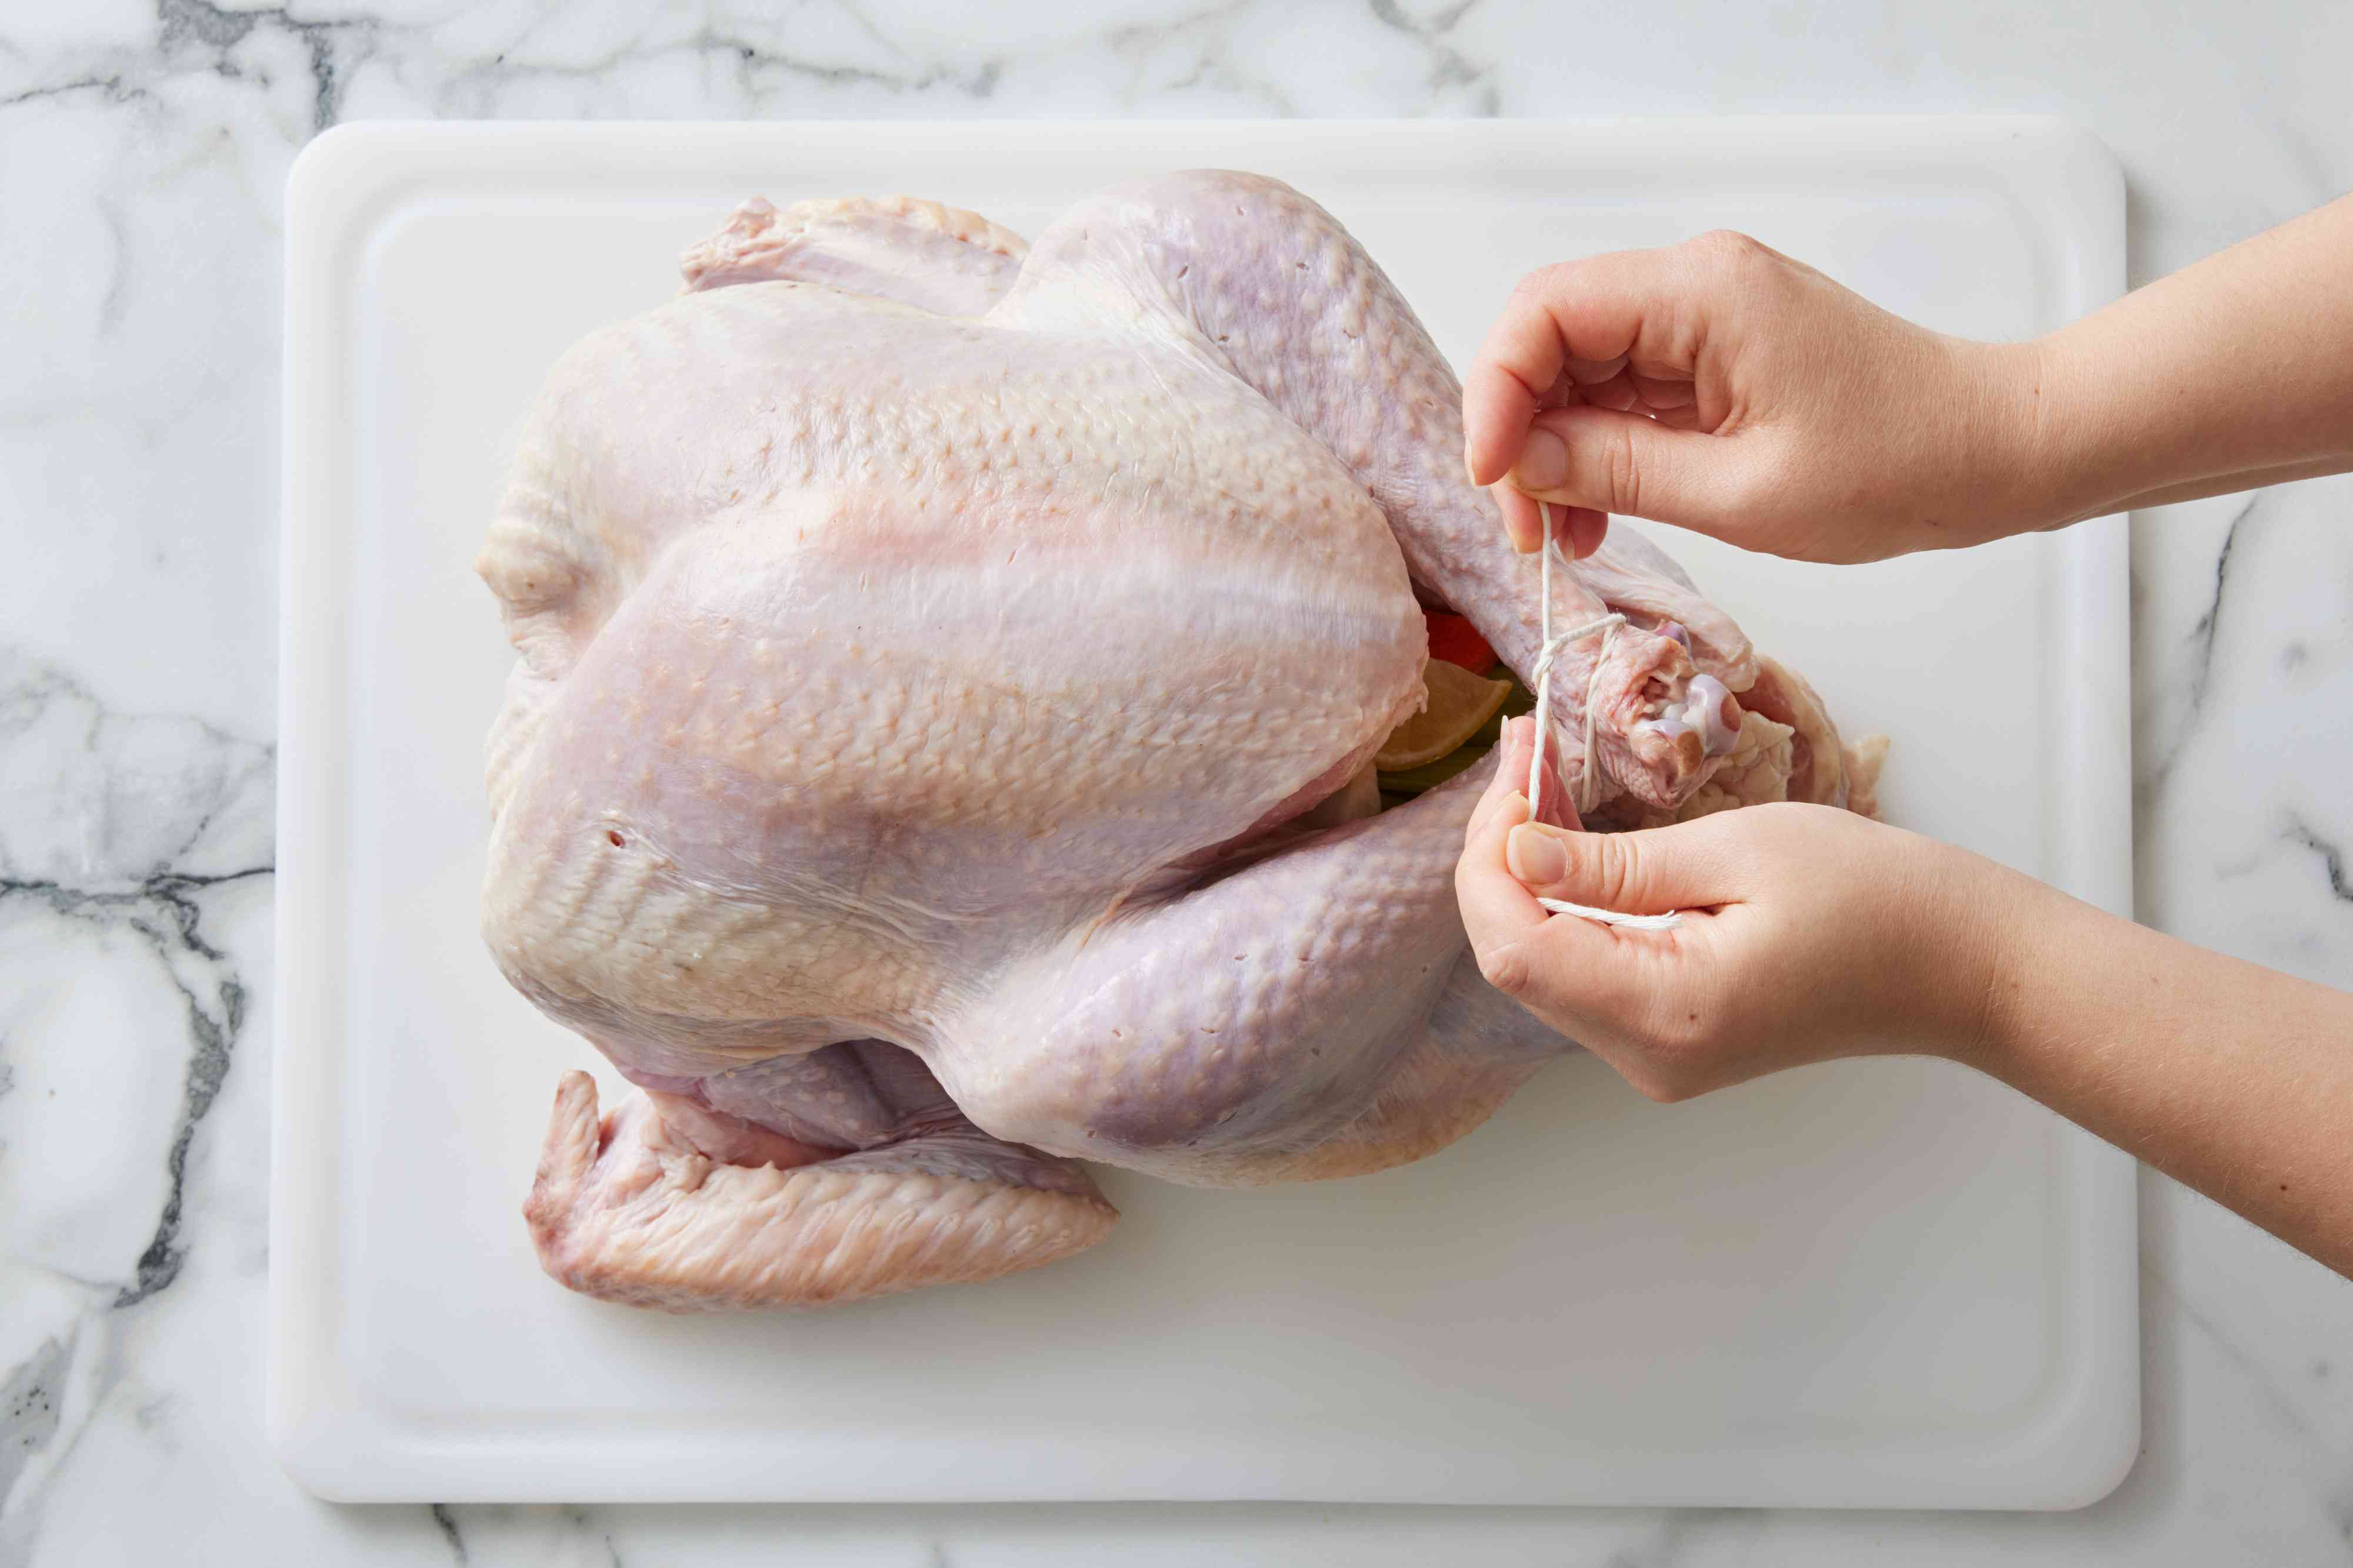
Step 4: Truss the Duck
Place the twine under the duck’s body, positioning it in the middle. Cross the twine over the top of the duck and bring it around to the bottom. Pull the twine tight to bring the duck’s legs close to the body. Tie a secure knot to hold the legs in place. Trim any excess twine with the kitchen scissors.
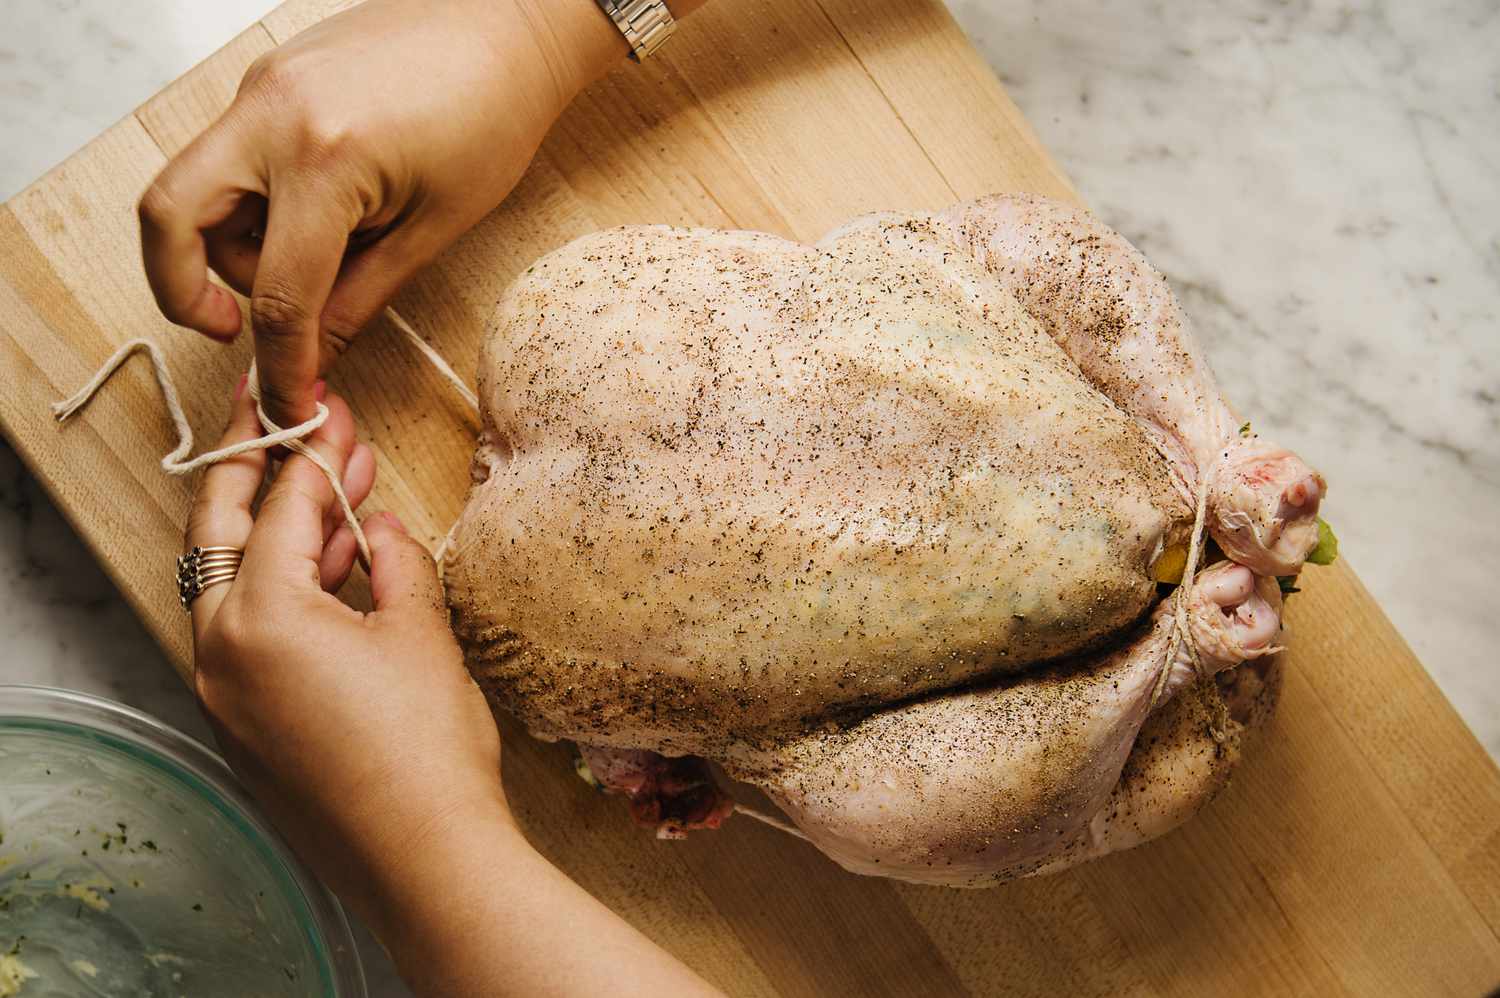
Step 5: Secure the Wings
Next, tie another piece of twine around the duck’s body, just above the wings. Cross the twine over the duck’s back and bring it around to the front. Tie a knot to secure the wings close to the body. Trim any excess twine with the kitchen scissors.
Step 6: Preheat the Oven
Once the duck is trussed, preheat your oven to the desired temperature for roasting. While the oven is preheating, you can season the duck with your favorite herbs and spices.
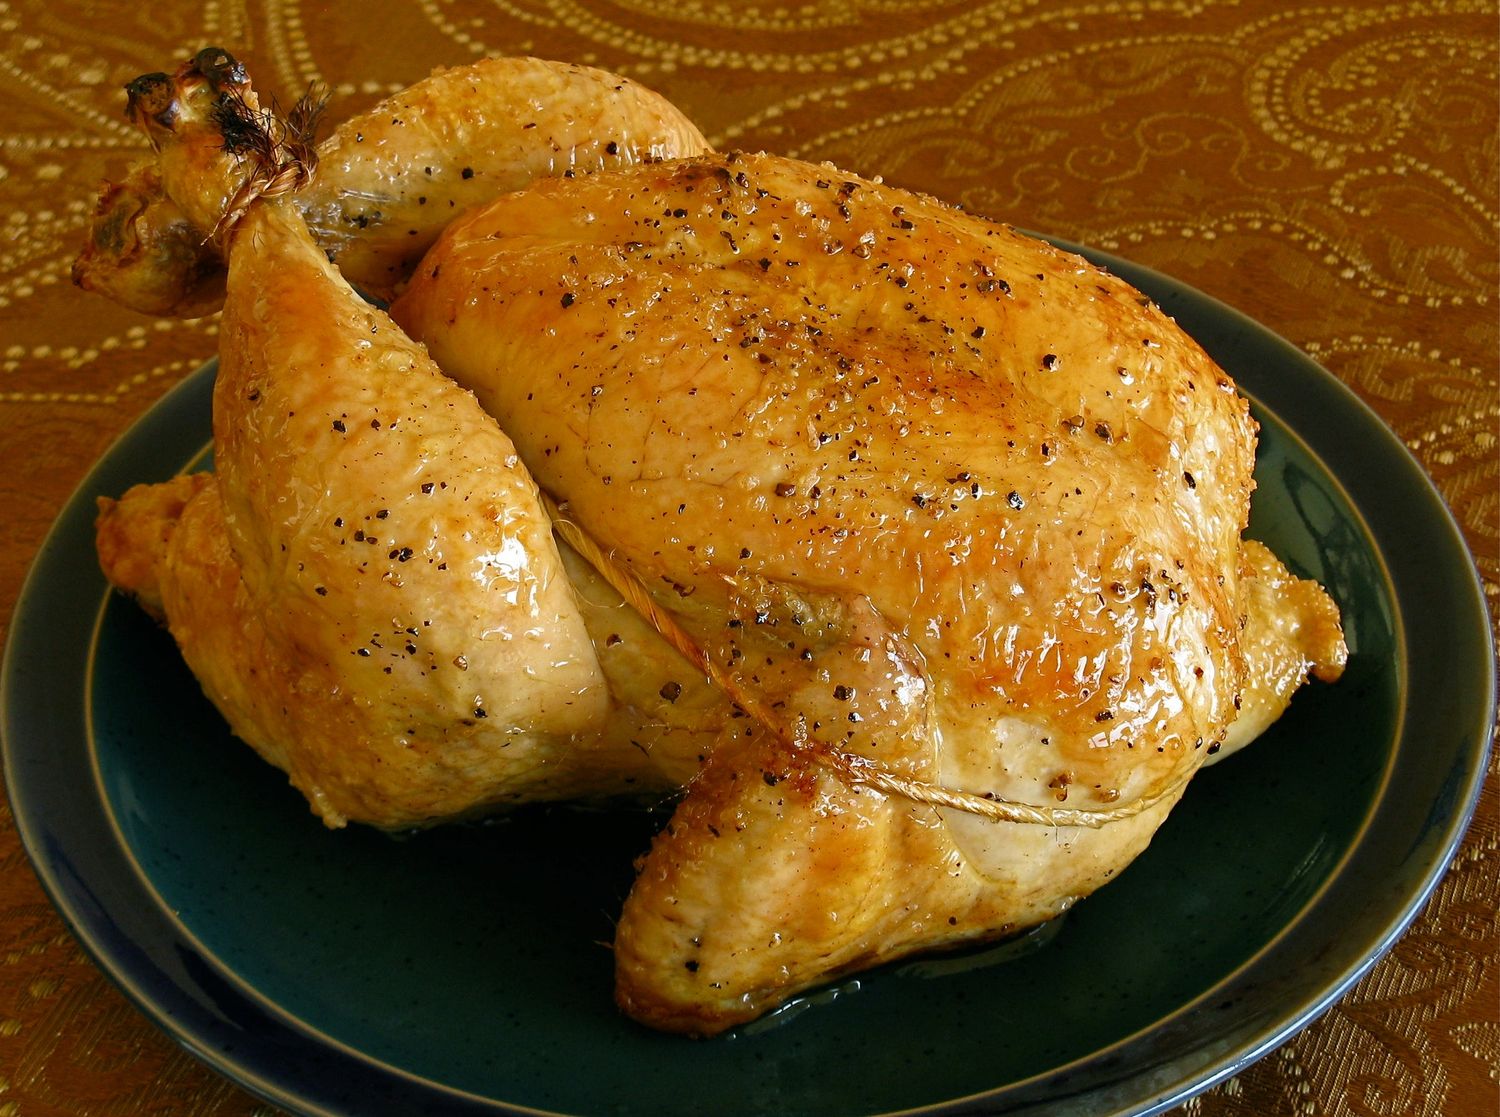
Step 7: Roast the Duck
Place the trussed duck on a roasting rack set inside a roasting pan. Roast the duck in the preheated oven until it reaches the desired level of doneness. Remember to baste the duck with its own juices or a flavorful glaze during the roasting process.
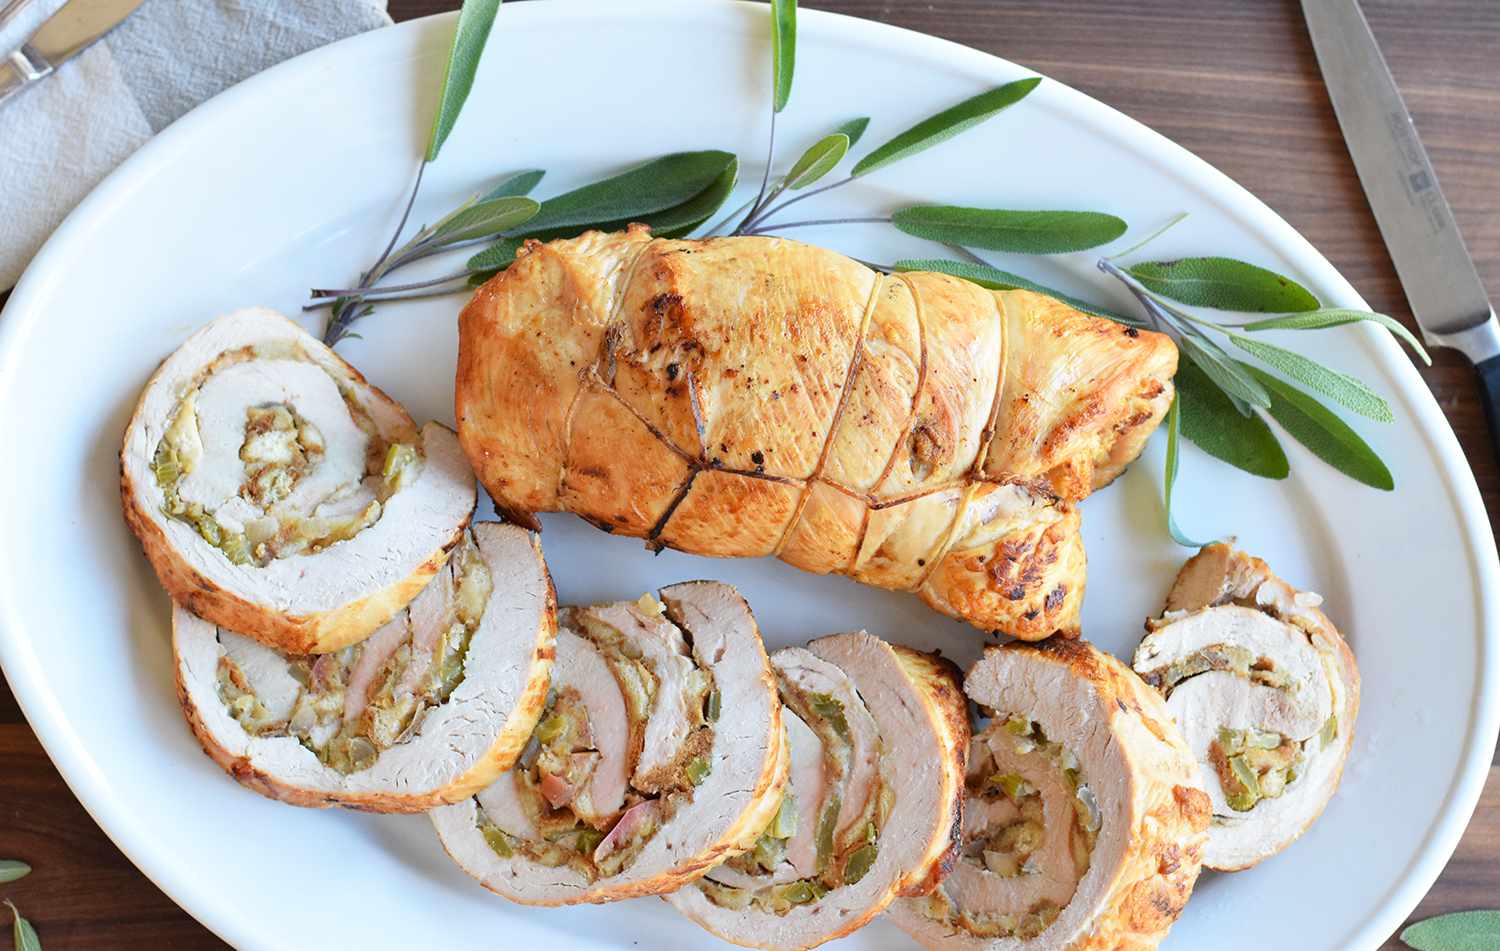
Once the duck is cooked to perfection, remove it from the oven and let it rest for a few minutes before carving. Trussing the duck ensures that it cooks evenly and presents beautifully on the dinner table.
Now that you know how to truss a duck for roasting, you can confidently prepare this impressive dish for any special occasion. Enjoy the delicious results of your trussing efforts!
Was this page helpful?
Read Next: How To Truss Leg Of Lamb
Related Articles