Trussing a Quail: A Step-by-Step Guide
Trussing a quail is an essential skill for any home cook or chef. Trussing not only helps the quail cook evenly, but it also gives it a beautiful presentation. If you’re new to trussing, don’t worry! We’ve got you covered with this step-by-step guide on how to truss a quail like a pro.
Step 1: Gather Your Tools
Before you begin, make sure you have all the necessary tools on hand. You will need a pair of kitchen shears, butcher’s twine, and, of course, a quail.
Step 2: Prepare the Quail
Start by patting the quail dry with paper towels. This will make it easier to handle and truss. If the quail still has its neck and giblets attached, remove them.
Step 3: Truss the Quail
Now it’s time to truss the quail. Follow these steps:
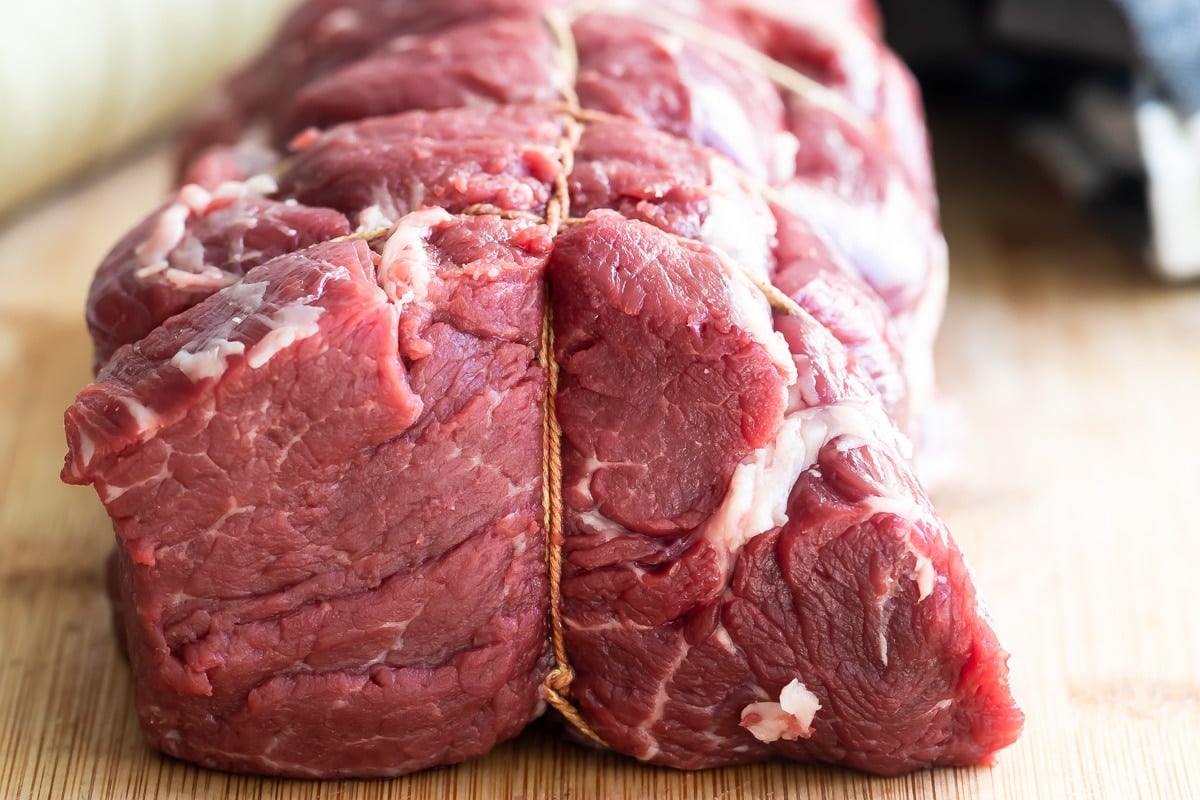
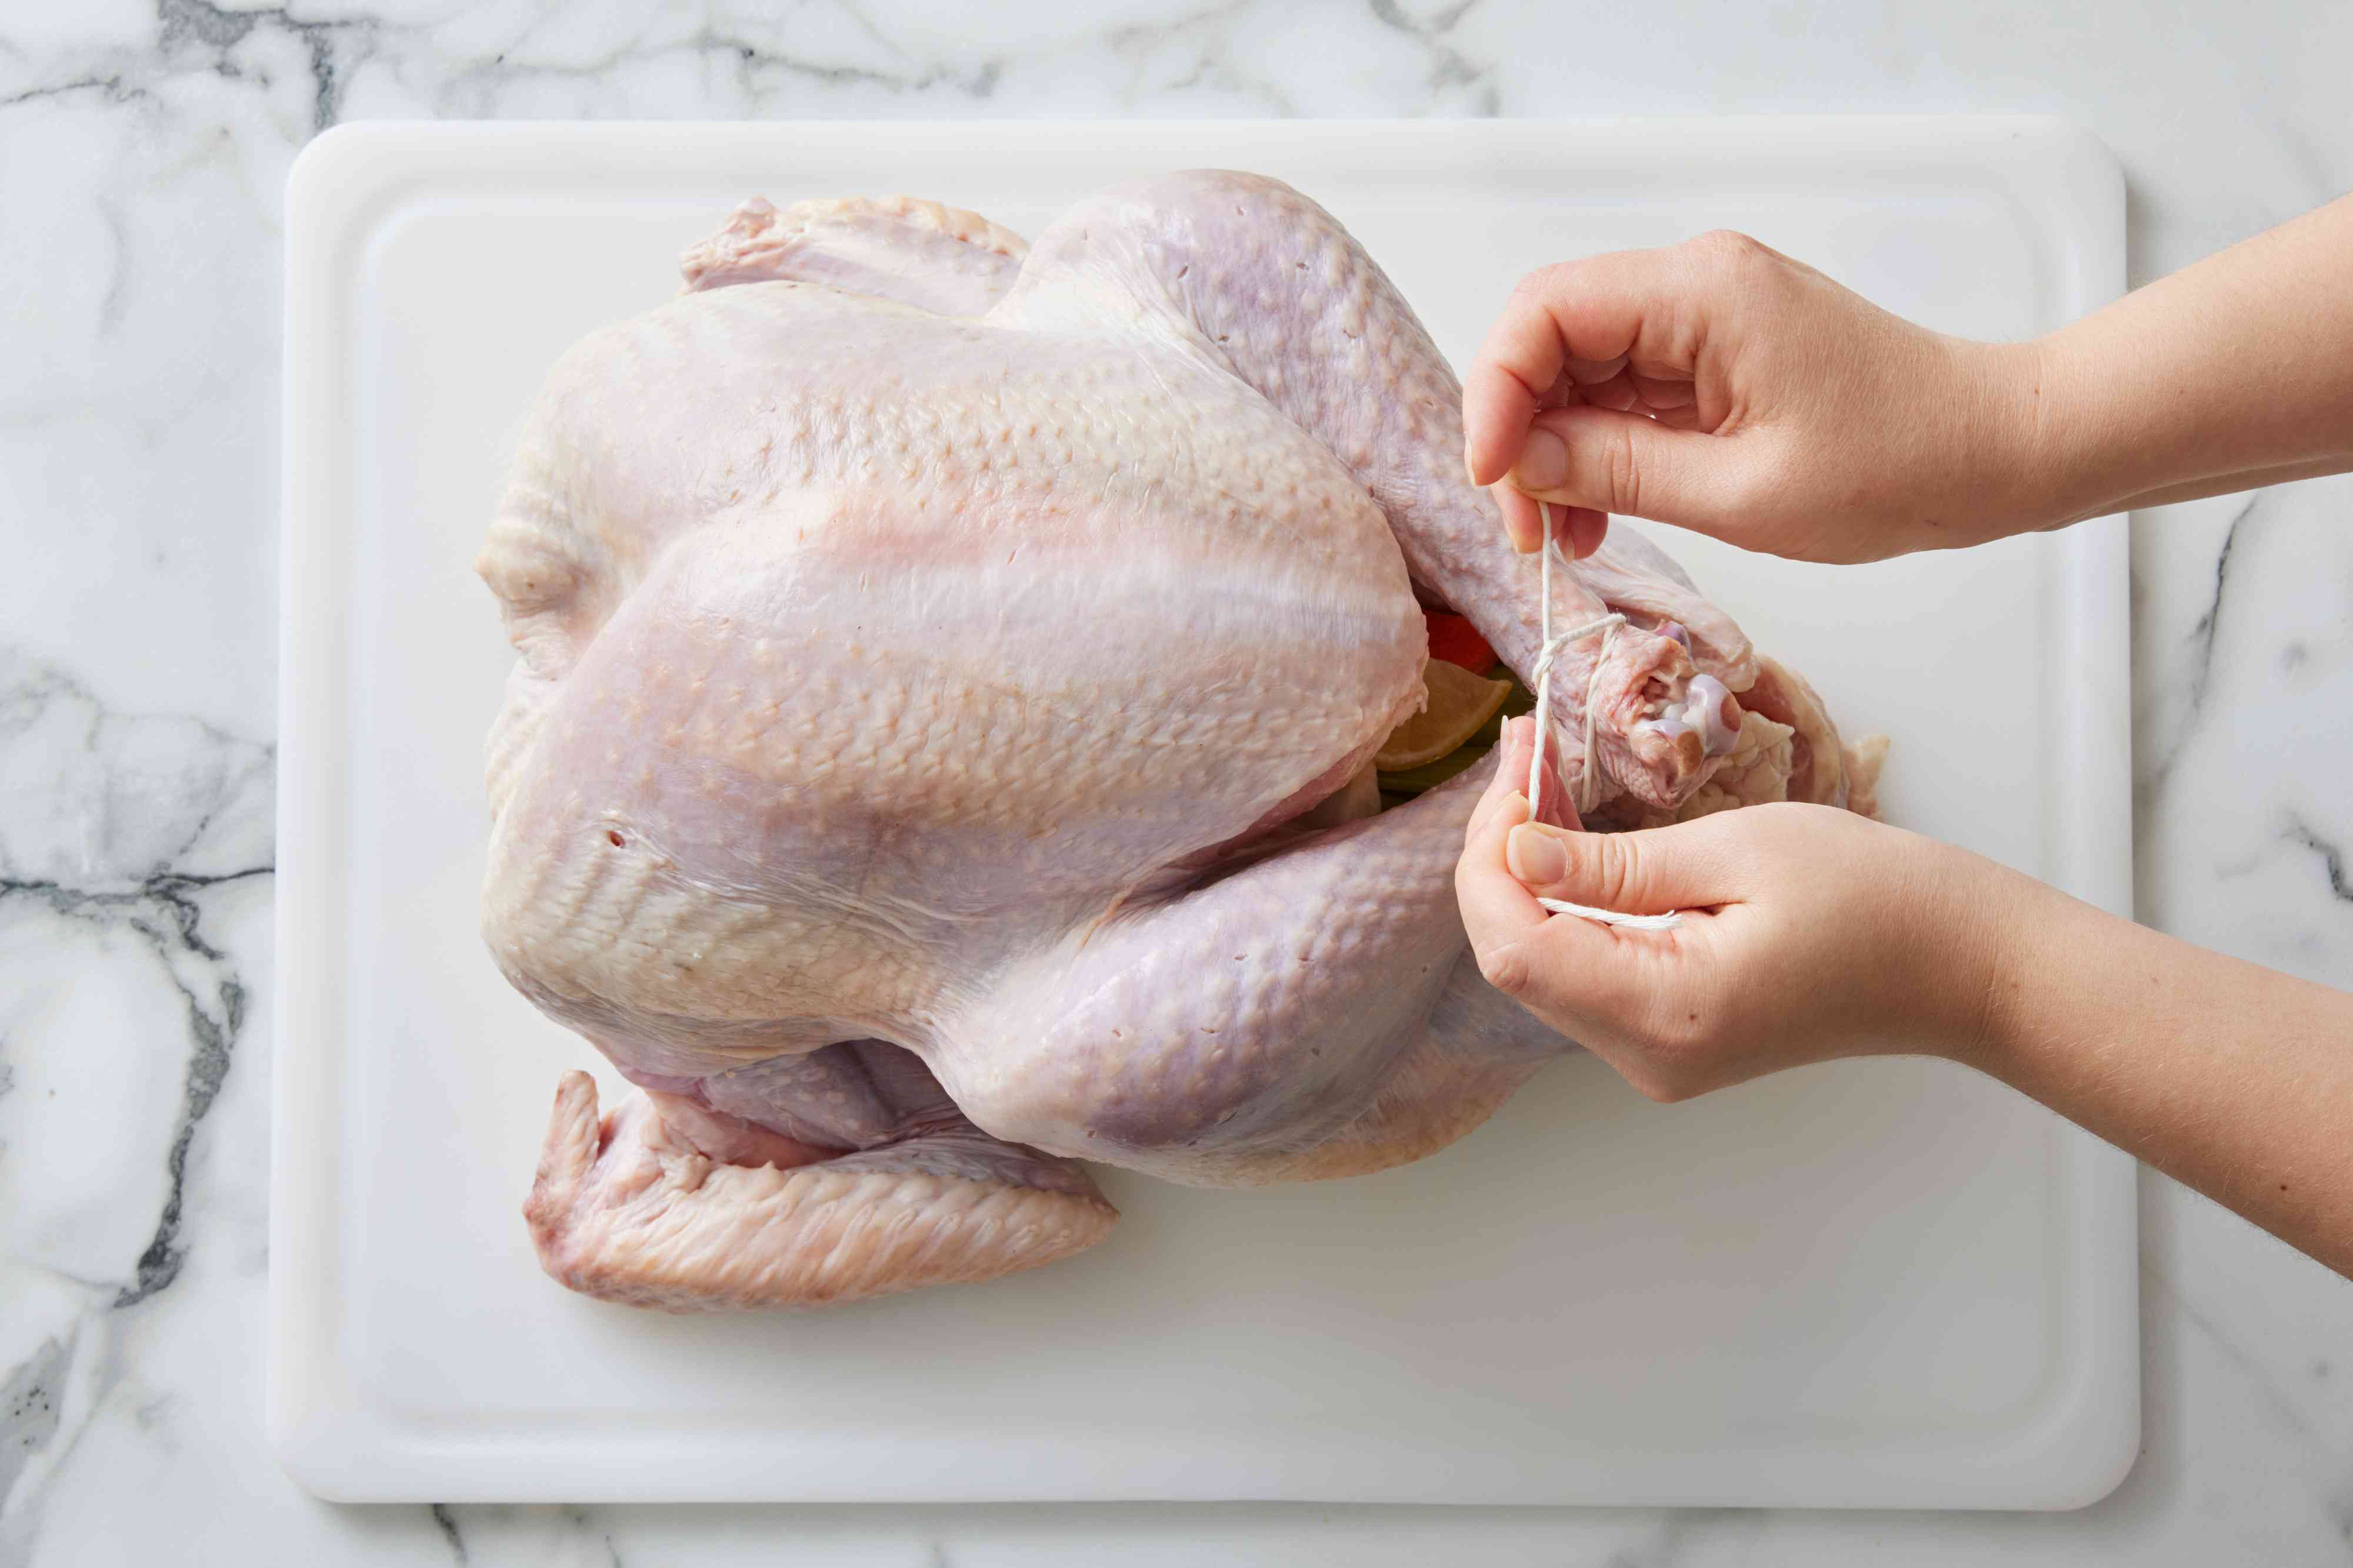
- Legs: Cross the quail’s legs and tie them together with butcher’s twine. This will help the quail retain its shape during cooking.
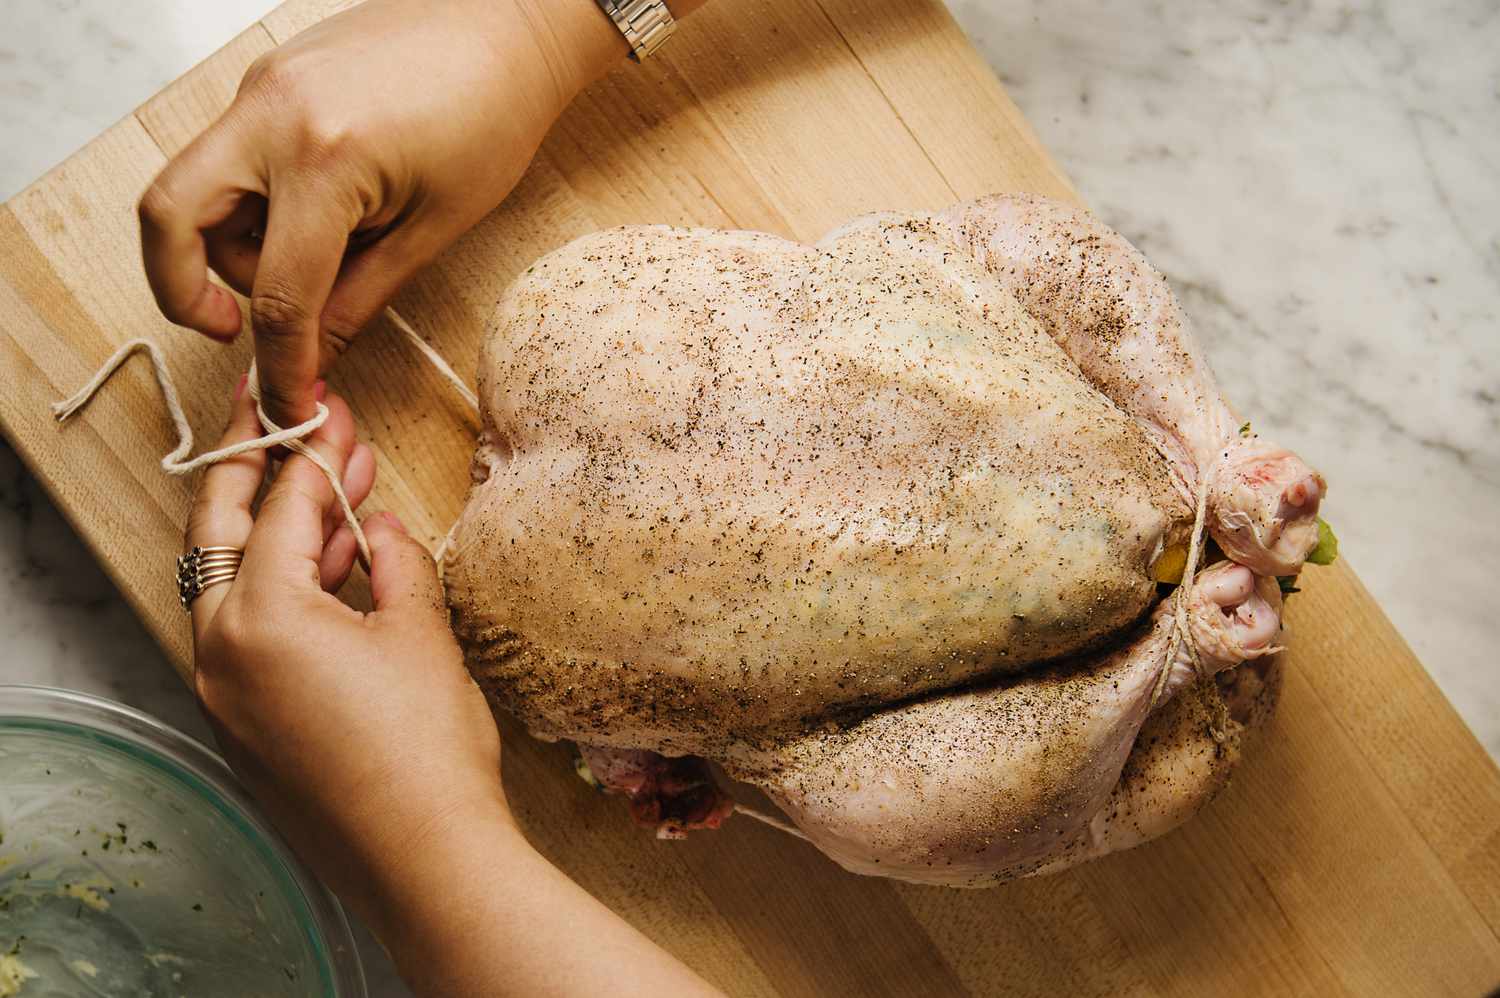
- Wings: Tuck the quail’s wings behind its back and tie them down with another piece of twine. This will prevent the wings from burning during cooking.
- Trim Excess Twine: Once the quail is trussed, trim any excess twine with kitchen shears to avoid it burning in the oven.
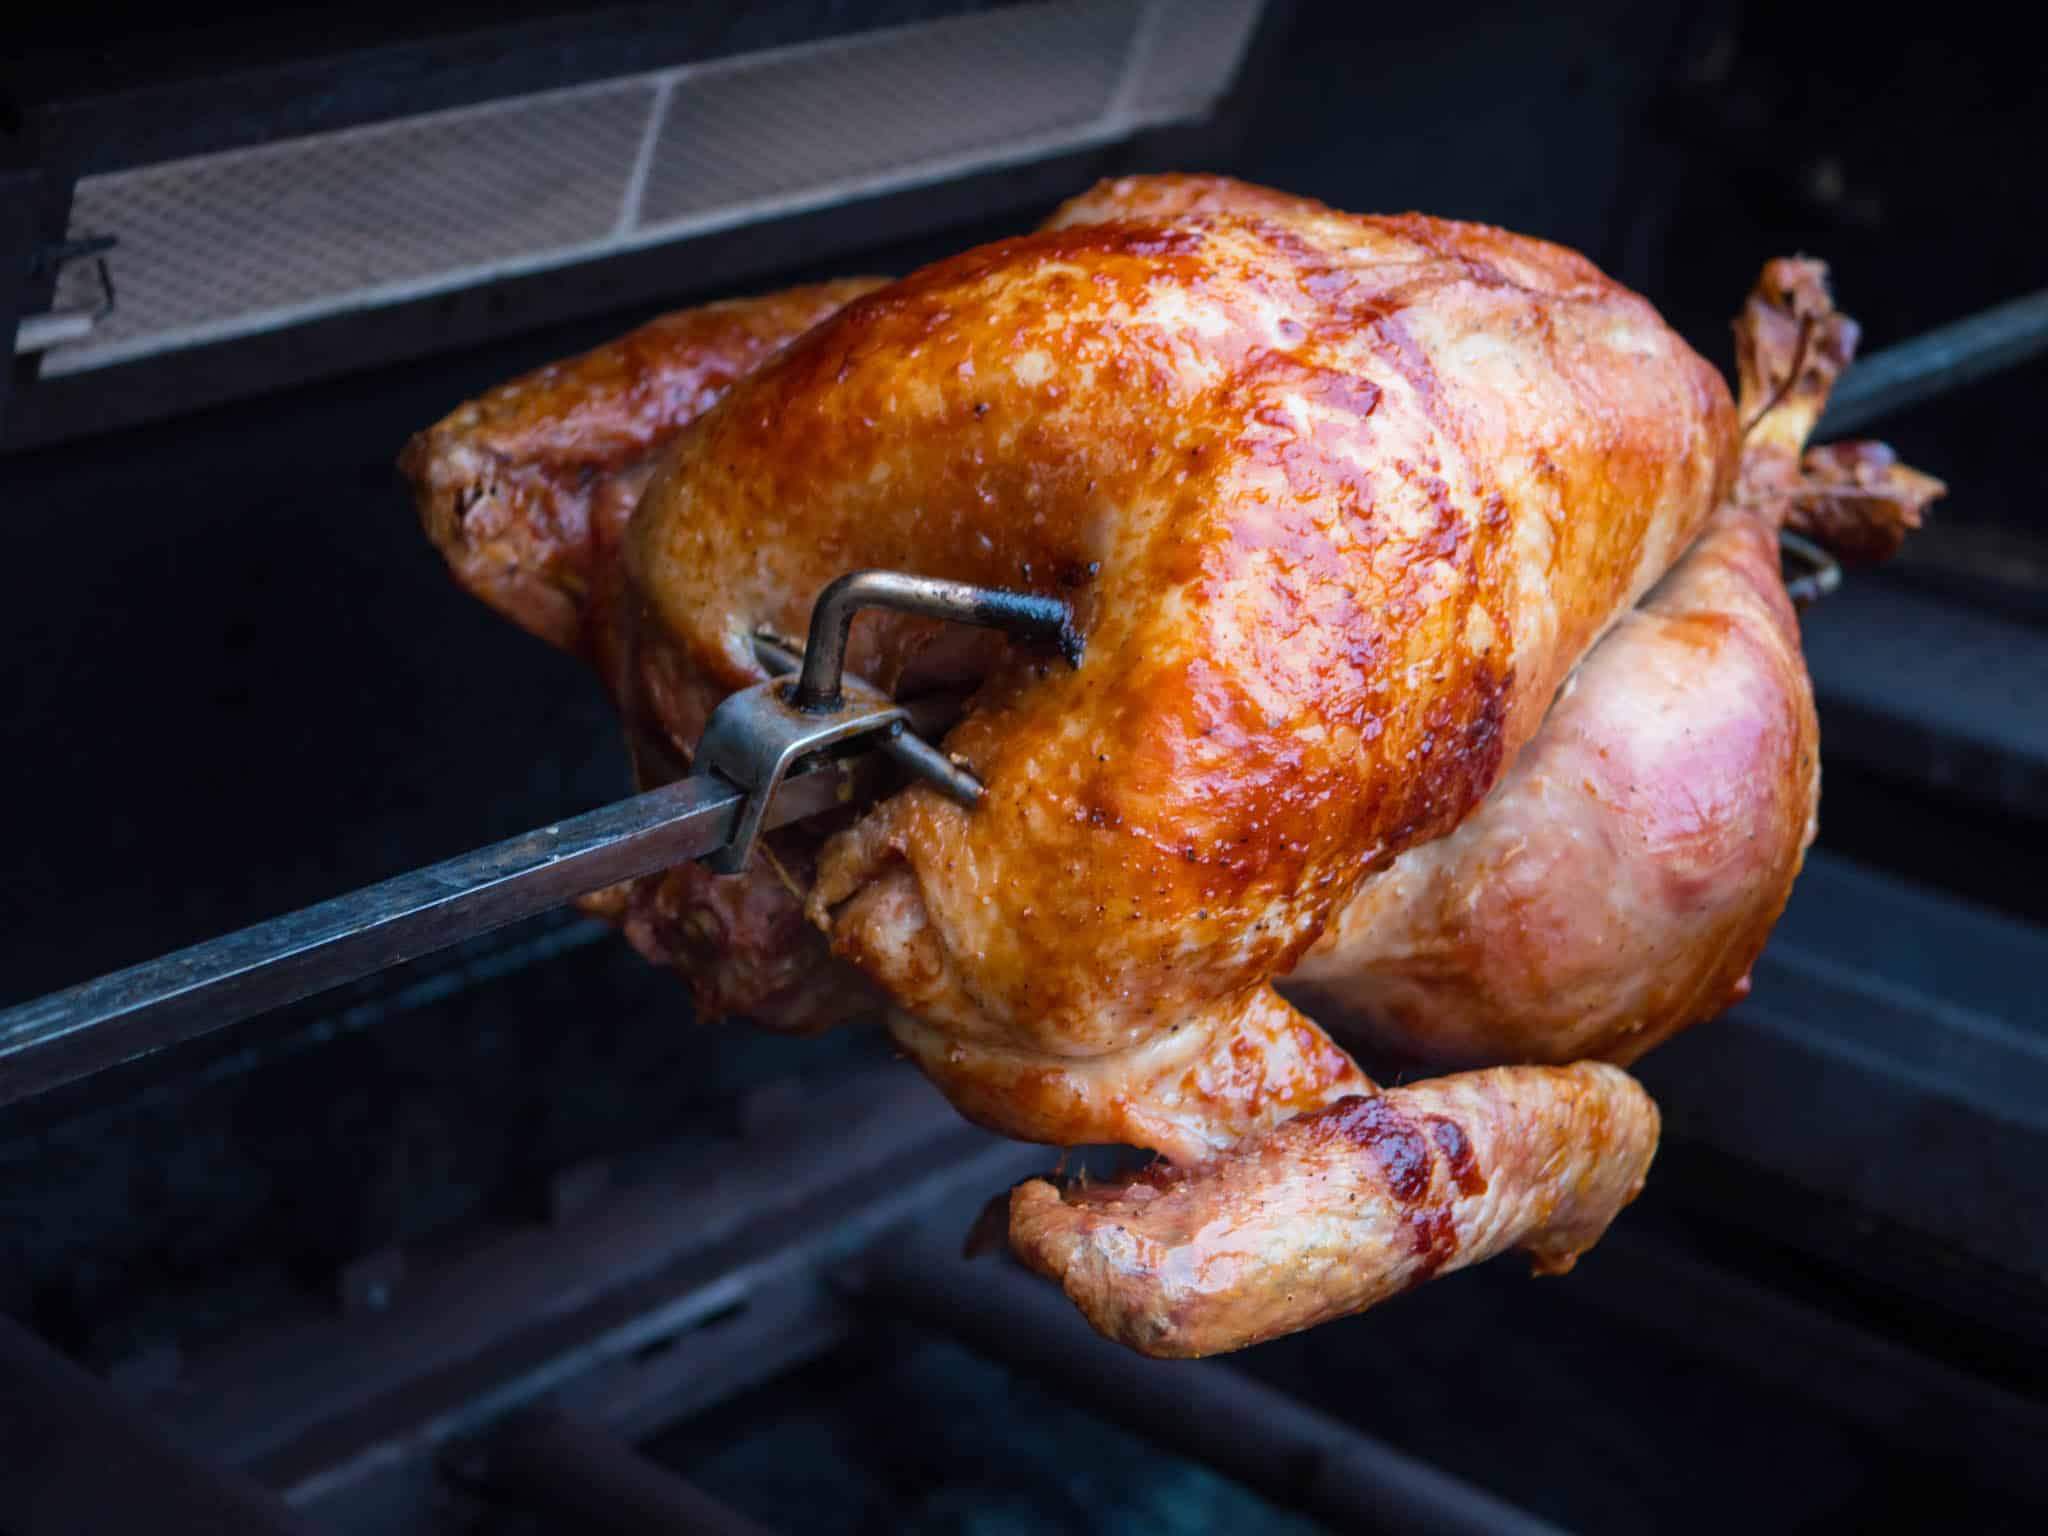
Step 4: Cook the Quail
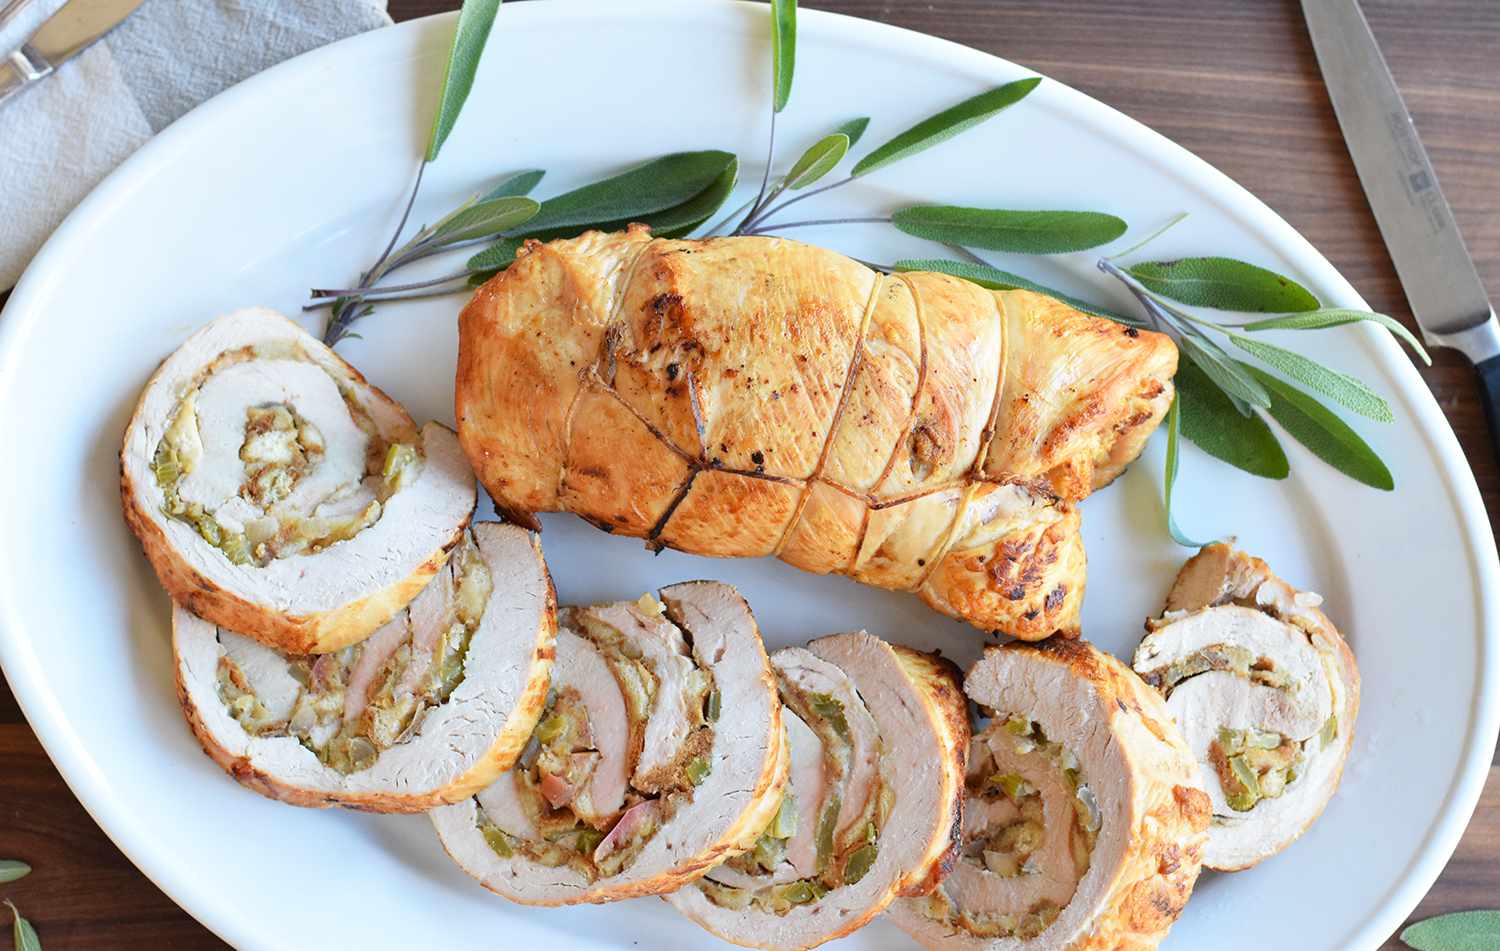
Now that your quail is trussed, it’s ready to be cooked. Whether you’re roasting, grilling, or pan-searing the quail, trussing will help it cook more evenly and look more appealing on the plate.
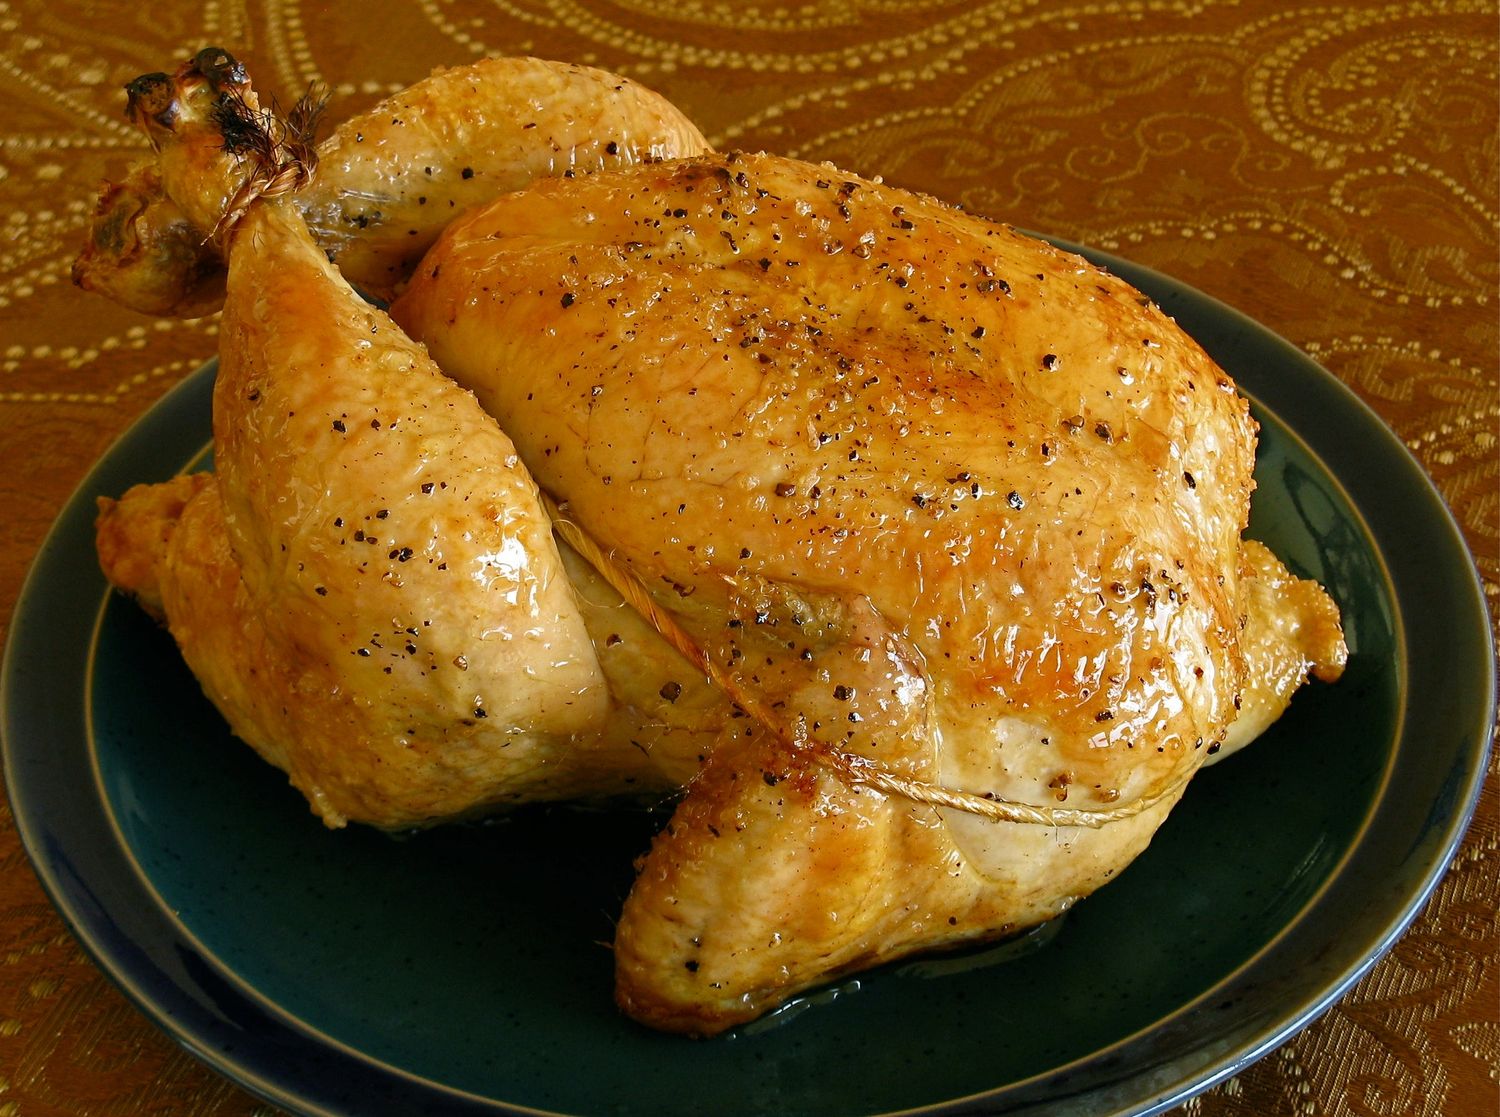
Step 5: Enjoy Your Trussed Quail
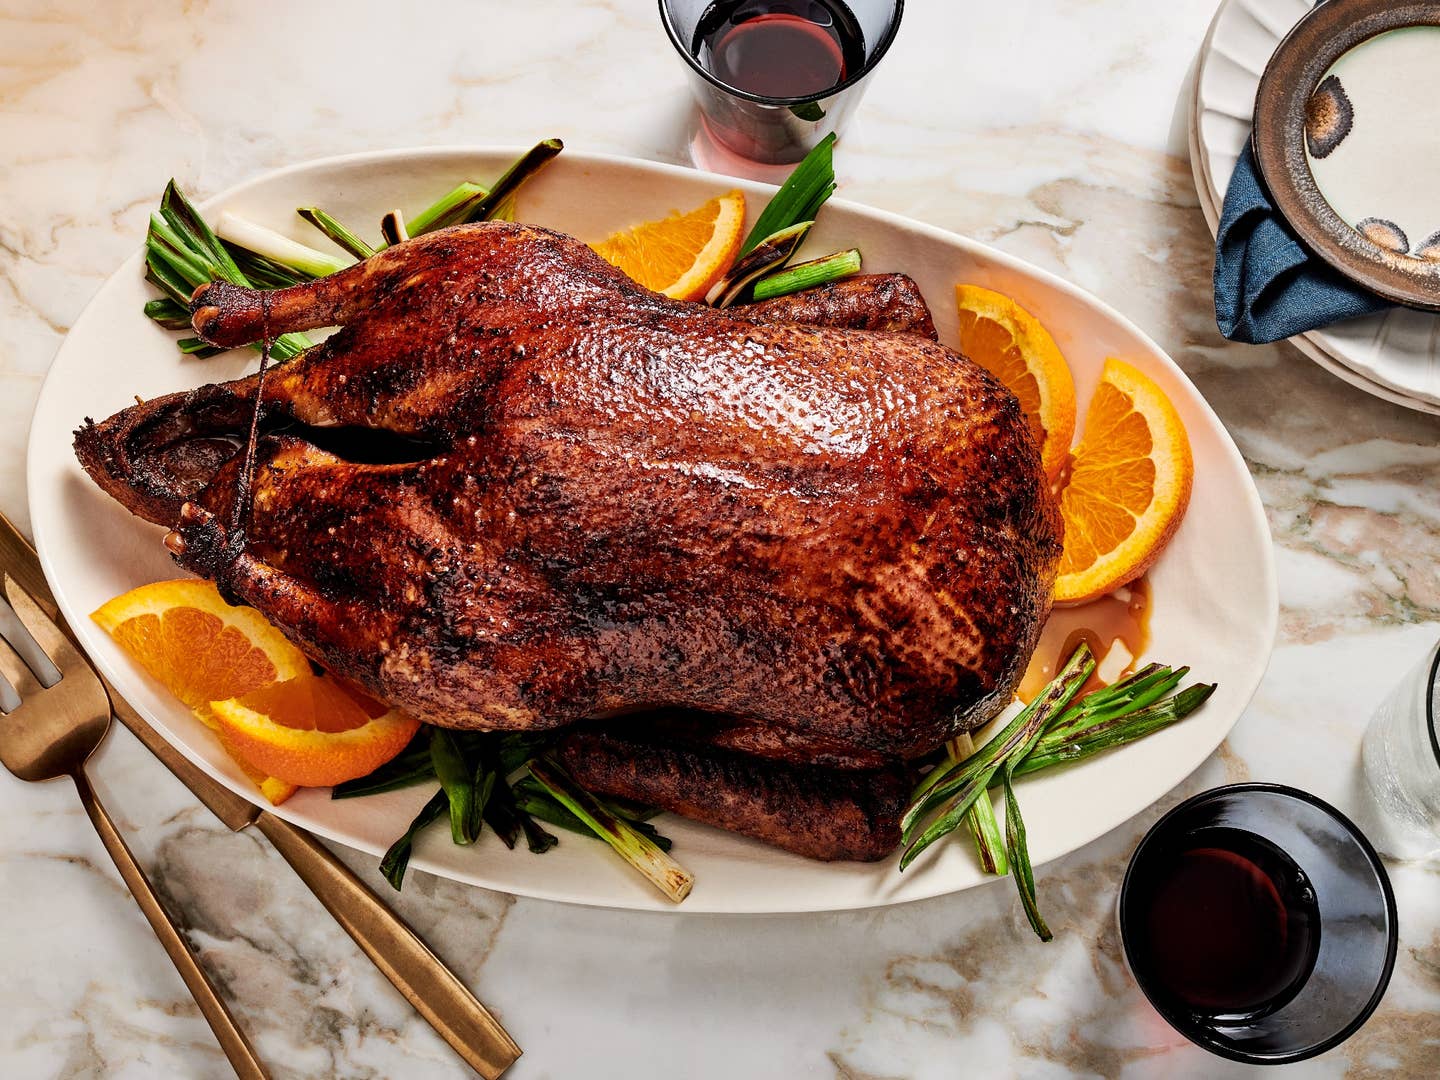
Once the quail is cooked to perfection, remove the twine and serve it up. Your beautifully trussed quail is sure to impress your guests and elevate your culinary skills.
Trussing a quail may seem daunting at first, but with a little practice, you’ll soon master this essential cooking technique. So, go ahead and give it a try – your taste buds will thank you!
Now that you’ve learned how to truss a quail, it’s time to put your skills to the test in the kitchen. Happy cooking!
Was this page helpful?
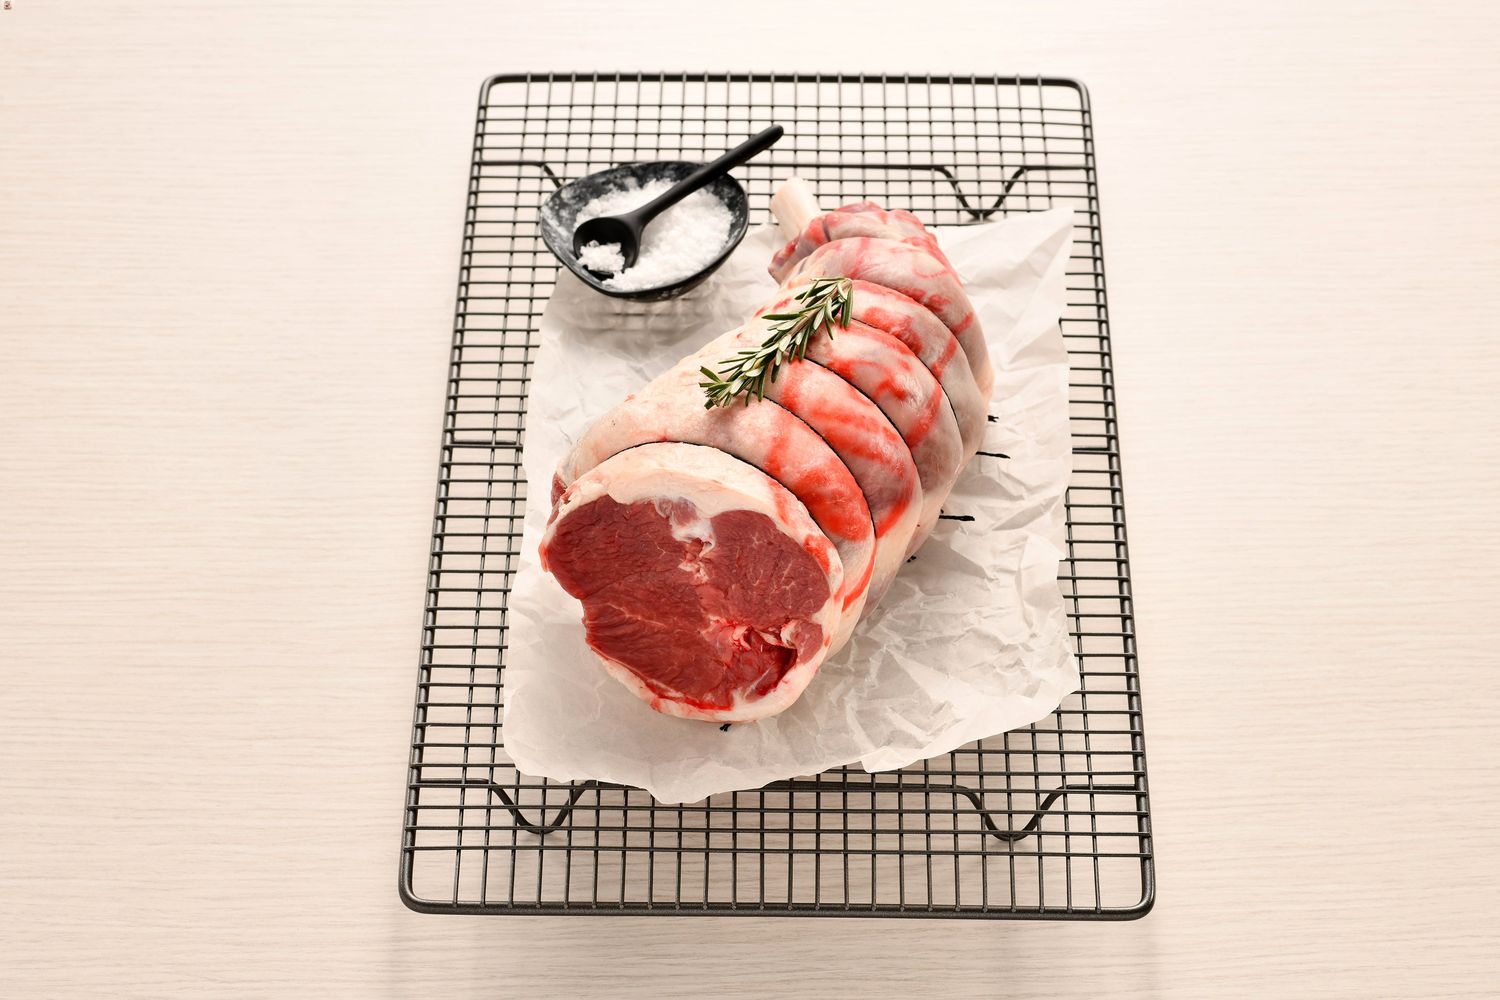
Read Next: How To Truss Leg Of Lamb
Related Articles