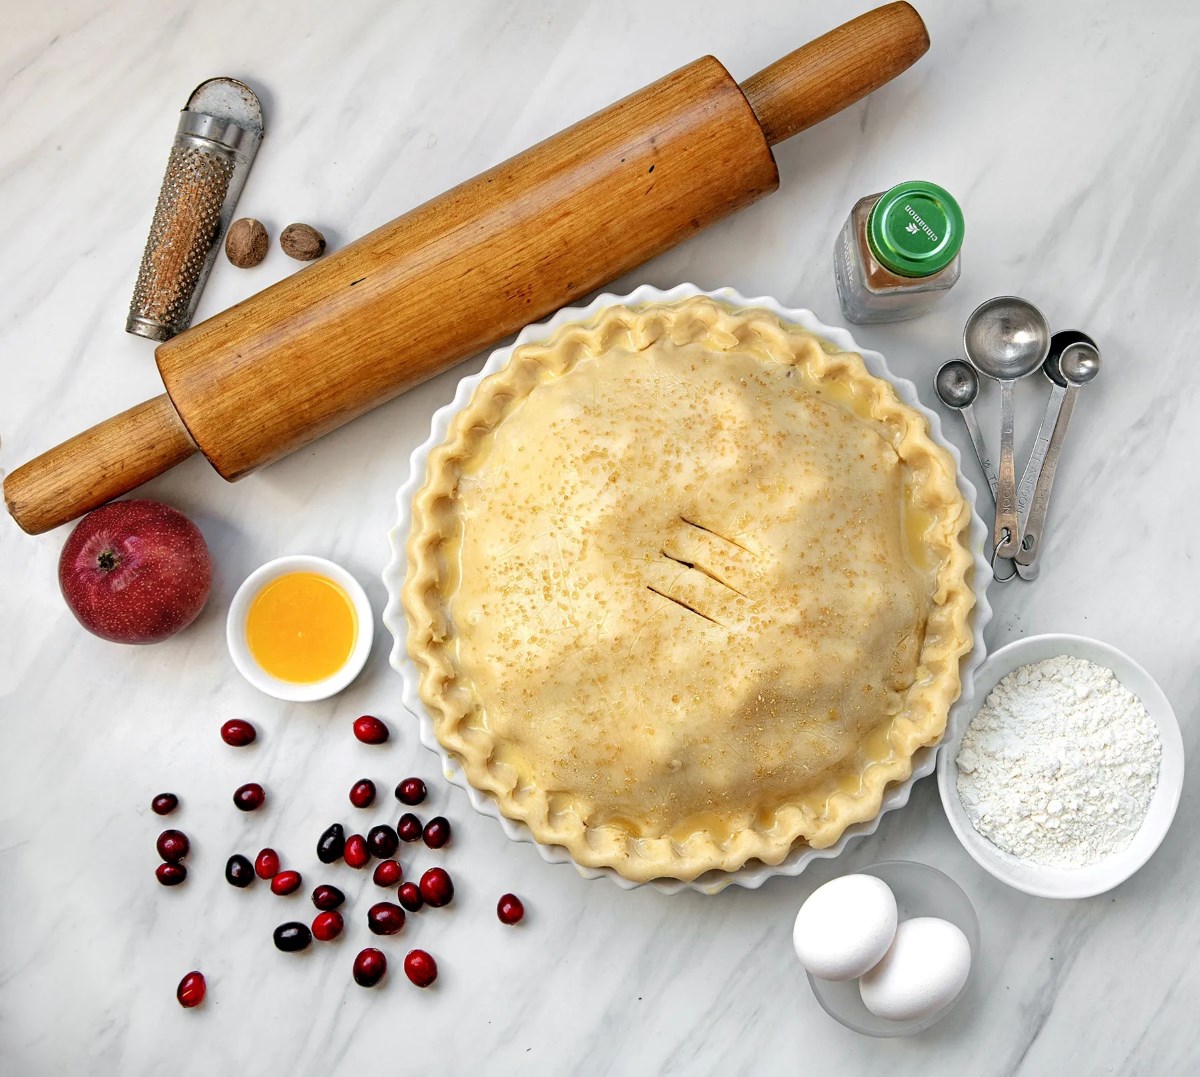
Rolling Out Circle Dough: A Step-by-Step Guide
Rolling out circle dough is an essential skill for any home cook or baker. Whether you’re making pizza, pie, or any other circular baked goods, knowing how to roll out the dough properly is key to achieving the perfect shape and thickness. In this guide, we’ll walk you through the steps to roll out circle dough like a pro.
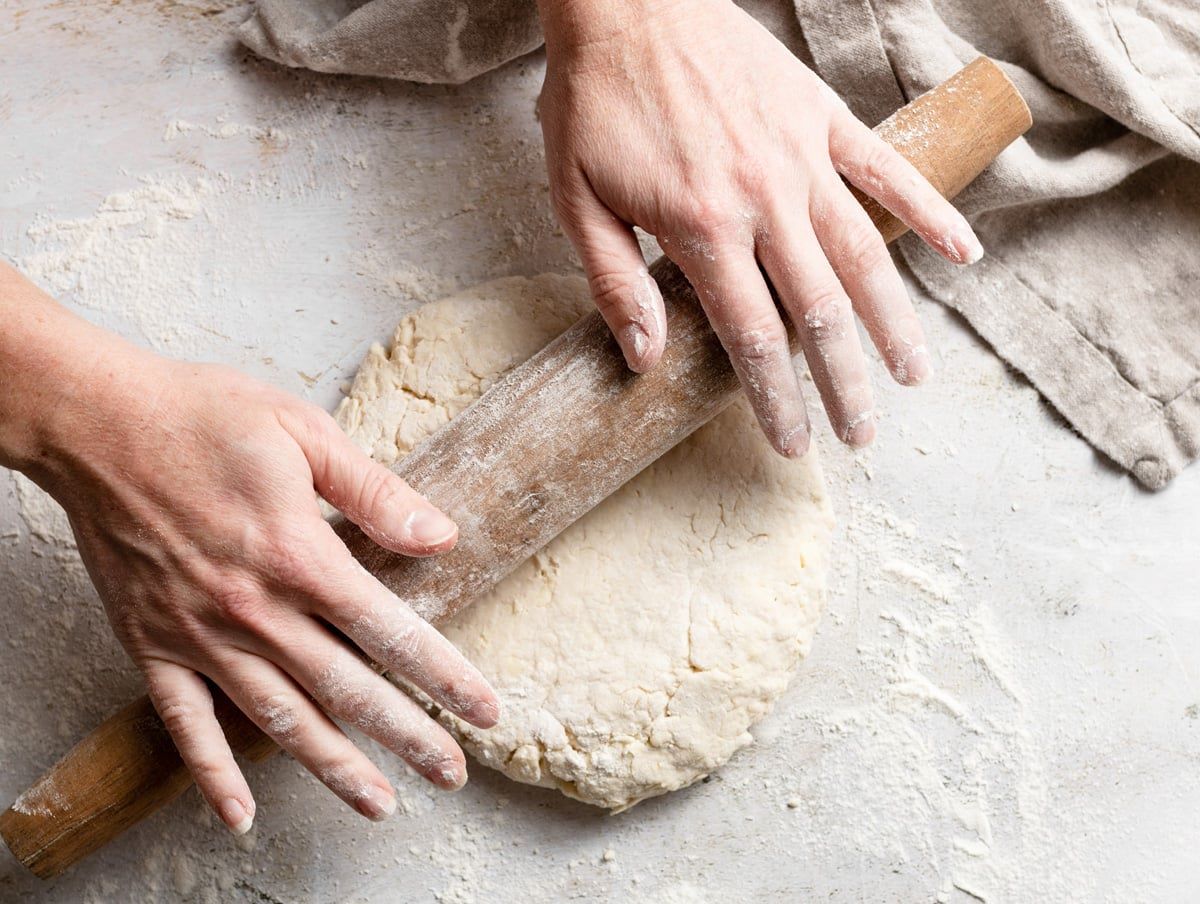
Step 1: Prepare Your Work Surface
Before you begin rolling out your circle dough, make sure your work surface is clean and lightly floured. This will prevent the dough from sticking and make it easier to roll out.
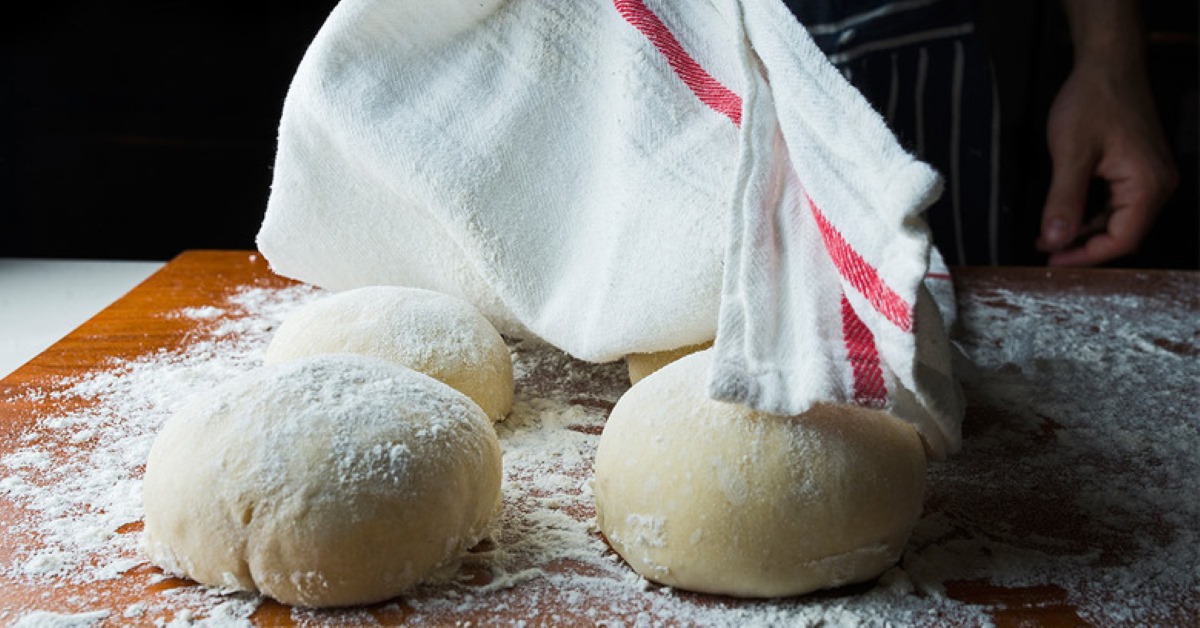
Step 2: Shape the Dough
Take your dough out of the refrigerator and let it sit at room temperature for a few minutes to make it easier to work with. Then, shape it into a rough circle with your hands.
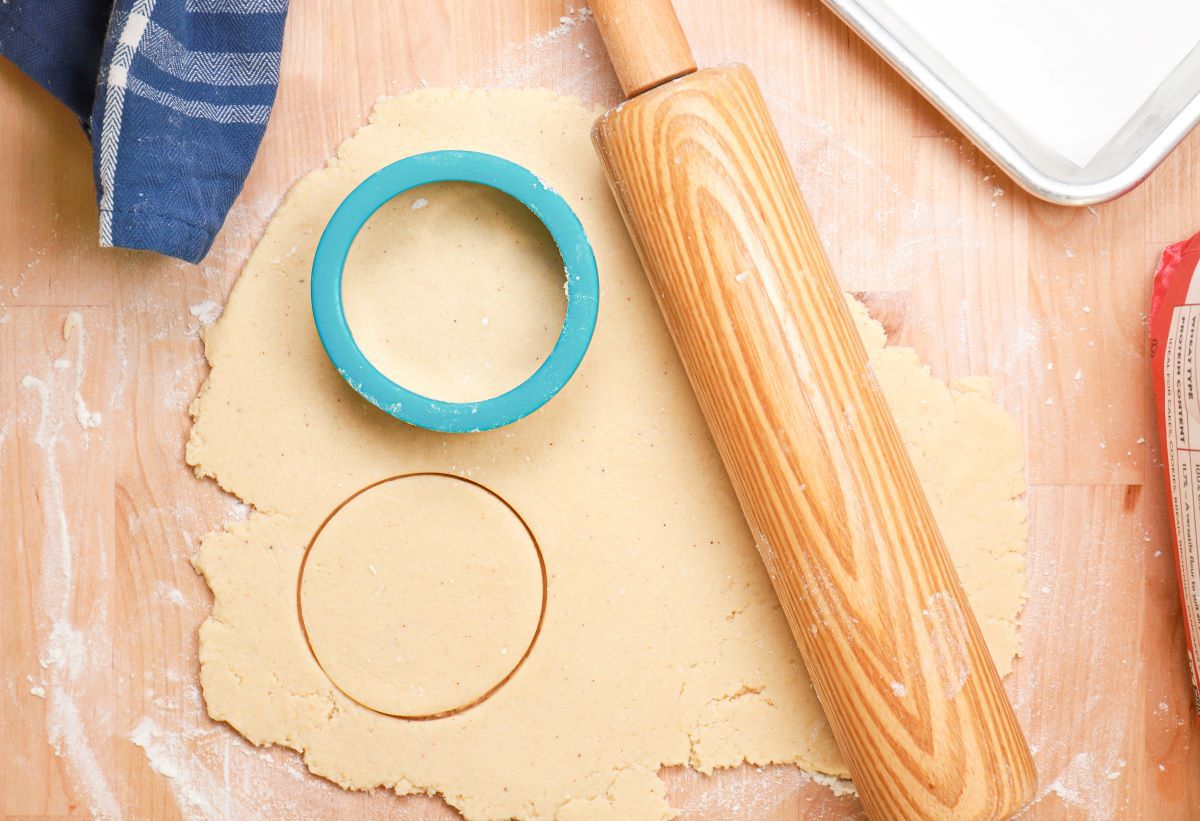
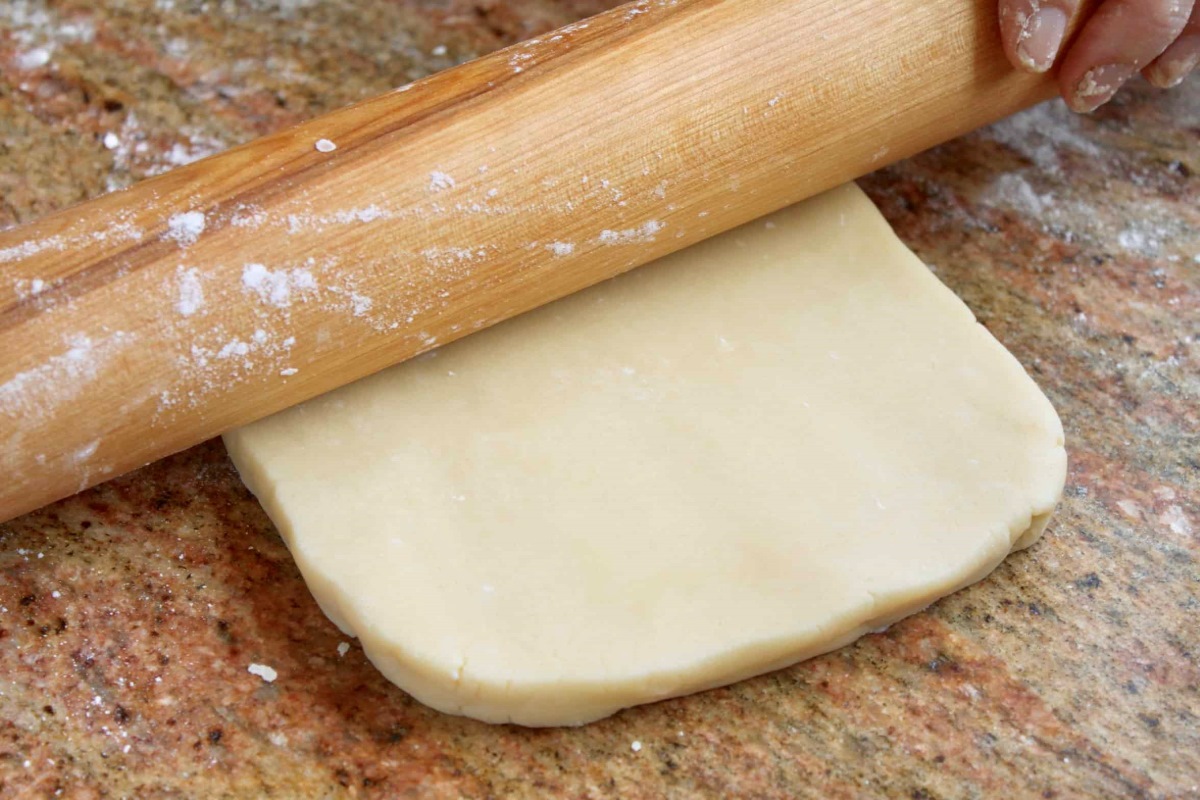
Step 3: Start Rolling
Place the dough on the floured surface and dust the top lightly with flour. Using a rolling pin, start rolling the dough from the center outwards, applying even pressure as you roll. Turn the dough a quarter turn after each roll to ensure an even circle.
Step 4: Check for Thickness
Periodically lift the dough and check for even thickness. Aim for a consistent thickness across the entire circle to ensure even baking.
Step 5: Adjust As Needed
If the dough starts to stick to the surface, gently lift it and sprinkle a little more flour underneath. Continue rolling until the dough reaches the desired size and thickness.
Step 6: Transfer to Baking Sheet
Once the dough is rolled out to the desired size, carefully transfer it to a parchment-lined baking sheet or the desired baking surface.
Step 7: Use As Required
Now that you have successfully rolled out your circle dough, it’s ready to be used for your favorite recipes. Whether you’re making a pizza, pie, or any other circular baked goods, you’re all set to proceed with the next steps of your recipe.
With these simple steps, you can confidently roll out circle dough for all your baking needs. Practice makes perfect, so don’t be discouraged if your first attempt isn’t flawless. Keep honing your skills, and soon you’ll be rolling out circle dough like a pro!
Was this page helpful?
Read Next: How To Roll Out Double Crust Pie Dough
Related Articles