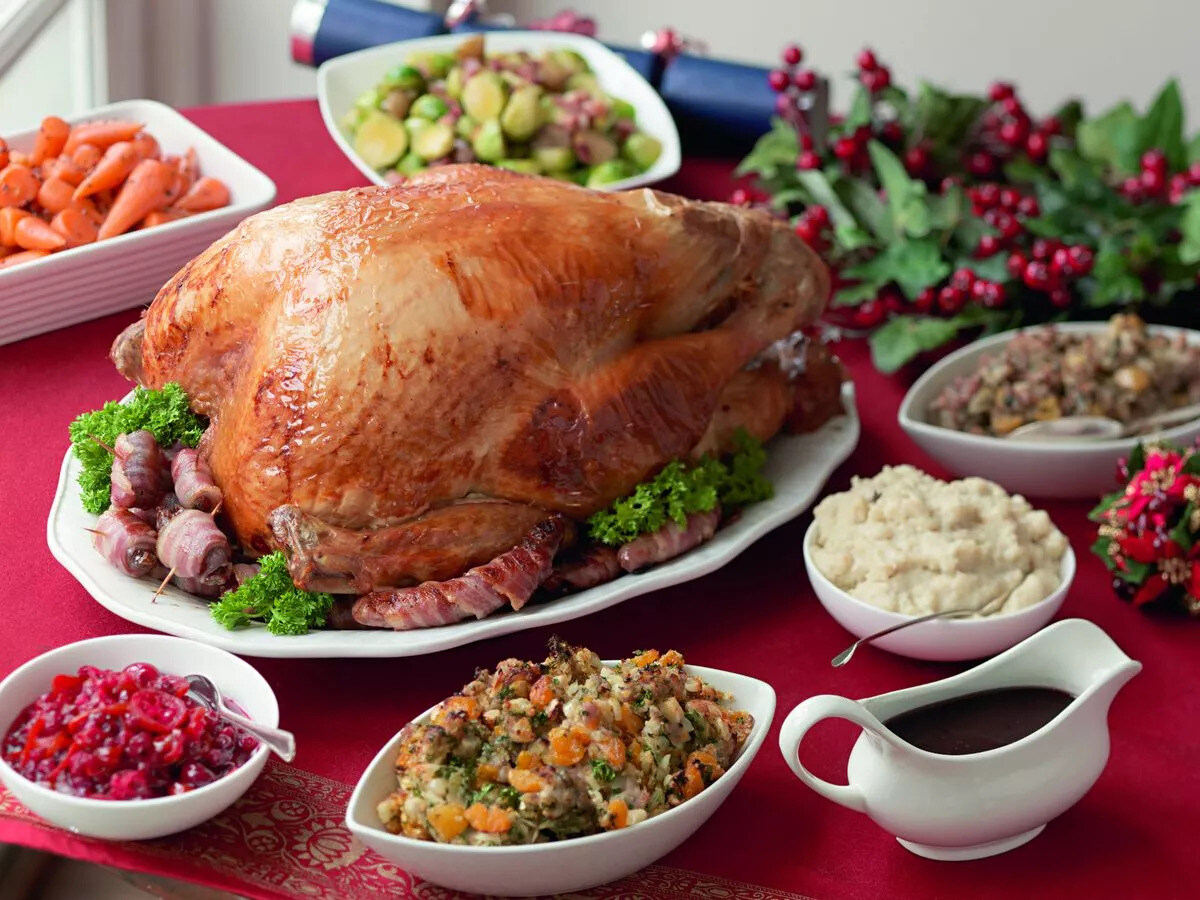
How To Make A Christmas Hamper
Christmas is a time of joy, love, and delicious food. One of the highlights of the holiday season is receiving or giving a beautifully curated Christmas hamper. These festive hampers are not only a delight to receive but also a thoughtful and personalized gift. If you want to impress your loved ones with a homemade Christmas hamper this year, here is a step-by-step guide to help you create a memorable and mouthwatering gift.
Step 1: Choose a Theme
Start by deciding on a theme for your Christmas hamper. Would you like to create a gourmet food hamper filled with exquisite treats, a cozy winter essentials hamper, or a festive sweet tooth hamper? The choice is yours! Having a theme will help you narrow down the selection of items and create a cohesive and visually appealing gift.
Step 2: Gather Your Supplies
Next, gather all the necessary supplies for your Christmas hamper. You will need a sturdy basket or hamper, decorative shred or tissue paper, clear cellophane wrap, ribbon or twine, and gift tags. Don’t forget to have a pair of scissors and tape on hand!
Step 3: Select Your Goodies
Now comes the fun part – selecting the goodies for your hamper! Think about your theme and choose a variety of delicious and festive items that fit within that theme. Consider including gourmet chocolates, artisanal cheeses, specialty teas or coffees, homemade preserves, savory snacks, and festive baked goods. Get creative and try to include a mix of sweet and savory treats to cater to different taste preferences.
Here are some suggestions for a gourmet food hamper:
- Assorted gourmet chocolates
- Artisanal cheeses and crackers
- Flavored olive oils and balsamic vinegar
- Assortment of gourmet nuts
- Handcrafted jams and honey
- Specialty teas and coffees
Step 4: Arrange and Wrap
Once you have gathered all your selected items, it’s time to arrange them in the hamper. Place some decorative shred or tissue paper at the bottom of the basket to create a sturdy base. Then, arrange your goodies in an aesthetically pleasing way, using different heights and textures to create visual interest.
After arranging the items, wrap the hamper with a sheet of clear cellophane. This will not only protect the contents but also give the hamper a professional and polished look. Use ribbon or twine to secure the cellophane wrap and add a festive touch. Don’t forget to attach a gift tag with a heartfelt message!
Step 5: Personalize and Customize
To make your Christmas hamper extra special, consider personalizing and customizing it. You can add a handwritten note or a personalized ornament to the hamper. You can also include a homemade item, such as freshly-baked cookies or a jar of homemade granola. The more personal and thoughtful the hamper, the more meaningful it will be to the recipient.
Step 6: Spread the Joy
Once your Christmas hamper is ready, it’s time to spread some joy and make someone’s holiday season brighter. Deliver the hamper in person or arrange for its delivery if you are unable to be there in person. Seeing the smiles and delight on the recipient’s face will make all your efforts worthwhile!
Remember, the joy of giving is what makes Christmas truly magical. So, let your creativity shine, and enjoy the process of making a Christmas hamper that will be treasured and remembered for years to come.
Happy hamper making and Merry Christmas!
Was this page helpful?
Big And Tall Planet
Our web site BigAndTallPlanet is a very interesing option to find the greatest solutions for bigger men trying to find a wonderful spot online to purchase bigger garmets with wider and larger designs.

