Mastering the Art of Kneading Dough by Hand for Delicious Bread
There’s something incredibly satisfying about making bread from scratch. The process of kneading the dough by hand is not only therapeutic but also essential for creating the perfect texture and structure in your bread. Whether you’re a seasoned baker or a novice in the kitchen, learning how to knead dough by hand is a valuable skill that will take your bread-making to the next level.
Why Hand Kneading?
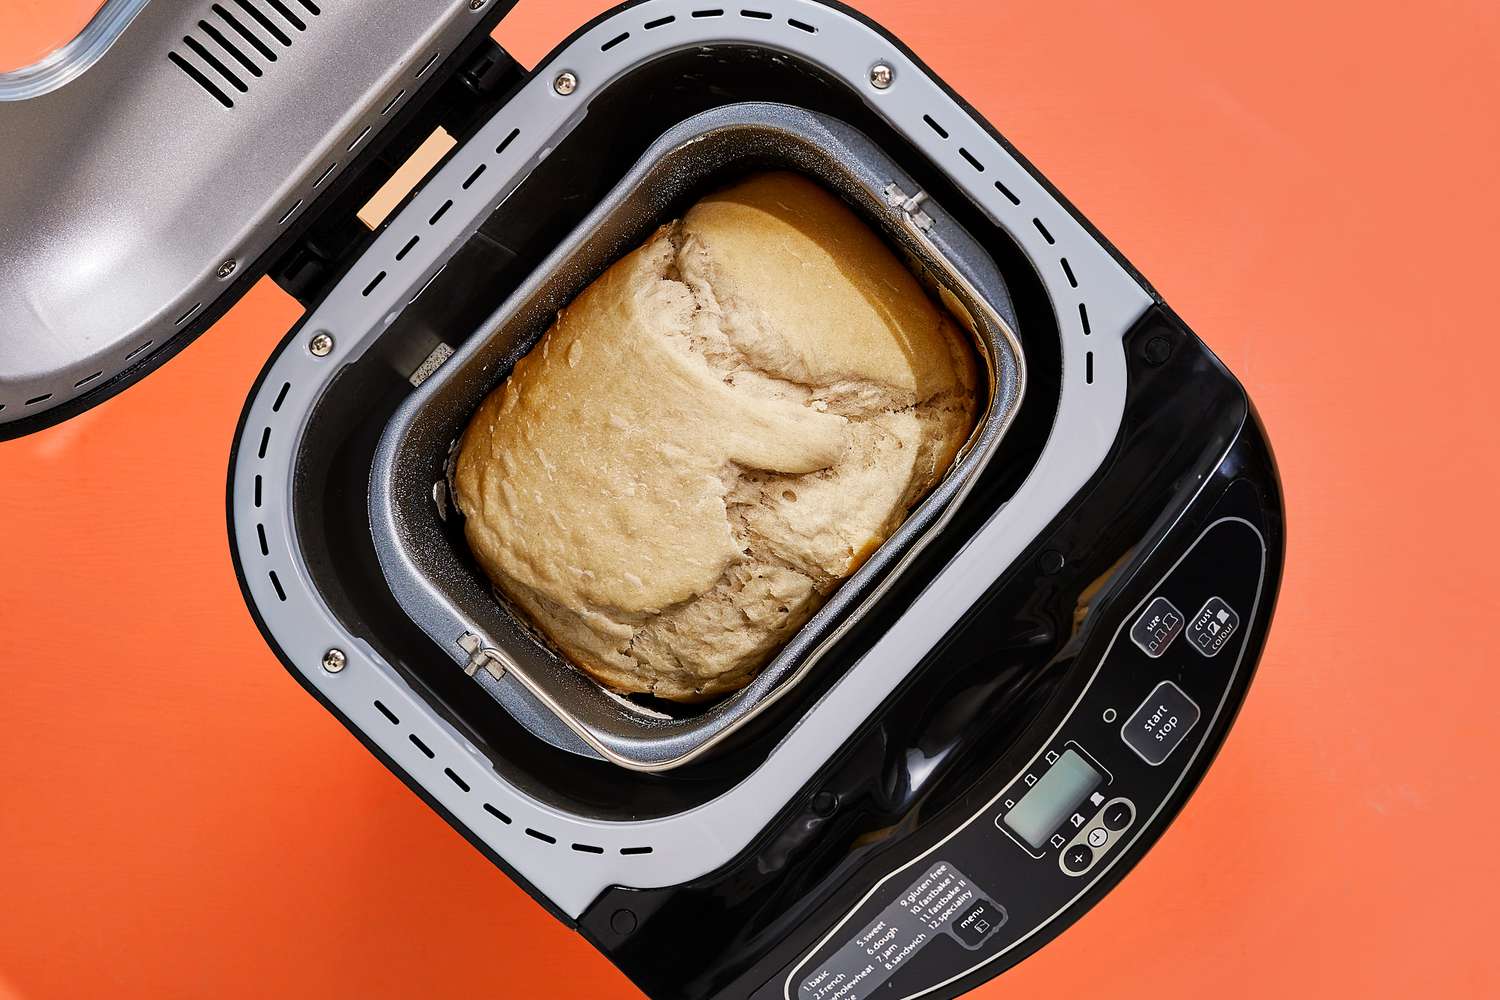
While stand mixers and bread machines can certainly make the kneading process more convenient, there’s a special connection that comes from using your hands. Kneading dough by hand allows you to feel the texture and consistency of the dough, making it easier to adjust and perfect the recipe as you go. Plus, there’s a sense of pride that comes from knowing you’ve put in the effort to create something from scratch.
Step-by-Step Guide to Kneading Dough by Hand
Follow these simple steps to master the art of hand-kneading dough for delicious, homemade bread:
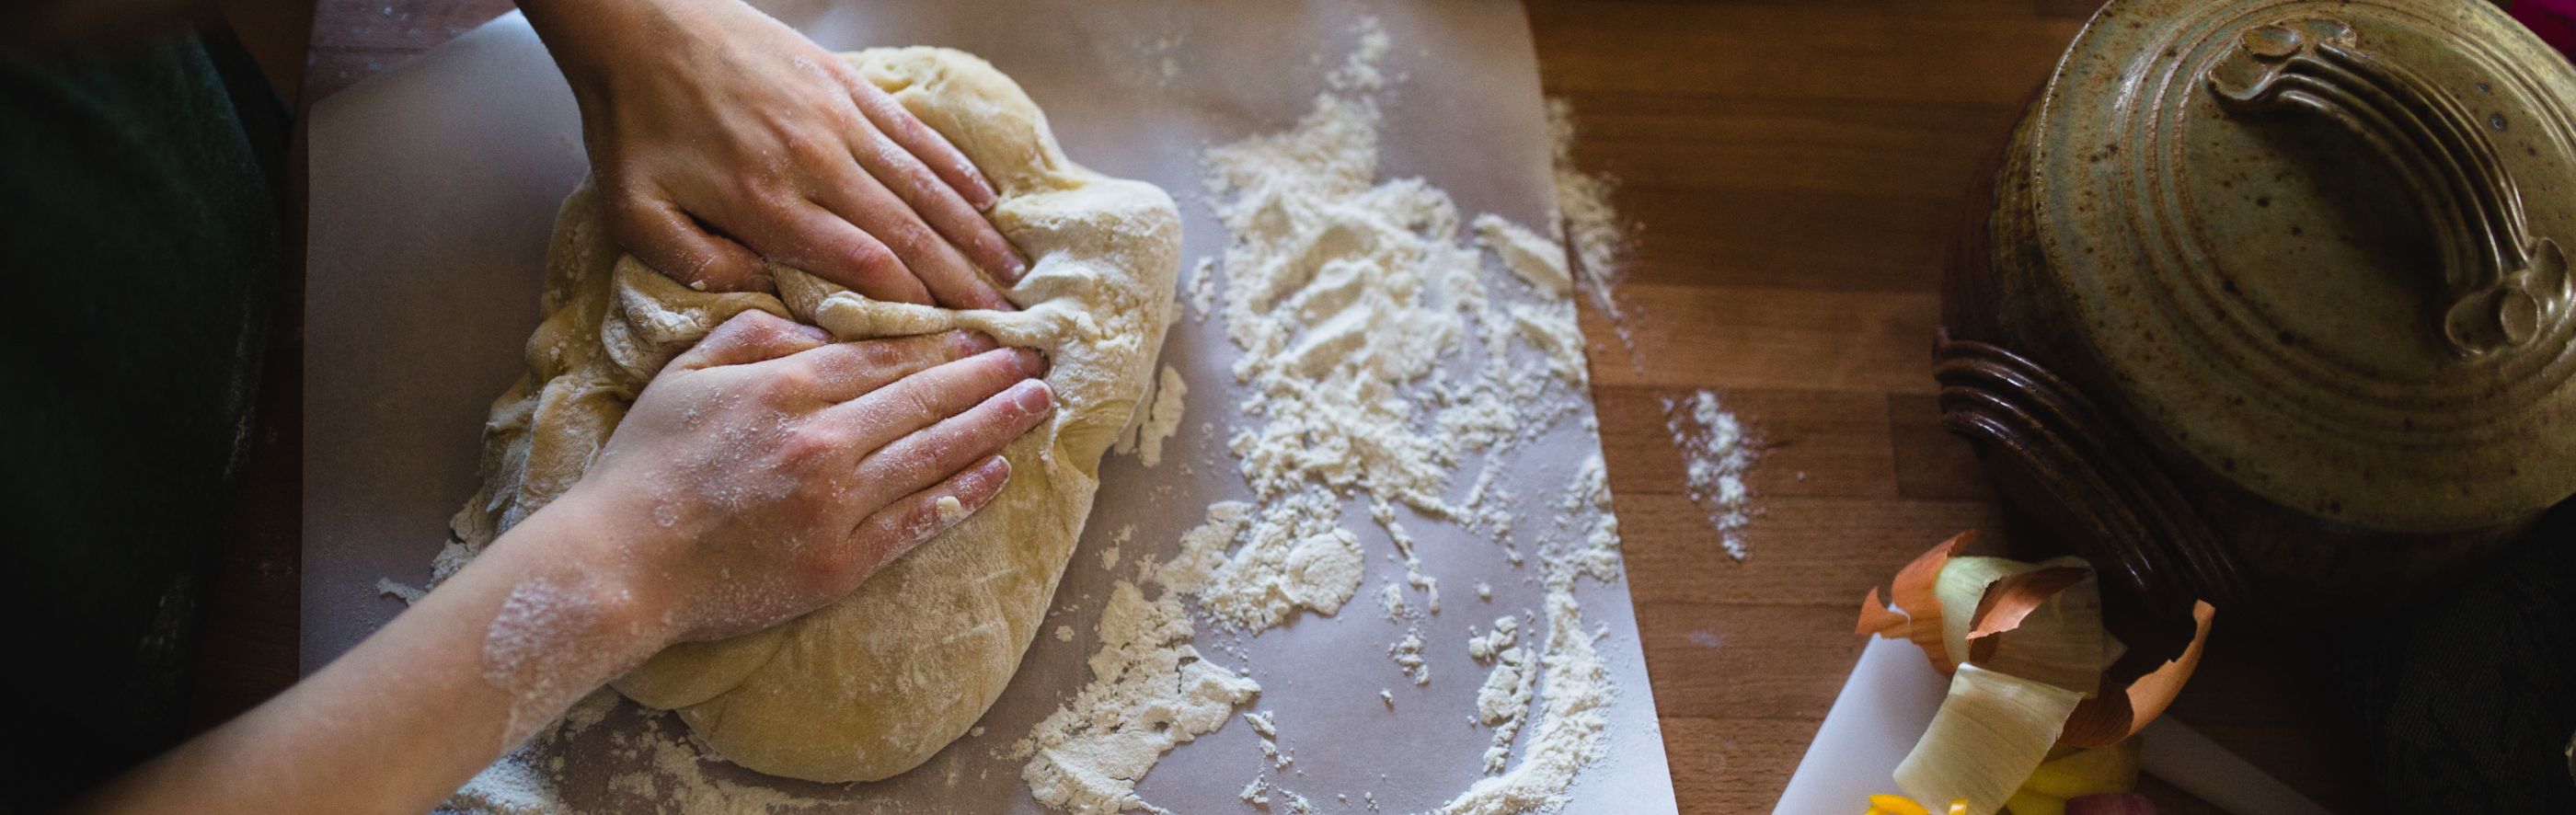
- Prepare Your Work Surface: Start by clearing and cleaning a large, flat surface for kneading. A clean countertop or wooden board works well.
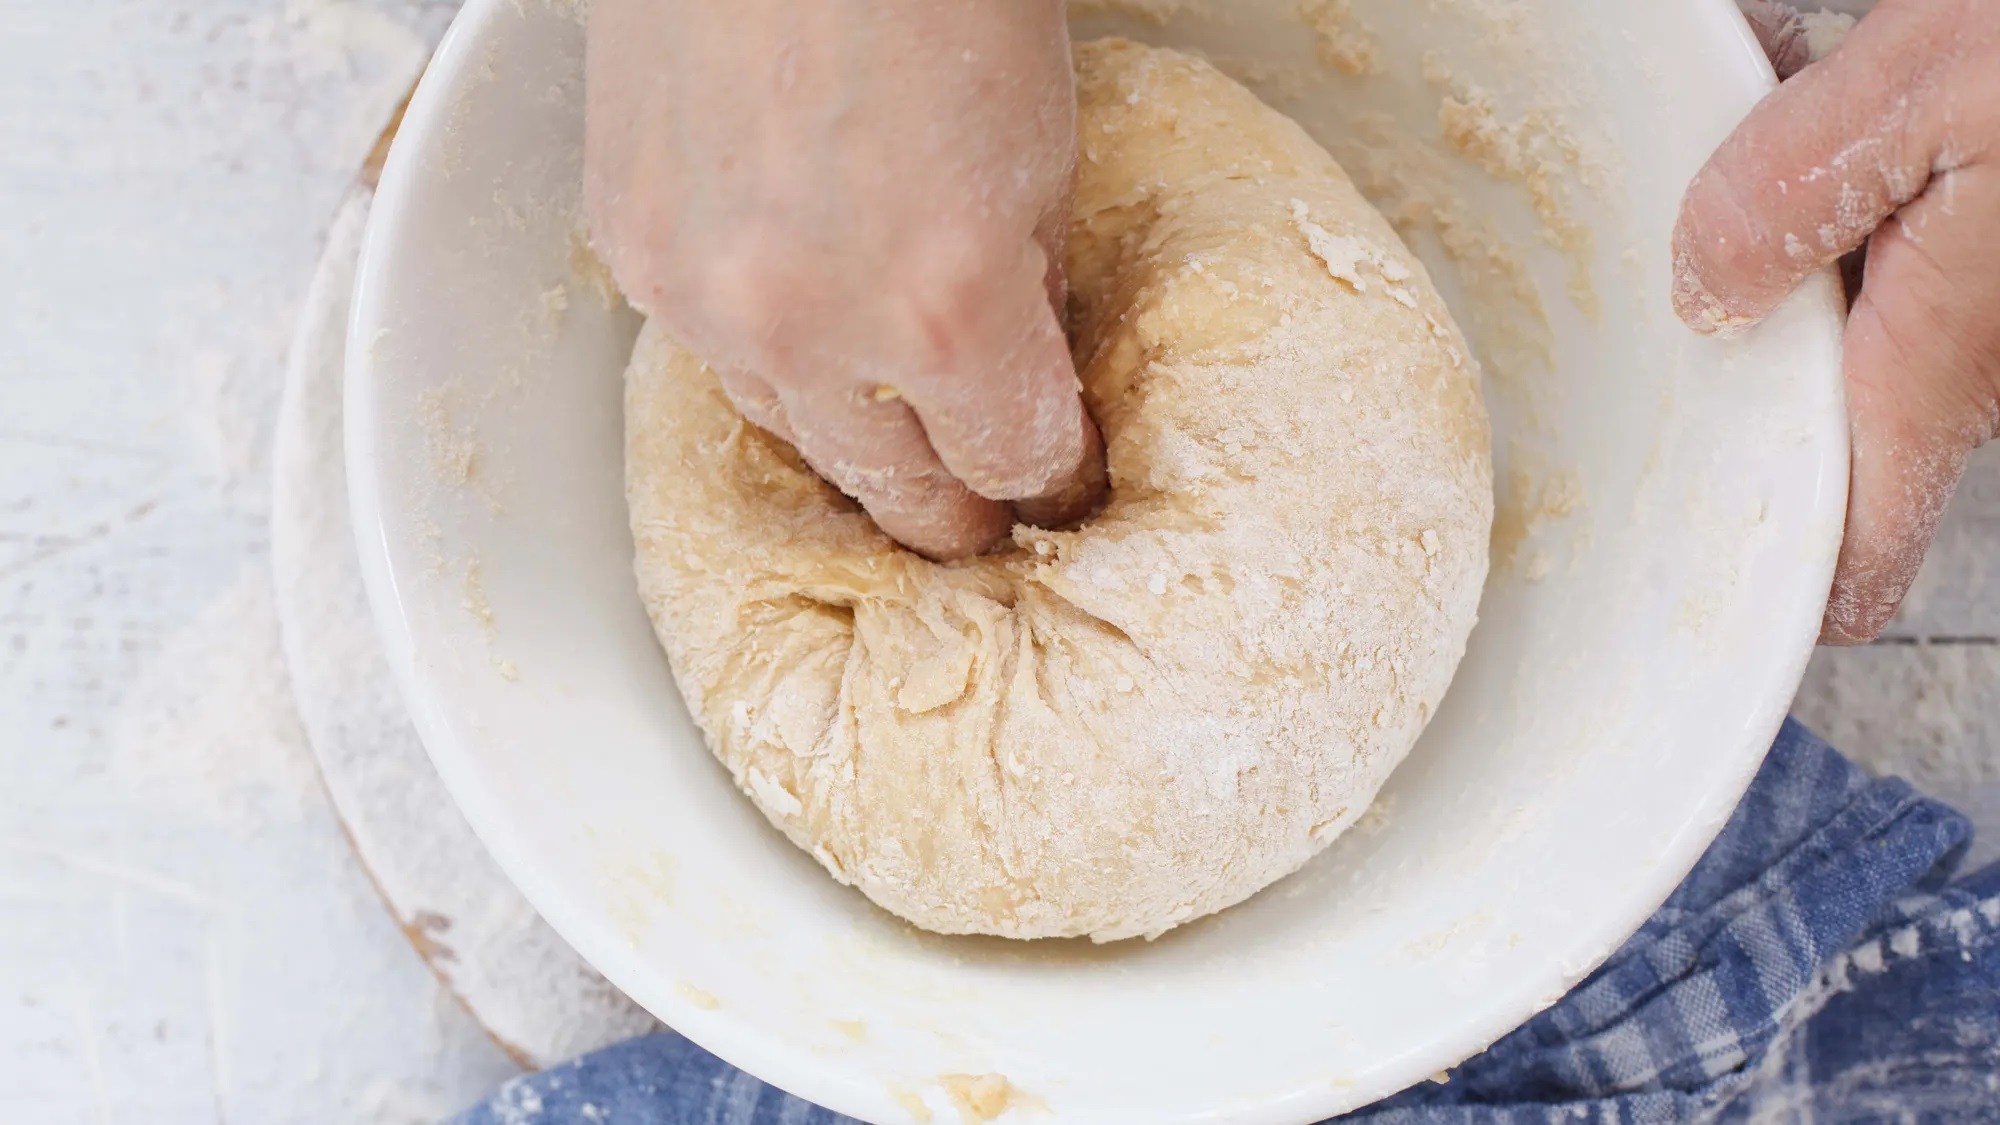
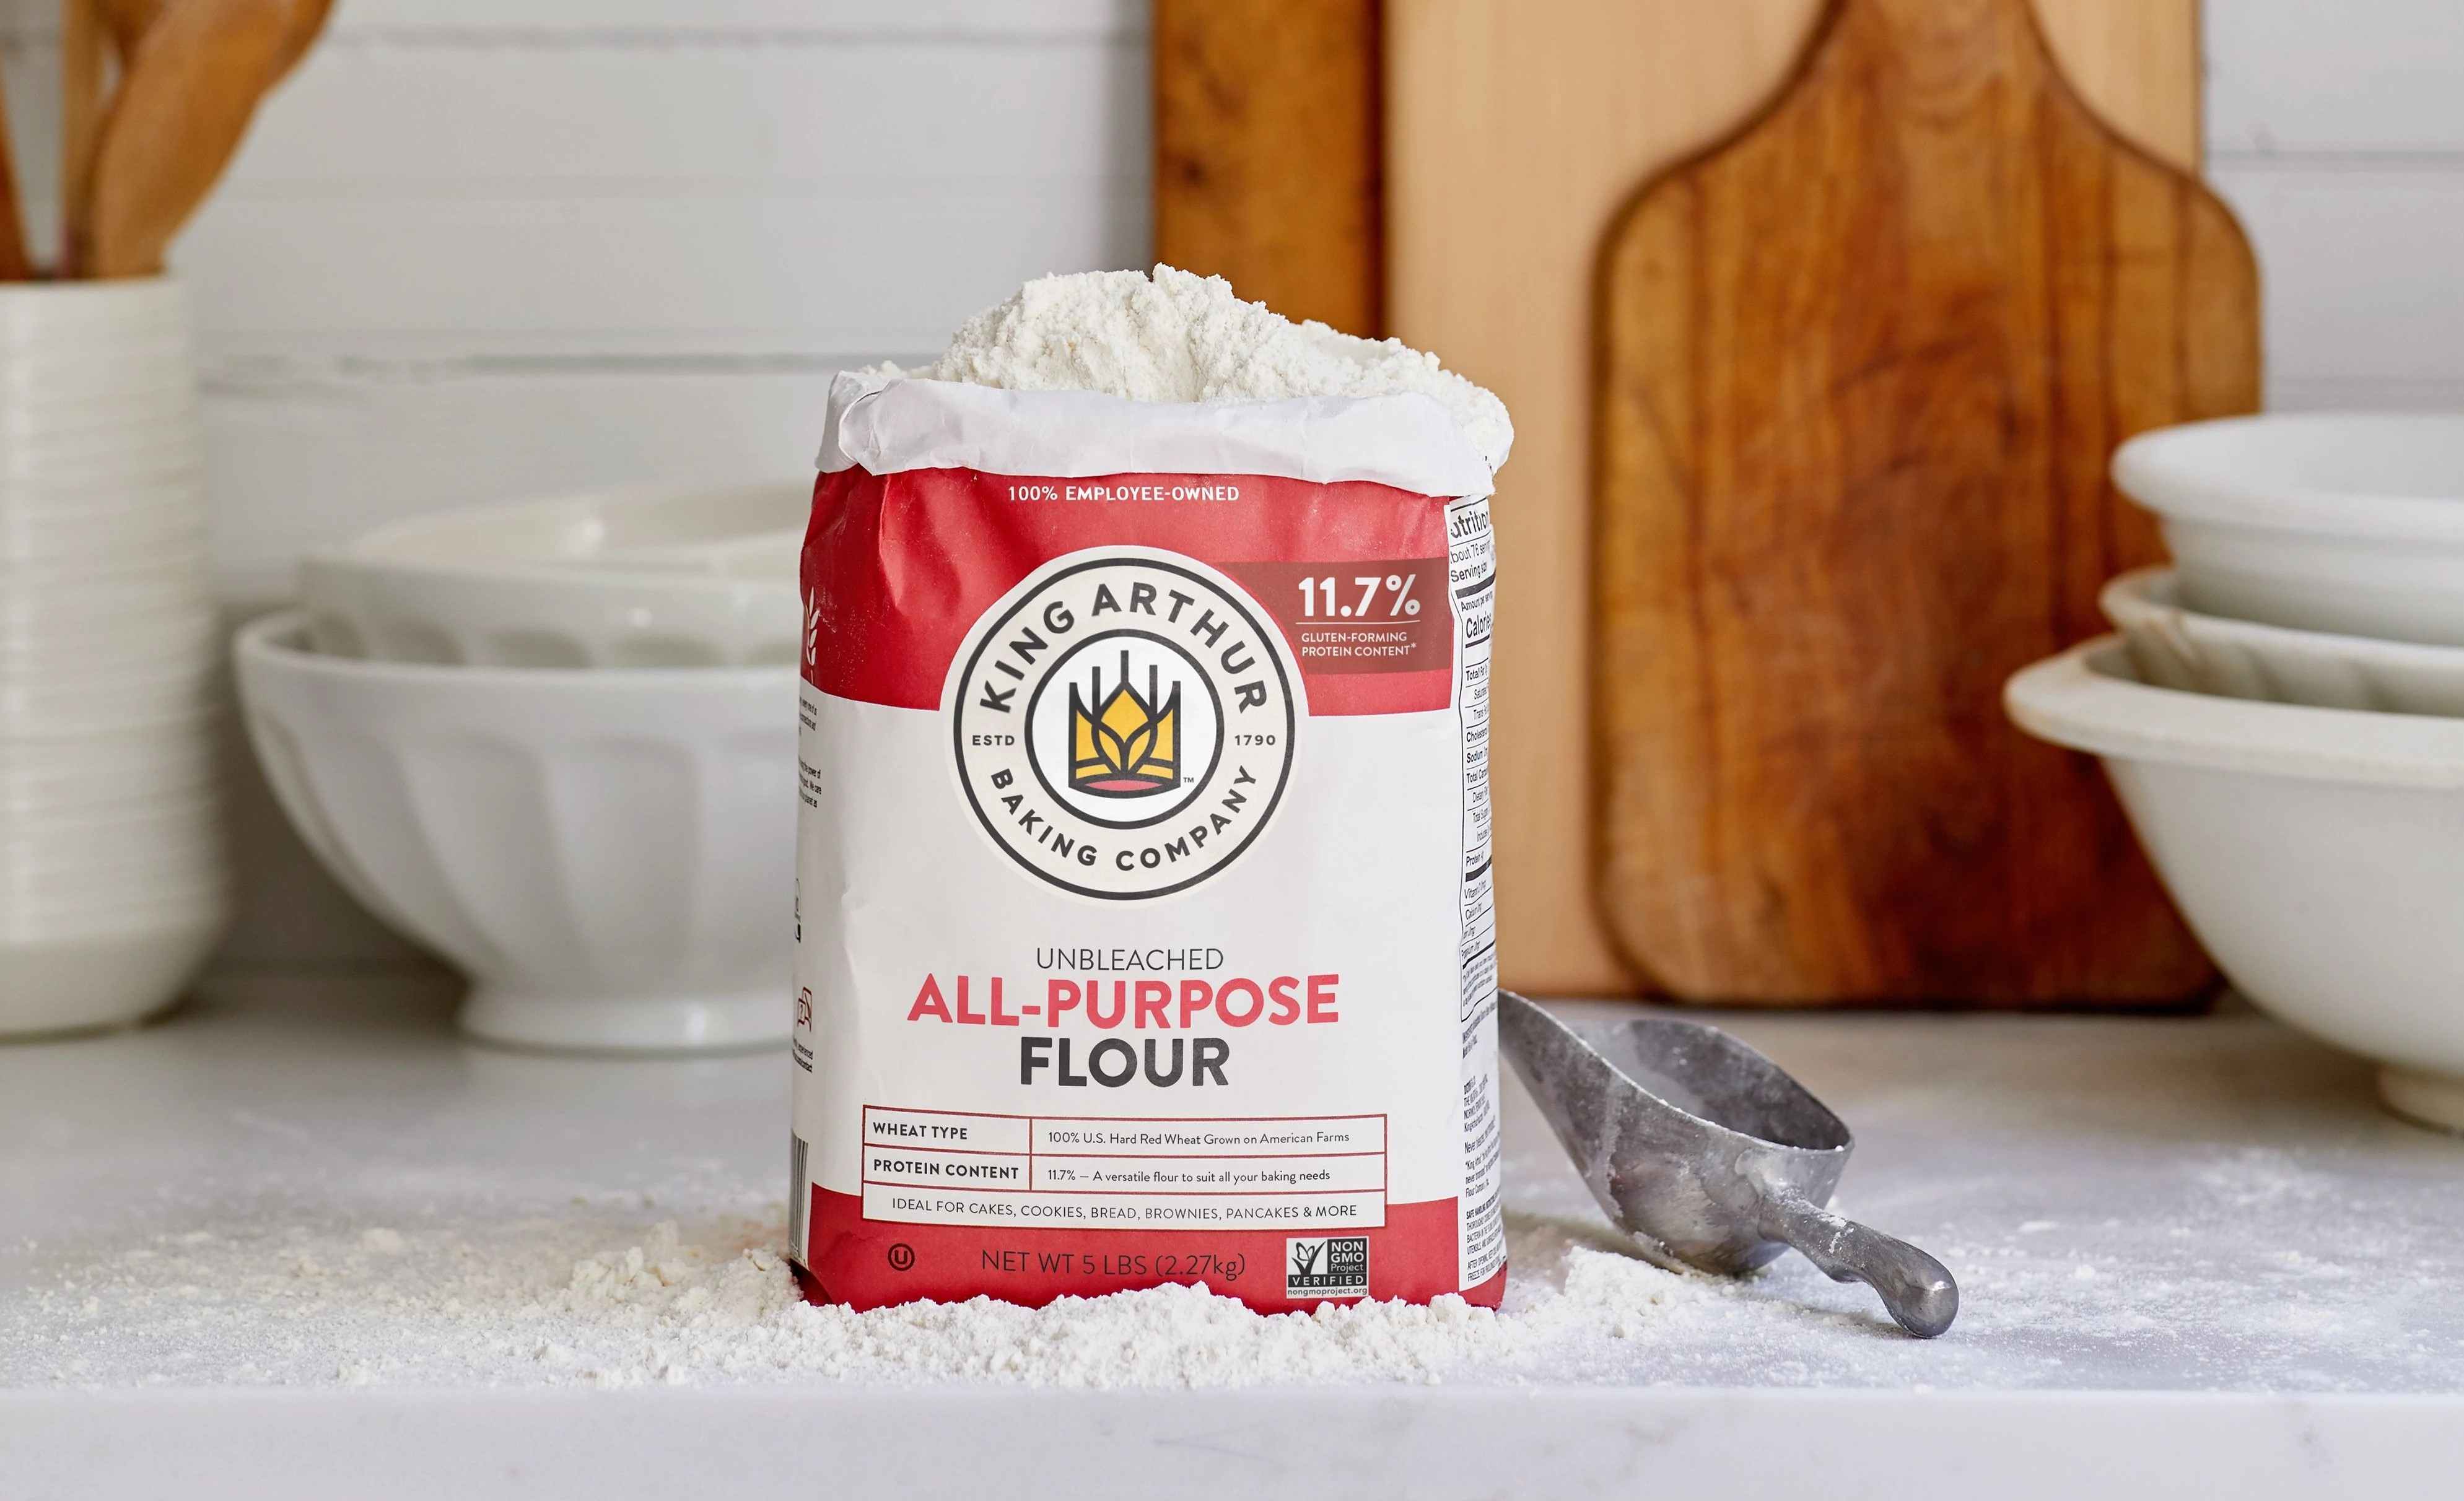
- Gather Your Dough: Place the dough on the prepared surface and lightly dust it with flour to prevent sticking.
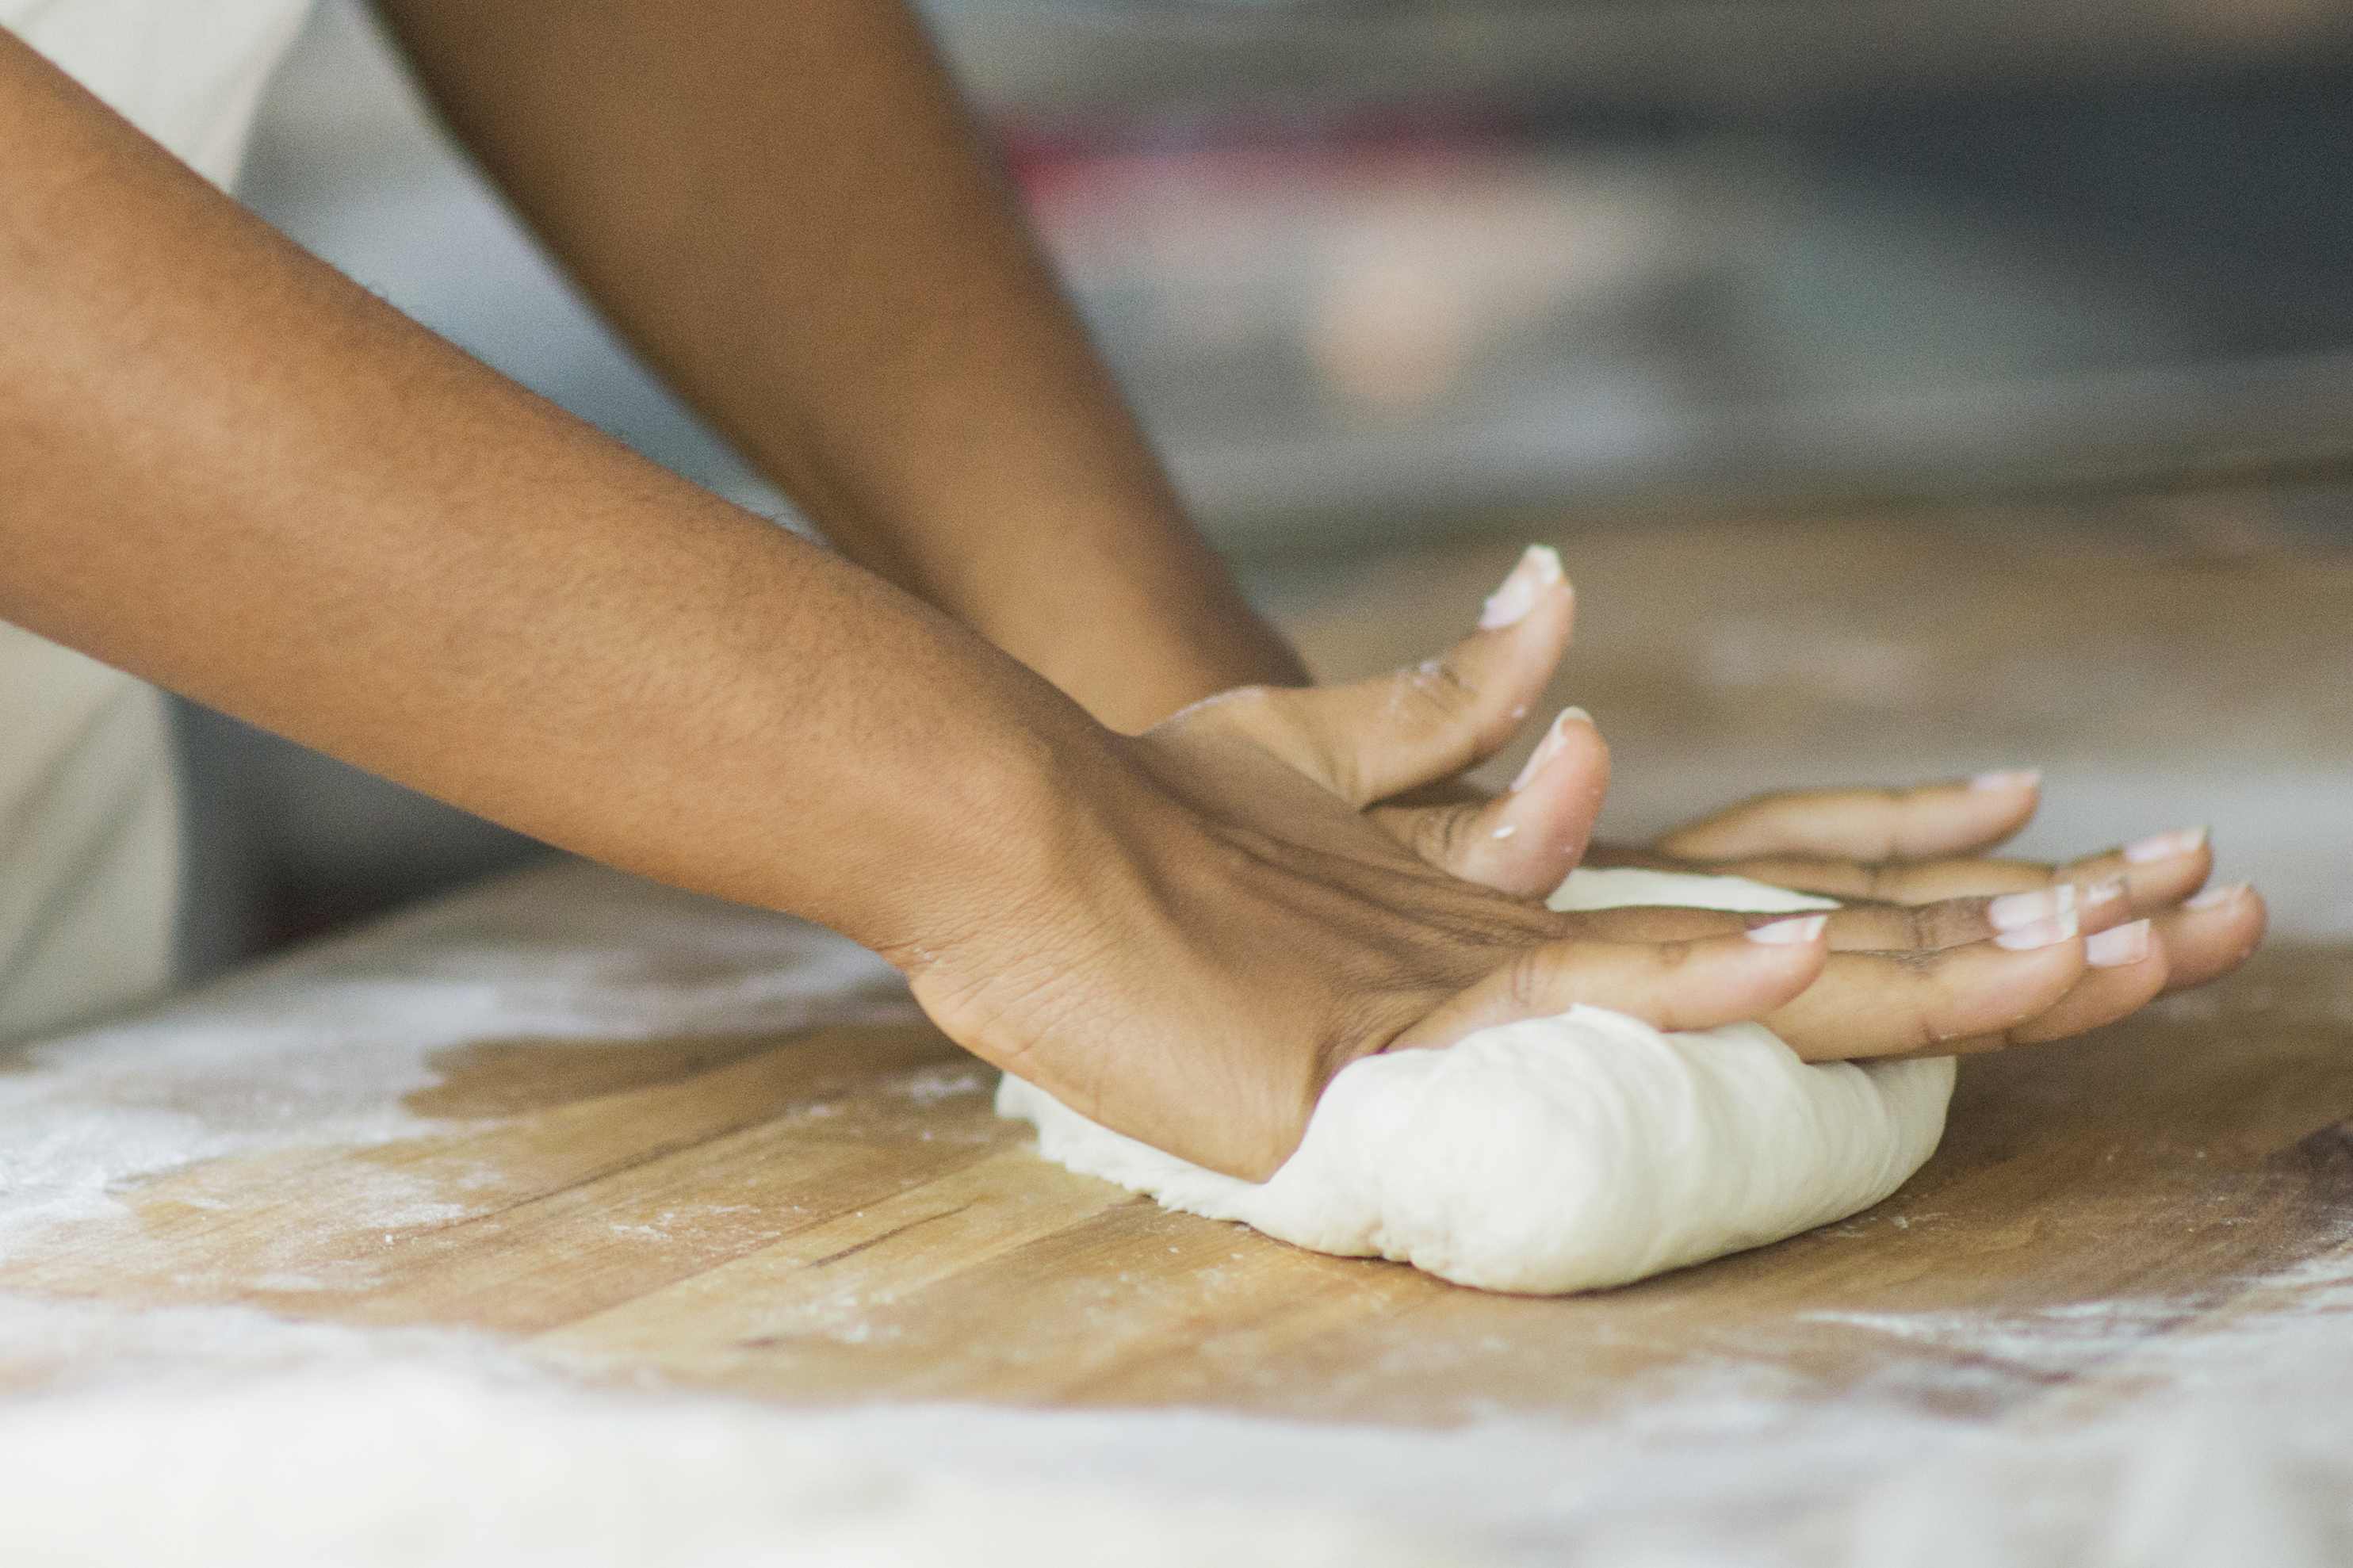
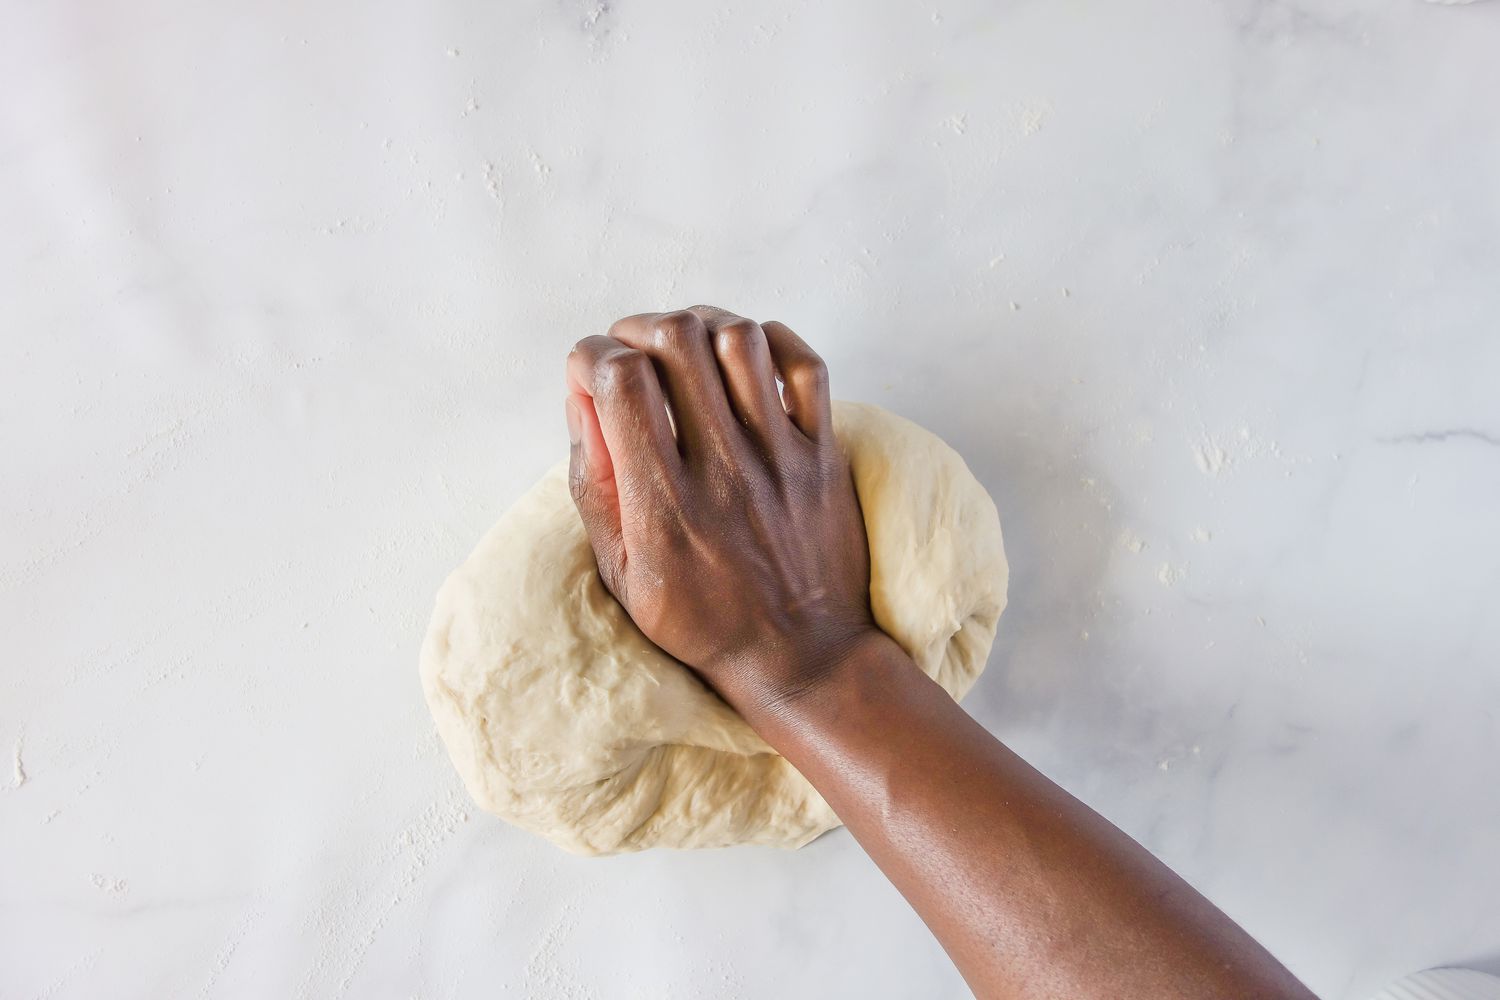
- Begin Kneading: Using the heels of your hands, firmly push the dough away from you. Fold the dough in half, then rotate it a quarter turn and repeat the process. Continue this motion for about 10-15 minutes or until the dough becomes smooth and elastic.
- Check the Dough: To test if the dough is ready, perform the “windowpane test.” Gently stretch a small piece of dough between your fingers. If it forms a thin, translucent membrane without tearing, the dough is adequately kneaded.
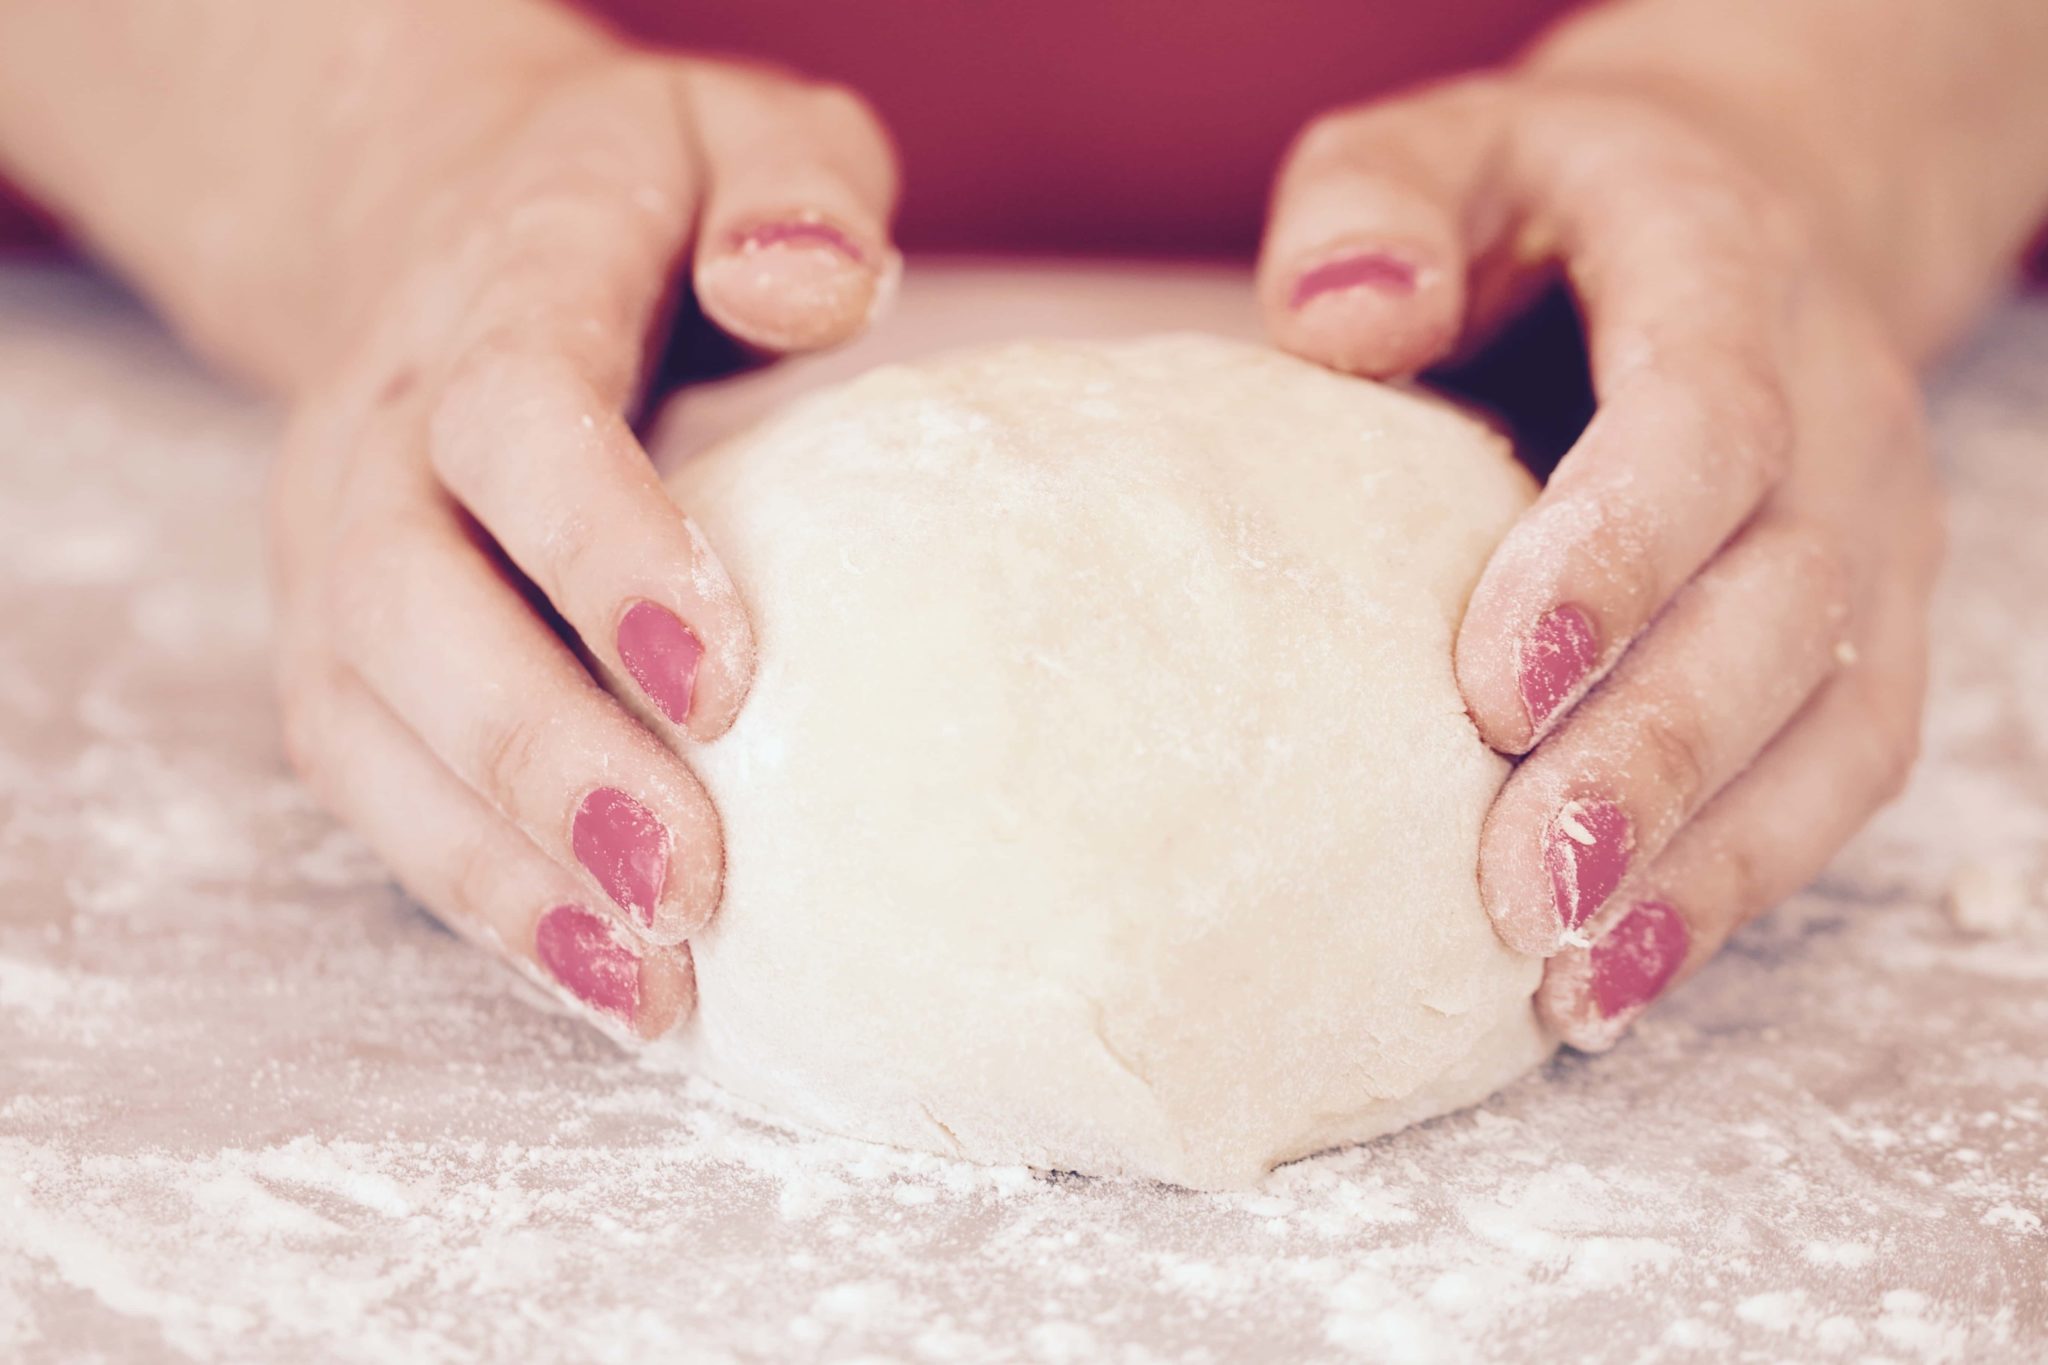
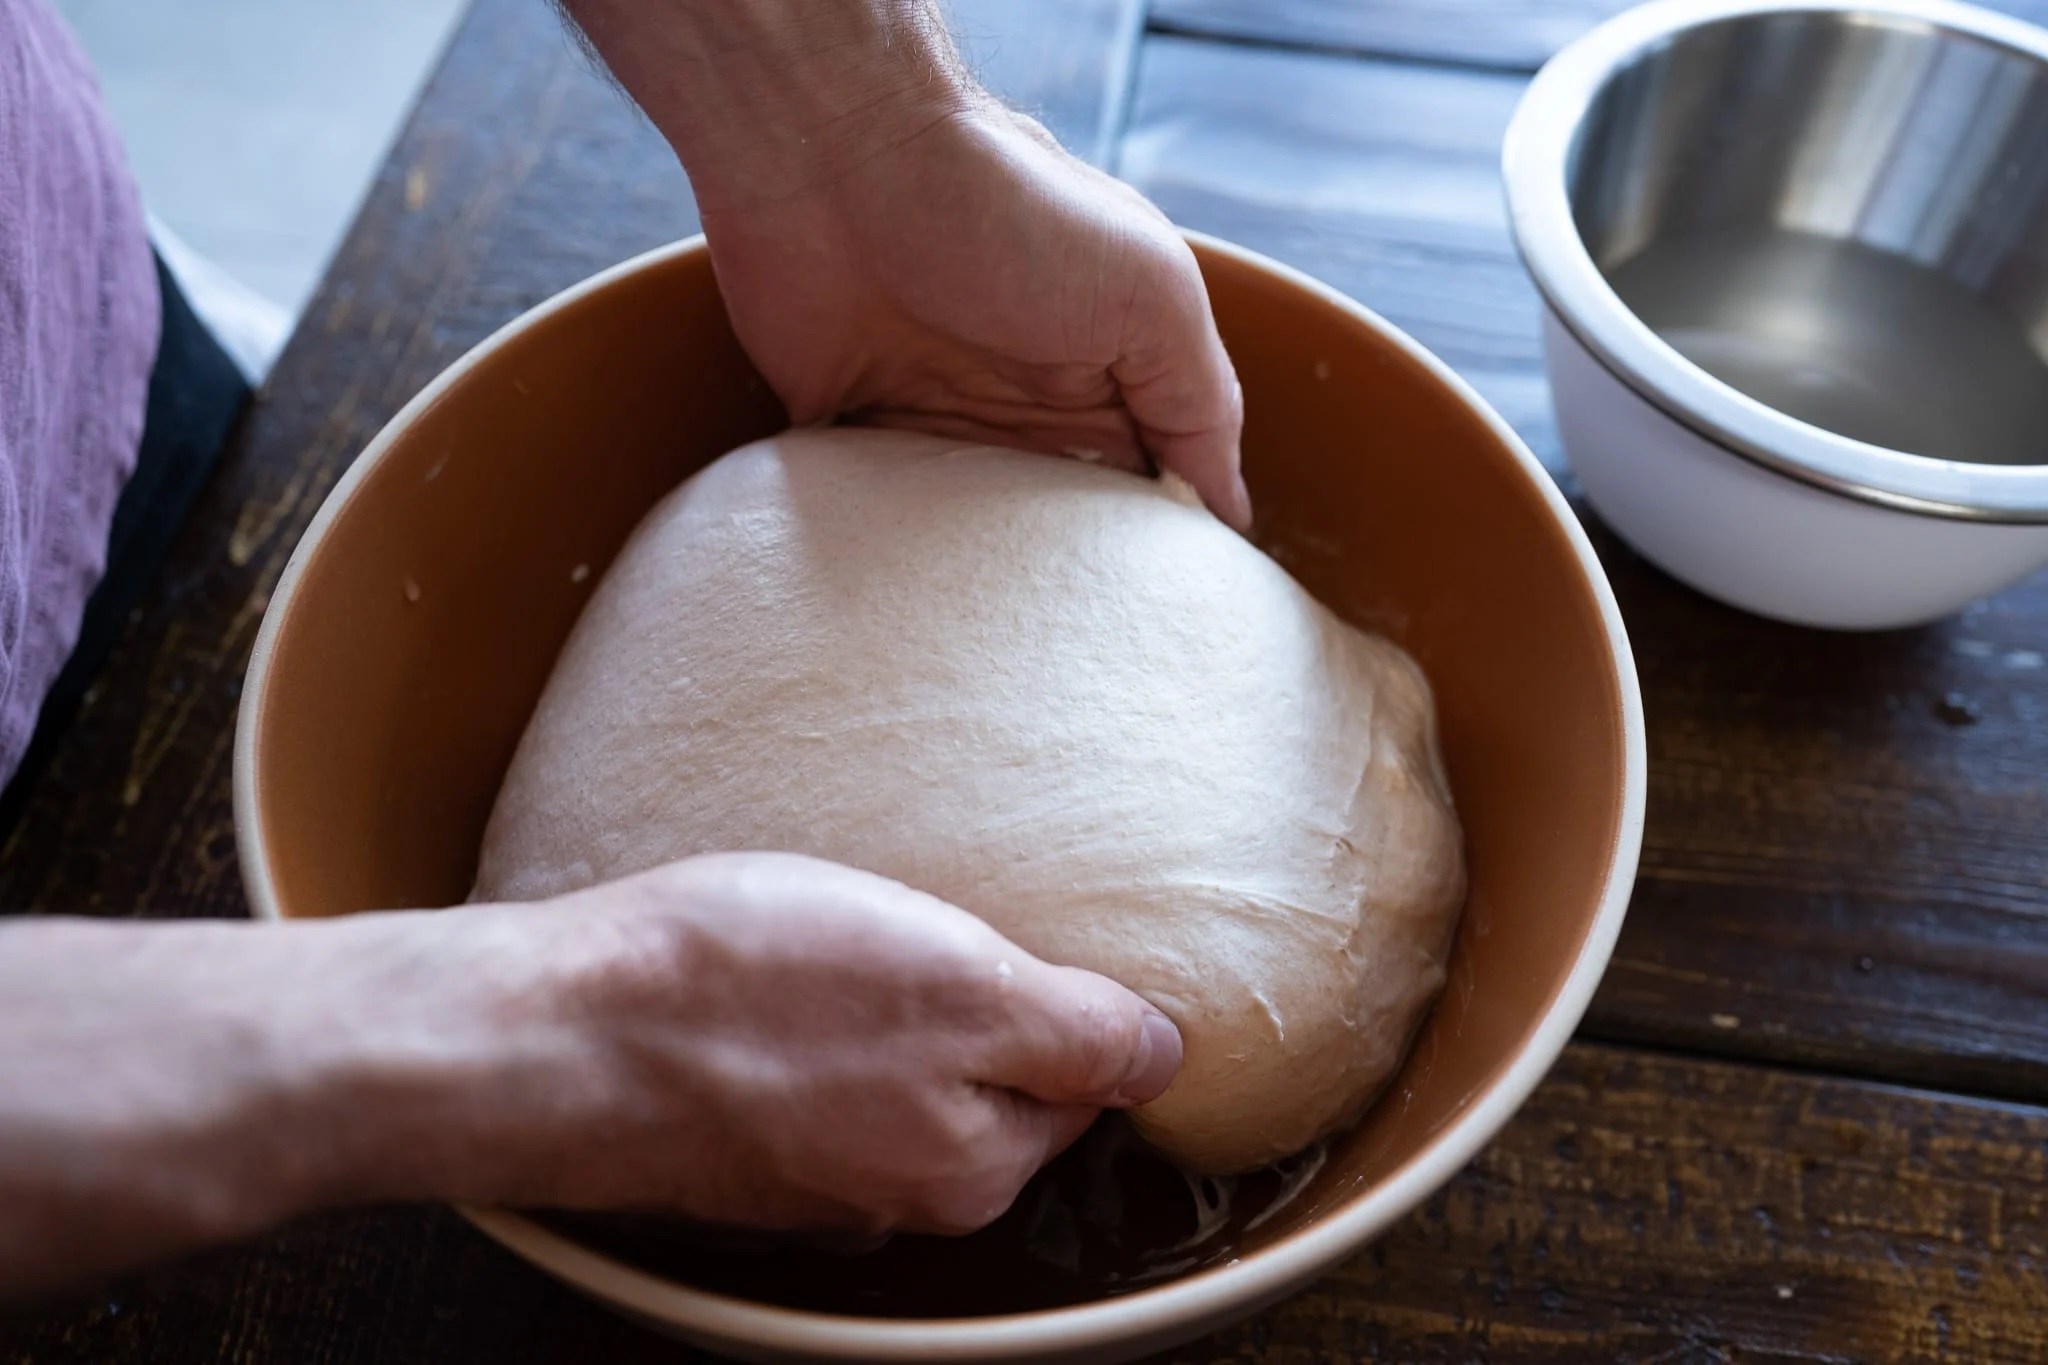
- Rest the Dough: Once the dough is properly kneaded, shape it into a ball and place it in a lightly greased bowl. Cover the bowl with a clean kitchen towel and allow the dough to rest and rise until doubled in size.
Tips for Successful Hand Kneading
Kneading dough by hand may take a bit of practice, but with these helpful tips, you’ll be well on your way to becoming a pro:
- Be Patient: Kneading takes time, so don’t rush the process. Enjoy the rhythm and feel of the dough as you work it.
- Use Proper Technique: Focus on using the heels of your hands to push and fold the dough, applying consistent pressure as you work.
- Adjust as Needed: If the dough feels too sticky, add a sprinkle of flour. If it’s too dry, lightly moisten your hands to add a touch of water to the dough.
- Practice Makes Perfect: The more you knead dough by hand, the better you’ll become at recognizing the right texture and consistency.
Enjoy the Fruits of Your Labor
Once you’ve mastered the art of kneading dough by hand, you’ll be ready to create an array of delicious breads, from crusty artisan loaves to soft sandwich bread. Embrace the process, enjoy the journey, and savor the satisfaction of creating homemade bread from start to finish.
So, roll up your sleeves, dust off your work surface, and get ready to knead your way to bread-making success!
Was this page helpful?
Related Articles