How To Fry A Turkey In Peanut Oil
Frying a turkey in peanut oil can result in a delicious and flavorful dish that will impress your friends and family at your next gathering. However, it’s important to follow the proper steps to ensure a safe and successful frying experience. In this guide, we will take you through the process of frying a turkey in peanut oil, step by step.
What You’ll Need:
- A turkey (make sure it’s completely thawed)
- A turkey fryer kit (including a fryer pot, burner, and propane tank)
- Peanut oil (you’ll need enough to fully submerge the turkey)
- A meat thermometer
- A fire extinguisher (safety first!)
- Marinade or dry rub (optional, for added flavor)
Step 1: Preparing the Turkey
Start by removing the giblets and neck from the turkey cavity. Rinse the turkey thoroughly inside and out, and pat it dry with paper towels. This will help the marinade or dry rub adhere to the turkey.
Step 2: Marinating or Dry Rubbing (Optional)
If you want to add some extra flavor to your turkey, you can marinate it or apply a dry rub. Allow the turkey to marinate or let the dry rub sit for a few hours or overnight in the refrigerator. This will let the flavors penetrate the meat, resulting in a more flavorful turkey.
Step 3: Setting Up the Fryer
Place the turkey fryer burner on a stable, non-flammable surface, away from any structures or overhanging trees. Attach the propane tank to the burner and open the valve. Position the fryer pot on the burner and fill it with peanut oil, making sure there is enough oil to fully submerge the turkey.
Step 4: Heating the Oil
Turn on the burner and heat the oil to a temperature of 350°F (175°C). Use the meat thermometer to monitor the temperature. Heating the oil to the correct temperature is crucial for a properly cooked turkey.
Step 5: Lowering the Turkey into the Oil
Slowly and carefully lower the turkey into the hot oil. It’s essential to do this slowly to prevent any oil splatters or accidents. Use a turkey lifter or a heavy-duty tool to safely lower the turkey into the oil.
Step 6: Frying the Turkey
Allow the turkey to fry for about 3-4 minutes per pound. The internal temperature of the turkey should reach 165°F (74°C) for it to be safe to eat. Use the meat thermometer to check the temperature by inserting it into the thickest part of the turkey’s thigh without touching bone.
Step 7: Removing the Turkey from the Oil
Once the turkey is fully cooked, carefully lift it out of the oil using the turkey lifter or heavy-duty tool. Allow any excess oil to drain off and transfer the turkey to a platter lined with paper towels to absorb any remaining oil.
Step 8: Letting the Turkey Rest
Allow the turkey to rest for about 15-20 minutes before carving. This will help the juices redistribute throughout the meat, resulting in a more tender and flavorful turkey.
Step 9: Enjoying Your Deep-Fried Turkey
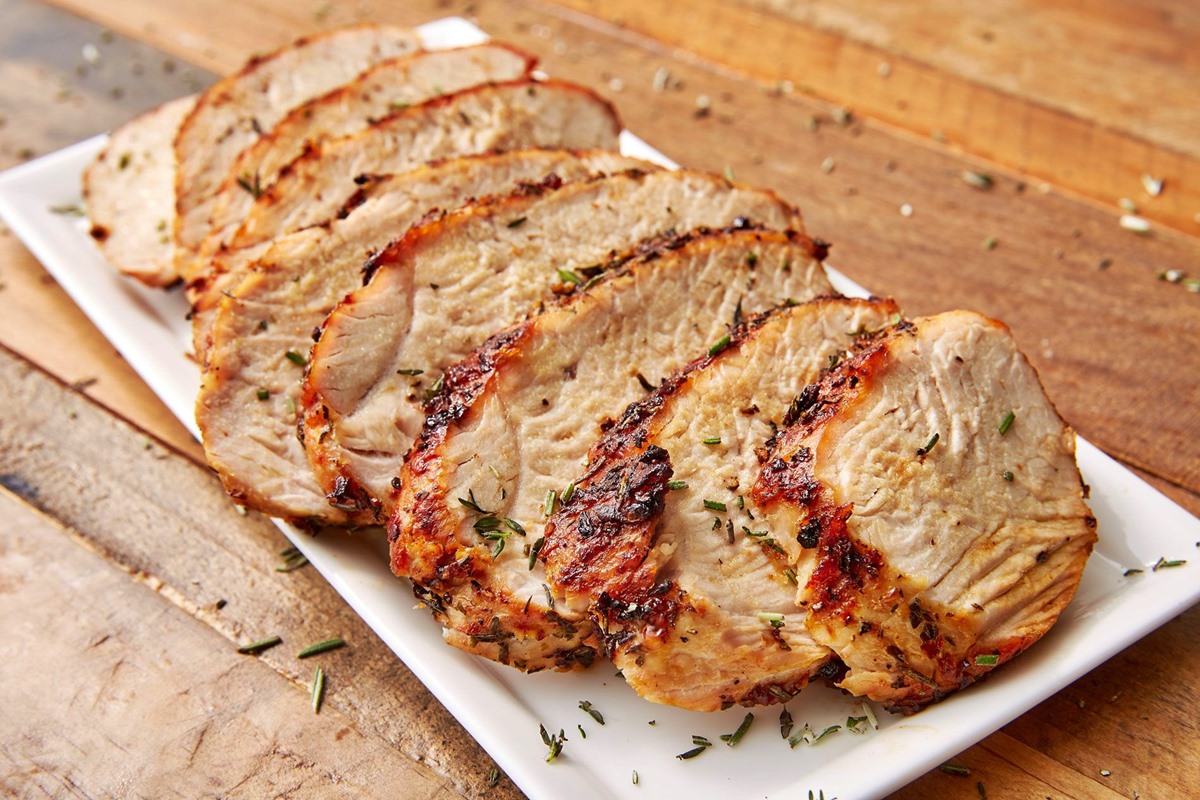
Once the turkey has rested, it’s time to carve and enjoy your delicious creation. Serve it alongside your favorite sides and watch as your guests savor every juicy and succulent bite!
Remember, safety is paramount when frying a turkey in peanut oil. Never leave the fryer unattended, keep children and pets away from the fryer, and have a fire extinguisher nearby, just in case. Follow these steps, and you’ll be well on your way to impressing everyone with your fried turkey masterpiece!
Was this page helpful?
Read Next: How To Fry Homemade French Fries

