Unlocking the Art of Fermenting Vegetables Without Starter Culture
Welcome to the wonderful world of fermentation! If you’re a fan of tangy, crunchy, and probiotic-rich foods, then you’re in for a treat. Fermenting vegetables without a starter culture is a traditional method that has been used for centuries to preserve and enhance the flavor of fresh produce. Whether you’re a seasoned fermenter or a newbie to the process, this guide will walk you through the steps to successfully ferment vegetables without the need for a starter culture.
Choose Your Veggies
The first step in fermenting vegetables without a starter culture is to select your produce. Choose fresh, organic vegetables such as cabbage, carrots, cucumbers, radishes, or any other firm vegetables of your choice. Wash them thoroughly and chop or slice them into your desired shape and size. It’s important to use clean, sanitized equipment to prevent the growth of harmful bacteria during the fermentation process.
Create a Brine Solution
Next, it’s time to prepare the brine solution. Create a simple brine by dissolving salt in water. The general rule of thumb is to use 1-2 tablespoons of salt per quart of water. This brine will help create the ideal environment for the fermentation process to take place.
Pack the Vegetables
Now comes the fun part – packing the vegetables into your fermentation vessel. Layer the chopped vegetables into a clean, sterilized jar or crock, making sure to pack them tightly to eliminate any air pockets. You can also add flavorings such as garlic, dill, or spices to enhance the taste of your fermented vegetables.
Add the Brine and Weight
Once your vegetables are snugly packed, pour the brine over them, ensuring that they are completely submerged. It’s crucial to keep the vegetables submerged in the brine to prevent the growth of mold. Place a weight, such as a clean stone or a fermentation weight, on top of the vegetables to keep them submerged throughout the fermentation process.
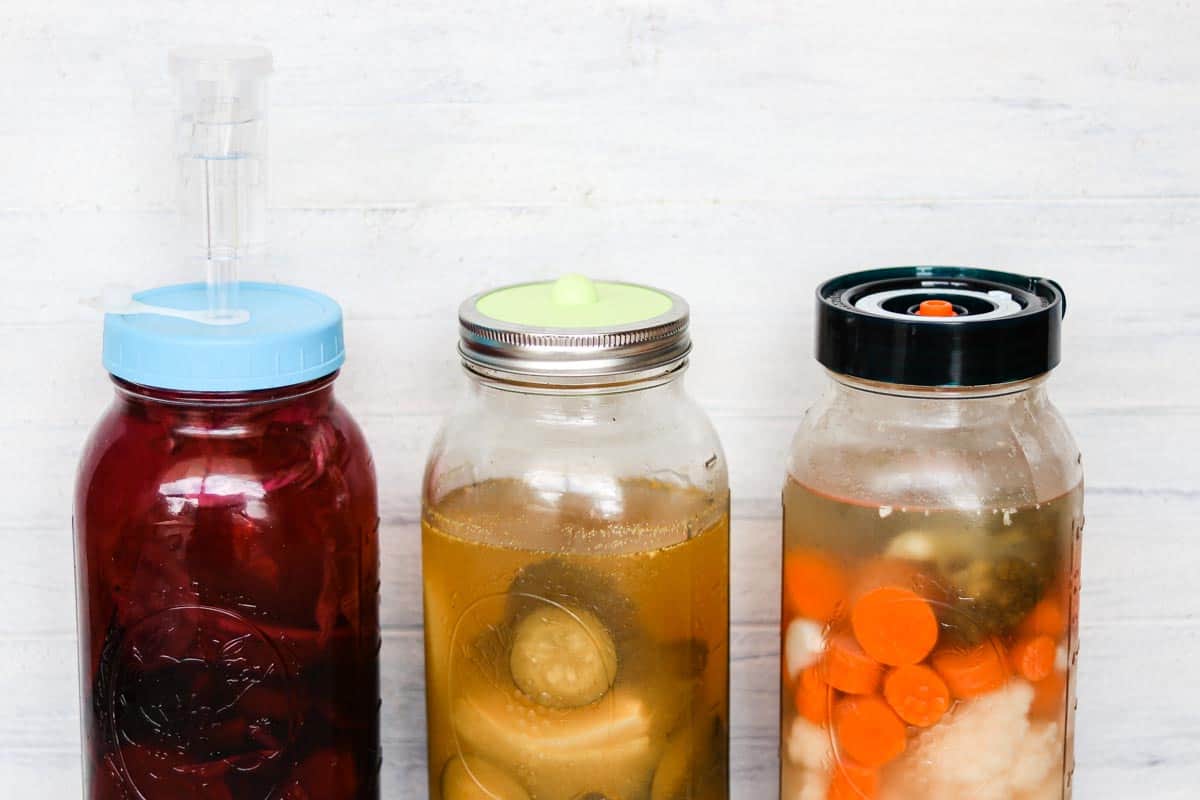
Allow for Fermentation
Now, it’s time to let nature work its magic. Cover the jar or crock with a clean cloth or a lid that allows for air to escape. This will prevent dust and insects from getting into the ferment while allowing carbon dioxide to escape. Store the vessel in a cool, dark place and let the vegetables ferment for about 1-4 weeks, depending on your taste preference. Remember to check on the vegetables periodically to ensure that they remain submerged and to skim off any scum that may form on the surface.
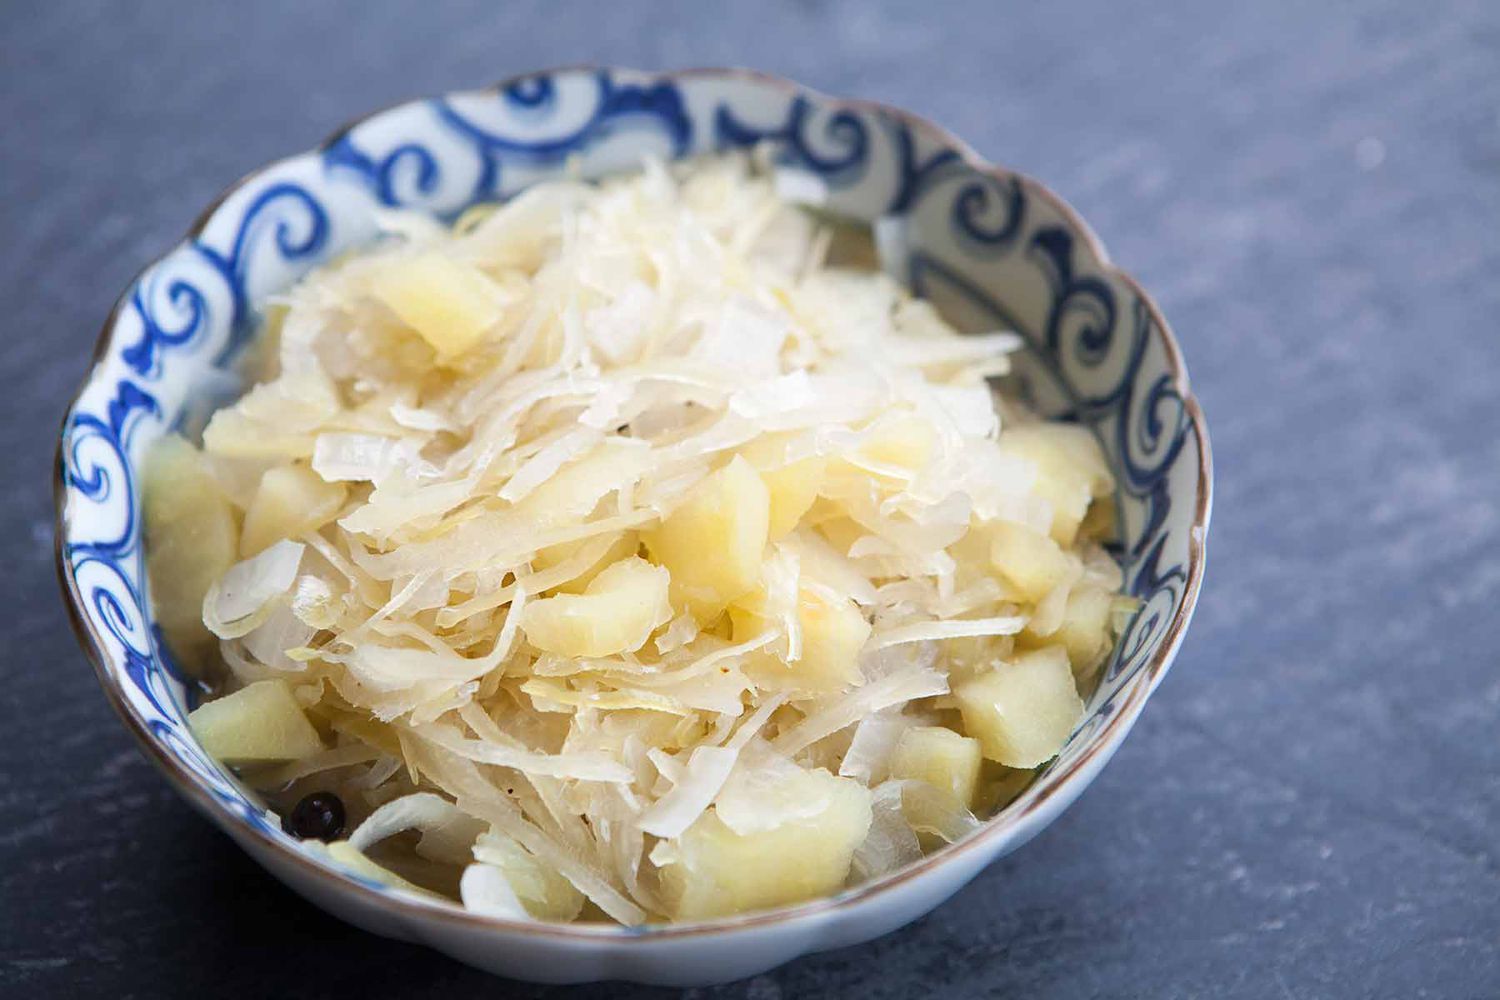
Taste and Enjoy
After the fermentation period, it’s time to taste your homemade fermented vegetables. Carefully remove the weight and take a sample to see if the flavors have developed to your liking. Once you’re satisfied with the taste, transfer the fermented vegetables to a clean jar and store them in the refrigerator to slow down the fermentation process. Enjoy your probiotic-rich, tangy, and delicious fermented vegetables as a flavorful addition to your meals!
So, there you have it – a simple guide to fermenting vegetables without a starter culture. With a bit of patience and the right technique, you can create your own batch of probiotic-rich fermented vegetables to enjoy and share with friends and family. Happy fermenting!
Was this page helpful?
Read Next: How To Ferment Green Jalapeno Pepper Sauce
Related Articles