Emulsifying Cocoa Butter: A Step-by-Step Guide
Emulsifying cocoa butter is a process that involves blending cocoa butter with other ingredients to create a smooth, creamy texture. Whether you’re making homemade chocolate, skincare products, or baked goods, emulsifying cocoa butter is an essential step to achieve the perfect consistency. In this guide, we’ll walk you through the steps to emulsify cocoa butter like a pro.
What You’ll Need:
- Raw cocoa butter
- Double boiler or microwave
- Emulsifying agent (such as lecithin or beeswax)
- Other ingredients for your specific recipe
- Whisk or blender
- Containers for storage
Step 1: Prepare Your Ingredients
Before you begin, gather all your ingredients and equipment. Ensure that your cocoa butter is at room temperature to make it easier to work with. If it’s too hard, you can gently warm it in a double boiler or microwave until it softens.
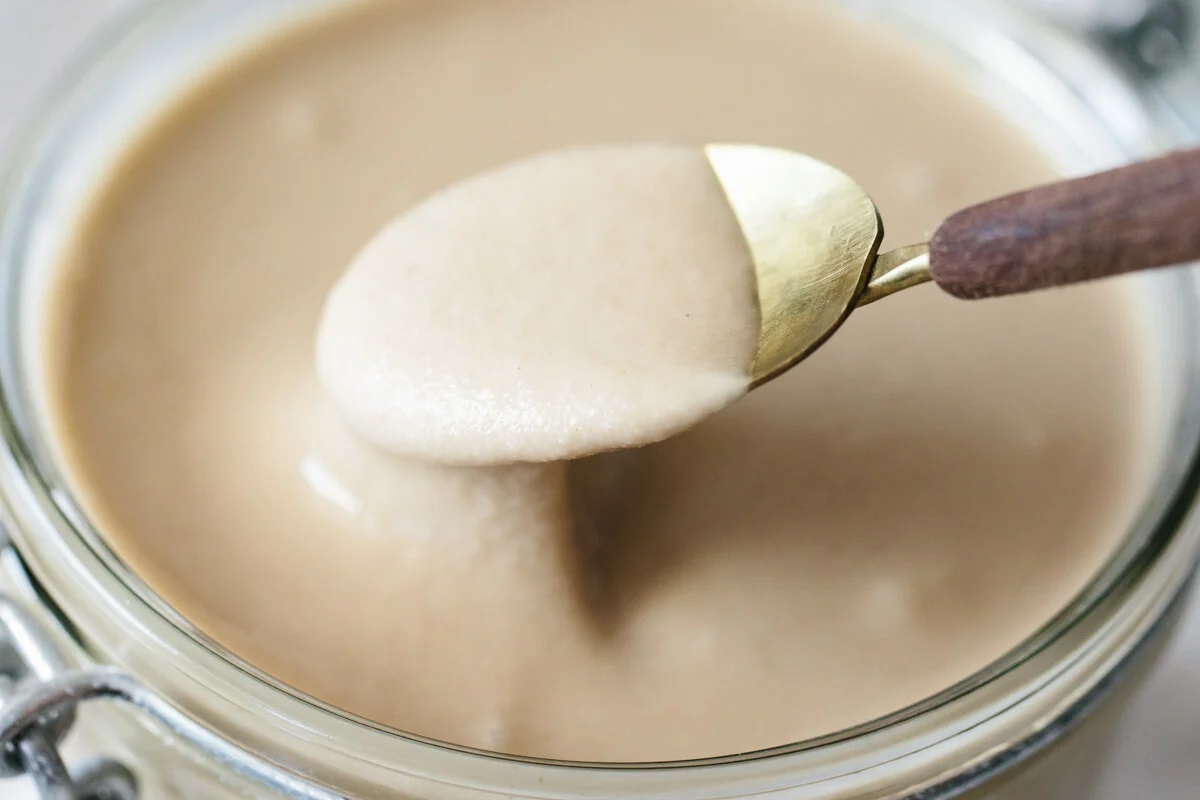
Step 2: Melt the Cocoa Butter
Place the cocoa butter in a double boiler or microwave-safe bowl and melt it gently until it becomes a liquid. Be careful not to overheat the cocoa butter, as this can affect its texture and properties. Stir it occasionally to ensure even melting.
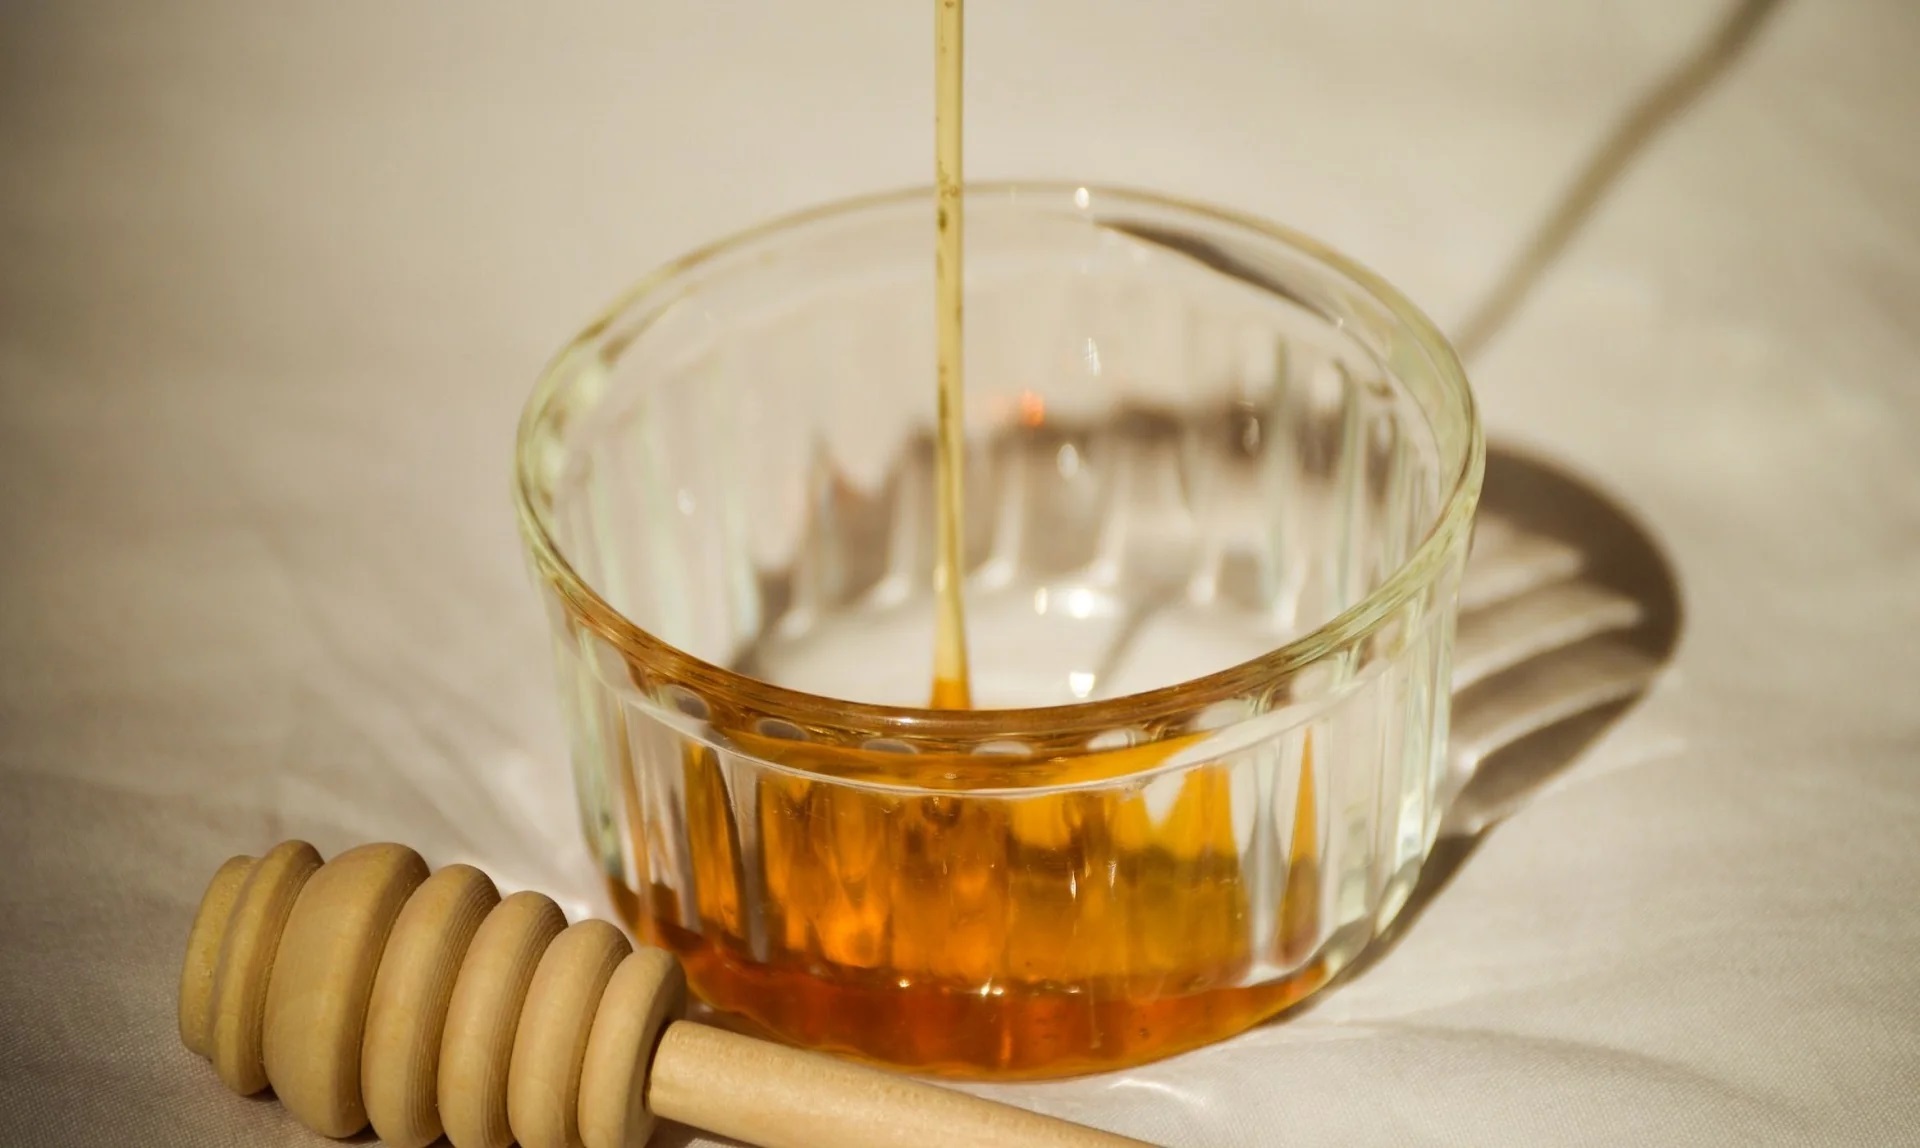
Step 3: Add the Emulsifying Agent
Once the cocoa butter is fully melted, it’s time to add the emulsifying agent. This ingredient will help bind the cocoa butter with other liquids and create a smooth, stable emulsion. The amount of emulsifying agent you need will depend on your specific recipe, so be sure to follow the instructions carefully.
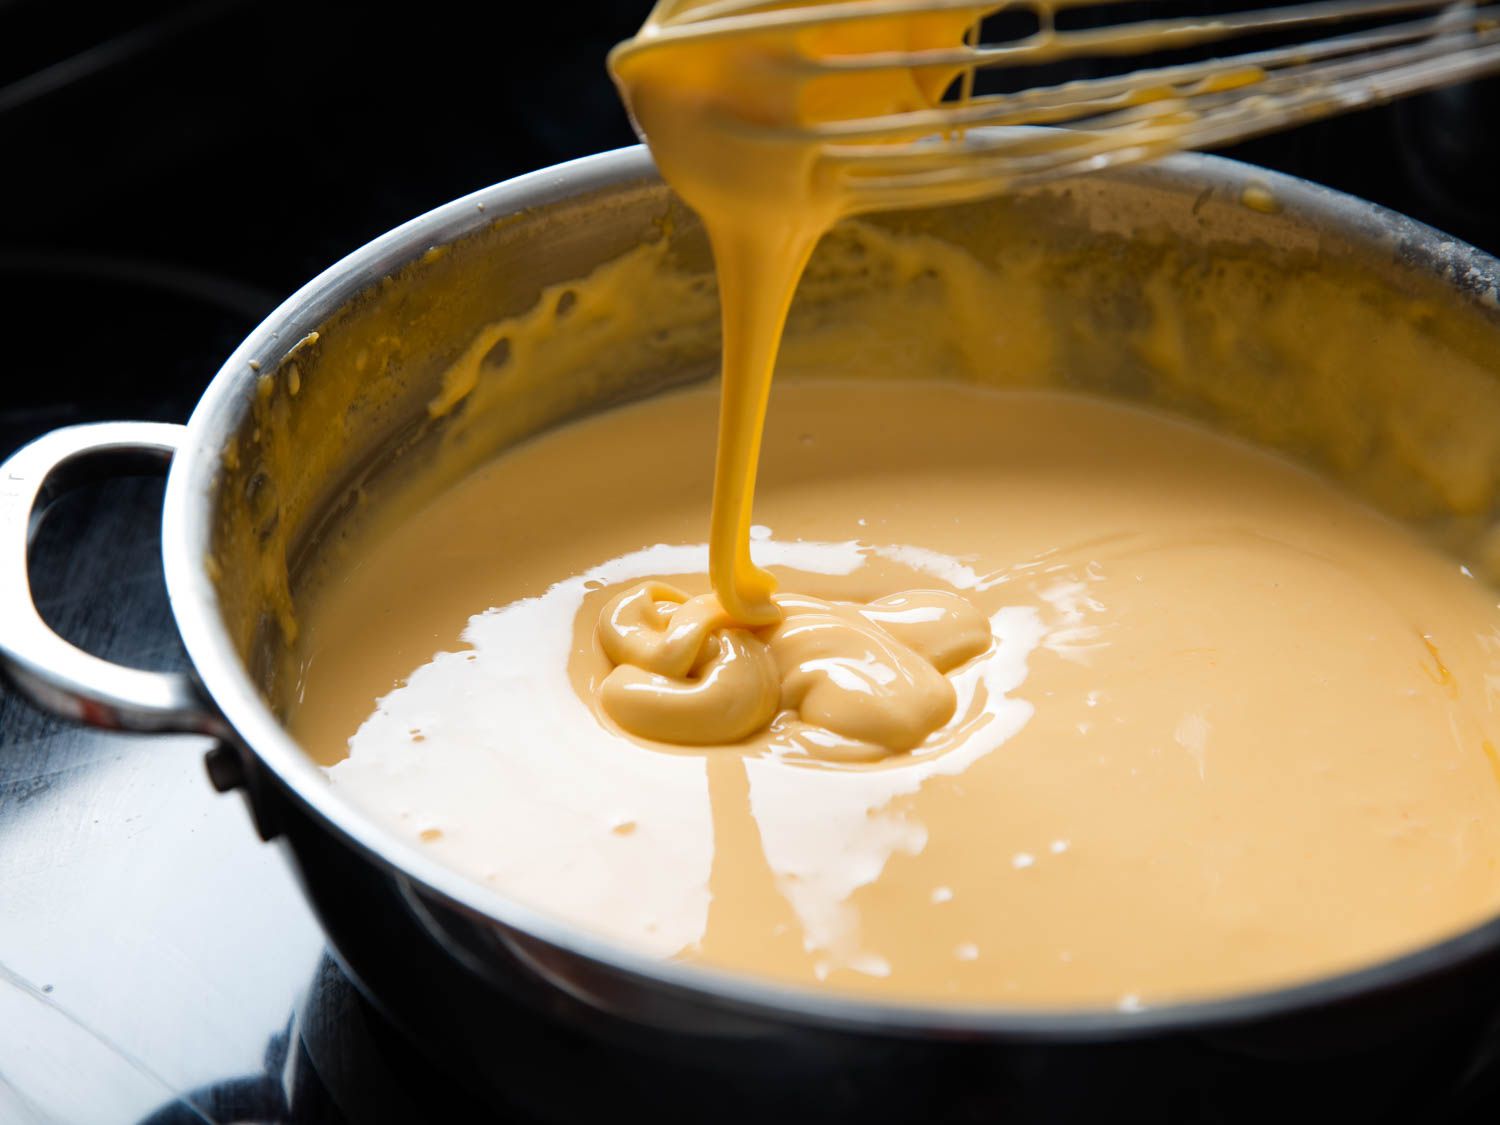
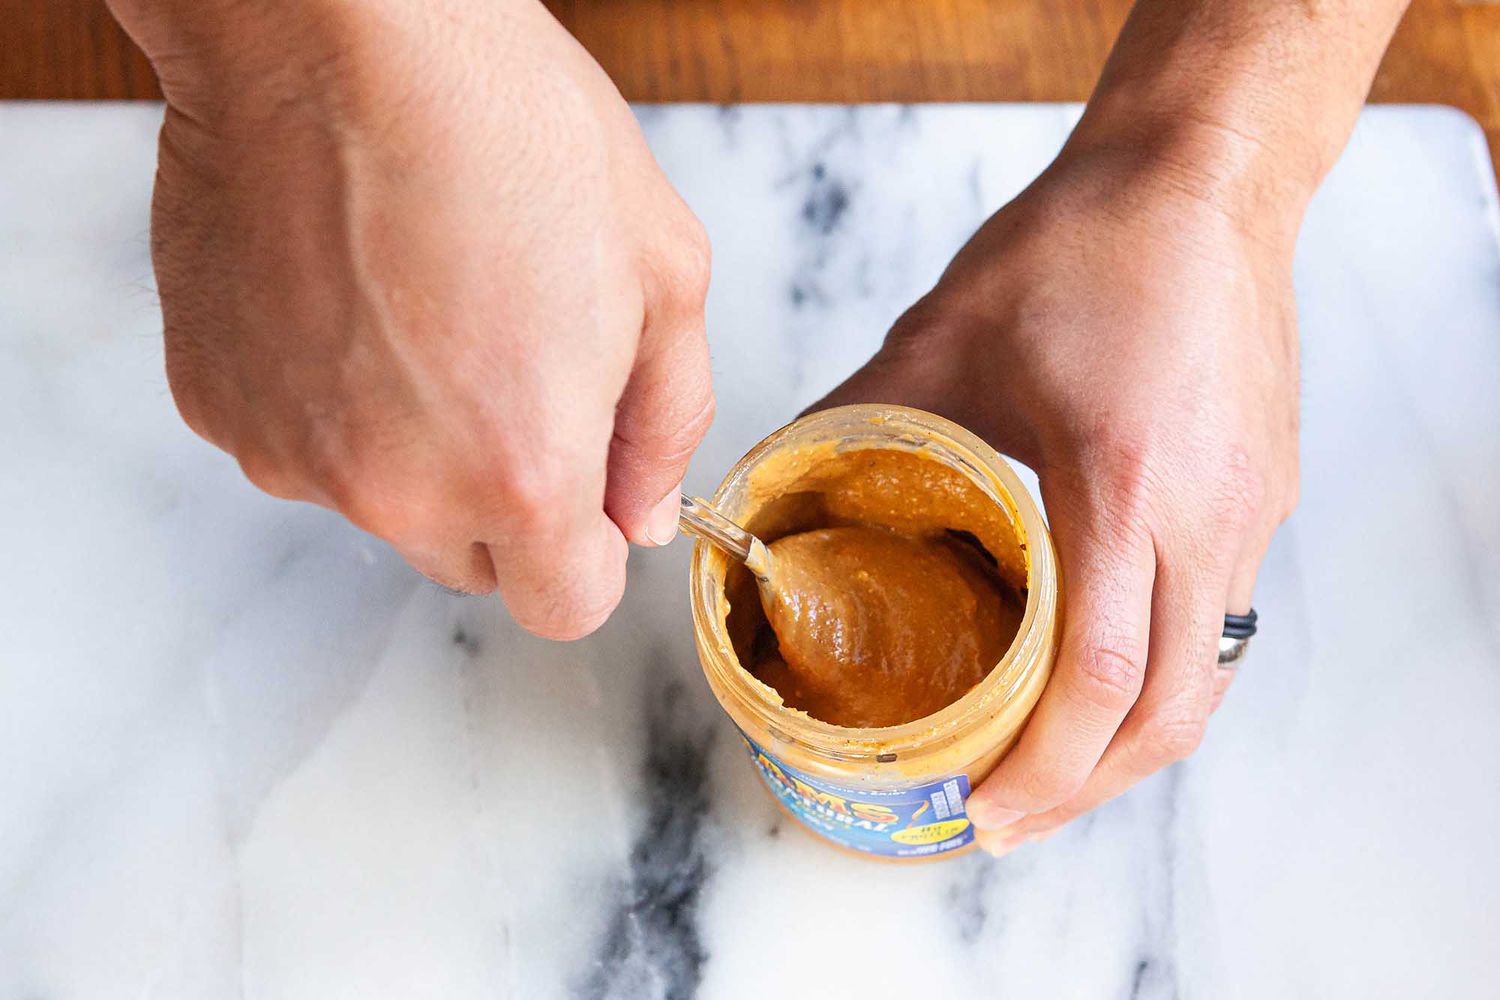
Step 4: Blend Thoroughly
Using a whisk or blender, thoroughly mix the melted cocoa butter and emulsifying agent until they are fully incorporated. This step is crucial for achieving a uniform texture and preventing separation of ingredients later on.
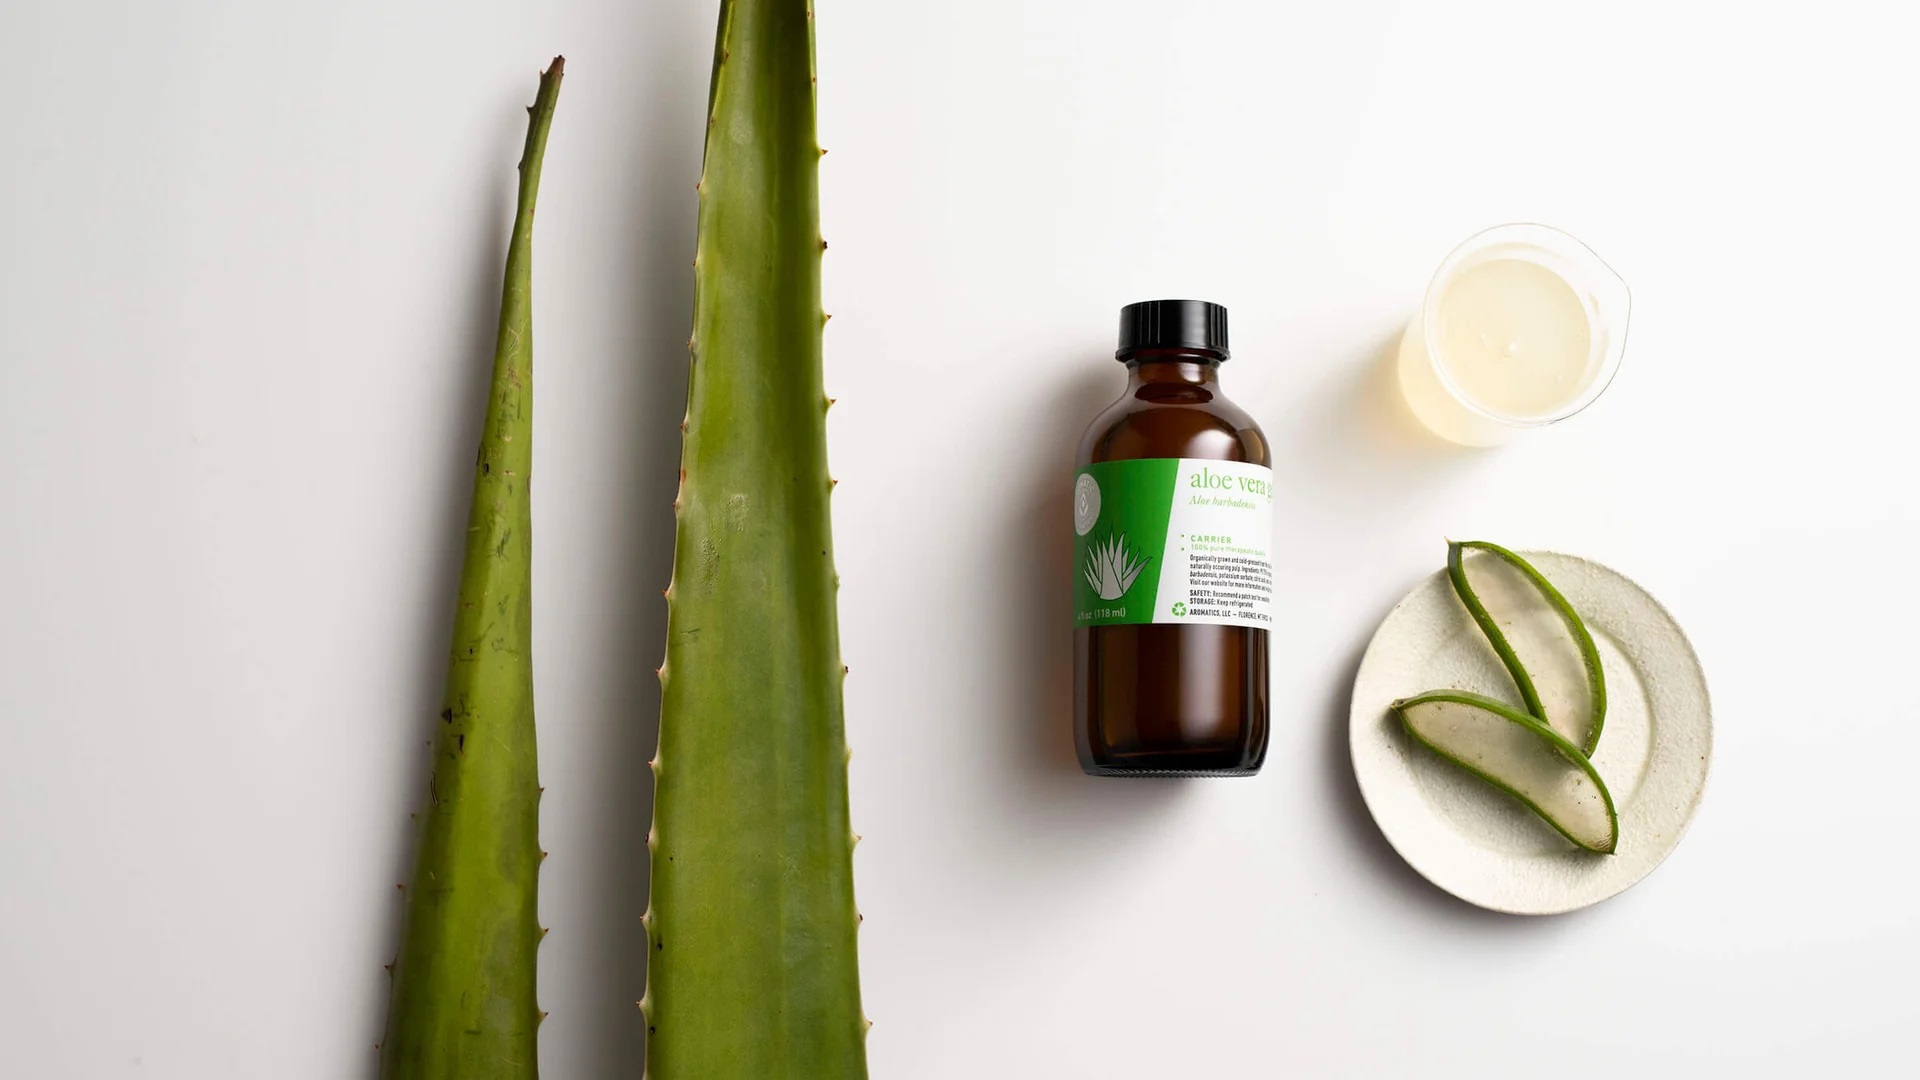
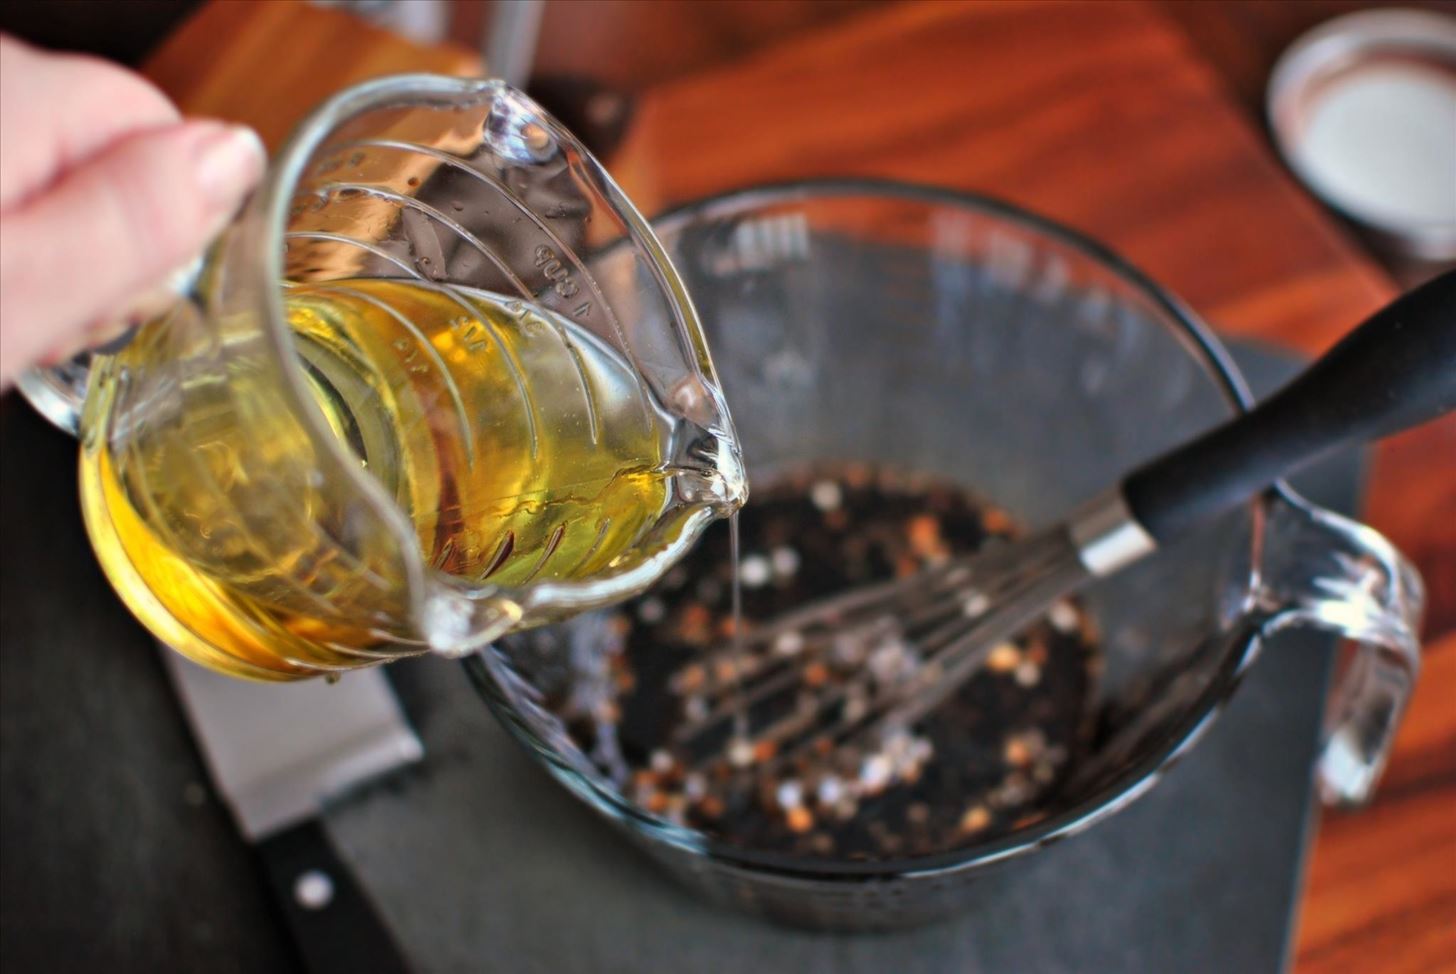
Step 5: Incorporate Other Ingredients
If your recipe calls for additional ingredients such as oils, water, or flavorings, now is the time to add them to the emulsified cocoa butter. Slowly pour the other ingredients into the cocoa butter mixture while stirring continuously to ensure proper emulsification.
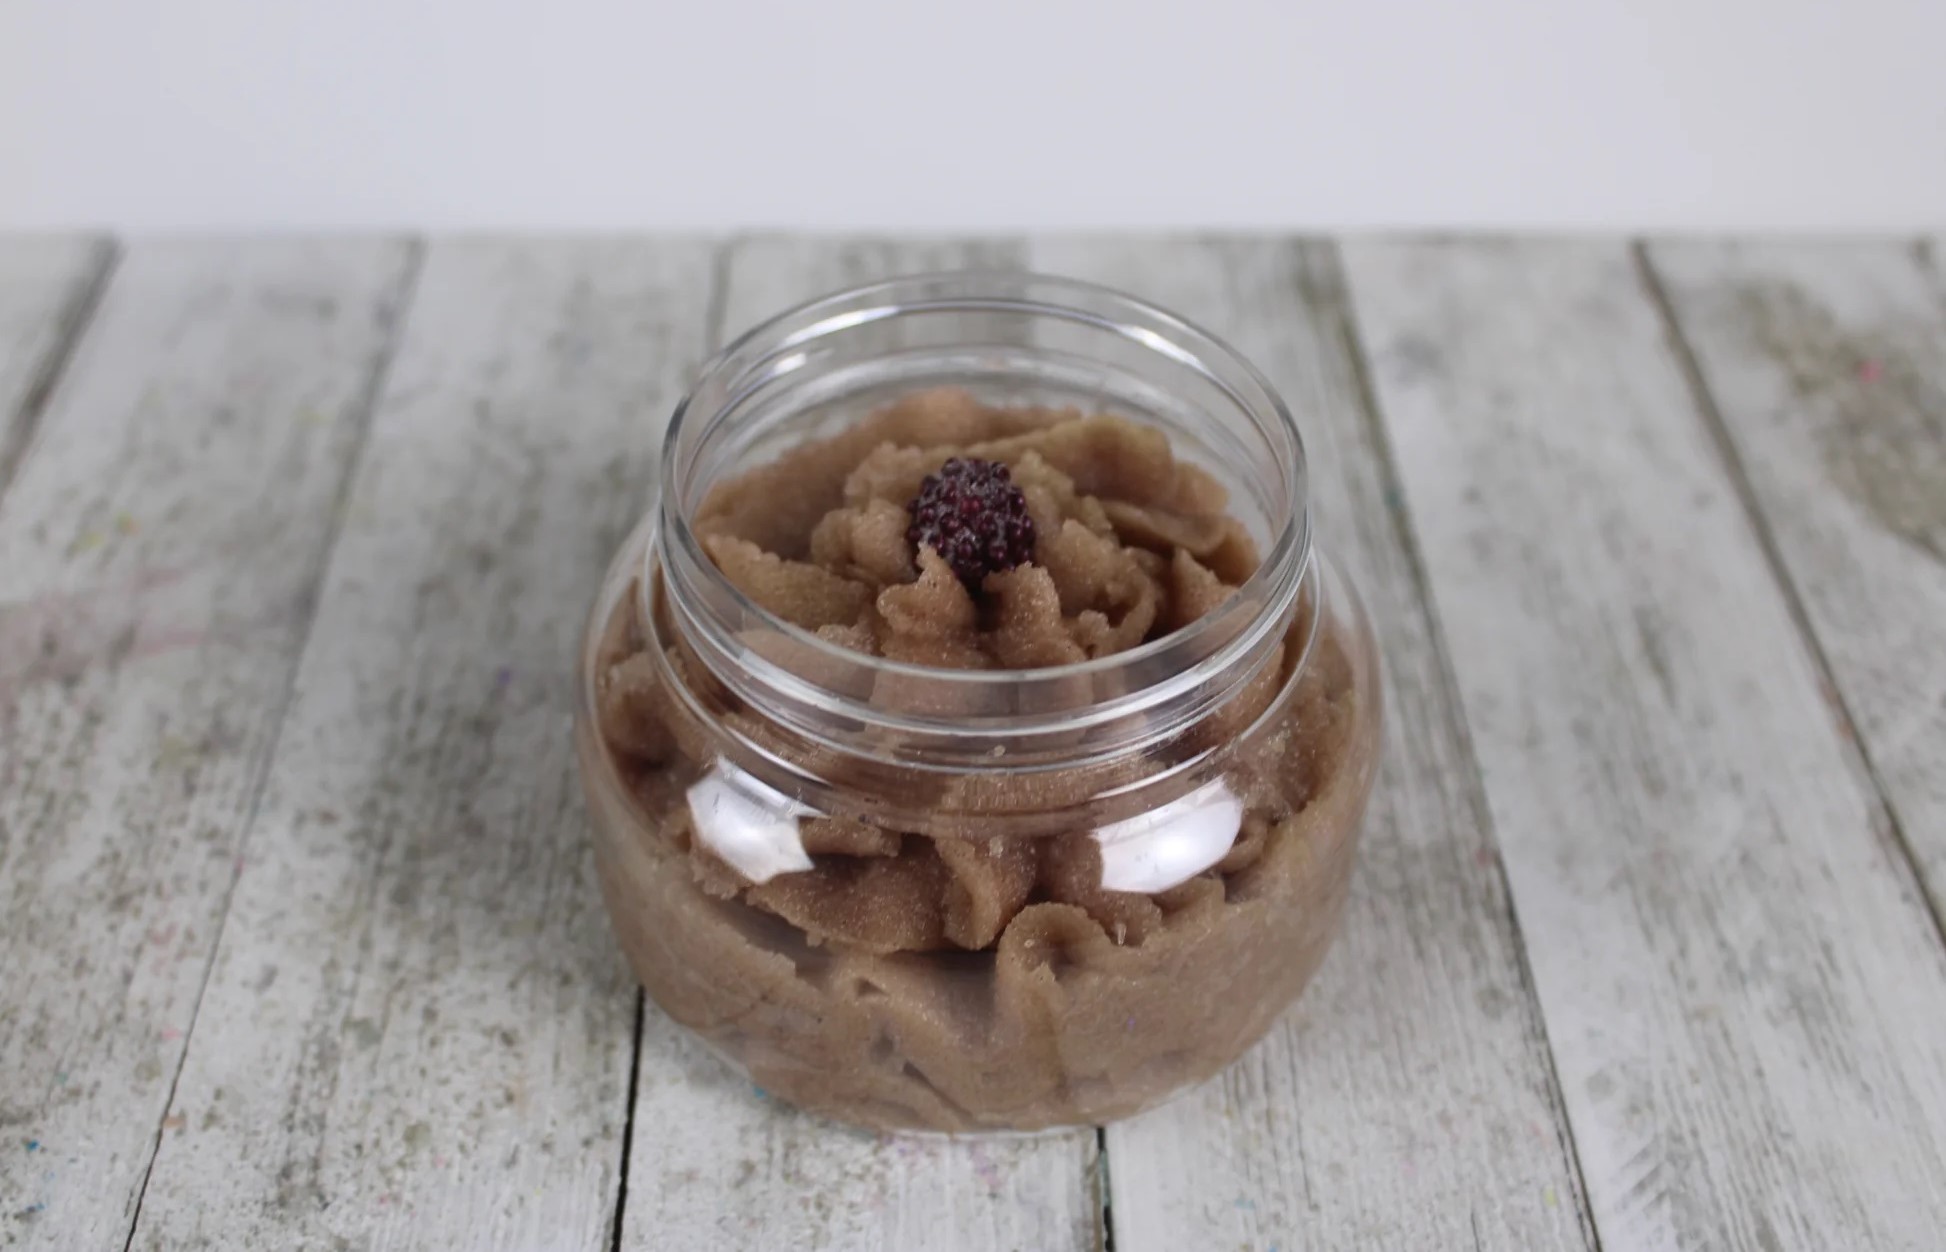
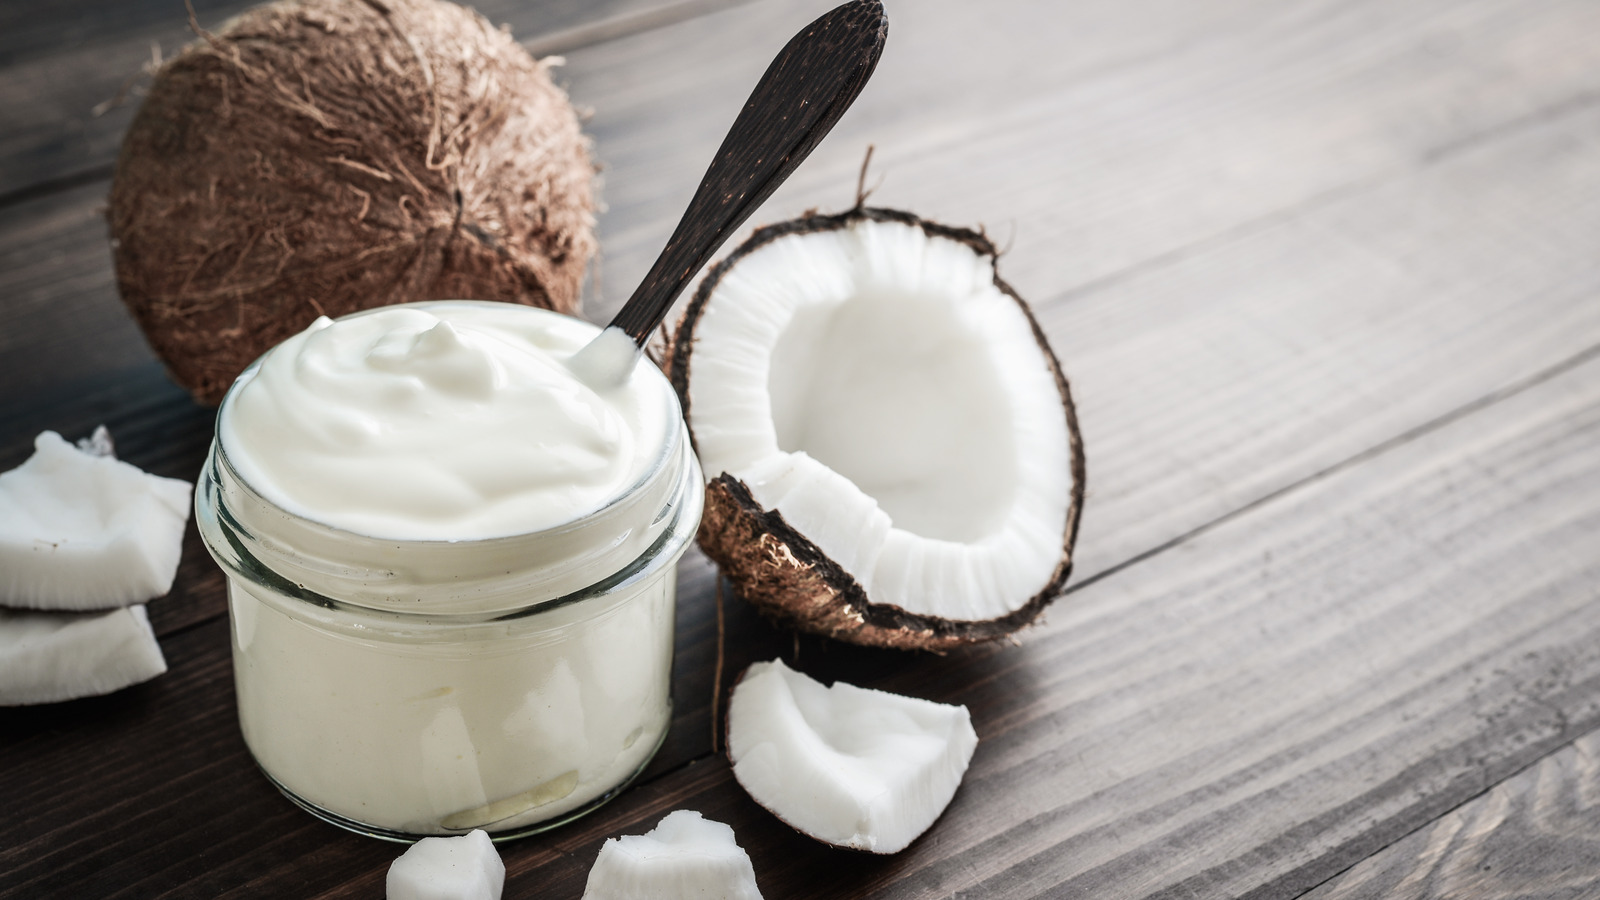
Step 6: Cool and Store
Allow the emulsified cocoa butter mixture to cool to room temperature before transferring it to storage containers. Depending on your recipe, the emulsion may thicken as it cools, so keep this in mind when determining the final consistency you desire.
Now that you’ve mastered the art of emulsifying cocoa butter, you can use it in a variety of delicious recipes or luxurious skincare products. With the right technique and attention to detail, you can achieve perfectly emulsified cocoa butter every time.
Emulsifying cocoa butter may seem daunting at first, but with practice and the right guidance, you’ll soon become an expert at creating smooth, creamy emulsions for all your culinary and cosmetic creations.
Remember, the key to successful emulsification lies in proper preparation, thorough mixing, and patience. So, roll up your sleeves, gather your ingredients, and start emulsifying cocoa butter like a pro!
Was this page helpful?
Related Articles