How to Dry Age Duck
Are you looking to elevate the flavor and tenderness of your duck? Dry aging is a time-honored method that can enhance the taste and texture of this delicious poultry. By allowing the meat to undergo controlled aging, you can intensify its natural flavors and achieve a more tender and succulent result. In this guide, we’ll walk you through the process of dry aging duck so you can enjoy a truly exceptional dining experience.
Choosing the Right Duck
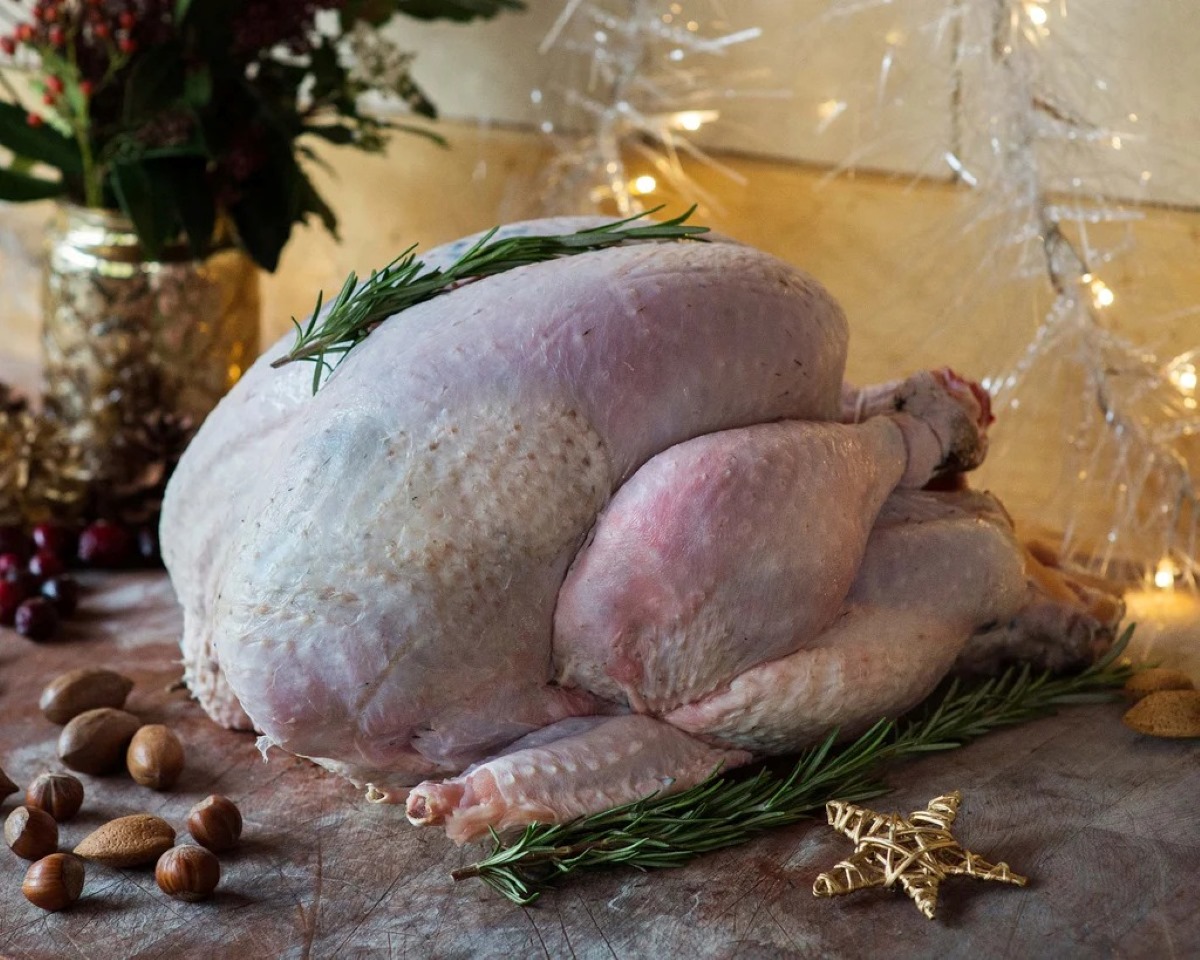
When it comes to dry aging duck, selecting the right bird is crucial. Look for a whole duck with a good layer of fat and firm, plump breasts. The quality of the duck will significantly impact the final outcome of the dry aging process, so be sure to choose a fresh, high-quality bird from a reputable source.
Preparing the Duck for Dry Aging
Before you begin the dry aging process, it’s important to properly prepare the duck. Start by thoroughly patting the duck dry with paper towels to remove any excess moisture. Next, place the duck on a wire rack set over a rimmed baking sheet and refrigerate, uncovered, for 24 to 48 hours. This initial step helps to dry out the skin and promote better air circulation during the aging process.
Creating the Ideal Aging Environment
Once the duck has been prepped, it’s time to set up the ideal aging environment. Find a well-ventilated area with low humidity and consistent temperatures between 34°F and 38°F (1°C to 3°C). A dedicated aging refrigerator or a wine fridge with adjustable temperature settings can be ideal for this purpose. Ensure that the duck is placed on a wire rack to allow air to circulate around the entire bird.
Monitoring the Aging Process
During the aging period, it’s essential to monitor the duck regularly to ensure that it is aging properly. Check for any signs of spoilage, such as off odors, mold, or excessive moisture. The aging process typically takes anywhere from 7 to 14 days, depending on your desired level of flavor and tenderness. Keep a close eye on the duck and be prepared to adjust the aging time based on your preferences and environmental conditions.
Trimming and Cooking the Aged Duck
Once the duck has reached your desired level of aging, it’s time to trim away any dried-out or discolored areas from the skin and fat. Then, you can proceed to cook the aged duck using your preferred method, whether it’s roasting, grilling, or pan-searing. The result of the dry aging process should be a more flavorful and tender duck that will elevate your culinary creations to new heights.
Enjoying the Fruits of Your Labor
After all the effort and patience put into dry aging the duck, it’s time to savor the fruits of your labor. Whether you’re serving up a beautifully roasted duck breast or crafting a gourmet duck confit, the flavors and textures achieved through dry aging will undoubtedly impress your palate and those of your dining companions.
Now that you've learned the art of dry aging duck, it's time to put your newfound knowledge to the test. With the right duck, proper preparation, and a bit of patience, you can unlock the full potential of this exceptional poultry and take your culinary skills to the next level. So, roll up your sleeves, embrace the process, and get ready to savor the unmatched flavors of dry aged duck.
Was this page helpful?
Read Next: How To Dry Age With Cheesecloth
Related Articles